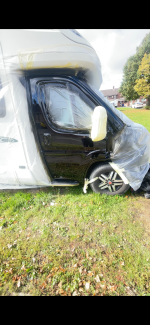
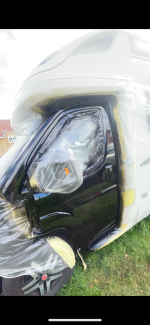
Technical Change front end on 09 ducato x250 to 2015

Currently reading:
Technical Change front end on 09 ducato x250 to 2015

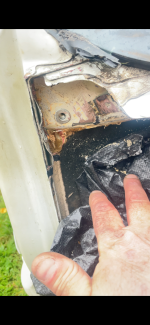
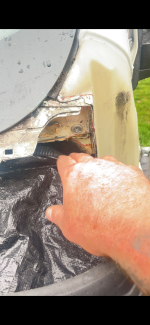
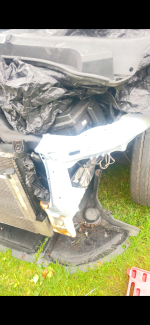
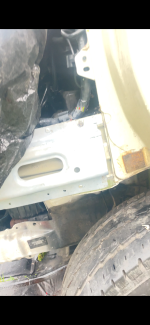
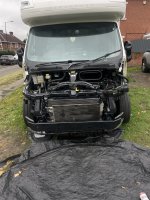
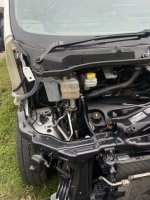
Had a few hour on it today grinded old brackets off and old wing brackets
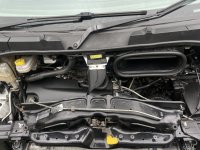
The window in the scuttle tray for windscreen wiper is actually fine

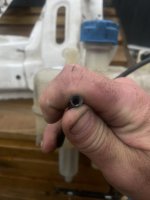
Thing is tho the new coolant bottle has tiny hoses x2 on top one being a over flow

When on the x250 you have bigger pipes so this part I need to look into 🤷‍♂️

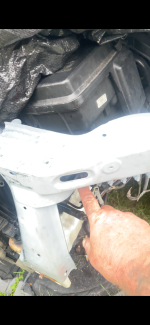
I’ve got the repair braces on and ready to fit bonnet brackets
You need the other hard pipes that come with the face lift bottle either complete or evan if there cut and you just have the 2 ends that go in to the bottle ..that way you can just put your pipes over the top🤙🏻
 
You need the other hard pipes that come with the face lift bottle either complete or evan if there cut and you just have the 2 ends that go in to the bottle ..that way you can just put your pipes over the top🤙🏻
It has come with one hard pipe tbh but they seem very thin
What you do place your hose over it and clamp
 

Attachments

  • IMG_8010.jpeg
    IMG_8010.jpeg
    1.3 MB · Views: 13
Had half hour after work but started raining ffs
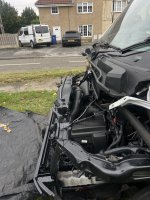
Bonnet brackets are off and old scuttle tray supports
 

Attachments

  • IMG_8028.png
    IMG_8028.png
    3.1 MB · Views: 1,194
  • IMG_8029.png
    IMG_8029.png
    3 MB · Views: 994
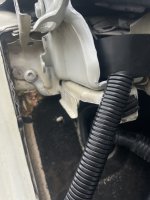
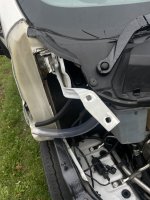
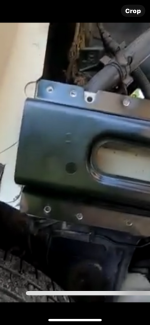
Repair plates are now fitted and lined up
 

Attachments

  • IMG_8026.png
    IMG_8026.png
    3.3 MB · Views: 832
  • IMG_8027.png
    IMG_8027.png
    2.4 MB · Views: 1,504
  • IMG_8031.png
    IMG_8031.png
    2.5 MB · Views: 978
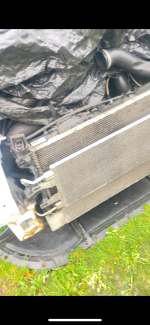
New radiator I got with the facelift which is from a 23 plate so in great condition is fitted which mine was 10 year old
You don’t have to change it but I did
I also got a new bumper plate which was also very new no rust so changed this
 

Attachments

  • IMG_8032.png
    IMG_8032.png
    3.4 MB · Views: 952
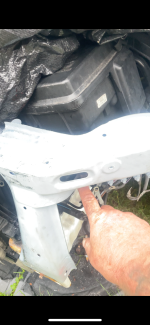
It’s looking like the fuse box support bracket arm will need to be lowered a few inch
Even when I place the headlight bracket on the repair plate I don’t think the headlight will go over the fuse box
 

Attachments

  • IMG_8031.png
    IMG_8031.png
    2.5 MB · Views: 949
All finished
 

Attachments

  • IMG_8098.jpeg
    IMG_8098.jpeg
    2.4 MB · Views: 1,895
  • IMG_8105.jpeg
    IMG_8105.jpeg
    1.4 MB · Views: 1,130
  • IMG_8103.jpeg
    IMG_8103.jpeg
    1.5 MB · Views: 965
  • IMG_8106.jpeg
    IMG_8106.jpeg
    1.6 MB · Views: 1,880
  • IMG_8100.jpeg
    IMG_8100.jpeg
    2.1 MB · Views: 1,165
  • IMG_8099.jpeg
    IMG_8099.jpeg
    1.9 MB · Views: 793
  • IMG_8102.jpeg
    IMG_8102.jpeg
    2.1 MB · Views: 1,709
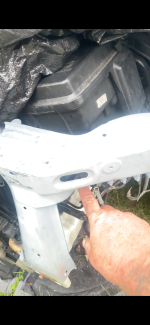
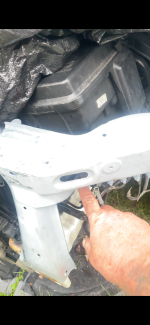
The fuse box sits 1” too high so can’t get the headlight on
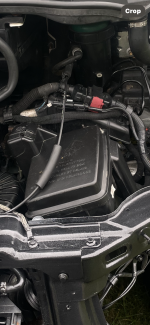
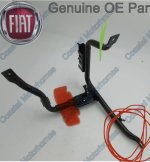
You need to unbolt air box to fuse box first then cut the far right bracket down a inch green pen on image and slacken the nut off on the bracket circled in red on image then push the fuse box down a little
The image in fat red pen just cut that bracket off out the way it’s not needed

What I did after this was fit headlight bracket then the headlight to make sure it fits over fuse box before tightening it all up

Then go under fuse box for the leg you unscrewed a little and tighten it back up
This way you know you have clearance so once it’s tight and sturdy
Then take headlight back off and put bolt back on air box to the fuse box
Then completed
 

Attachments

  • IMG_8113.png
    IMG_8113.png
    2.5 MB · Views: 1,115
  • IMG_8112.png
    IMG_8112.png
    5.4 MB · Views: 9
  • IMG_8117.jpeg
    IMG_8117.jpeg
    90.5 KB · Views: 9
The complete front end is now black 😍 facelift complete
Get the bumper and grill on in the morning
Like I said in the beginning I work full time 6 days so I did the odd hour per day
 

Attachments

  • IMG_8195.png
    IMG_8195.png
    3.6 MB · Views: 252
  • IMG_8196.png
    IMG_8196.png
    3 MB · Views: 381
  • IMG_8197.png
    IMG_8197.png
    2.8 MB · Views: 427
I just want to say this was not difficult at all
No welding was needed in the end it all just bolts nice
That’s if you source the bonnet brackets has I did they fit in place brilliant and bolt to the bulkhead old wing bracket and scuttle tray bolt holes
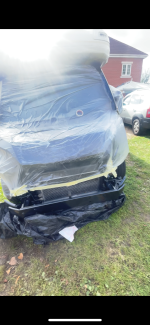
I used tiger seal and rivets
The thing most forgot the part we change is the crumple zone it’s a support area only
The chassis leg takes impact
So bolting and rivets is fine a fiat specialist told me they spot weld everything while in the factory while doing everything else
But handovers are bolted together and are also easy to change
So yea… its solid and all fit together nice there’s holes already there for things you do change like coolant bracket location change
Honestly I found this very easy
 
The brace repair leg I put Rivets in too along the plate
And the front chassis leg again was already pre drilled ready to be bolted in 1 areas
It all worked out perfectly
 
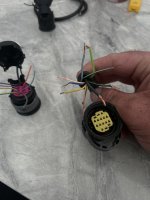
Ok I’m now about to wire the lights but the new headlights are in total 10 wires
 

Attachments

  • IMG_8286.jpeg
    IMG_8286.jpeg
    1.4 MB · Views: 607
Back
Top