General Seat Panda Terra

Currently reading:
General Seat Panda Terra

Not a great deal pf progress today

DSC01241_zpsc3fe3606.jpg


All the holes for the base dash bracket had to be drilled and then I used self tappers.
Spent most of the day looking for the side dash pocket end quadrants. Do you think I could find a pair.? No..... I found one.

But I did do this...
DSC01243_zpsf3938490.jpg


Yep. A panda with a 'Proper' door handle.
 
Bonus day today... Look.....


DSC01251_zps65448a89.jpg


Dash quadrants thanks to a local forum member. And hey ho.

Mind you the speedo screws into the mounting bracket via two little square nuts................ Which of course were missing.
So I had to make a couple of these; fiddley or what.

DSC01248_zpsa385a6a1.jpg


Worth the effort though.
All the 'olive drab' paint on the interior I'm doing using a brush on account of.............. I spray with a gun which has the 'pot' under the spray head. This means that there is always a bit of paint left in the 'pot' which the gun can't pick up. So I use that t paint inside the car which saves having to do a lot of masking up and nonsense; and I don't have to throw expensive paint away.
 
Is it glossy or just wet? How about camo netting on the back...we had a pic on here of a Italian army panda....I will see if I can find it.

The paint is actually a satin finish. It goes on quite glossy but flattens as it dries.

Now then.......... A picture of an 'Italian Army Panda' I have looked everywhere for one of those. If you can find it I might deliver those wheel trims by hand.
 
I found it by putting Italian army panda in the search on this site. Only four threads came up and Not a Panda ... But was the one with the piccie

See below
 

Attachments

  • 1365286884992.jpg
    1365286884992.jpg
    30.4 KB · Views: 47
Last edited:
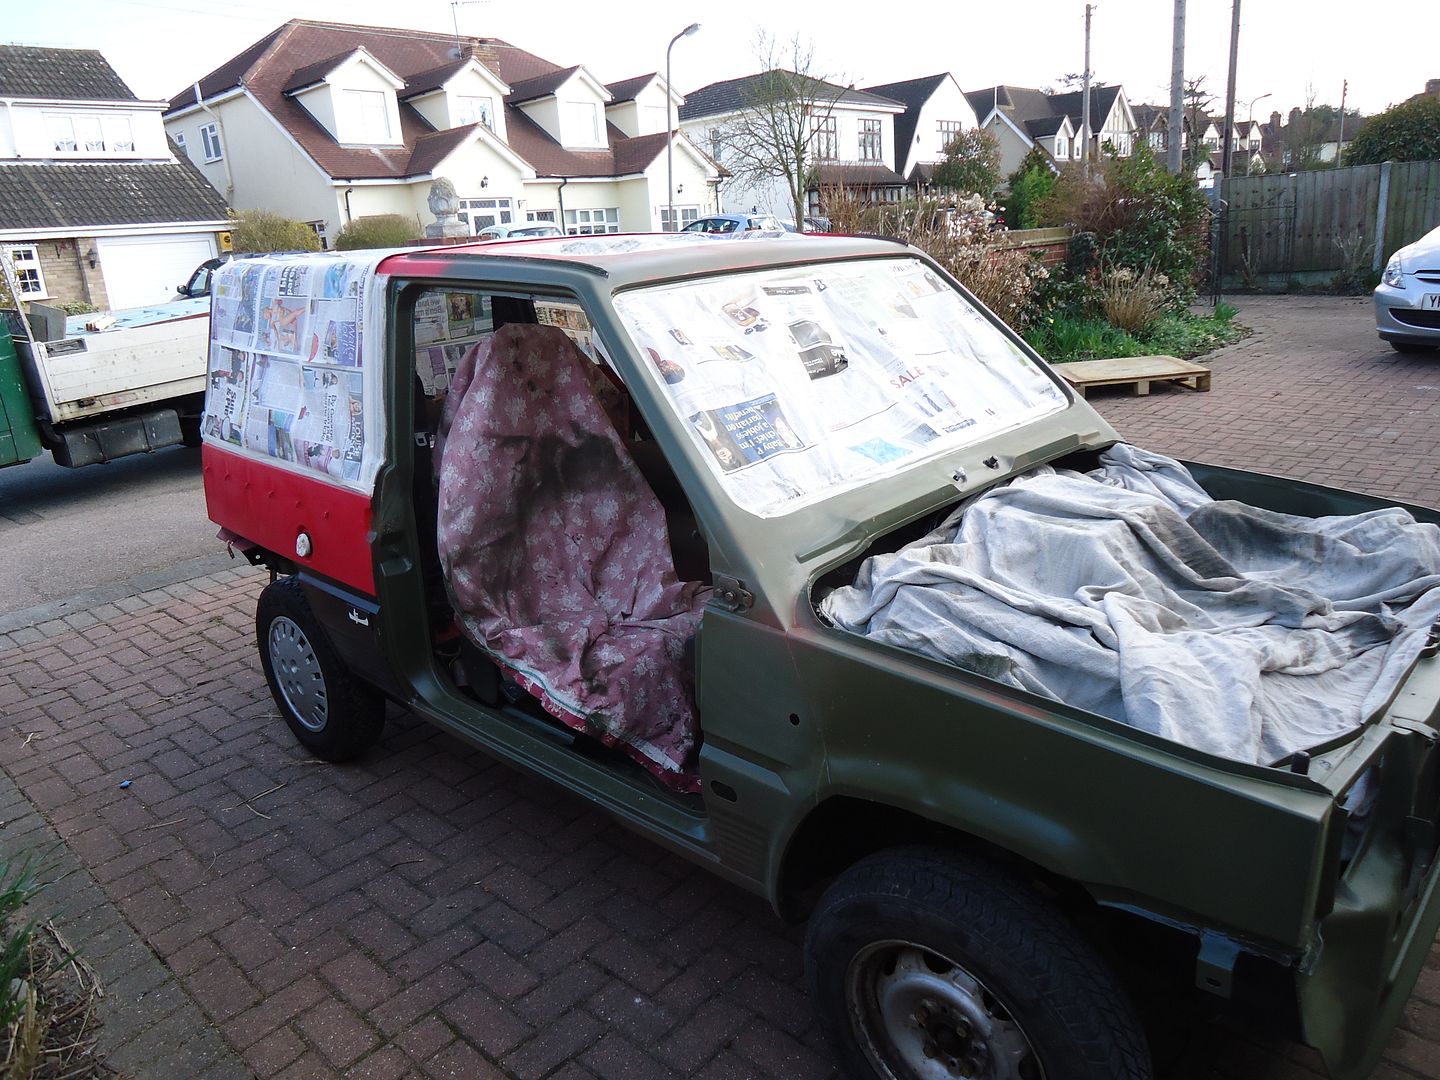
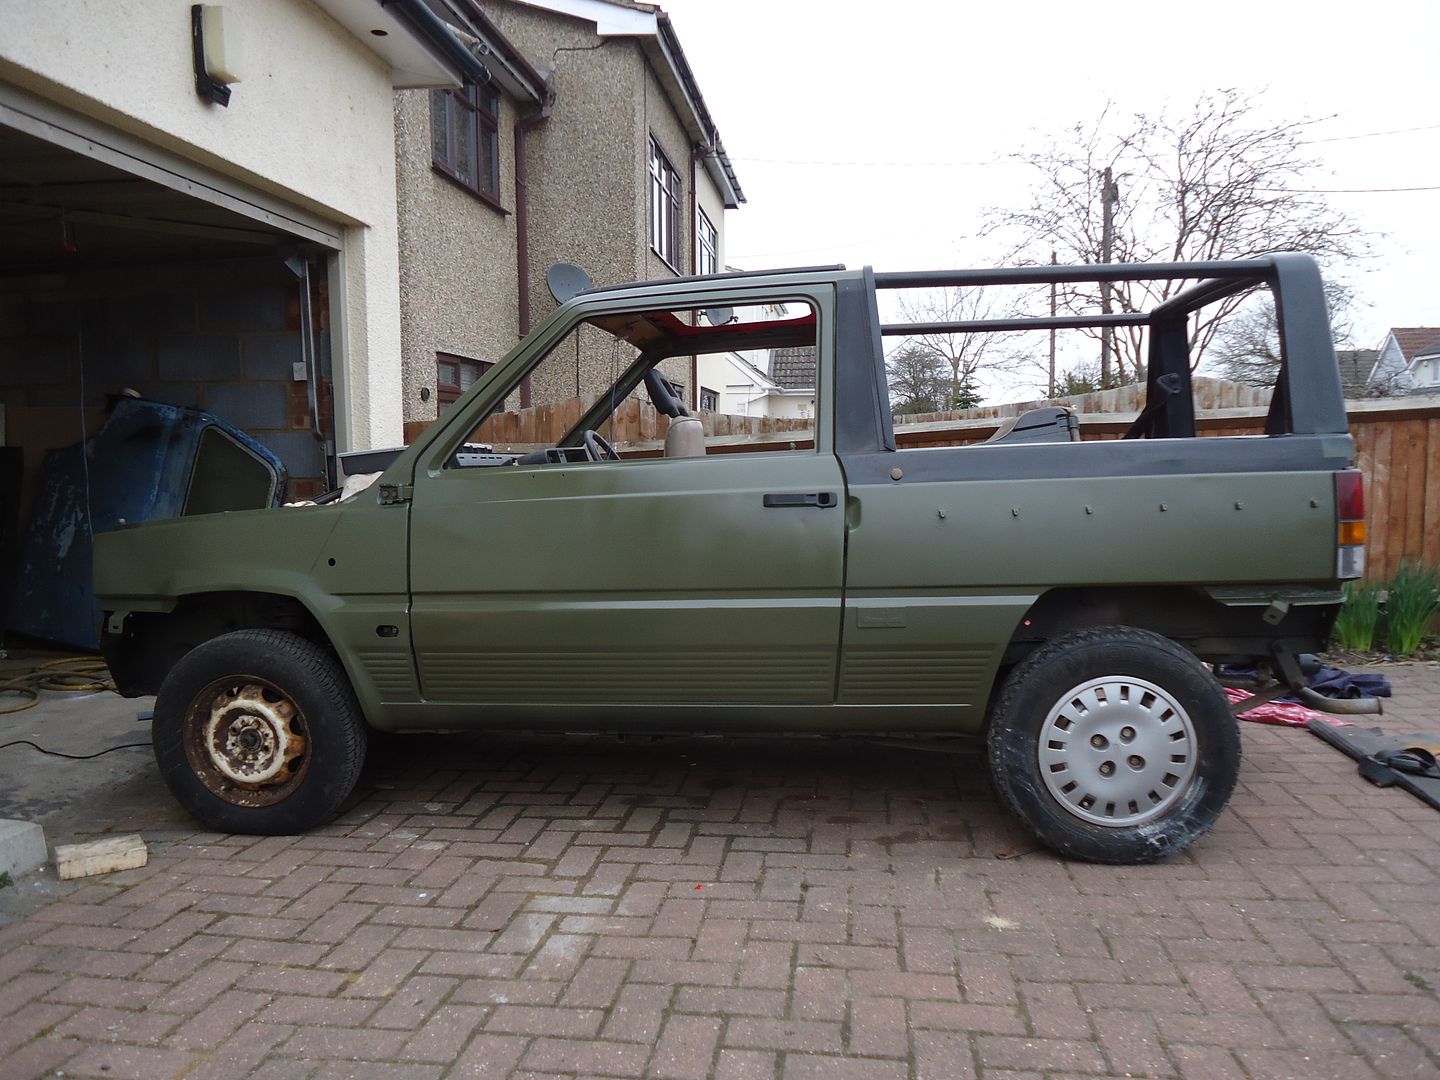
I'm getting a bit desperate to get this little car back together as I have another pressing project to get on with.
So I managed to squeeze a 5 hour burst in today.
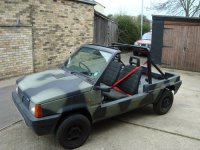
The doors I got from our mate turbo-pib are probably the last major work before I can really start bolting the Panda back together.
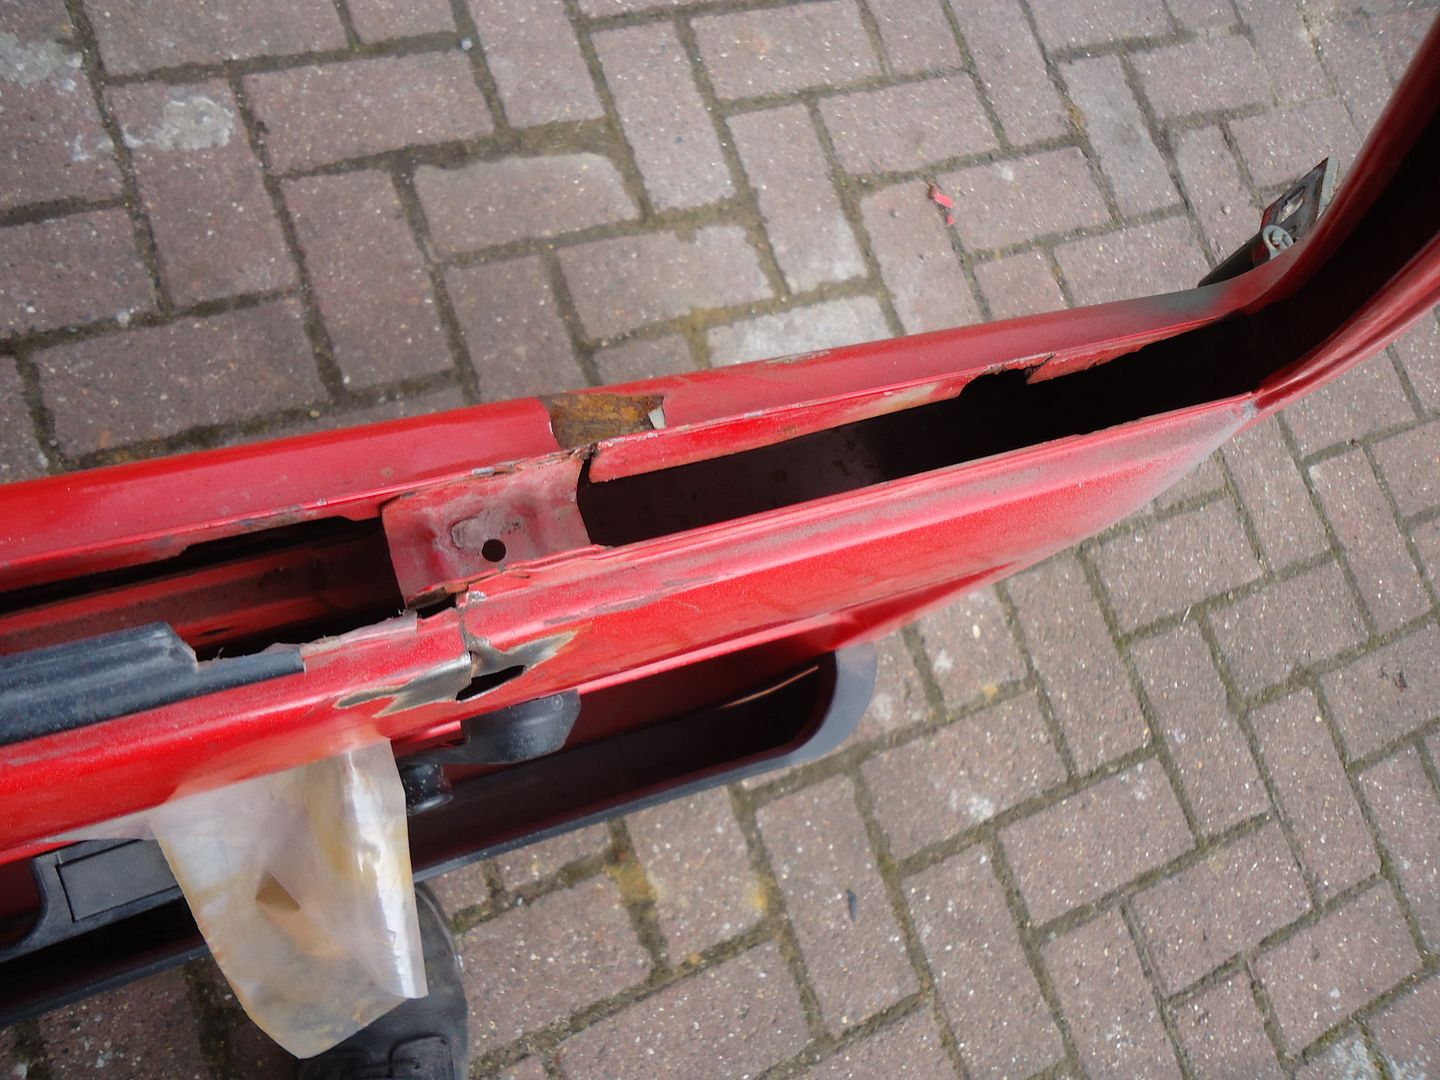
The progress on one of the doors was a bit of an experiment and only involved the lower half of the outer panel. I need to colour change and swop the glass. I really needed to get both doors fully fixed and painted quickly. Can't afford the time for the project to stall.

DSC01351_zpscde8b9a8.jpg

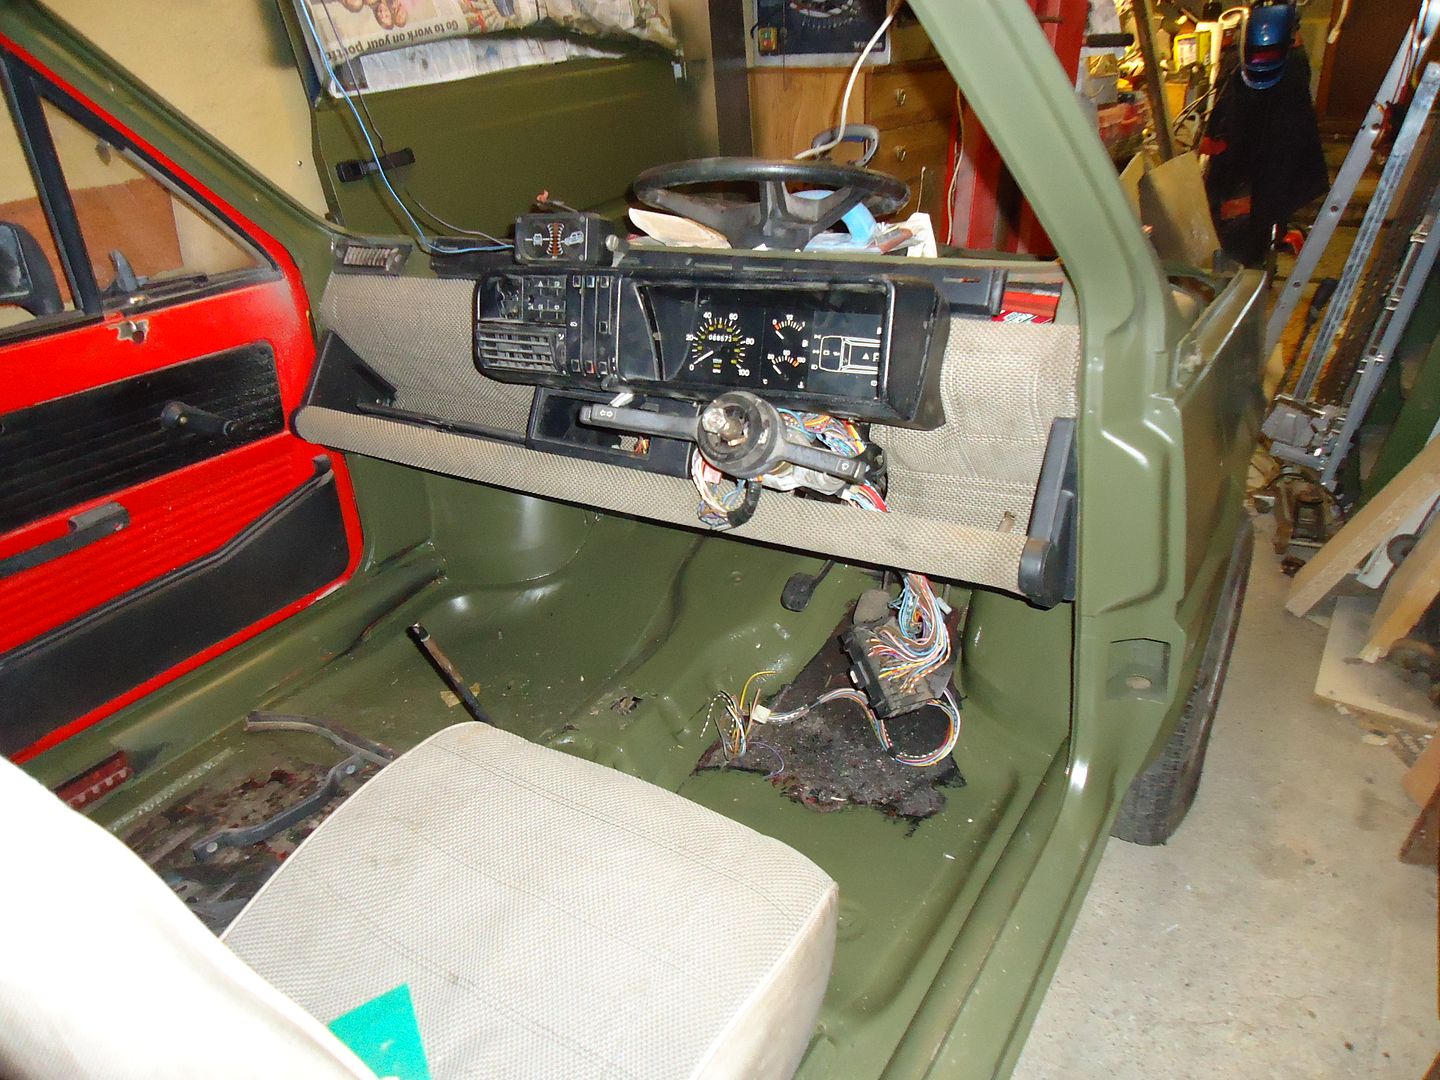
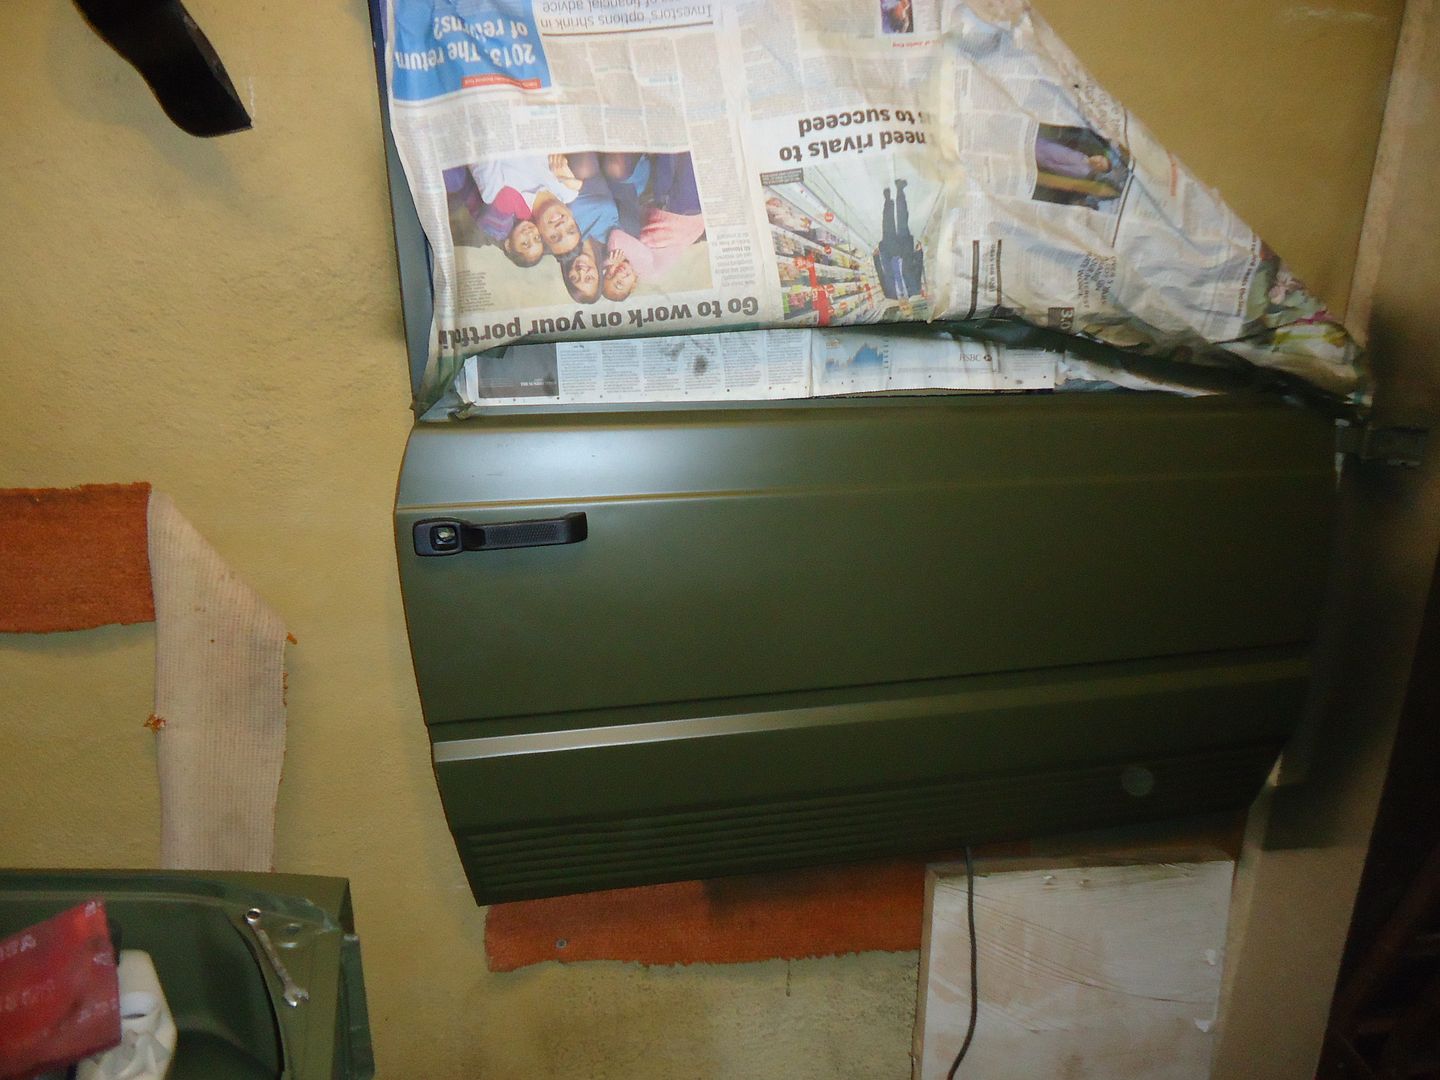
So strip the second door of 'SEAT' plastic, production paper (60 grit) the mounting holes and bash the edges of them in a bit so that the filler has something to get a hold of. Fortunately both the doors are in excellent condition so physical repairs are only small and cosmetic.


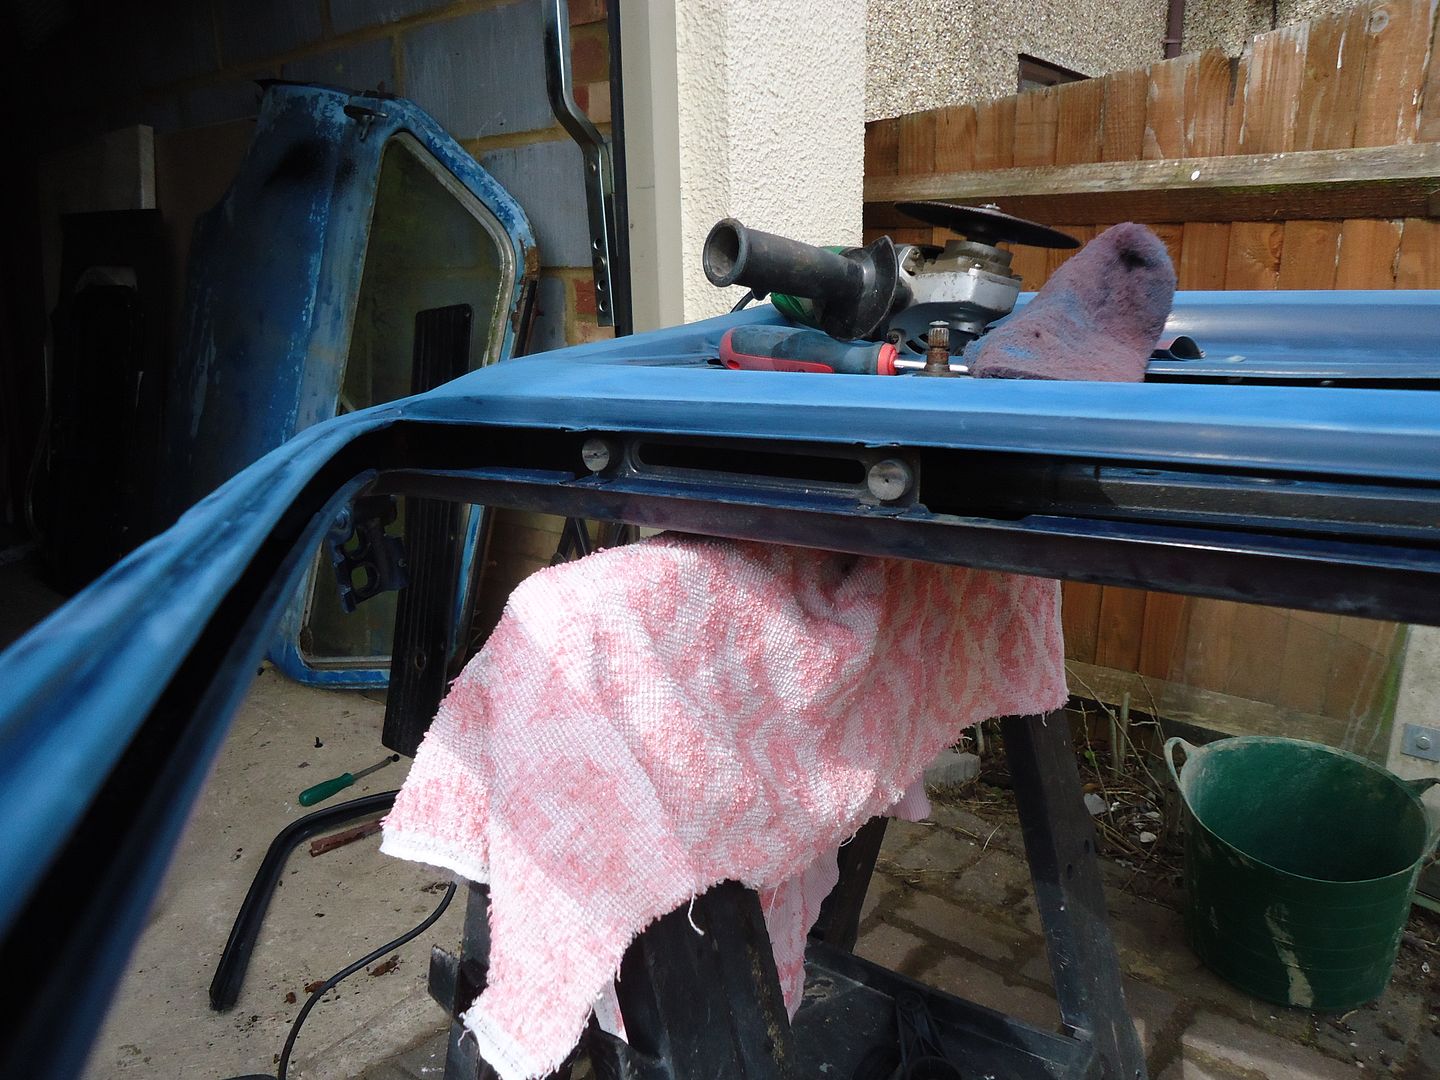
Although the 'Marbella' doors are virtually MK1 Panda items, there are a couple of differences i.ie the 'fixed' quarterlight.
On the Marbella the quarter glass sits on a couple of rubber stop on a bracket welded into the door frame. Of course the MK1 doesn't have this and it get's in the way of the original opening item.
DSC01352_zps7e030b8f.jpg

DSC01353_zps18a4cc72.jpg


So Mr Grinder saw to that. Unfortunately now there isn't anything directly connecting the inner and outer door frames at the top. I will address this in the future, but for now I have to get on.
DSC01355_zps53940ce0.jpg


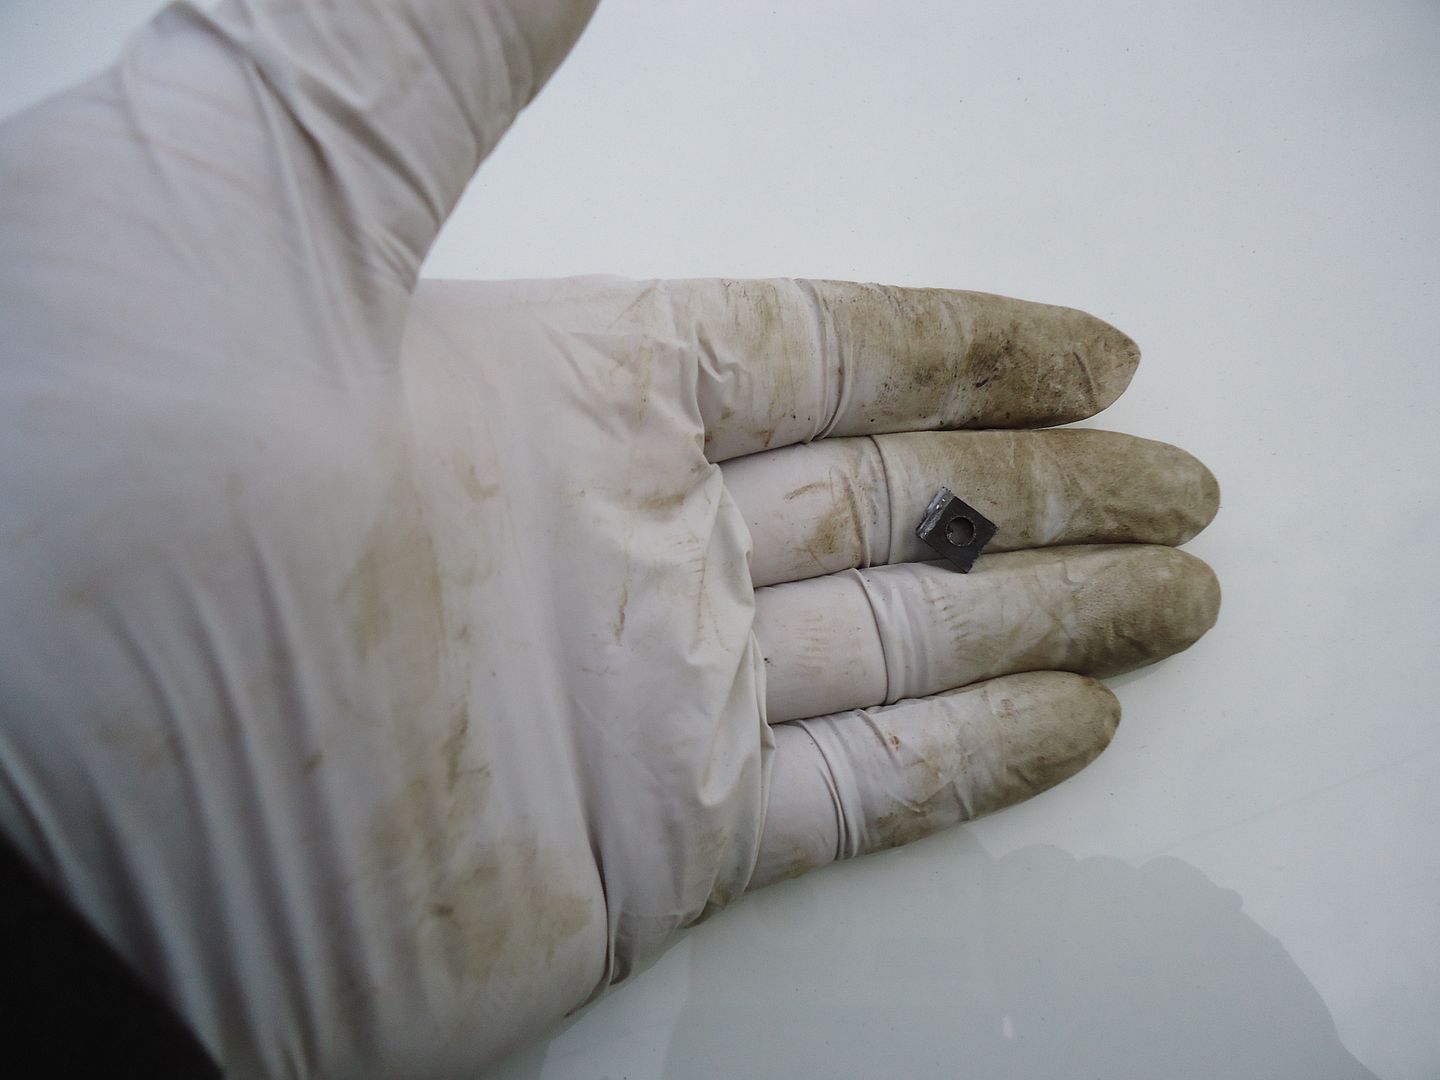
I also had to drill an extra hole for the quarter frame to fix through.
DSC01356_zpse5f140b9.jpg

That is the hole on the right if you wondered. It takes an extra fixing screw


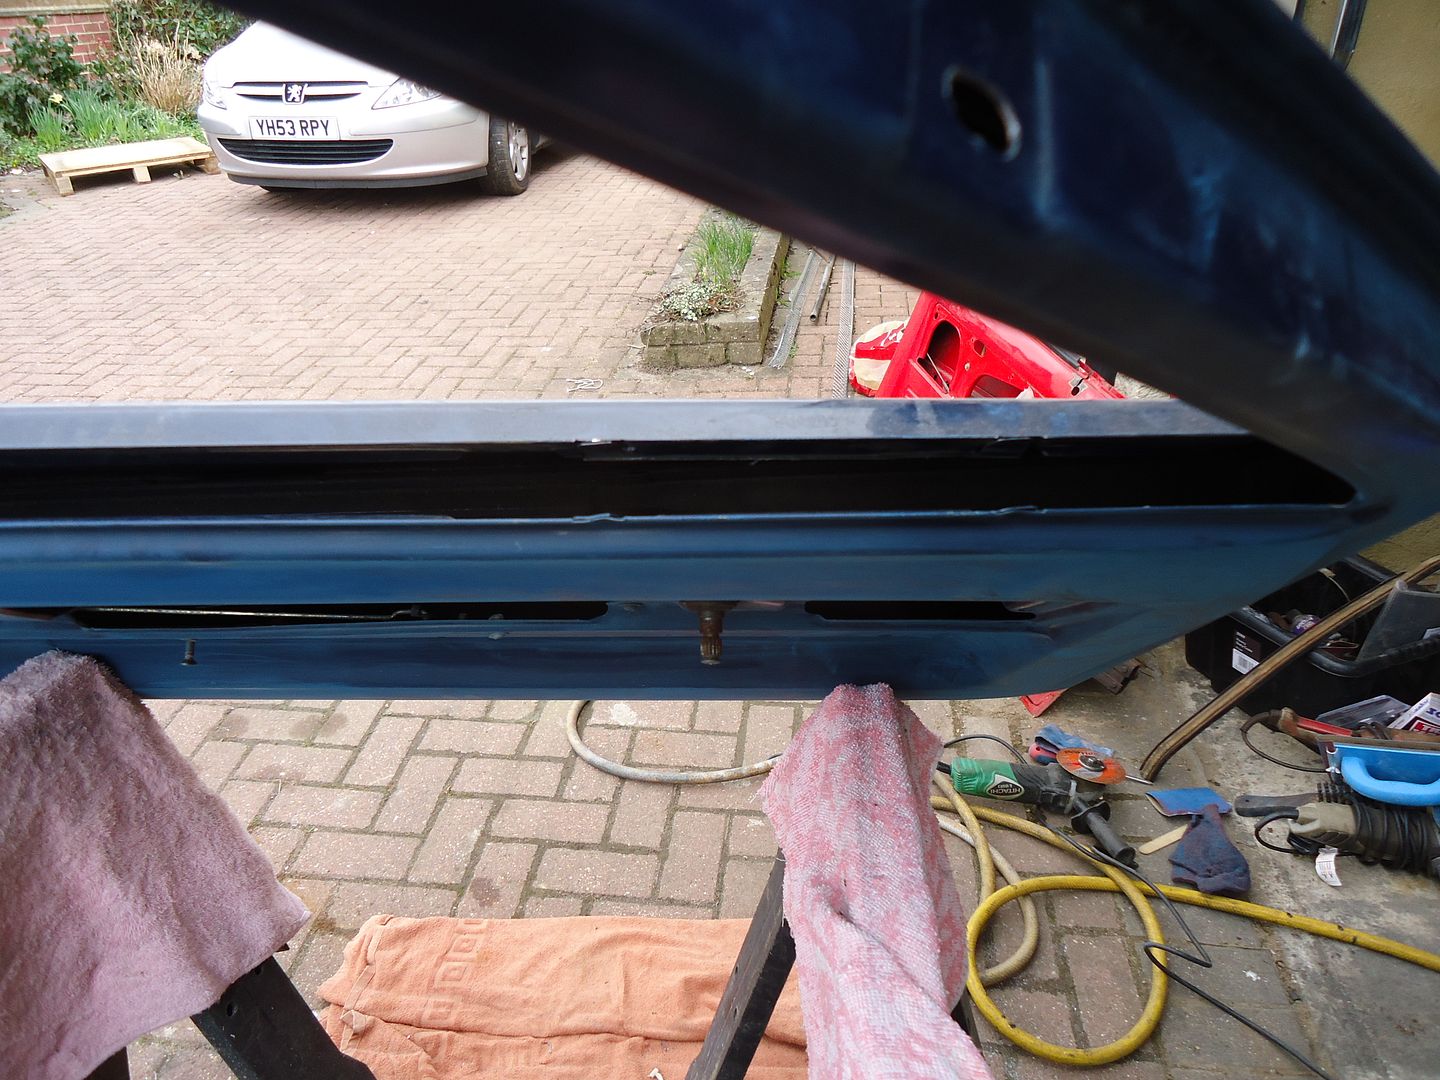
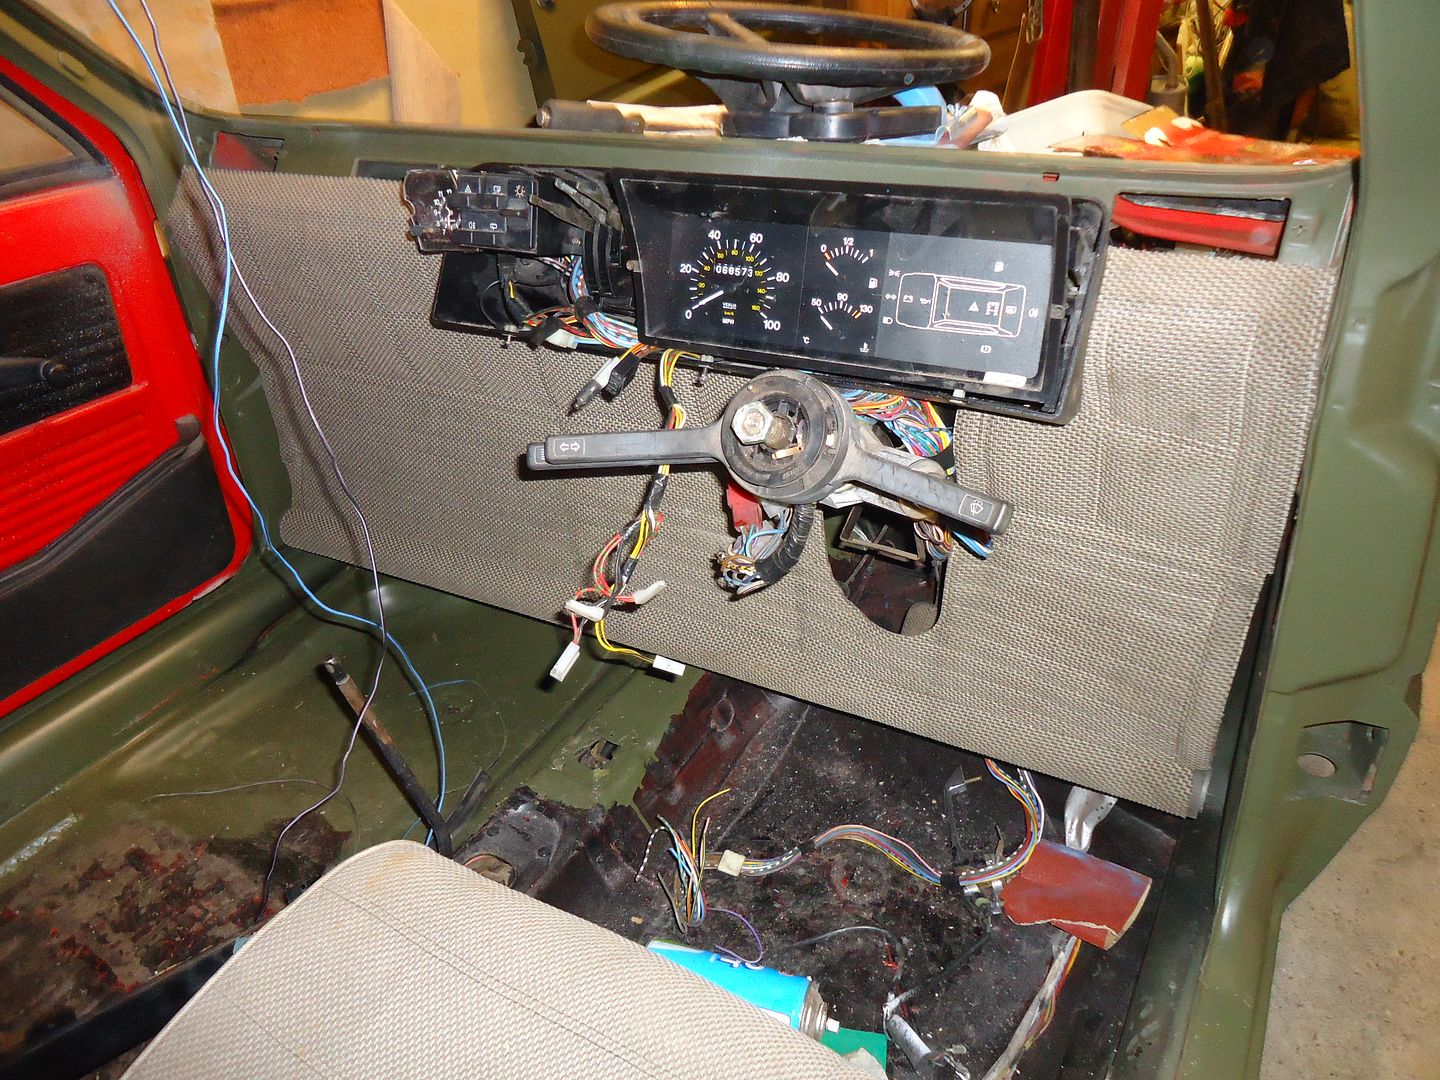
For the rest of the time there was no chance to take any pics.
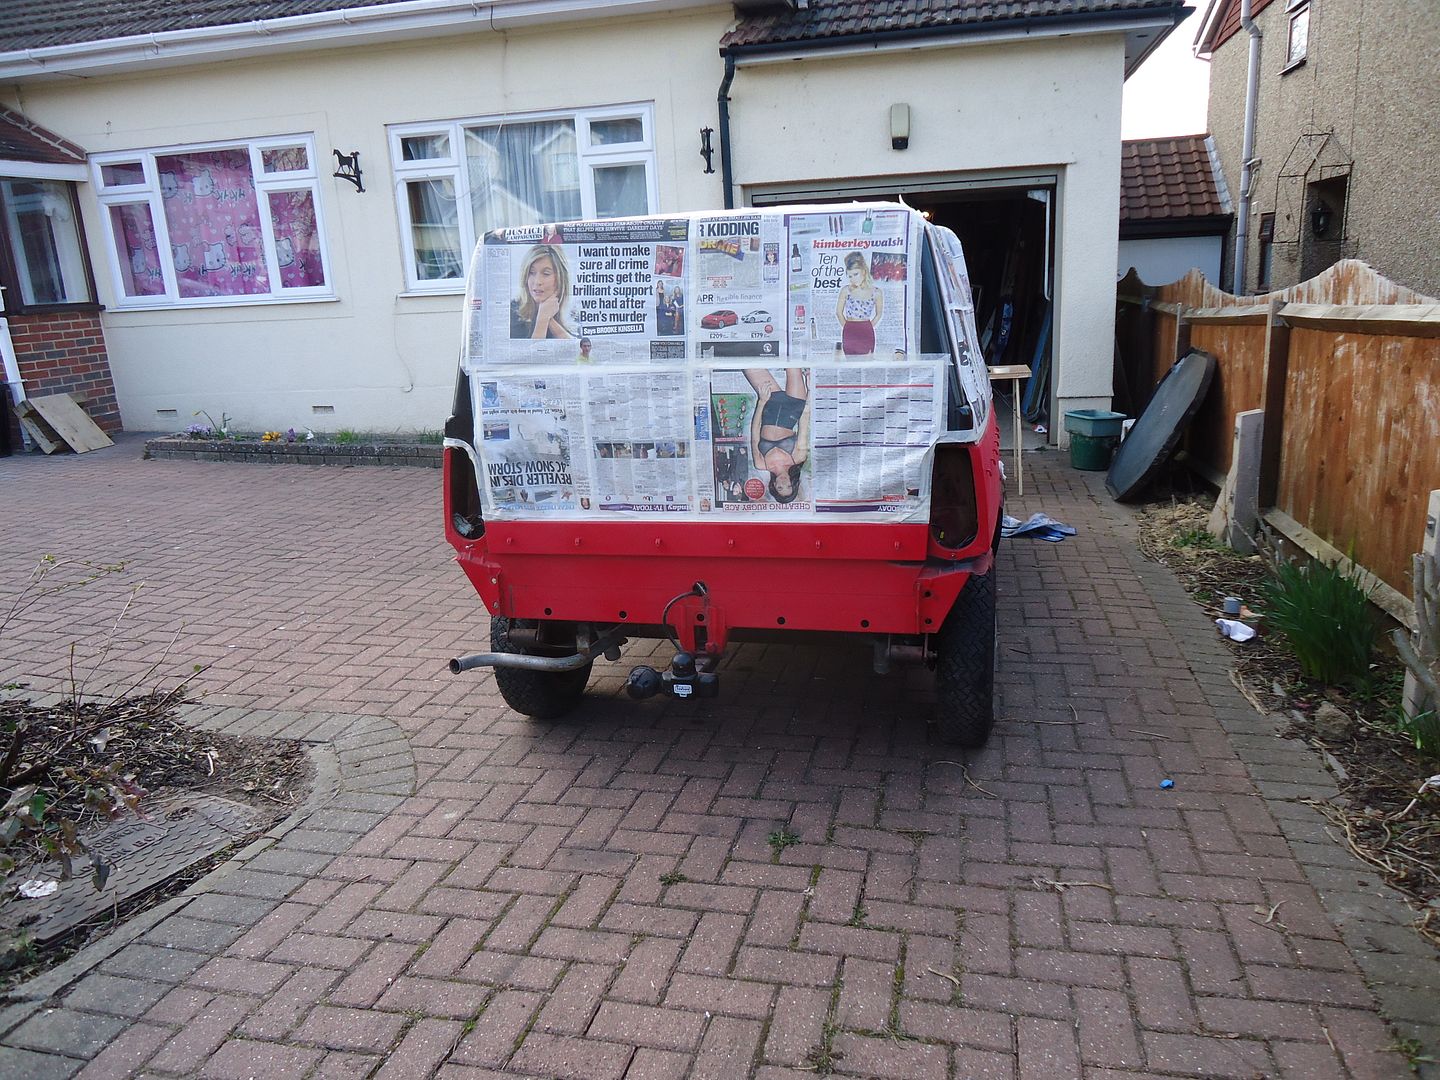
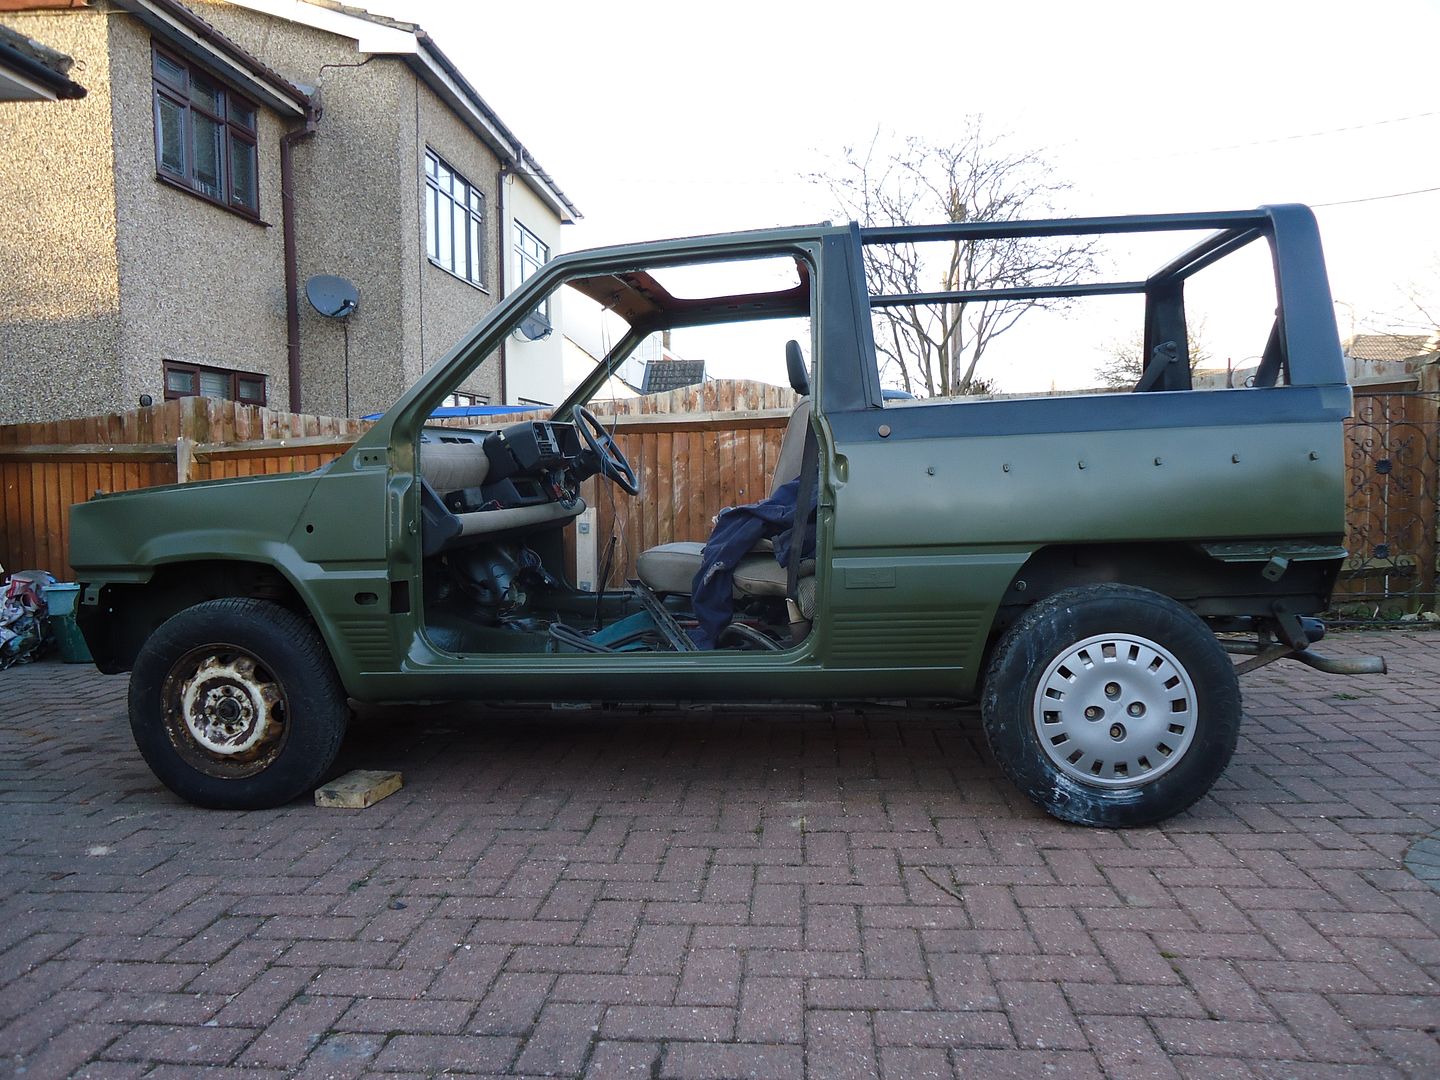
I got both doors done (not the glass changed yet) and at six oclock found myself with two doors hanging (where the car parks) both of which have very, very soft paint. Where is that sunshine when you need it.

So one door moved to dangle safely elsewhere and the other....?

DSC01357_zpse0b3baa4.jpg


And yeah check out the handle. I am soooooo chuffed.

DSC01358_zps2970e9f8.jpg
 
Back
Top