General Seat Panda Terra

Currently reading:
General Seat Panda Terra

Not entirely what your doing but maybe some more pointers on the Marbella write-up here:
https://www.fiatforum.com/members-motors-non-fiat/211200-seat-marbella-mk1-panda-replica-4.html

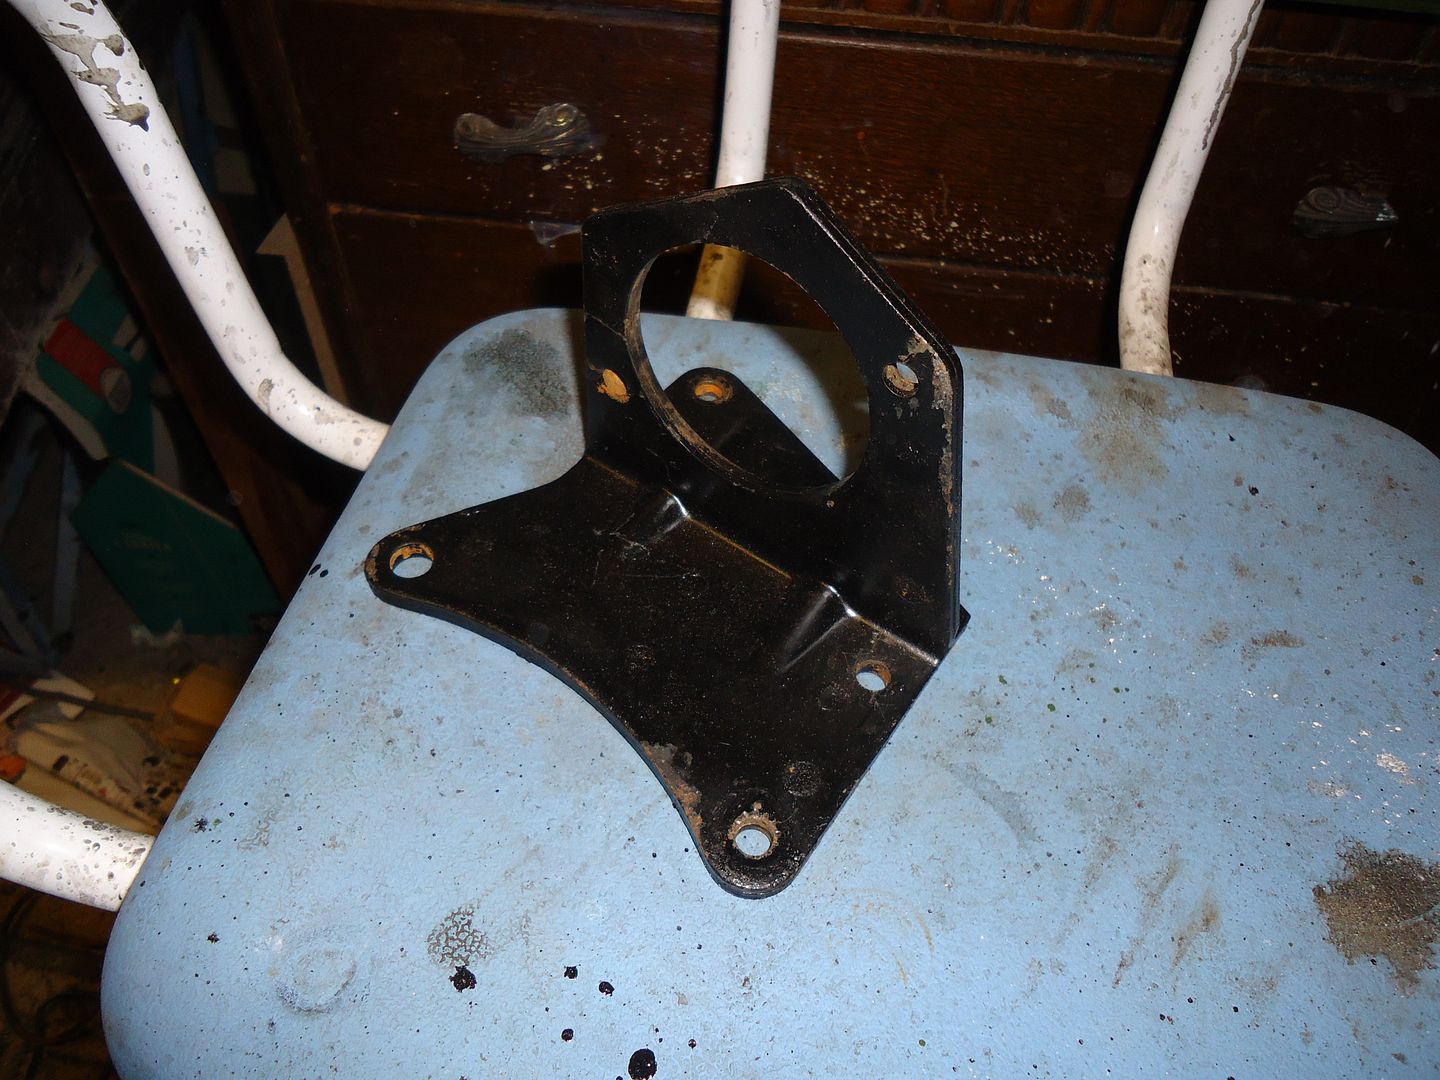
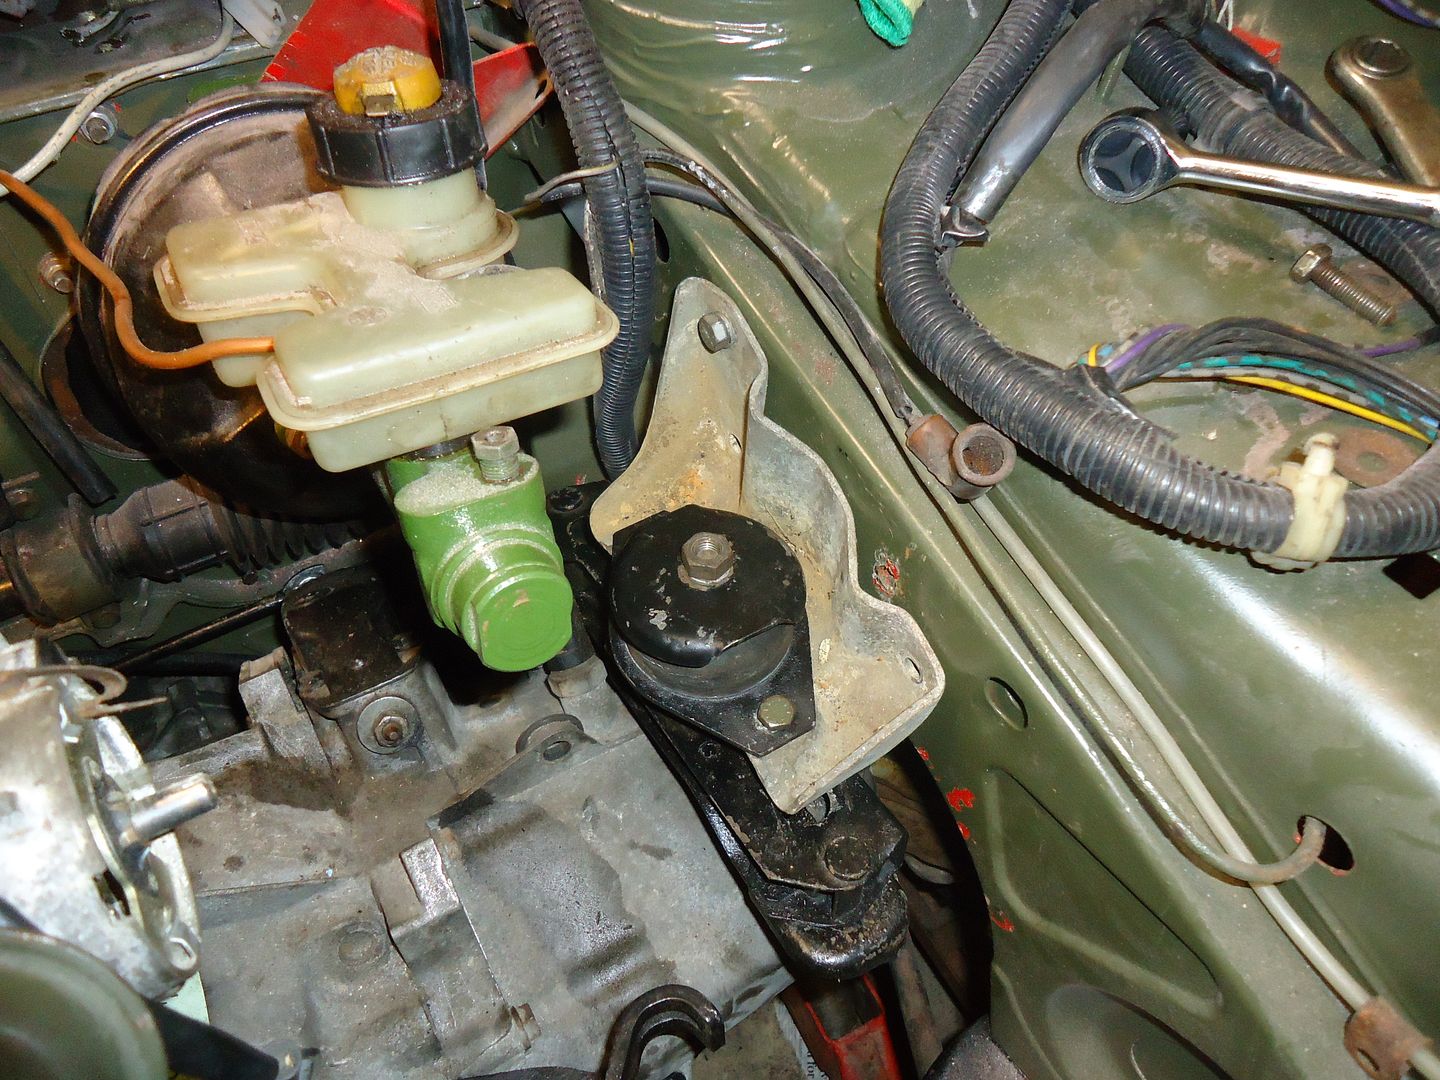
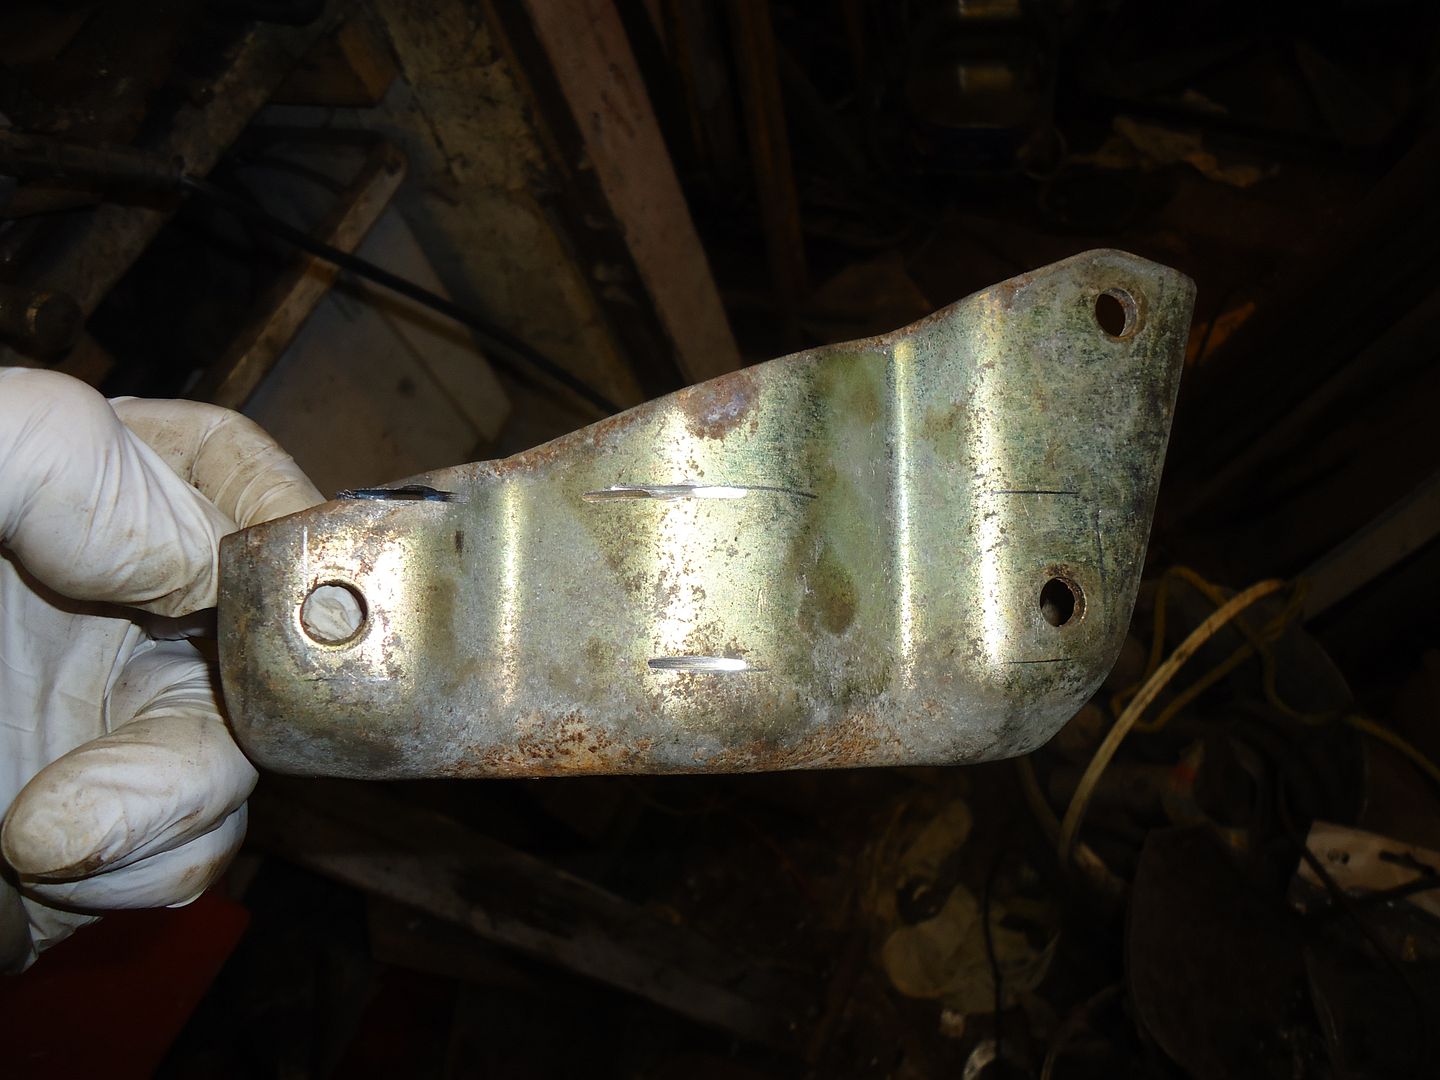
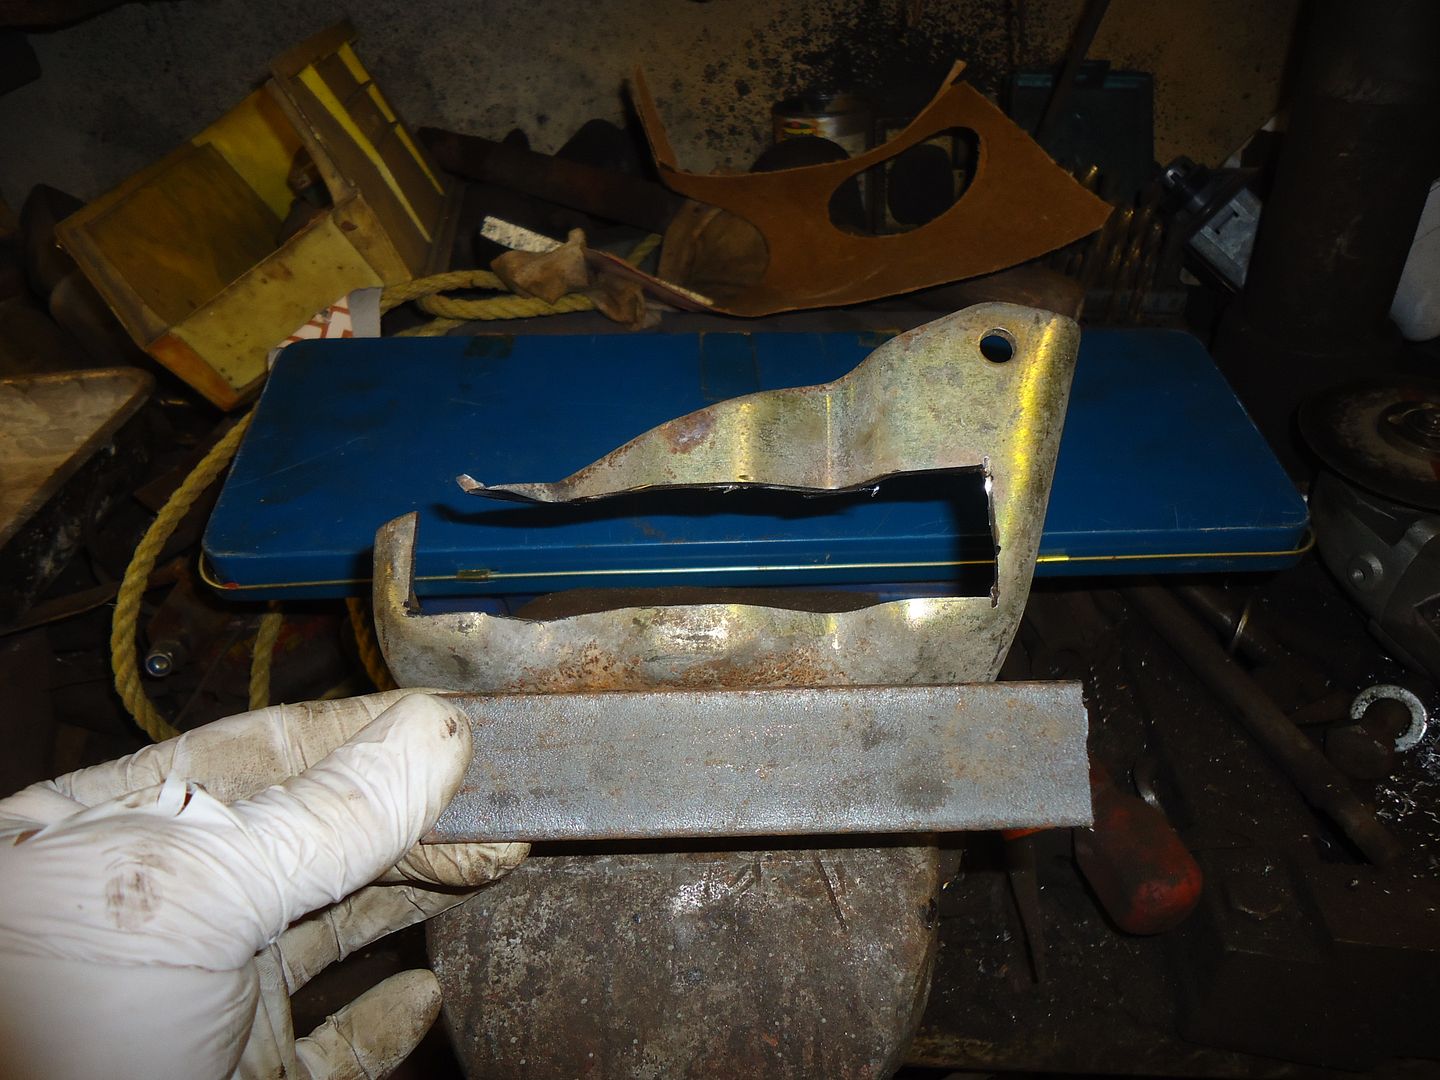
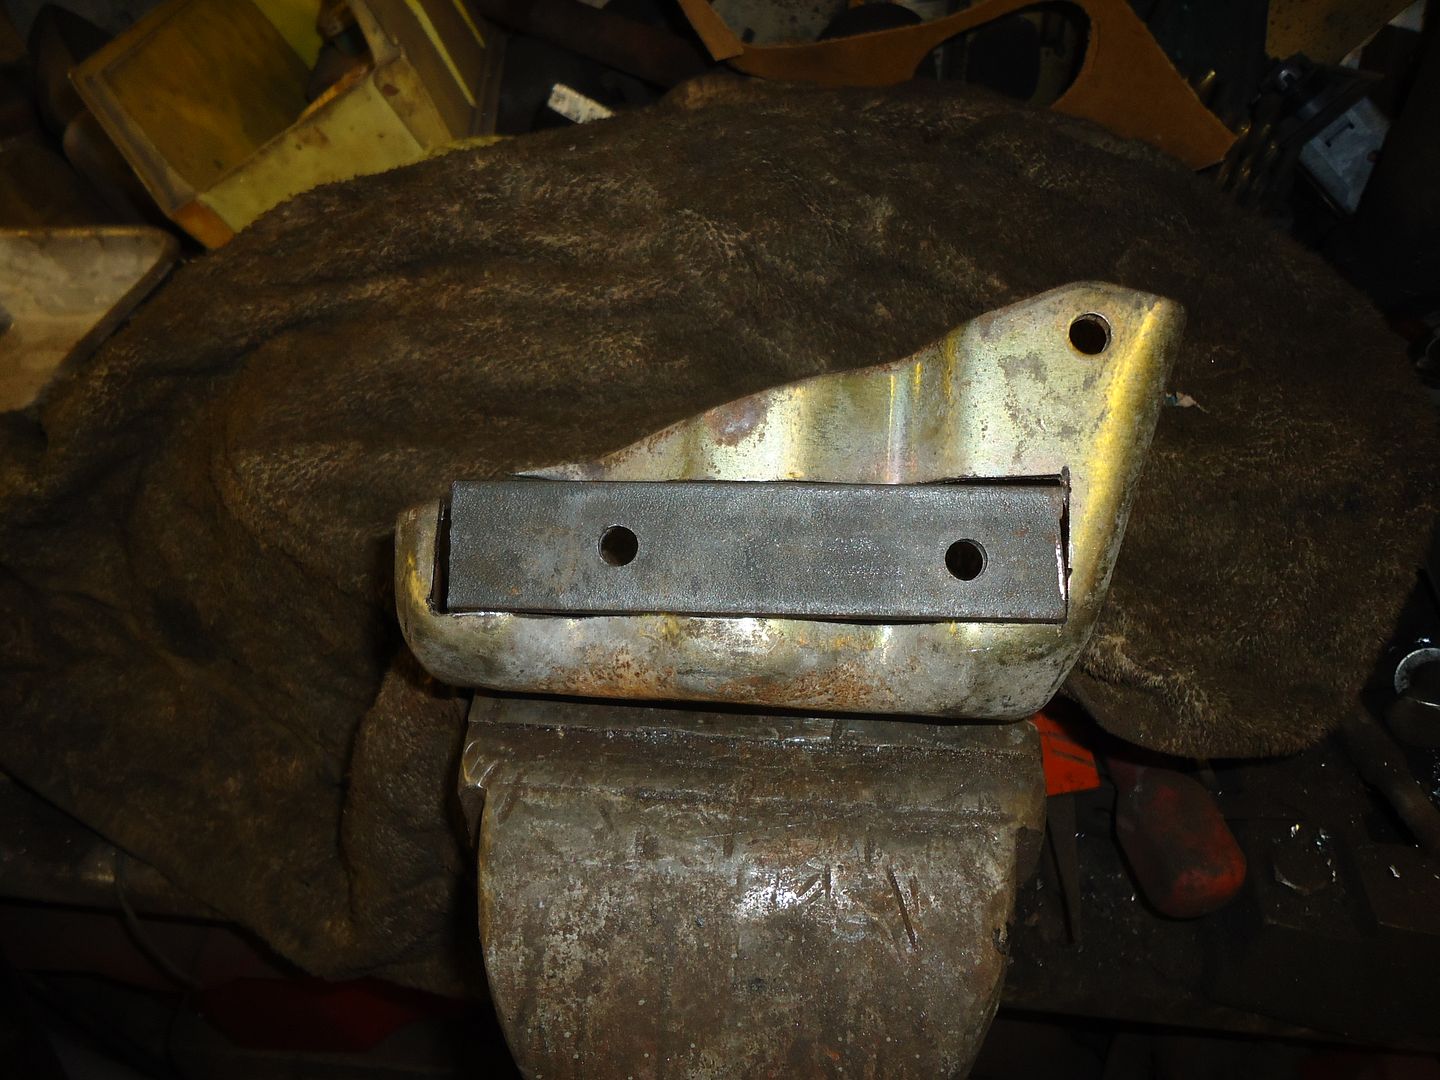
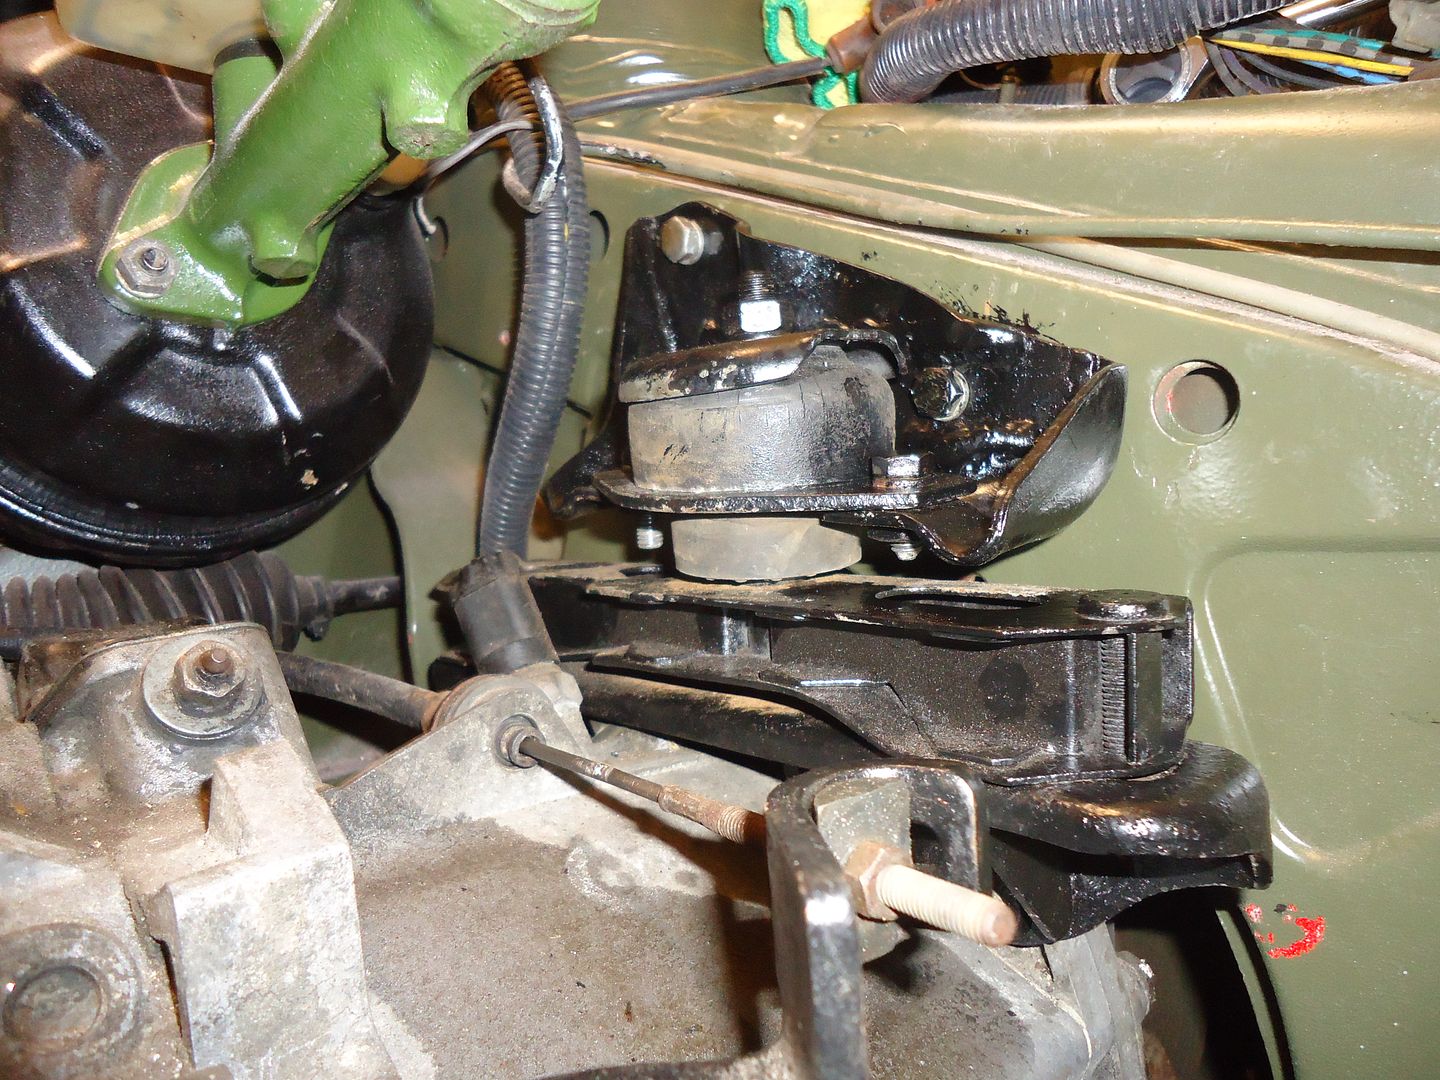
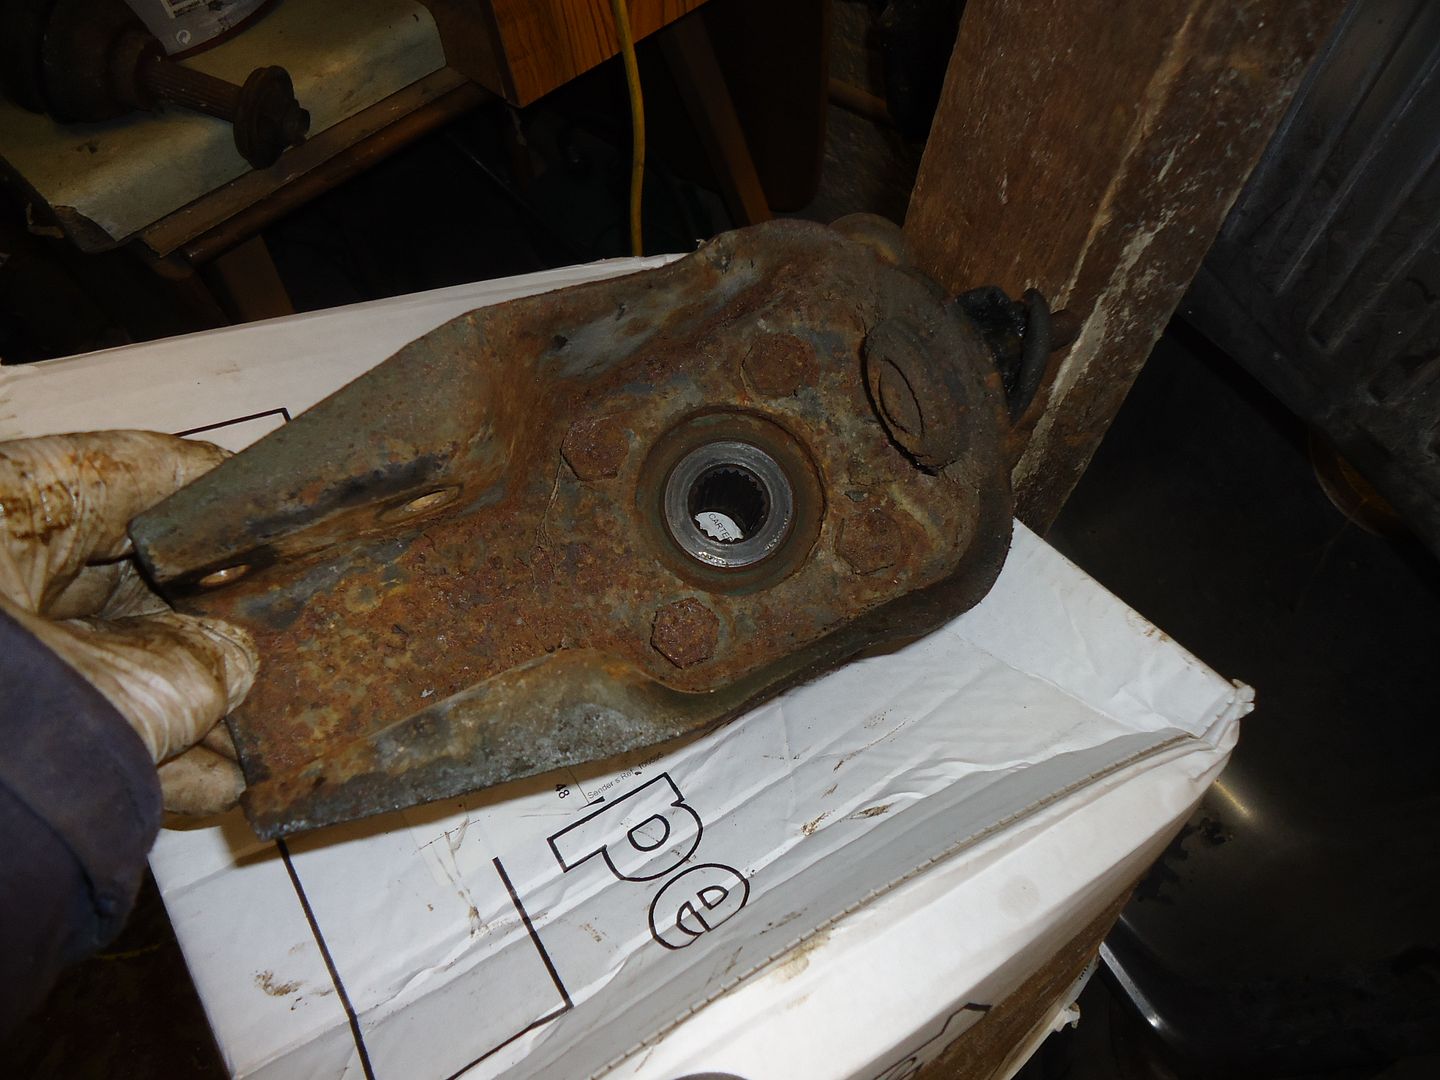
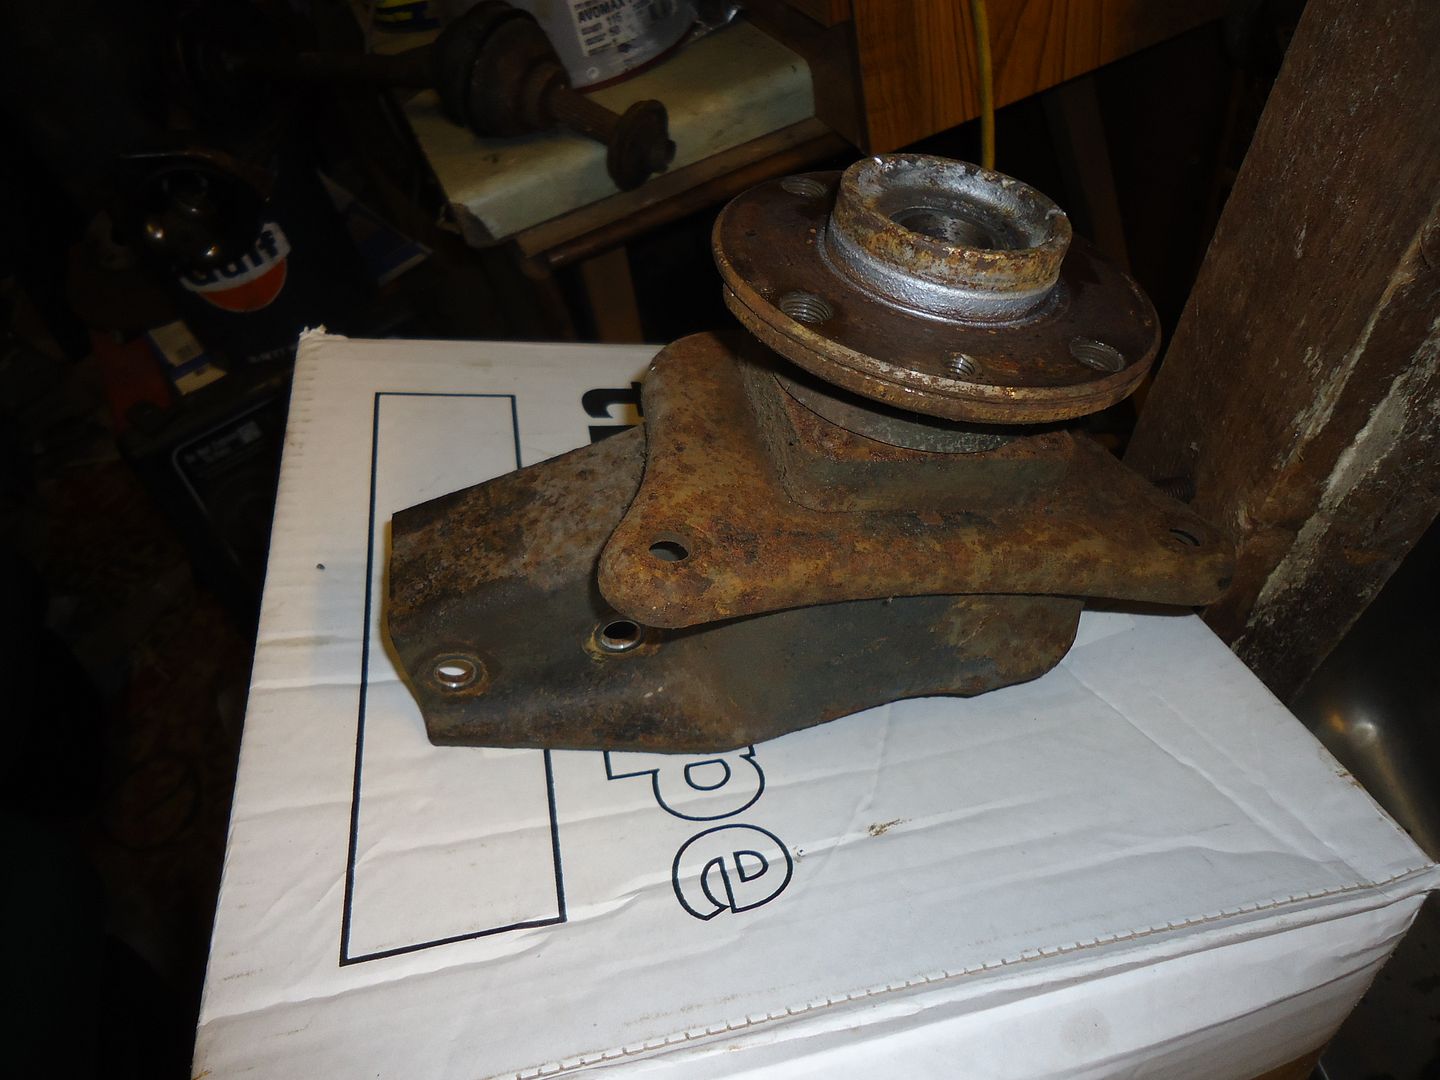
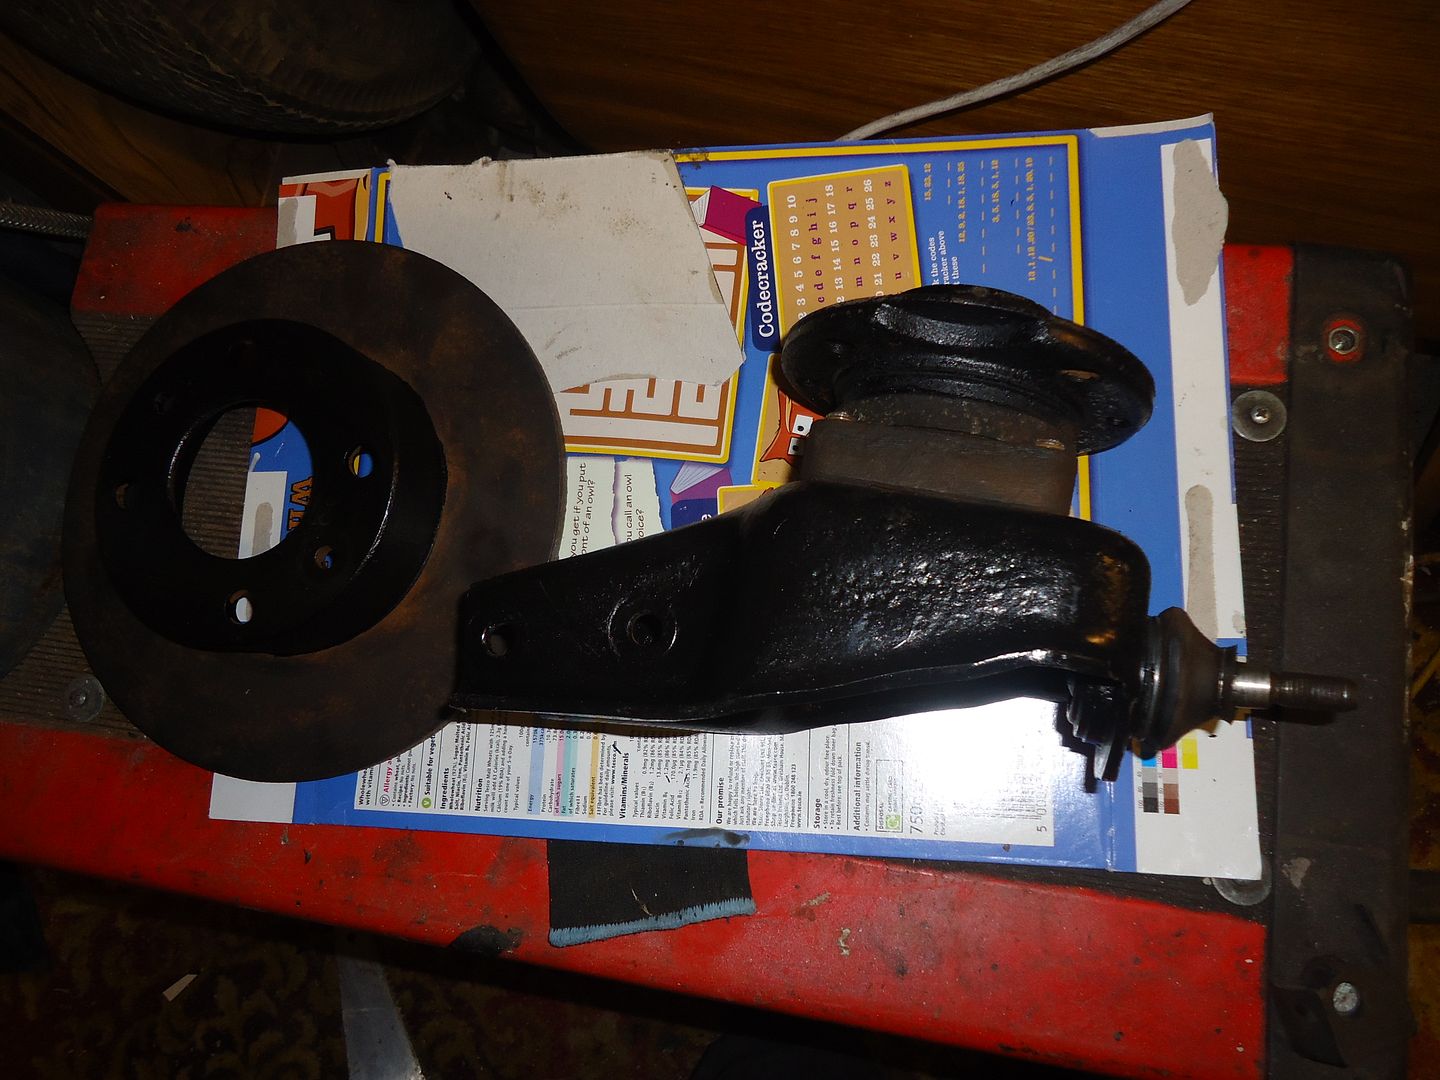
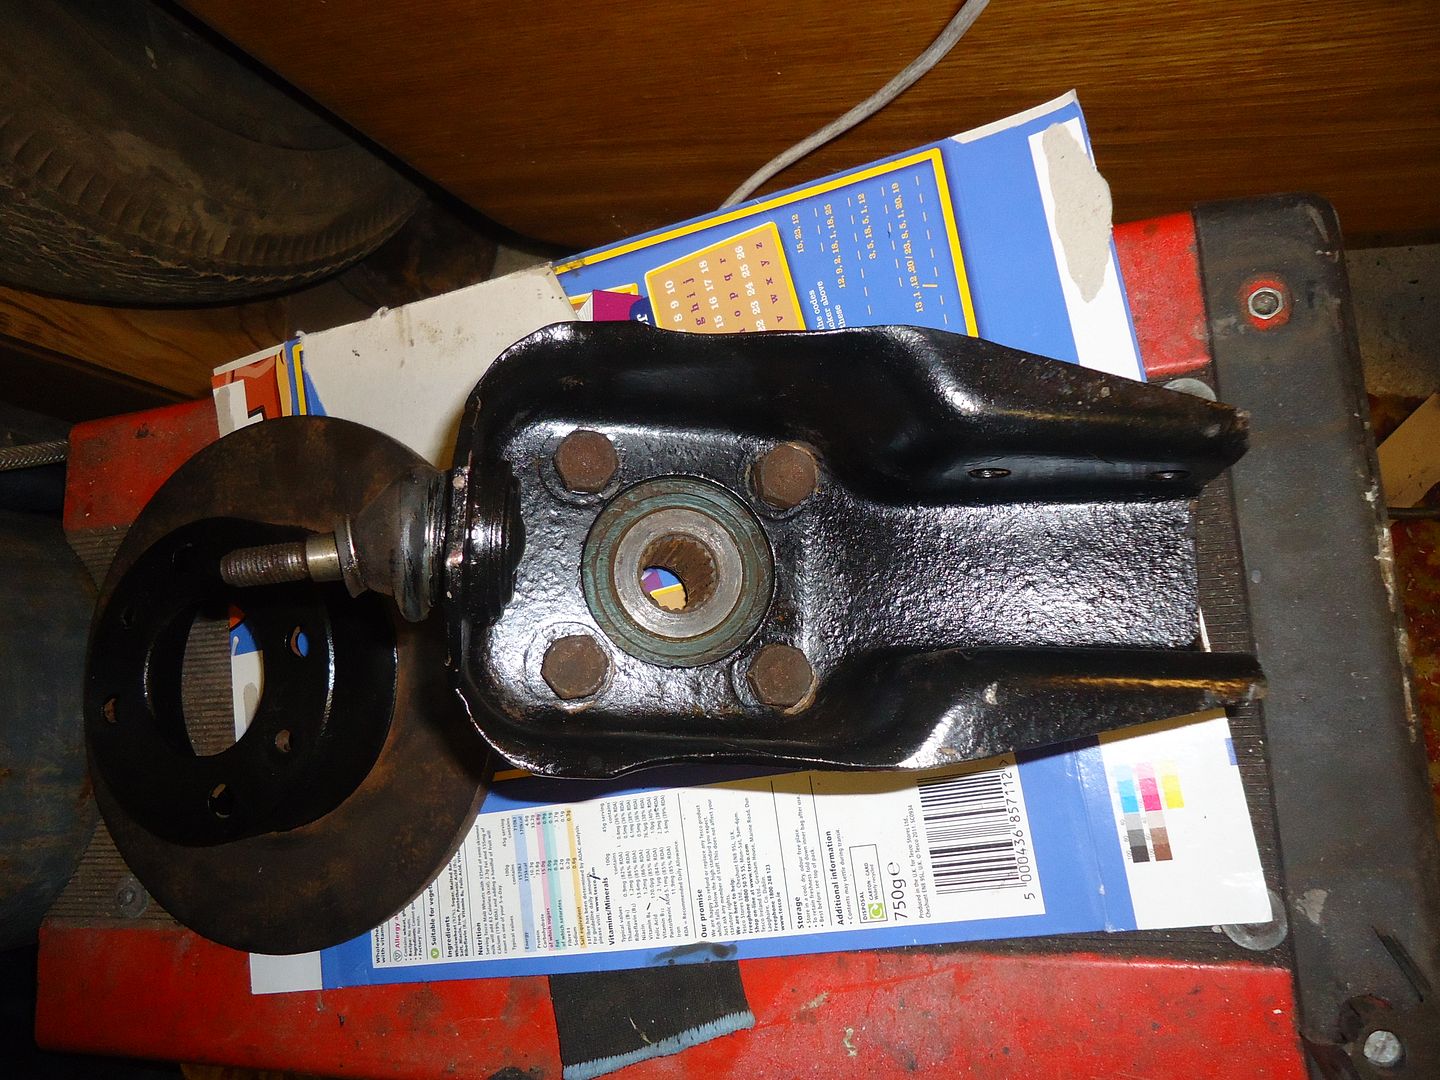
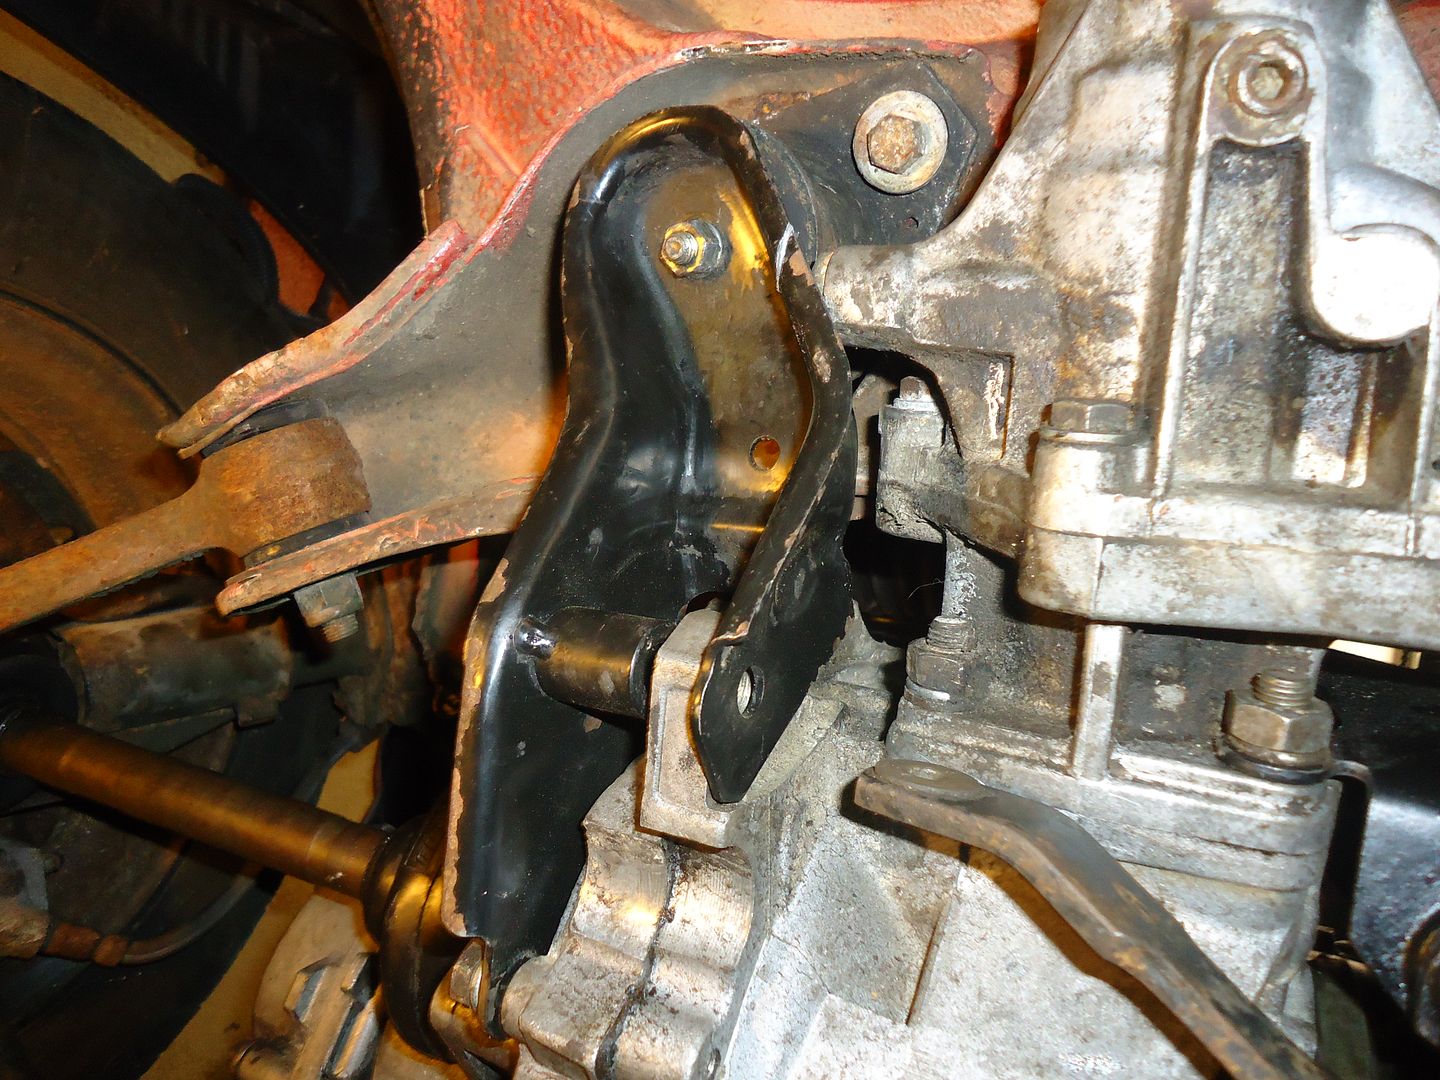
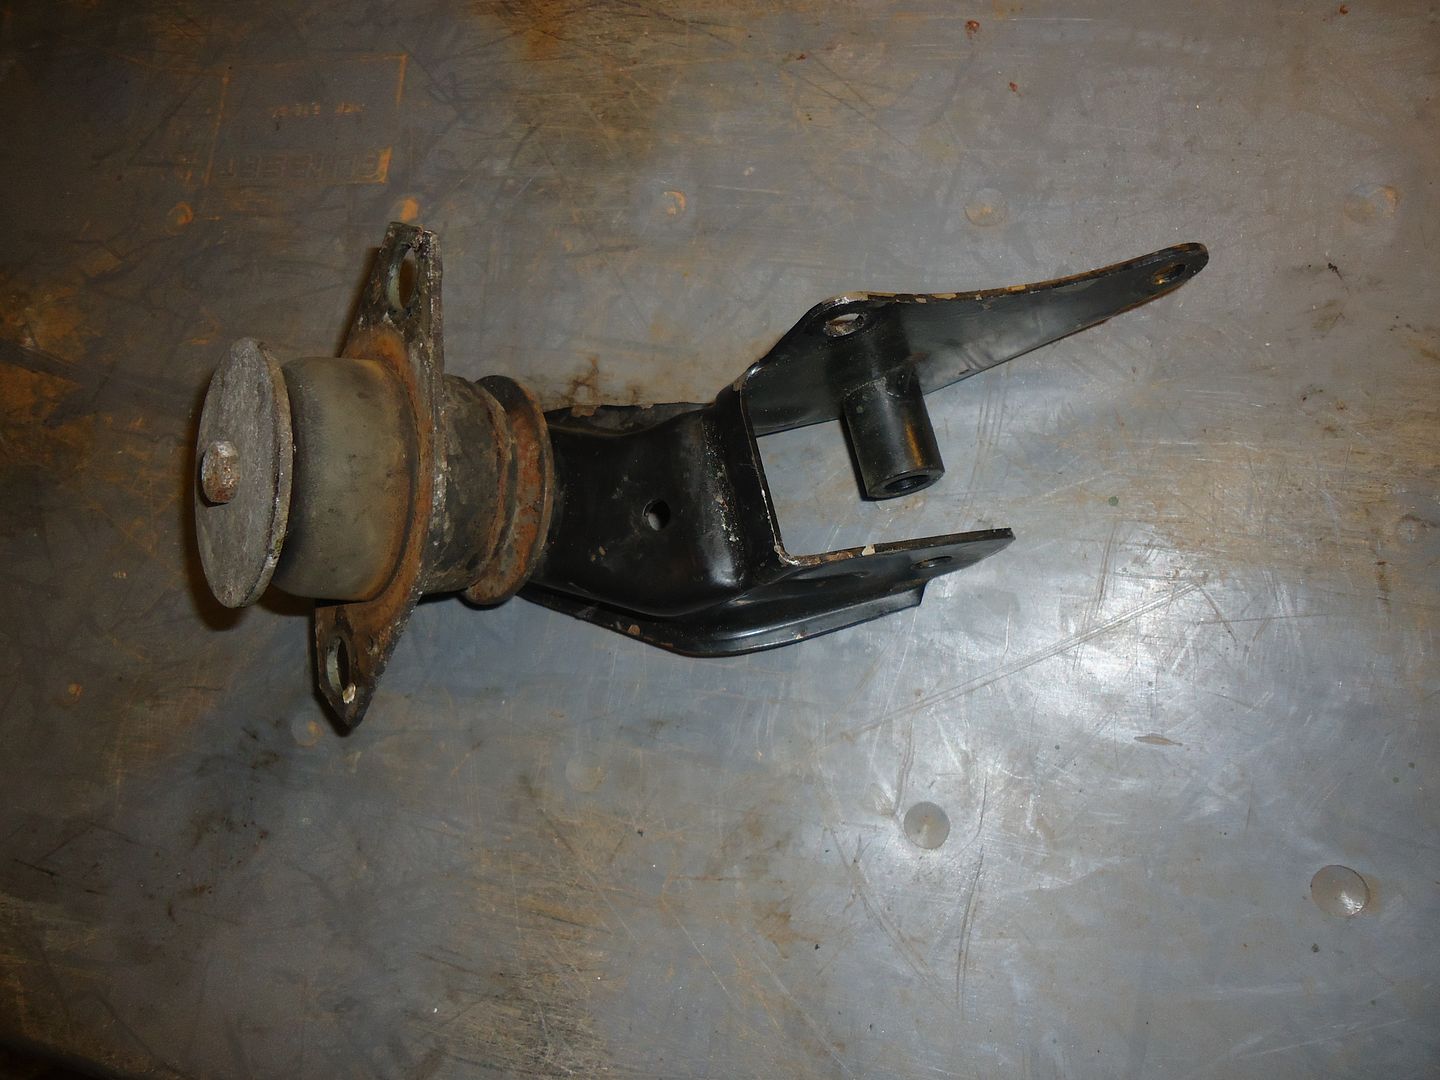
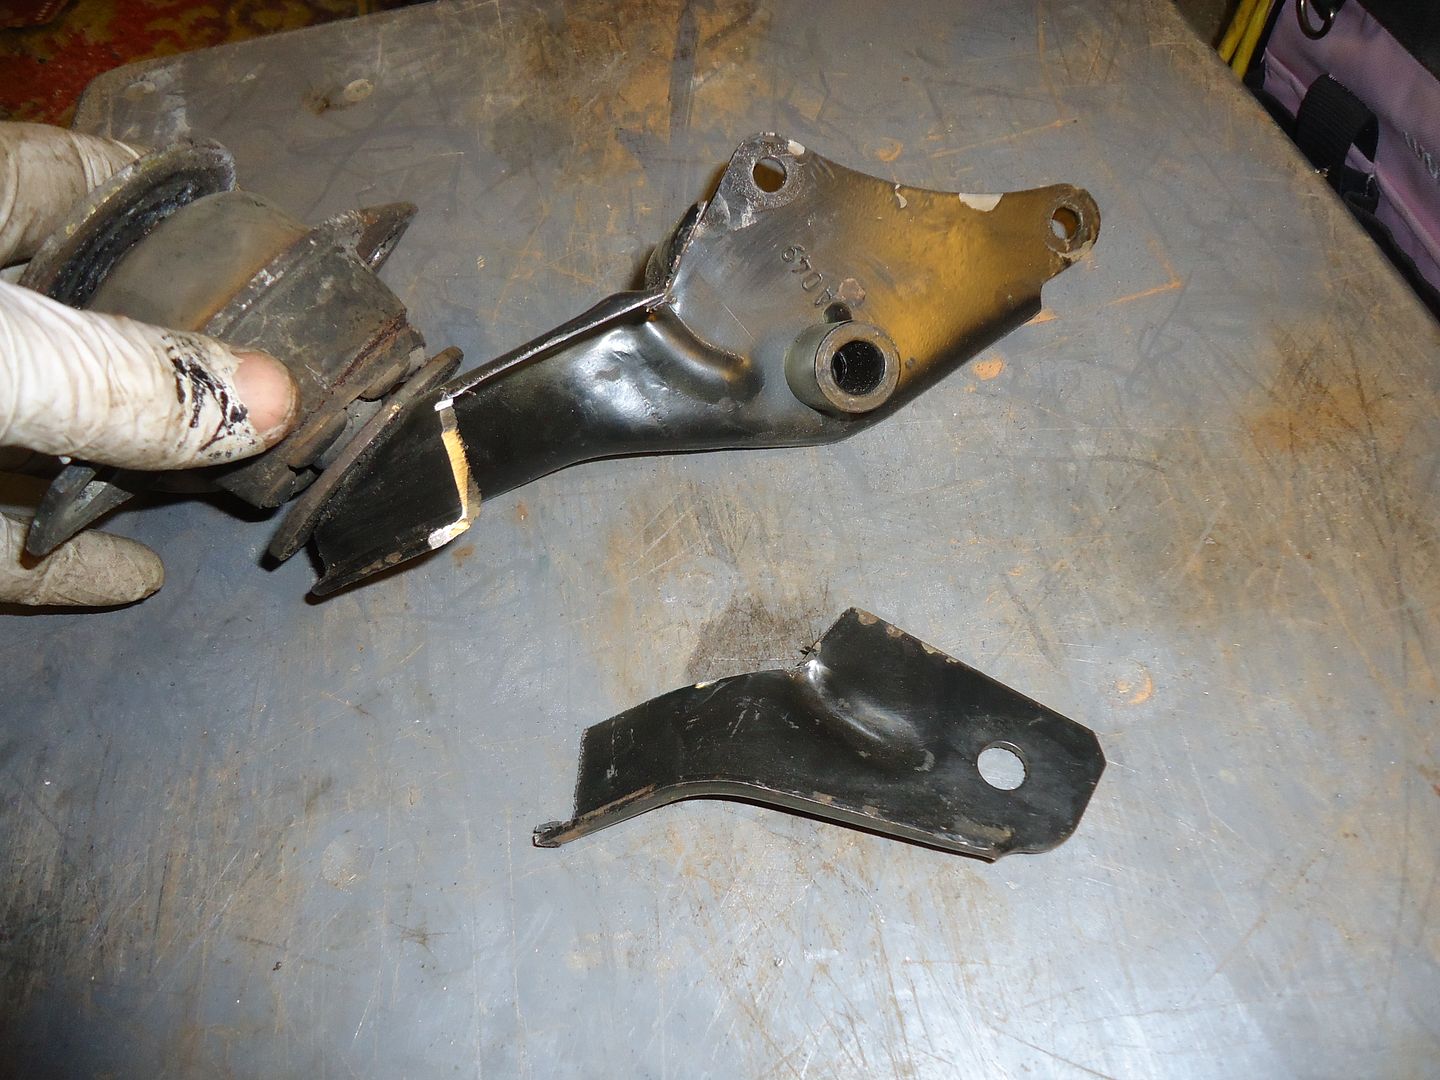
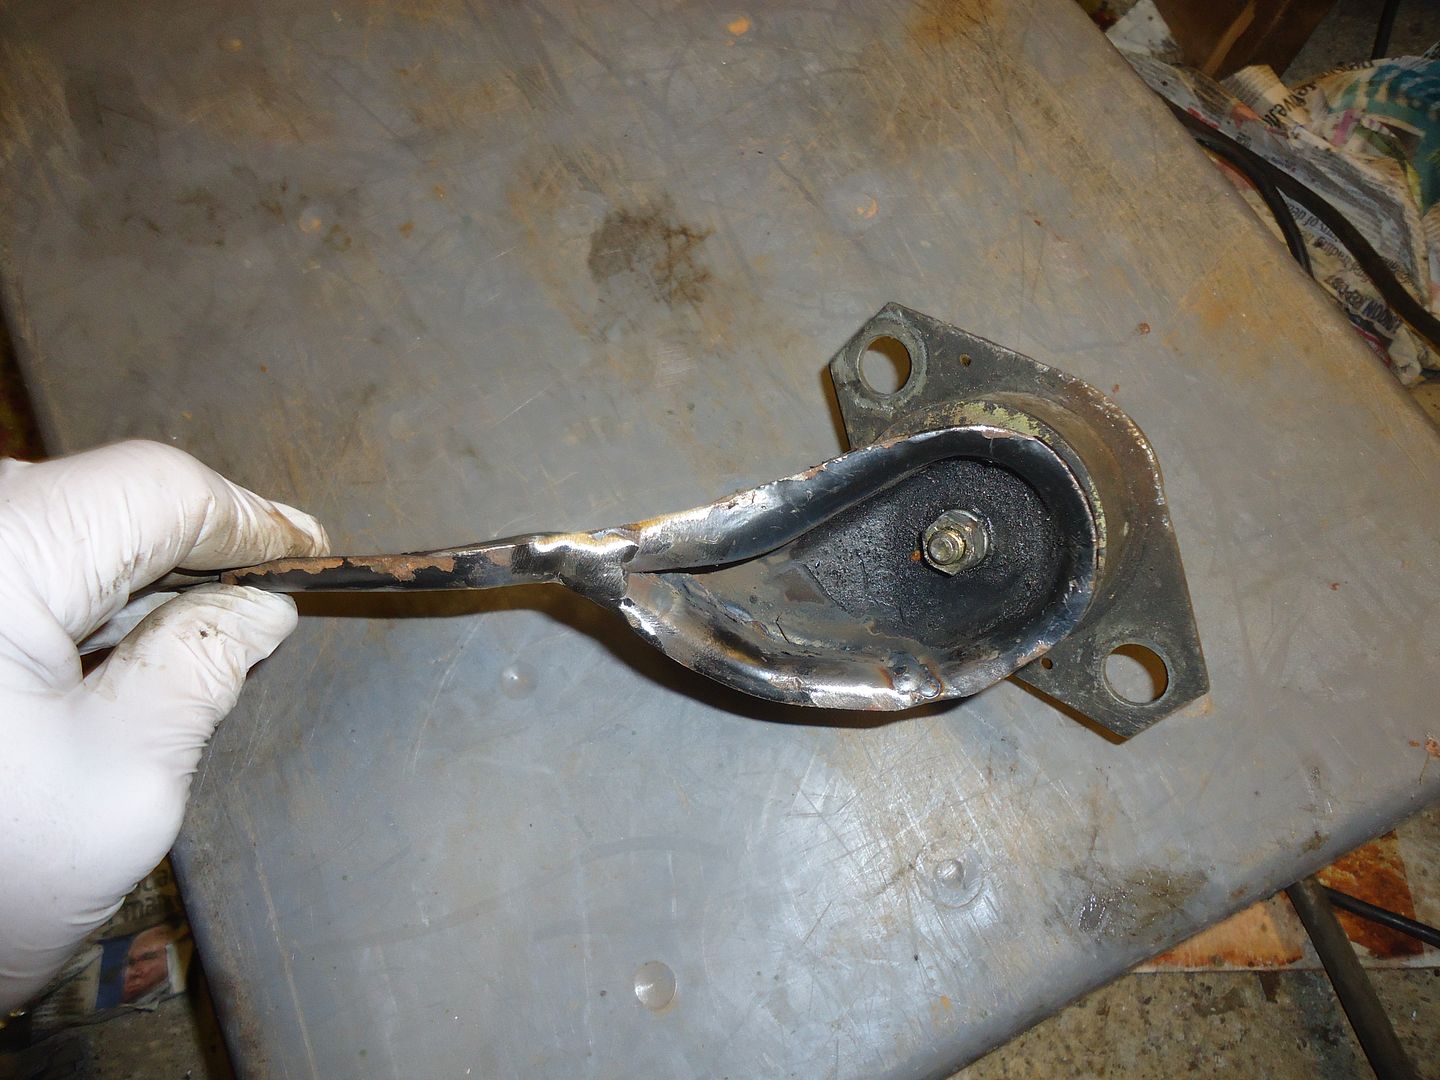
Your engine side mount will be different of course, and you have the added complication of the 4x4 prop shaft but the prop has some flexibility in it's joints so should not be a problem at all. The 4x4 output flange position again will be set by that back engine mount.

Also for some re-assurance this is all definitely possible as I've seen some marbellas for sale as 4x4's (although some of them may have been using mk1 4x4 stuff which would be literally a bolt on job with no modifications required).


Si
 
I'm very excited.

Nothing to do with the Panda but these arrived in the post today

DSC01069_zps26fbe49e.jpg


I've been looking for over a year,put out wanted ads, searched everywhere, almost been scammed by foriegn rascals and bought several from people who believed they were the correct size and it turned out they weren't....

But these are the real McCoy, rocking horse poo, hens teeth, 16" rims for my 1958 Bedford CA MK1.

I know it isn't a Fiat but be pleased for me.

I think I'll keep them in the house for a few days and admire them
 
But I have also had a chance to spend a couple of hours on the Panda.

In keeping with my two steps forward and one back stratagy; I managed to find a nice man who is a habitual Panda breaker.

I don't think it makes him a bad person. Lots of spares and every one he breaks makes it more worthwhile to preserve ours.

I managed to get a windscreen, starter motor and bottom gearbox mount.

The bottom mount was a bit of a result. Mostly they get thrown away but, if you recall I had a MK1 item, fitting this has put the engine in the correct place so that I can fabricate a gearbox mount that will fit both the FIRE engine and the available bolt holes.
Of course I didn't have my camera with me to compare the MK1 and MK2 mounts but; trust me..... They are different
DSC01061_zps4a11ff85.jpg


This is the MK1 top gearbox mount that isn't much use.


DSC01058_zps1f4712a0.jpg


This is the MK2 bracket that locates at the right hieght and in the right place but only one bolt hole lines up; So.........


This is the bracket I want to use with its original (MK2 holes)

DSC01074_zpsa6997446.jpg


So after making a cardboard (cereal packet) template of the existing bolt holes..... I did this............


DSC01077_zps0aad30b1.jpg


And then I did this......


DSC01078_zpsdf71b08b.jpg


Sadly my welder is 12 miles away with the Panda, so this is going to have to wait until some time in the future when I can get over there and glue it all together.
 
Nice, that should work well. Have you found a problem with modifying the mk1 top gearbox mount with a spacer though? Is the position of the rubber mounting hole different from the bulkhead for example?


I just felt that by the time I had re-aligned the rubber mount and found a spacer it would be as quick to modify a MK2 mount.
And I had two of them so it didn't matter if it all went horrible wrong
 
I just felt that by the time I had re-aligned the rubber mount and found a spacer it would be as quick to modify a MK2 mount.
And I had two of them so it didn't matter if it all went horrible wrong

Ok that's good; I don't have to go out and re-check some measurements :eek:

Glad it is all coming together though, sounds like a good idea to modify the mk2 mount. Just use plenty of weld :p I would weld a strengthening brace on the inside to make properly sure the weld isn't going to fail from fatigue though.

Si
 
Another afternoon on the Panda and I'm pleased to report that it all went quite well.
I did forget my camera of course and didn't have any flexible grinding discs, or a 30 mm socket or.....

But the engine is in. That's only taken about 3 weeks !!!!! I welded up the modified mount and all was very straightforward. (Always a dangerous sign)
So briefly; I only had to change two engine mounts and modify the 3rd and the lump just flew into place.
Because or the aggro of fitting the engine, I hadn't bothered putting the driveshaft into the gearbox. It isn't much of a problem the drop the lower joint at the bottom of the front struts and pull the shaft(et al) enough to get it to engage.
Well that is if you haven't fitted the exhaust front section and now the driveshaft is underneath it.
I Unbolted the hub mounting and heaved the lot out; only to discover that the rubber boot had been torn on the bottom swivel joint.
Bizarrely I had bought a couple of new ones recently. Stranger still was the fact that I found them.
The driveshaft outer boot was in a sorry state, so it made sense to change it now...... But I didn't have anything 30mm to undo the hub nut.
I decamped back to my own shabby shed and despite finding what I had done with my air ratchet it staunchy refused to work at all. Presumably condensation; the bane of air tools.
Ultimately I had to cut the nut off. Brutal yet effective.
While I had the hub apart I fully stripped it and gave it a clean up and paint.
All being well. I hope to get a chance over the weekend to get the shaft, hub etc back on the car.
Amazing to think thsat I've spent all that time to get the engine in and then immediately have to remove some other major item...
Oh well.... Stops me getting bored I suppose
 
So where was I.?

Oh yeah pics.


DSC01122_zpscfcc7754.jpg


DSC01120_zps683c3ad4.jpg


Not the best I'm afraid and the bracket is a bit messy (no grinding discs) but it works fine.

And I stripped cleaned and painted the hub carrier

DSC01126_zps075a9847.jpg

DSC01125_zps7e7abb8c.jpg

DSC01124_zpsef59e41f.jpg

DSC01123_zpsc395c0e7.jpg


Of course you've imediately noticed that I reassembled the hub carrier without fitting the brake caliper mount.
I only realised once I had bolted it back on the car! The mount was 12 miles away where I had left it.
So that was Friday

I had an afternoon today where I remembered most bits. Changed all the driveshaft boots, remounted the discs and calipers and couldn't find my reel of copper brake pipe to finish making the last line from the pressure regulator to the rear axle.
Oh well; keeps me out of mischief
 
Oh how we laughed. Just spent an hour writing up a post and it deleted when I hit 'post'.

OK let's try again.

A fairly sucessful day. Filled the engine and box with oil. Engine easy in that way that you can only add a thimble full at a time.
The gearbox was trickier as I had forgotten my big allen key. After a couple of failed to start ideas I weld a wheel bolt into the level plug and it came out really easy.
Next up was the gearchange rods. The lever shaft had lost it's end where it passed through the gear lever. I added a small piece with a hole for the split pin, trimmed both pieces at 45 and filled up the corner with weld and loads of heat so that it doesn't crack off again.

DSC01136_zps9ae7170c.jpg


DSC01135_zps4b5e9dbf.jpg


As I began to refit this piece I notice that it would foul on the lower/bottom gearbox mount.
This is the bracket that I bought second hand a couple of weeks ago#

DSC01137_zps96f4da14.jpg


Modification was desperately required

DSC01140_zpsd6db2758.jpg


DSC01141_zps58550554.jpg


DSC01143_zps136be47b.jpg


DSC01144_zpsc1dc224e.jpg


DSC01145_zps21a1db02.jpg


It's now a snug fit and clears everything. I have no idea if it looks anything like the original but it works.

So my attention turned to wiring. I am using a 4x4 right hand drive loom.
I don't seem to be able to find any information re: 4x4 Panda's.
So currently I am scouring various wiring diagrams in an attempt to understand solid state coils.
Oh yeah and the alternator turns out to have a fault to earth. As it is the only one I have then this is looking like a £70 rebuild.
Just lucky I guess.
 
Just as a quick recap:
This is a MK1 Panda with pretty much all of the item specific to that model thrown away.
Engine, transmission, wiring loom, seats, plus ancileries are all MK2 and are in taken aparts and in a variety of boxes.
I am also converting it from 2wd to 4x4
This project is in fact a jigsaw puzzle and it has become increasingly apparent that you, good people on this forum, hold the box lid. The picture of the actual finished article

This jigsaw also has random pieces from the MK1 puzzle and a few missing bits for the MK2.

It is all very entertaining, and I have met/spoken/PM'd a lot of very helpful fellow victims as well as all the info provided on this site.

If this all seems a little gushy then perhaps it will reflect quite how impressed I am.
Hopefully some of the bits I post might help someone else as much.
Pat yourselves on the back:worship:
 
Last edited:
Back
Top