General Seat Panda Terra

Currently reading:
General Seat Panda Terra

Well; and I thought........................

This project is pretty much a bare shell rebuild but using parts that have never been fitted to this shell before.

We aren't just talking bonnet and doors here. The steering rack is from another (RHD) vehicle the wheels, engine, glass, electrics, seats, dash, switchgear, gearbox, seatbelts and even the door seals are from another vehicle. The windscreen is (The 3rd) from another vehicle and the rear axle and springs are from another vehicle.

The original (SEAT) seat runners were cut out and MK2 ones welded in, the dash is a Sisley and....... Well the list goes on.

The sole original parts; and the only items not yet removed) on the shell are the front legs and the fuel tank. So.....

I was about to change the front legs this weekend for 4x4 items....

And then I thought "D'you know what..? I'm just going to get it starting on the button" That's not a lot to ask....

It is a runner. I had it running hot wired off a can of gas; but I thought it would be nice to have it going off the key; so to speak.

The only thing holding it back was deciding which of the two fuel pipe was delivery and which was return. Easy..

Sometime ago I treated myself to one of those Vacuum doofars that you can use to bleed the brakes and check things out. All I had to do was to connect it to the fuel pipes and one of the would just pump and pump (the return) and one would pull up fuel. Henceforth known as the 'feed'.

So boldly going where only fools recklessly go, I chucked a couple of gallons of hideously expensive petrol into the tank and pumped (vacuumed) away..

Bugger.... Nothing on one fuel line (return) and holding suck on the other.

F*ck it alnost doesn't describe how I felt and barely covered my moral and finacial investment into Tesco points.

The gas tank..... The one item than didn't rquire removing was going to have to come out. Bo**ux bo**ux bol**.

WD40, undo half a turn, WD40, tighten up, WD40, undo 3/4 turn, WD40, tighten up.

The petrol tank was fitted in 1983 and has recieved no attention since.

Thank christ there are only three bolts holding the gas tank in. And then there are the 2 clips on the petrol fill pipe to hacksaw through and the one (under the wheelarch) on the breather...........

And once removed I had to dump all the fuel in the tank.

Other than that I have had a very successful evening. Thank you for asking:yuck:
 
dont worry.. after your 5th time it becomes easy >_<

yeah them studs the tank is held on with can be a pain. one snapped off talon. fallout was ok.. shockingly.
and the marbella.. well i had the tank off on that 2 days ago to fix the "corroded" rubber fuel pipe.

one thing to prepare yourself for is that annoying breather on the top of the tank.. the way its routed through the chassis of the car then into the tank makes it a nightmare to push it back onto the tank. it will go on but takes some doing.

i'd advise you paint the tank mate.. these are becoming real hard to get.. being as you have it off. may as well chuck some fuel tank sealant inside the tank too.. just to protect it from the inside. did it all on talon's tank. that thing isnt going to go rusty for many many years.

also underseal under where the tank was..? just to protect it.. wont have to unbolt it all again should you underseal it in the future. you know it makes sense :D

good job man!
 
[QUOTE=Dragon Man;
one thing to prepare yourself for is that annoying breather on the top of the tank.. the way its routed through the chassis of the car then into the tank makes it a nightmare to push it back onto the tank.

Yep that is a very polite way of putting it..... "Very annoying"

I laughed....!!:bang:
 
So....... The sender unit pick up pipe was solid for most of it's length; which was probably why I could suck up any fuel at the other end.

I spent about an hour poking some wire through it, soaking it in thinners and blasting it through with WD40.


I tested the fuel gauge operation and the sender is working, which is a bit of a result.

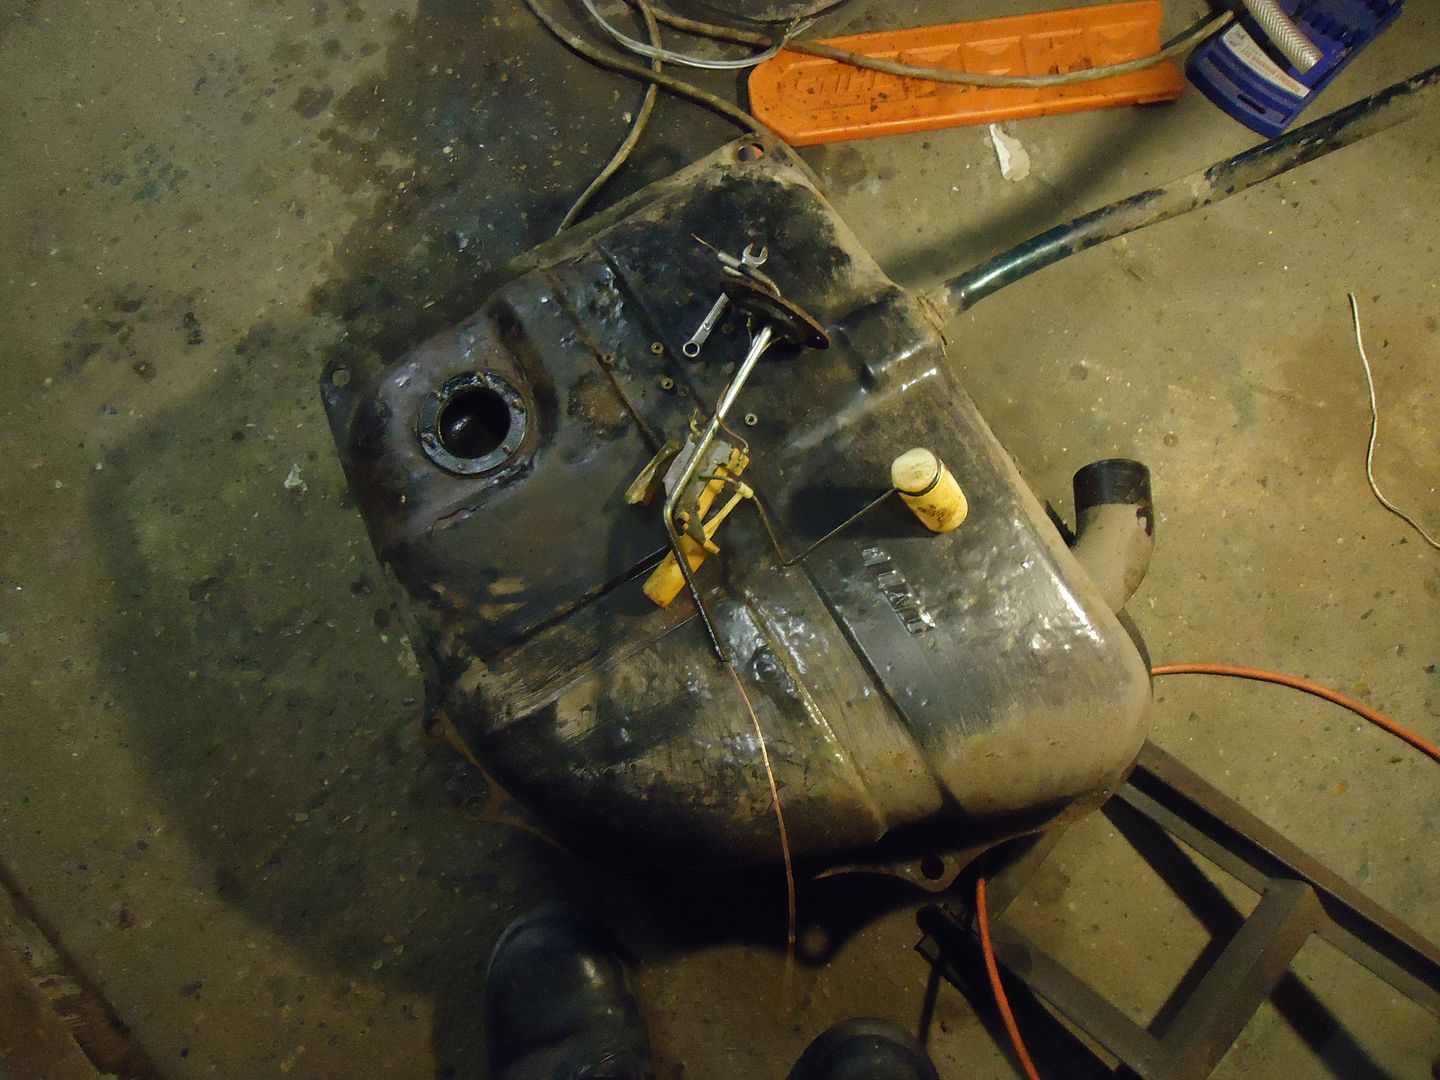
You might have noticed in the pic of the tank that there are one or two suspect bubbles under the paint. That was rust.

I have spent much of this evening taking all the surviving paint off using a rotary wire brush.

Fortunately the tank is still solid so I have sprayed it with 2pack and hopefully I will be able to refit it tomorrow,
I still can believe how much rust there was under the paint.:(
 
I'm managing to maintain my 'Hour-a-day' regieme and actually got a couple of hours in tonight.

The painted tank is now refitted and there are new clips on all the hoses as I had the cut the originals off.

All pretty straight forward really but (I love Panda;s cos they make me smile) I had some fun finding the wiring from the fuel sender.

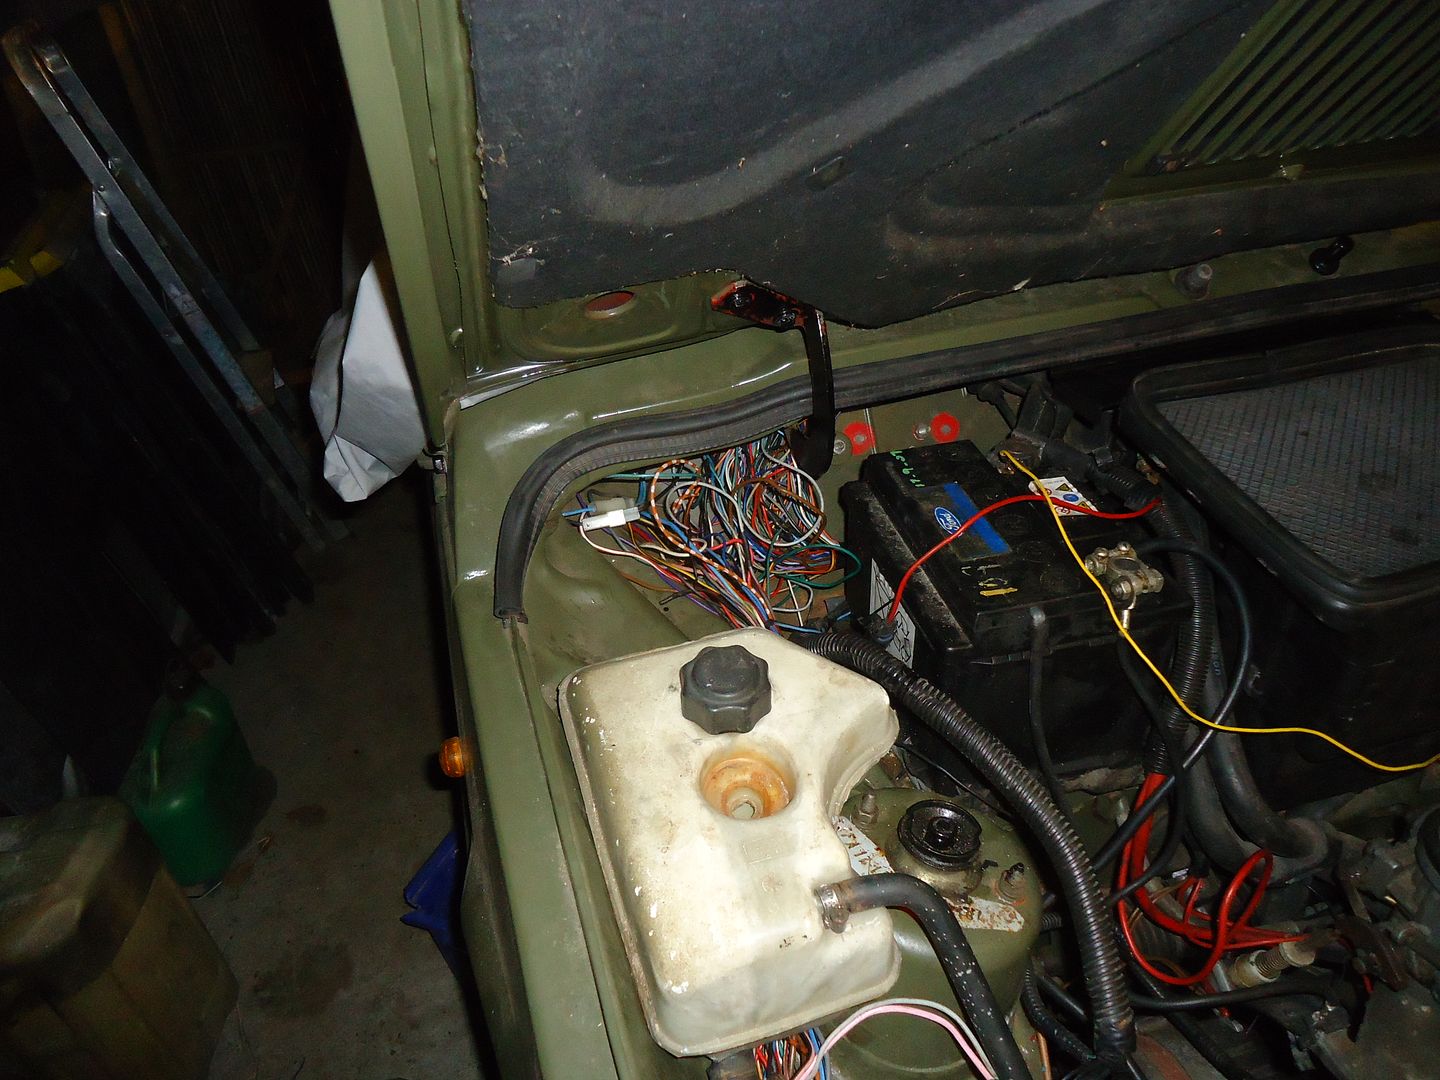
I have said before that there is very limited existing original wiring still attached to the shell but the sender (fuel gauge) wires were there and came from the tank and straight into a nearby box section.
I just couldn't find where they came out.

After a bit of investigation it occured to me that (as this was left hand drive) I might just be looking in the wrong place.

Yep sure enough; inside the car on what is now the passenger side I found the wires.
Presumably the whole loom used to run up the N/S of the car.

I'm hoping to get a chance to play during the day tomorrow so perhaps I can make the final connections on the fuel pump.

P.S John very wisely suggested that I should have sealed the inside of the petrol tank.
He is absolutely right although I will be just taking a chance with an in line fuel filter for now.
 
Sorry, still very light on pics. Mainly doing boring things that don't require photography.

The other day which I had planned to spend playing in the shed turned into 6 hours spents fixing my central heating boiler; which for the record involved spending £70 on parts which changed nothing.

Eventually I fixed it with a zip tie and a walnut.....! I kid you not..

More interestingly; the little Panda is now starting on the key and has the quietest sweetest engine you could possibly wish for. Fingers crossed that it will remain that way.

Curiously, for all the aggro I've had with the electrics, actually running the engine found some more gremlins.
The panel went nuts. Rather than the charging light going off when the engine started suddenly everything came on including the panel light illumination....
That was the 4x4 dash which I was keen to use. However; doing nothing other than fitting 'Purple Ronnies' (injection) dash everything worked perfectly.
So I guess that's the one which will stay on it then.
Next step is to drive the little car up the alley, turn it around and bring it back into the shed so I can change the front suspension for the 4x4 legs without getting rained on.

If anyone can think of a part which I haven't stripped or changed yet then don't hesitate to mention it; although I have a feeling that 'fate' may beat you to it(y)
 
Wow; successful drive of about 40 feet...!! Under it's own power and everything.

All the stuff that people told me about 1st gear being very low was right.
I drove the first few feet in third and then successfully selected 1st and wheelspan the rest......!

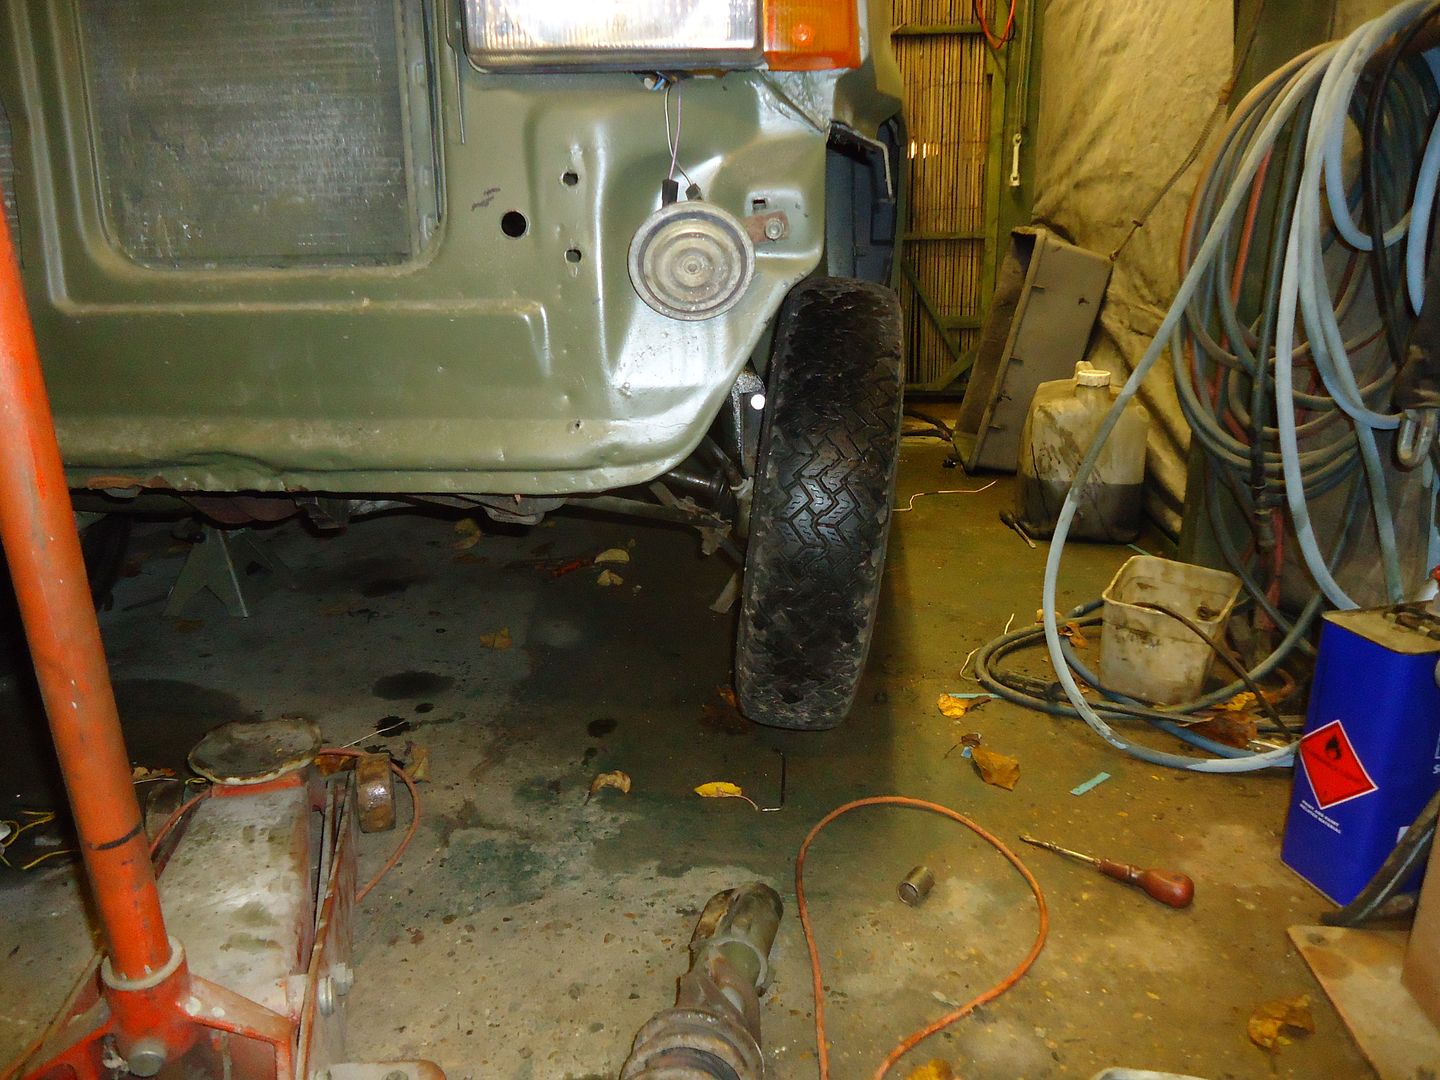
And so on with stripping off the old front suspension legs.
Being a bit (very) nerdy I find all the small differences between models quite fascinating.
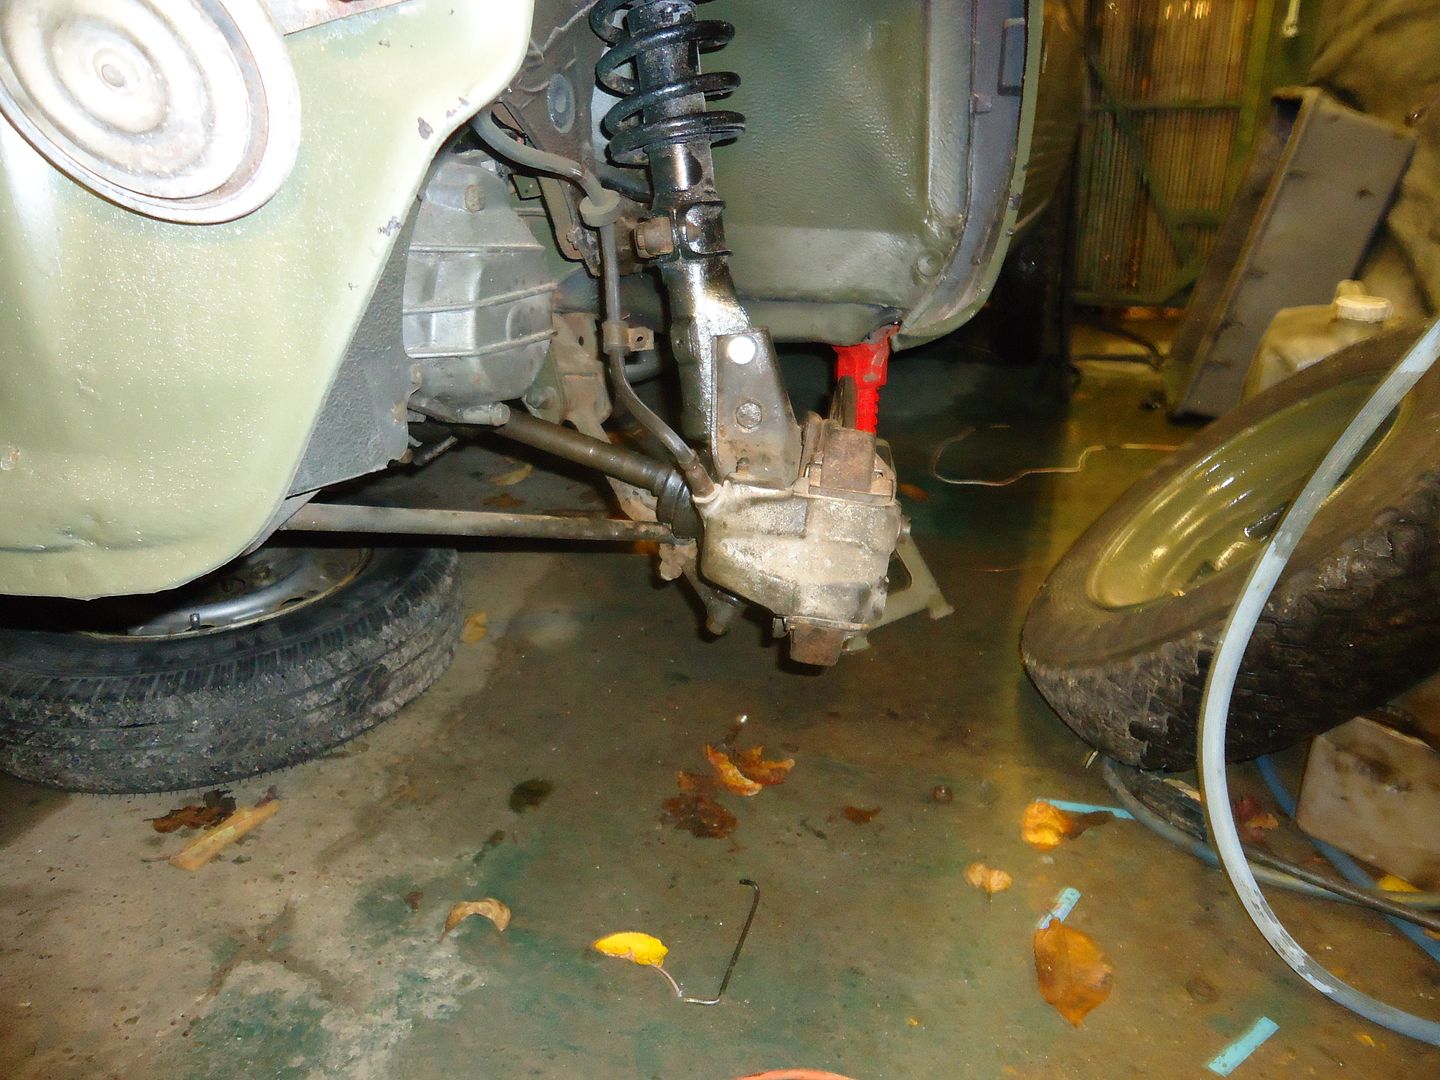
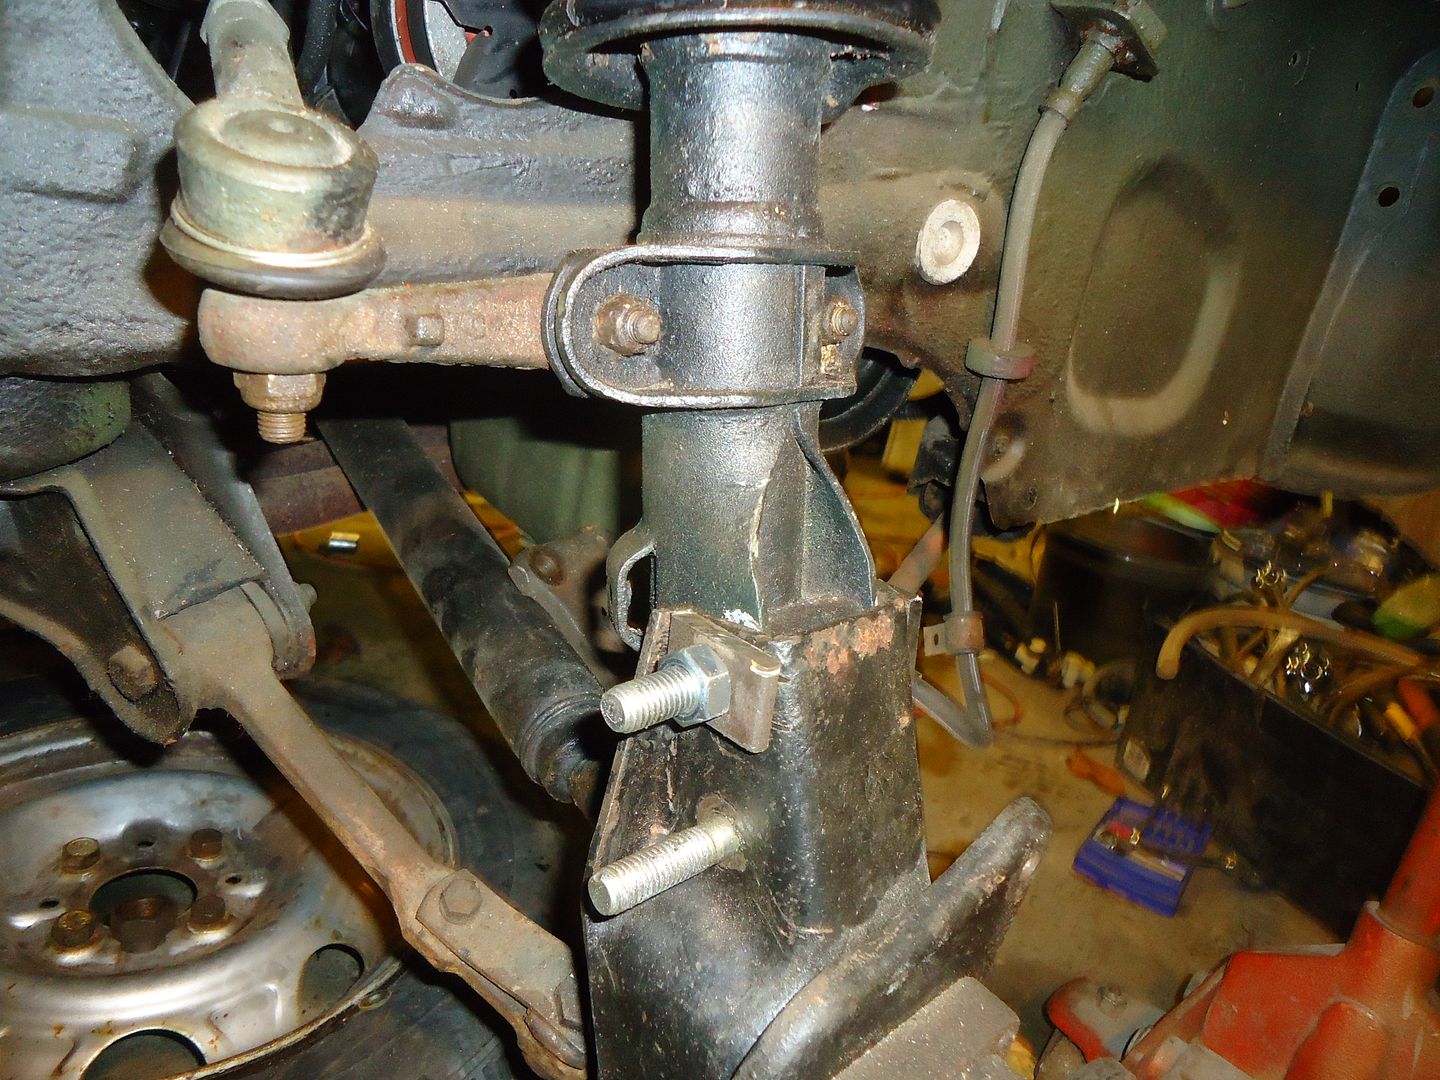
The 4x4 legs don't appear to be too different other than having thicker and stronger springs and 12mm bolts for the hub mount.. And as well all know, slightly different hole positioning in the aforesaid mount.

This is the 2x4 mount with just the holes drilled out to fit the 4x4 legs. You can see that the 'camber' is out (or to use the technical term "On the ****")

With the wheel on this is greatly magnified.


And yet the hole is only 5 or 6 mm out of place


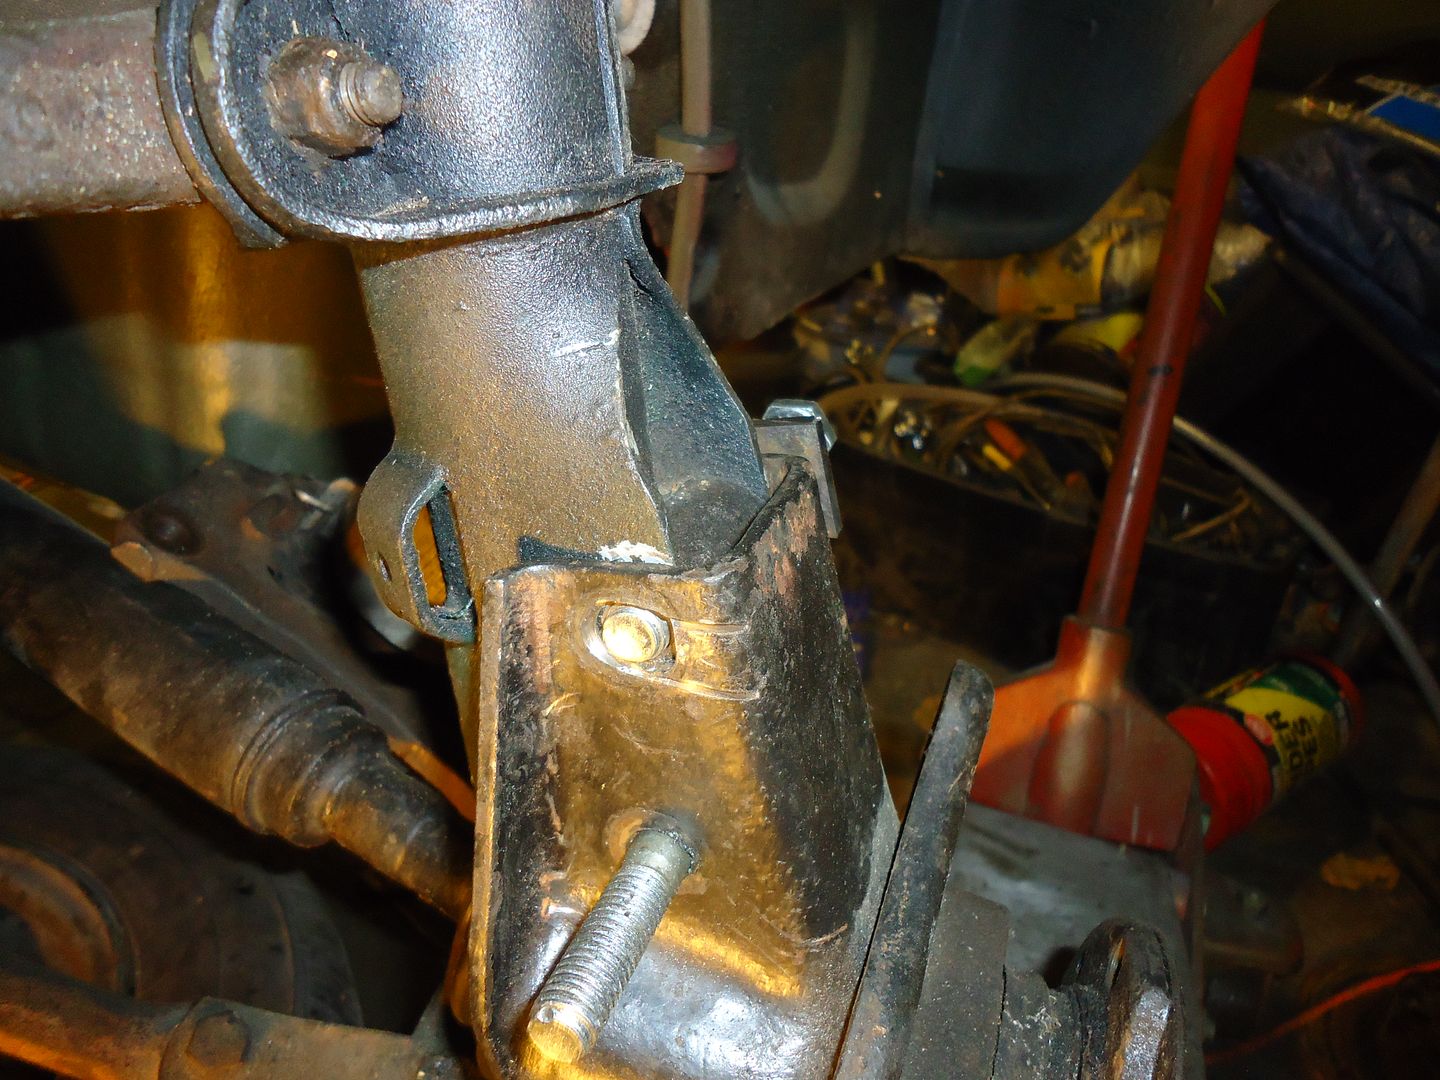
This is the hole modified


And these are the bits I made up to hold everything in place until I get some nice thick washers to weld in.

So this all definately counts as progress(y)
 
Last edited:
Cor; aint that the way.

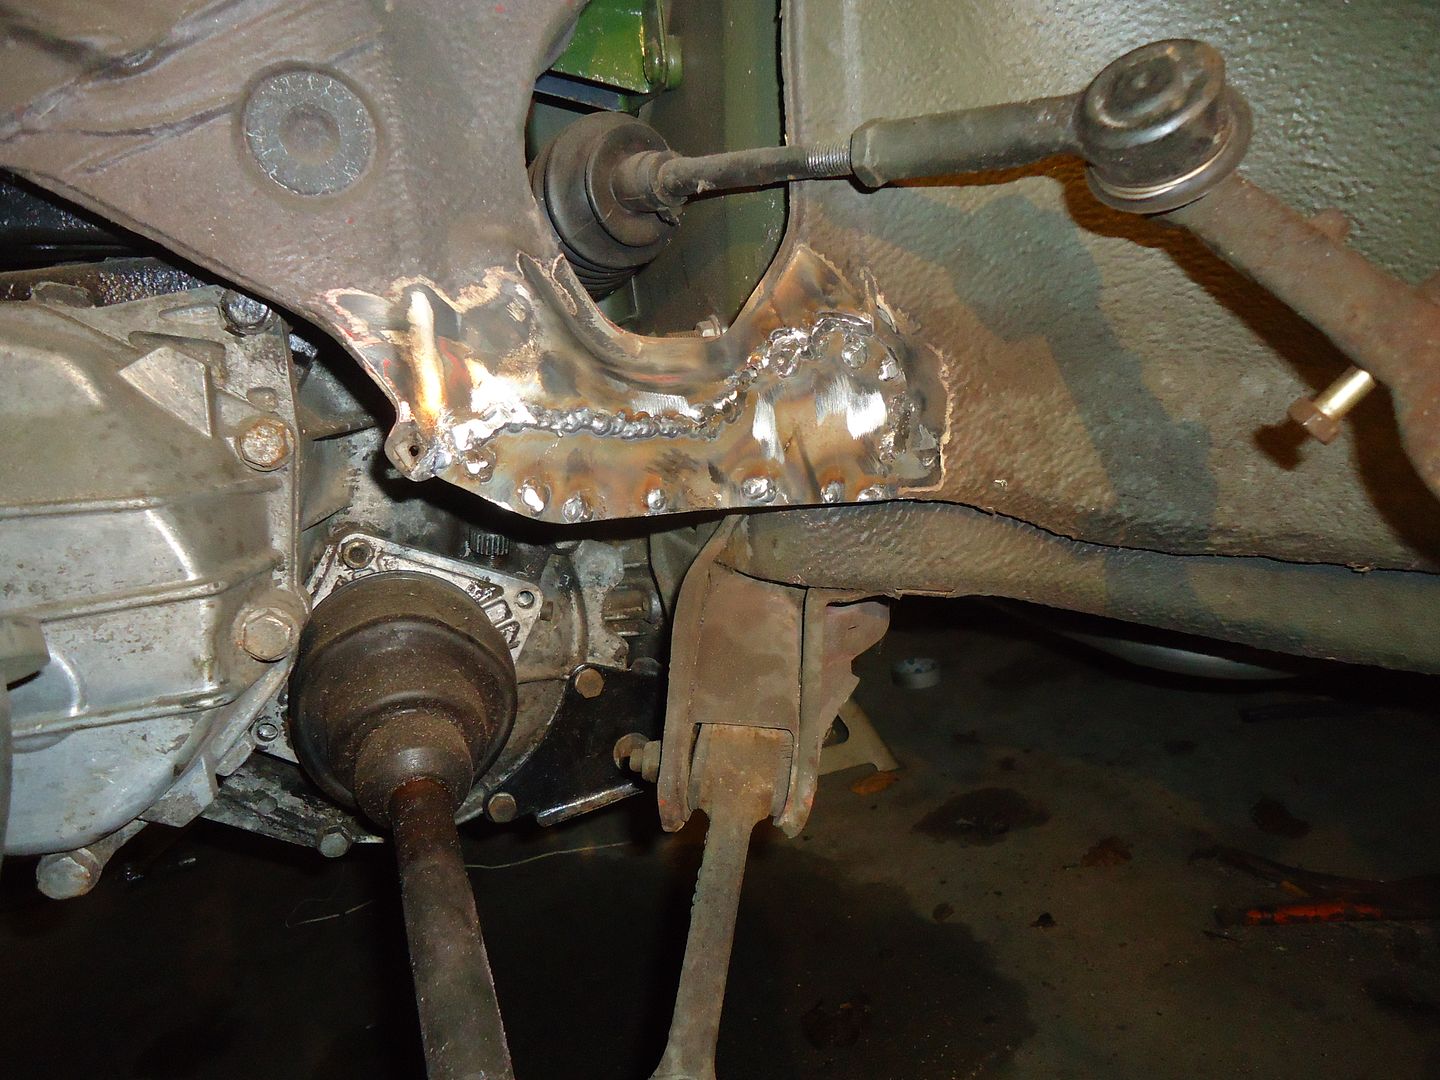
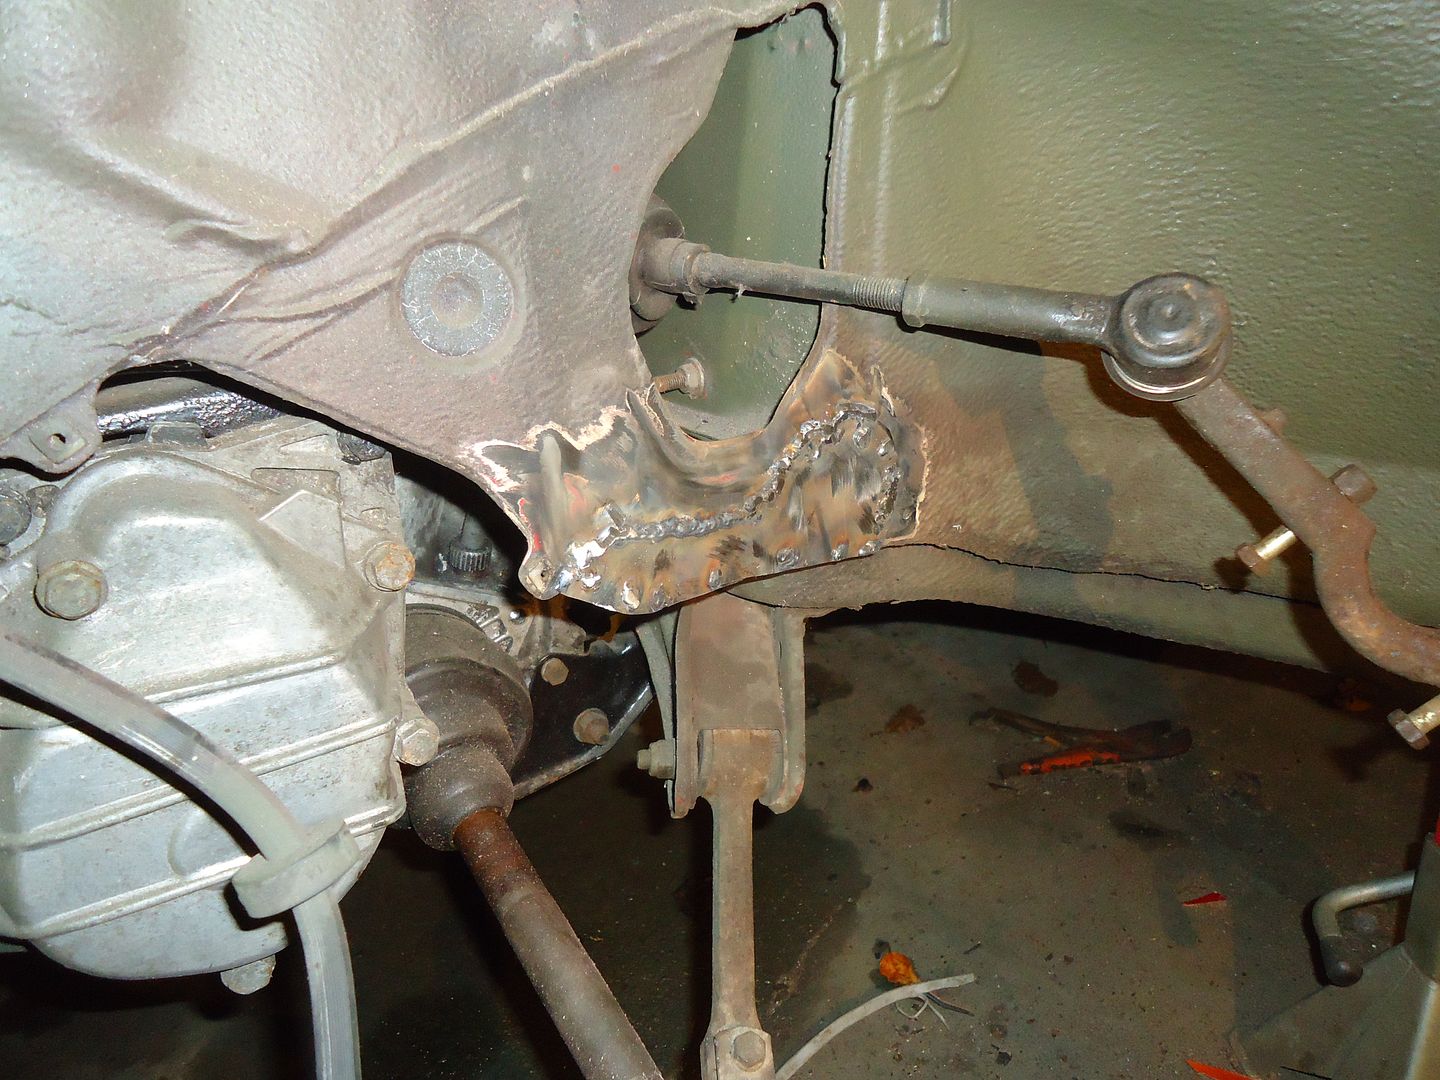
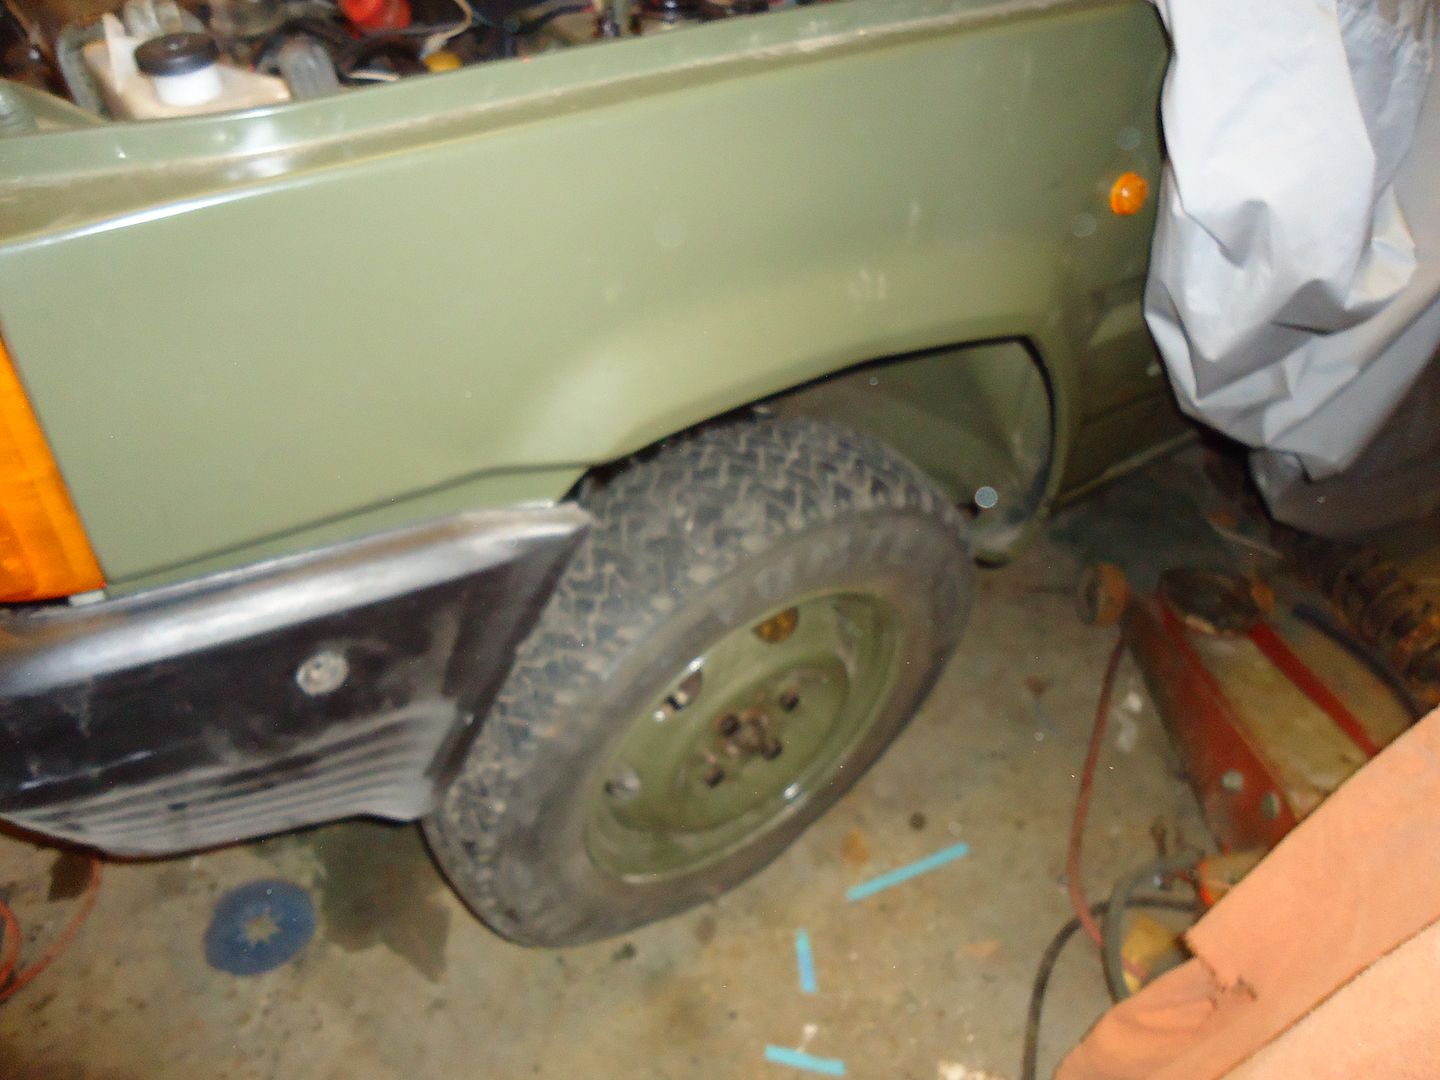
I get one job done and then after I bolted the n/s front suspension leg in I noticed some rusty chassis behind it.

Oh well it doesn't take long to pop it out again.


Only looked like a rust bubble but once I hit it with the rotary wire brush it rather popped apart. It was only the outside (or inside the wheel arch) so just a quick cut out and repair.

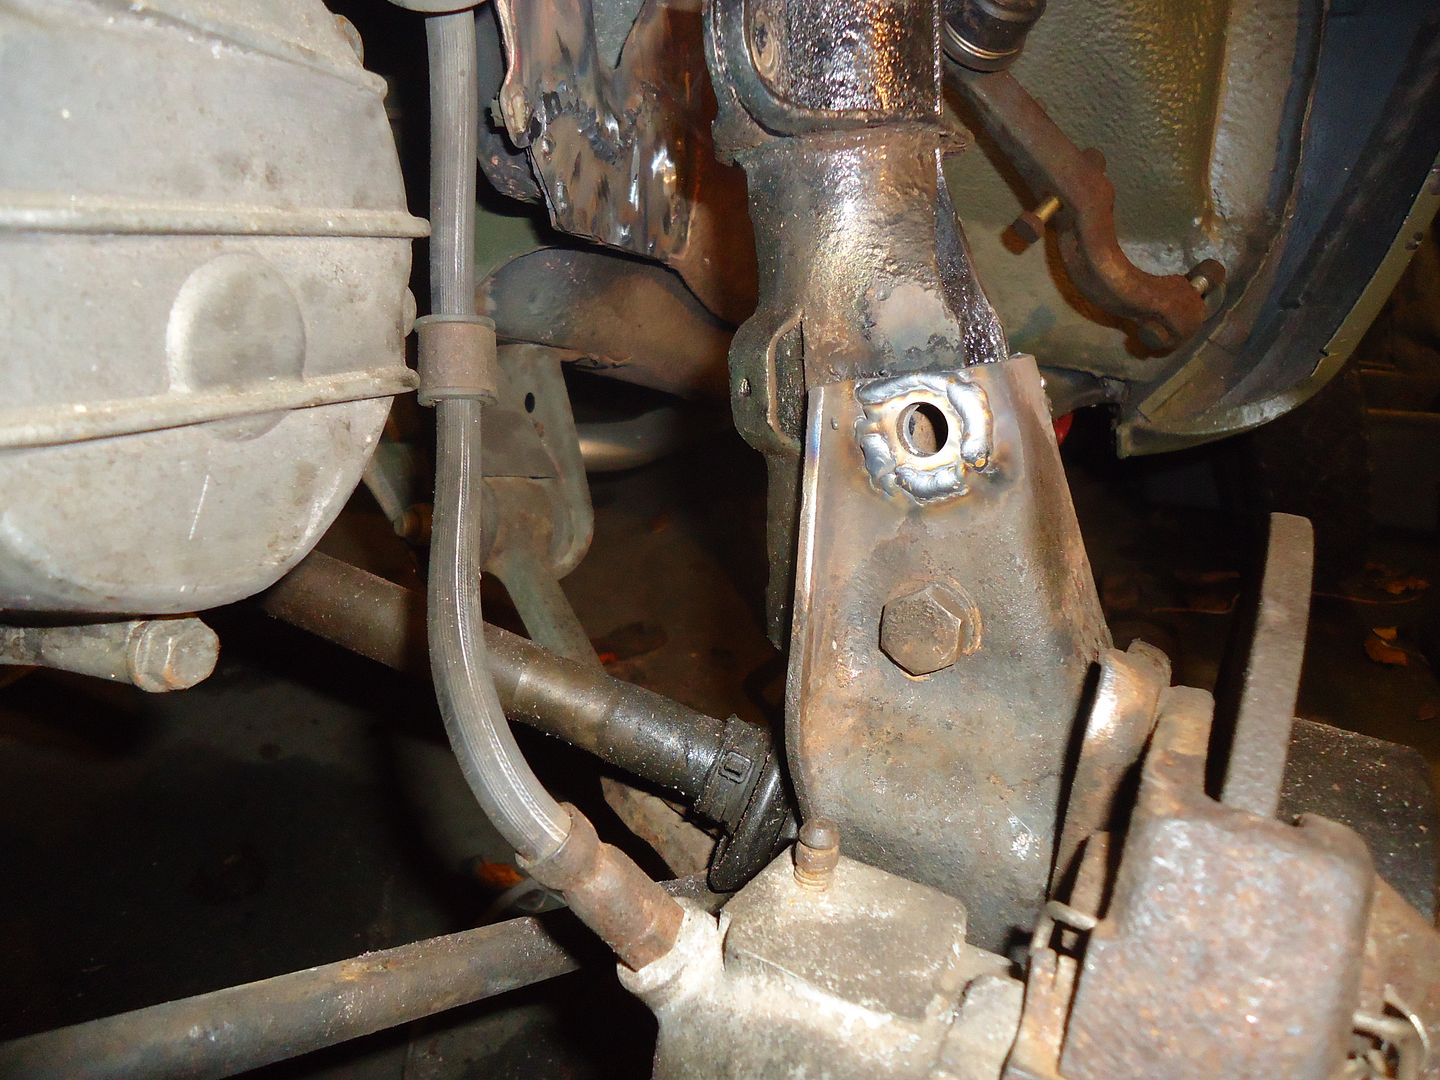
While I had the welder running I welded some heavy washers in place on my newly re-angled hub carrier


Not my best welding but I'm right handed, was holding the lead lamp in my left hand and being careful to keep my knee out of a puddle.
All in all I'm delighted.(y)
 
Scarily enough the 'Neglected one' is almost down to the 'Make a list' stage.


The front suspension is changed to 4x4 and now has a lovely ride hieght, I changed the knackered old discs for the good ones donated by the late 'Purple Ronnie' (Who is currently helping 3 Pandas survive into old age)


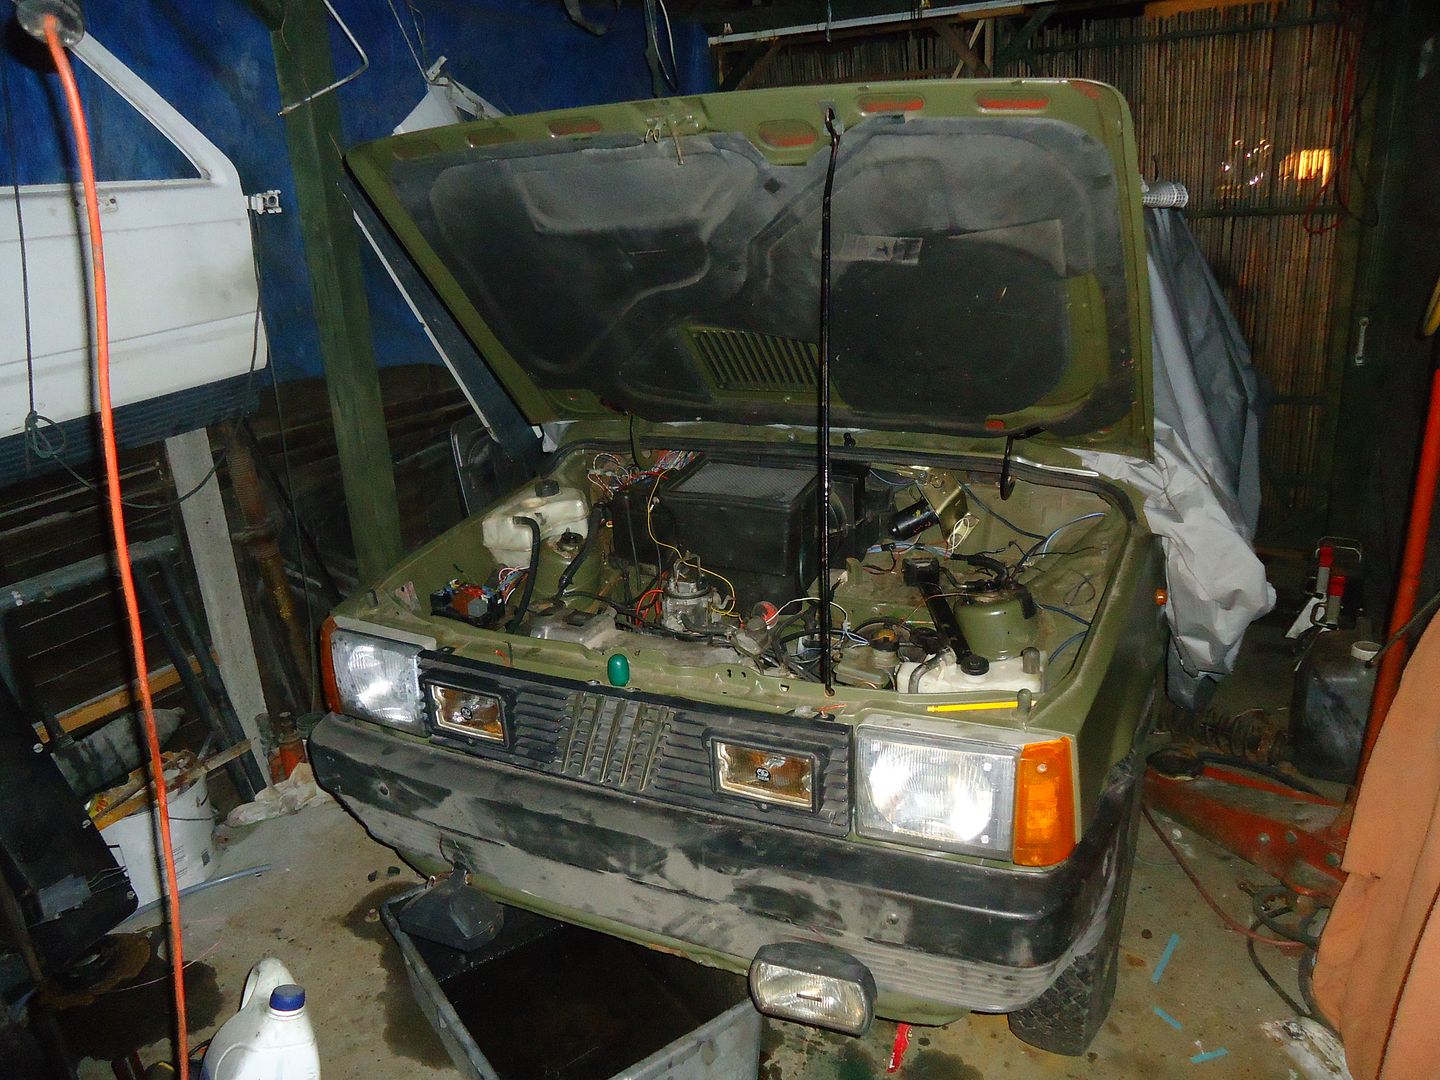
Check out the running light grill. The reflectors are a bit naff but hey who cares.
In my excitement over owning such a prized item of course I managed to drop it and break it into two pieces.
Suitably repaired with 'Q Bond' and reinforced with plastic coat hangers, I though it would be wise to pop rivet it into place so it can't fall off again.
It was at about that point that I discovered that the lights come out from the back.. Ha.! Oh well it can stay there for now.


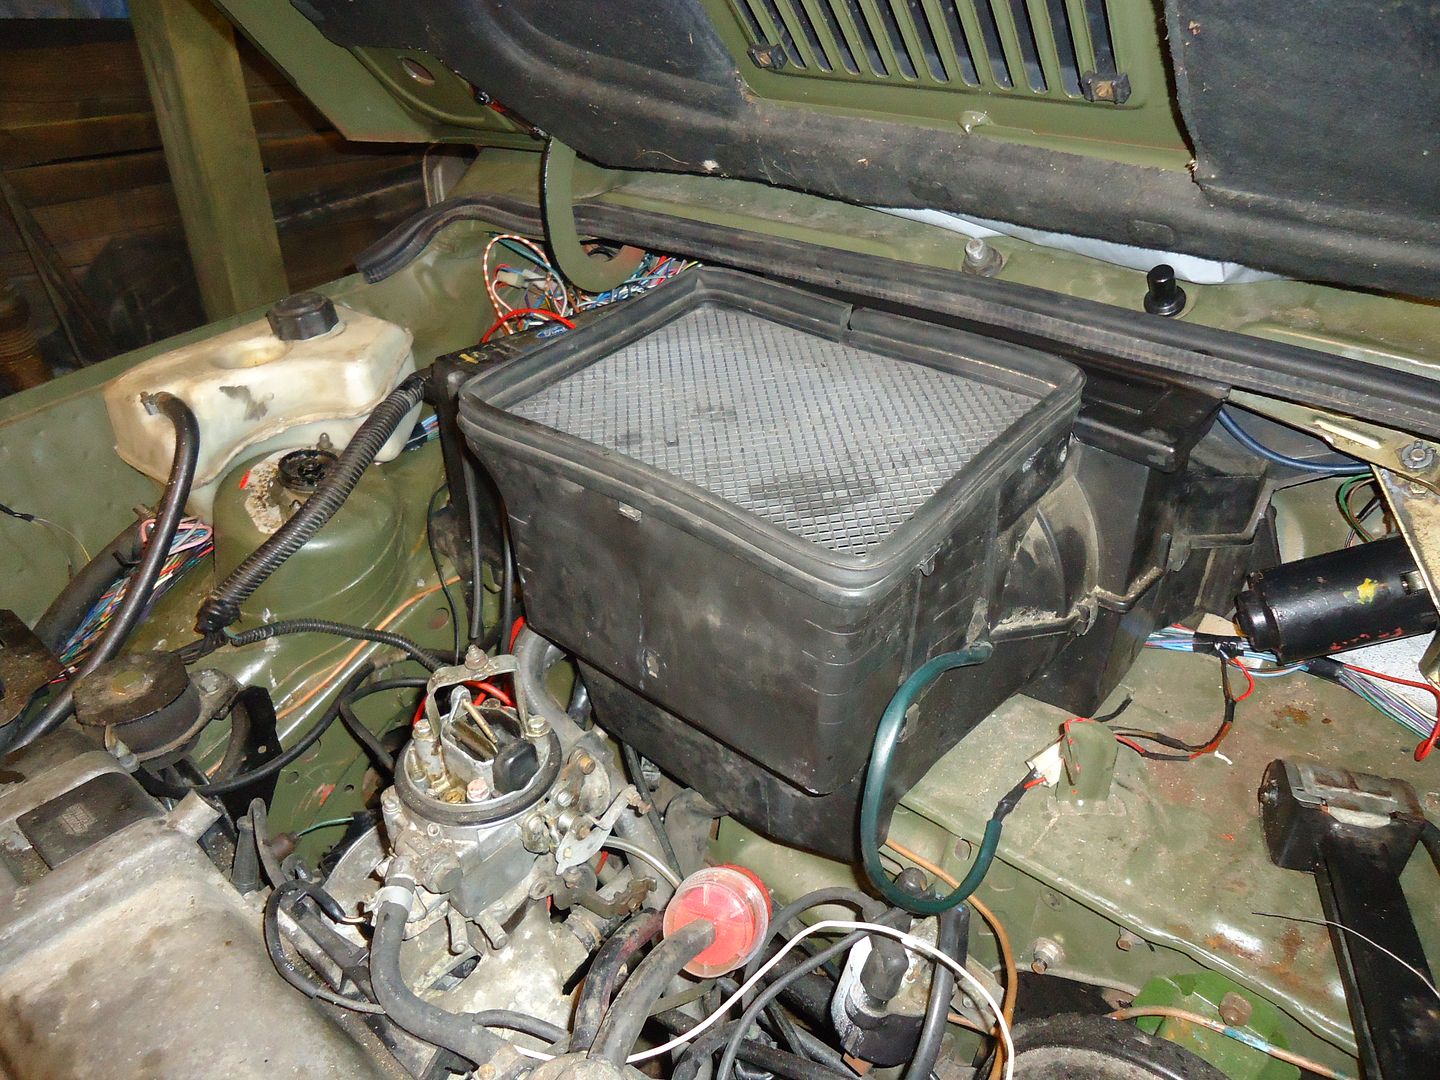
I fitted the heater box out of 'Purple Ronnie' as well. The one I was using wasn't the original and the cables were very tight. And this one has a nice clip in grill on top to stop me dropping spanners in, that make the cables tight.
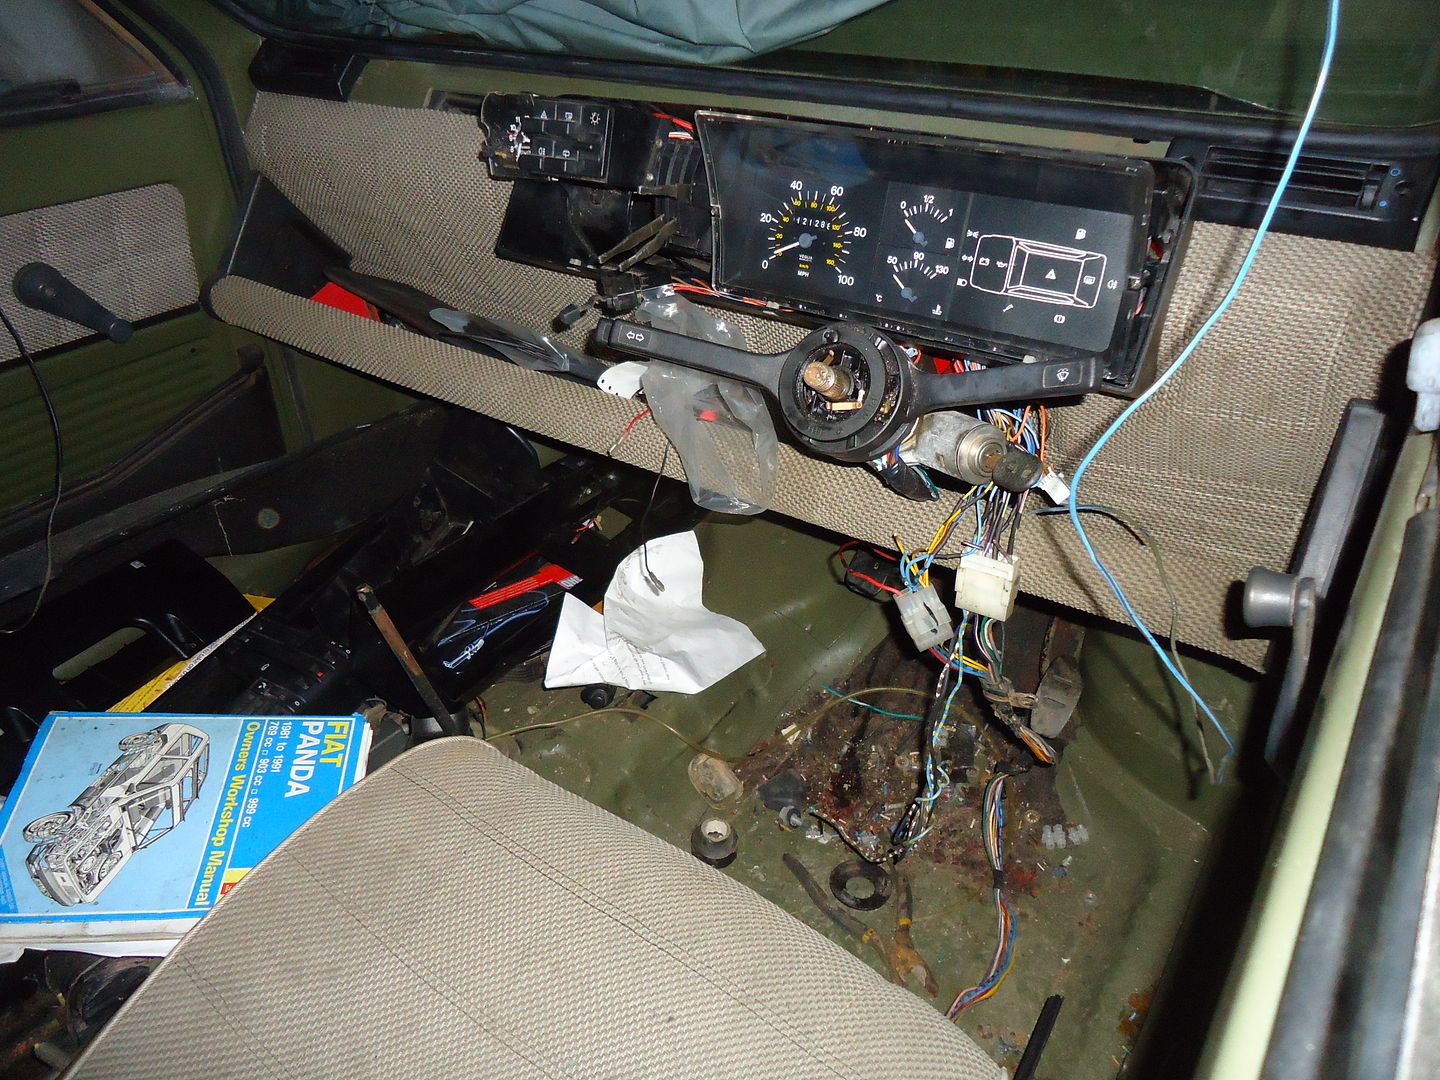
Of course (probably due to the right hand drive conversion) I had to strip out the entire dash (again) as the lever block wouldn't clear. But hey; it's done now.


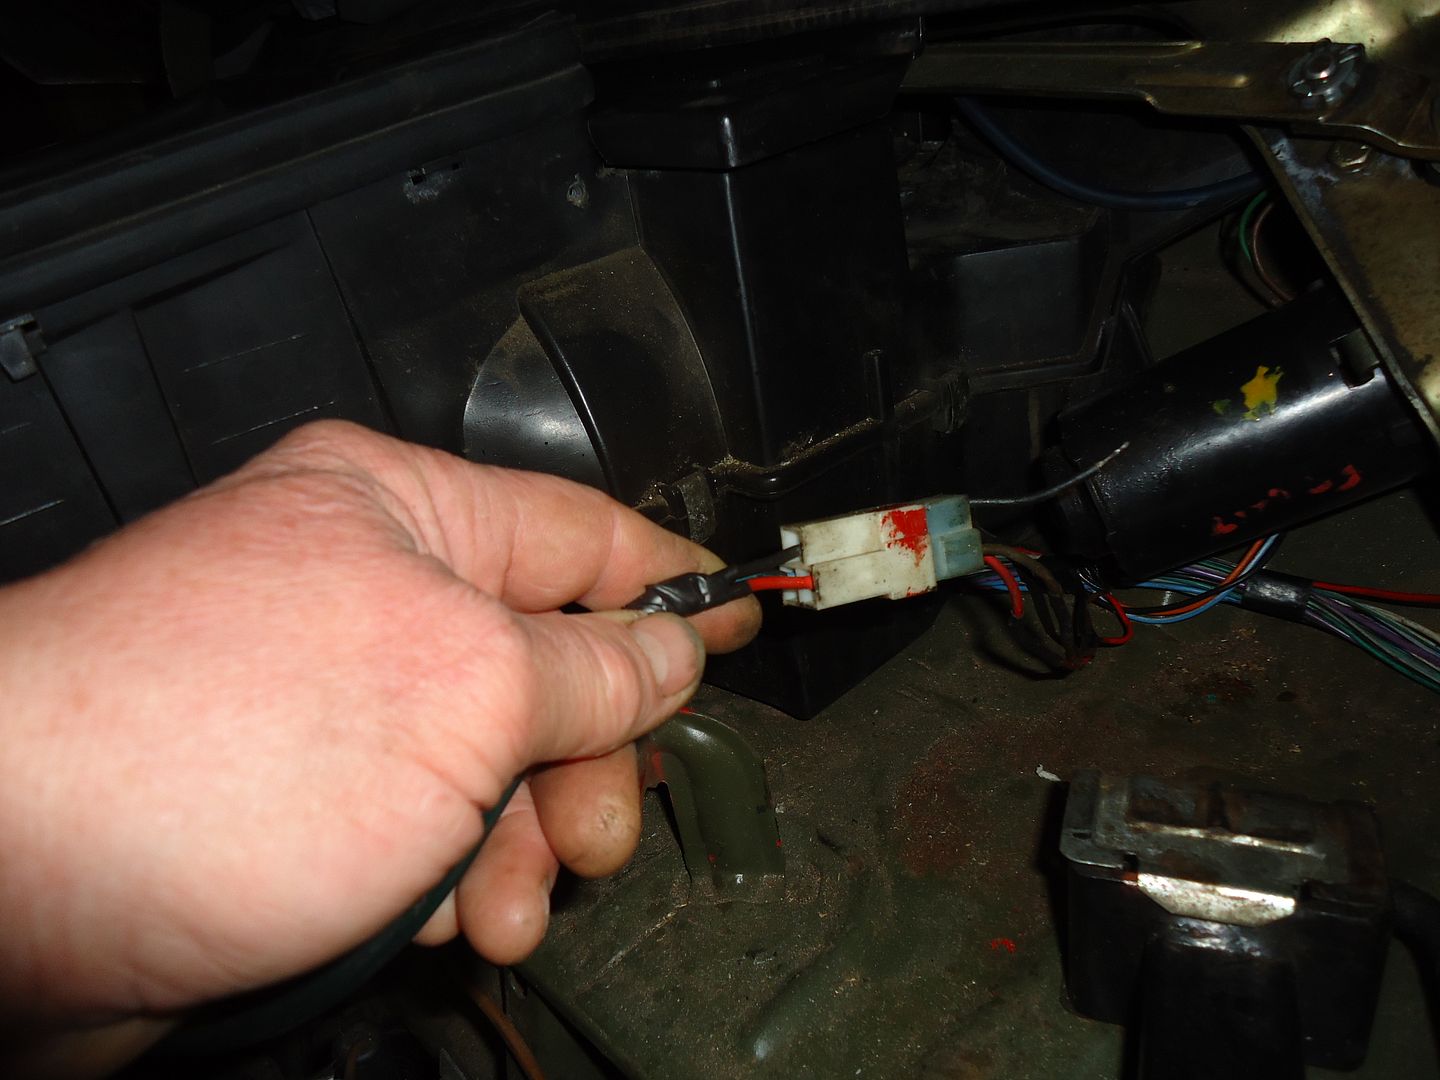
Amusingly when I made up the final wiring loom I had to change the male part of the heater joint plug as it was the mini pins version. So naturally when I fitted this later model heater box I then had to cut off the female mini pin connector and solder on an old spade one. Ho hum
 
Last edited:
The wiring is currently being tided into some form of acceptable neatness


It's all pretty tedious going through cable by cable, trimming to length, resoldering and shrink wrapping. The old 'Hour a Day' is really good for jobs like this. Don't spend so long on it that we forget it supposed to be a hobby.


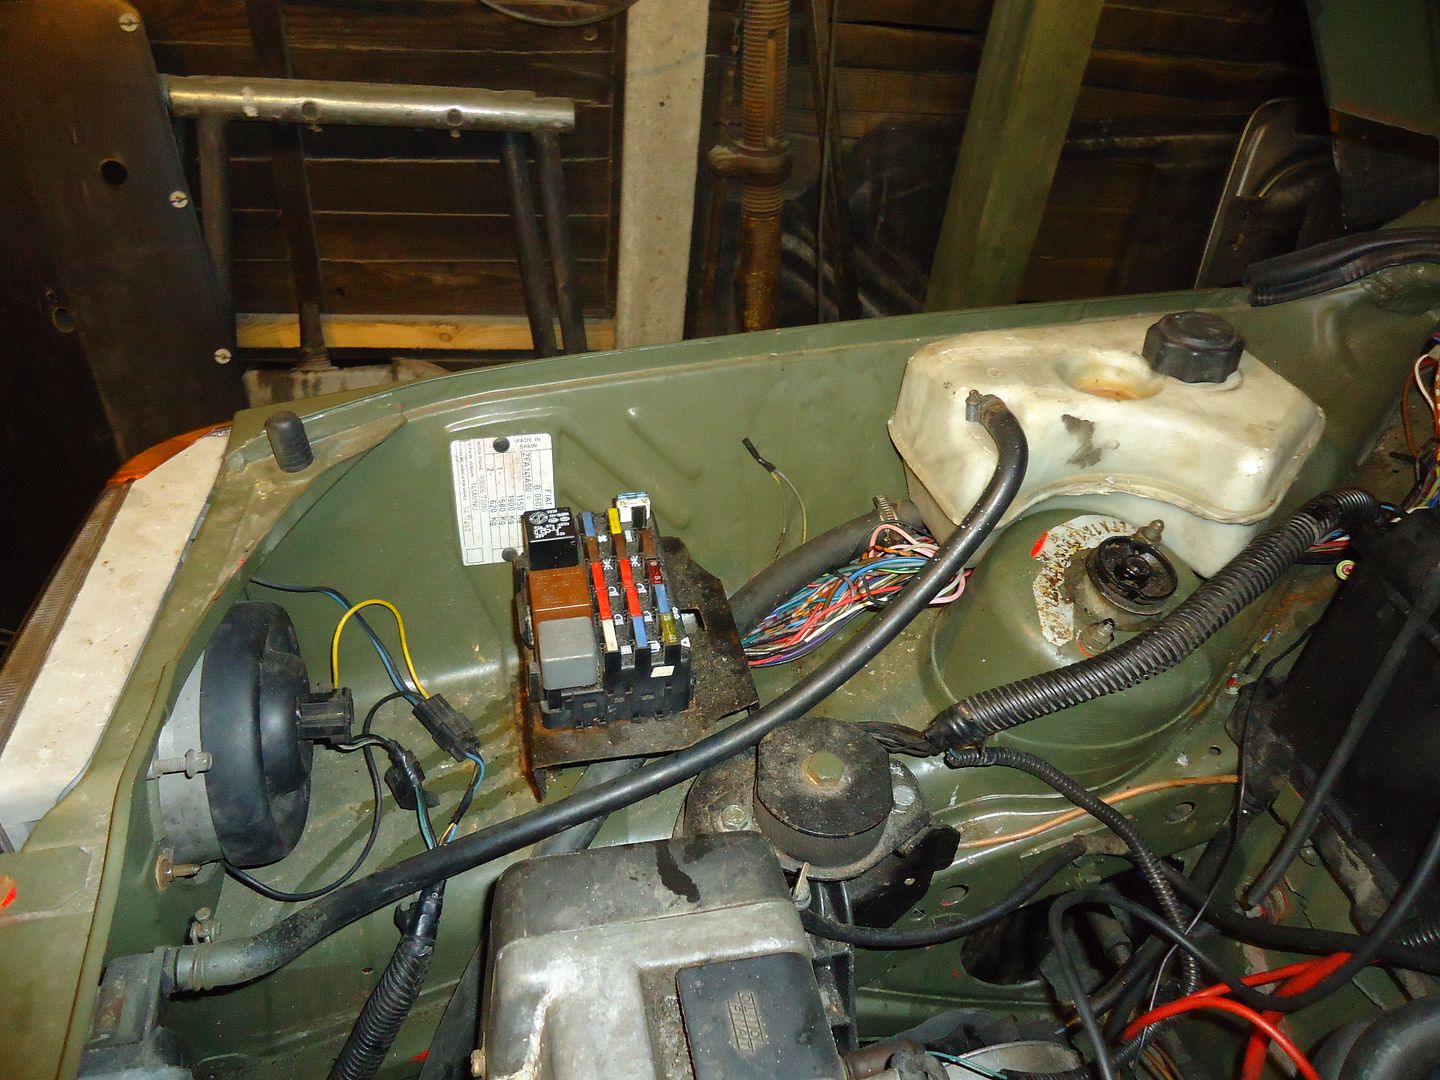
The repositioned fuse box is living very happily. I'll have to make a lid for it; which will probably look remarkably like an upturned tupperware box.
I haven't 'wrapped' the loom in insulating tape yet as I may still want to add/delete or alter stuff.


Next is to close up the dash and run the wiring via its final route.

The engine starts easily and runs very nicely. I ran it up to temperature (even the temp gauge works!) and was hoping that it would get hot enough to trip the rad fan. Seems it was too cold a night so I jumped the fan controller with a pair of plier to test the fan and will cross my fingers about the temperature switch.

So now it is pretty much just bolting bits back on; Change the seatbelts, I might weld in some new mounts as it currently still uses the original MK1 positions.
Silicone the sun roof frame in.
Bolt the remaining seats in....
Put Nyloc nuts on the axle mount plates....

Yeah best I make a list.(y)
 
Last edited:
This post contains affiliate links which may earn a commission at no additional cost to you.
For the Van Ronnie has donated his bonnet, servo & master cyl, headlamps, door locks, speakers and a multitude of odds 'n' sods which I can't remember right now.


And for the Panda Terra he gave; the heaterbox, front discs, rear brake shoes, dash board, steeringwheel, Jack. And a multitude of nuts bolts, bulbs

The doors are going to Dragon man

The rad, fuel tank & twin sunnies to Pandasport

You had the grille:confused:

Great to see that it has not gone to waste :)
 
Back
Top