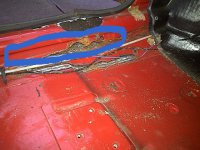
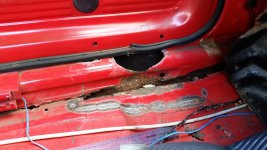
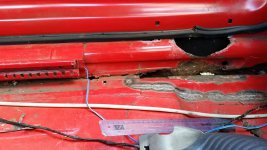
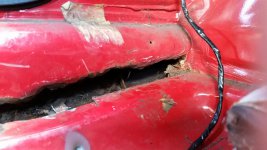
I am going to cut the sill away at the front and see what surprises are in store!The inner sill behind the strengthener looks like it needs repairing also as you can see into the sill cavity. The best way to do it is cut the outer sill off and get access from the outside. I think welding a patch over that will not really achieve much and will not be that easy due to lack of room.
You are using an out of date browser. It may not display this or other websites correctly.
You should upgrade or use an alternative browser.
You should upgrade or use an alternative browser.
General Rescued Panda!
- Thread starter pooroldcodger
- Start date
Currently reading:
General Rescued Panda!
Has anybody successfully fabricated an inner sill section?
I am looking at the indentation (circled in blue). I assume that as well as looking better than just a plain flat section, the indentation adds strength. What have other people done to repair this section?
Any suggestions gratefully received. I am asking this in readiness for when I remove the outer sill and start to (all being well) re-build the sill from the inside out.
Any pics would be fantastic.
Attachments
OK thanks. Sorry about your insomnia!
That looks easy enough (he said with misplaced confidence!)
IS the indentation in the inner sill vital or can we live without it?
That looks easy enough (he said with misplaced confidence!)
IS the indentation in the inner sill vital or can we live without it?
OK thanks. Sorry about your insomnia!
That looks easy enough (he said with misplaced confidence!)
IS the indentation in the inner sill vital or can we live without it?
Ah its cool, just decided to use the time productively. In an ideal world you would keep it but as long as omitting it doesn't cause the seats not to fit or other problems, i'd say it wouldn't make that much difference. More important that the welding is strong. Have you got any more close up pics of the problem area?
I will take some and post them. It's a bit frustrating right now as I have had to suspend work on the Panda to help my son who is doing a body shell transplant on his Nisaan driftcar on our drive! Mrs Codger not happy that the patio now has an engine and transmission plus front and rear sub frames. The original car is on axle stands and the exhaust system is lying on what should be a flower bed.
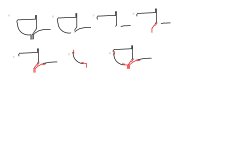
I had similar on the Marbella. I just created an L section and welded / beat into shape as follows:
Before:
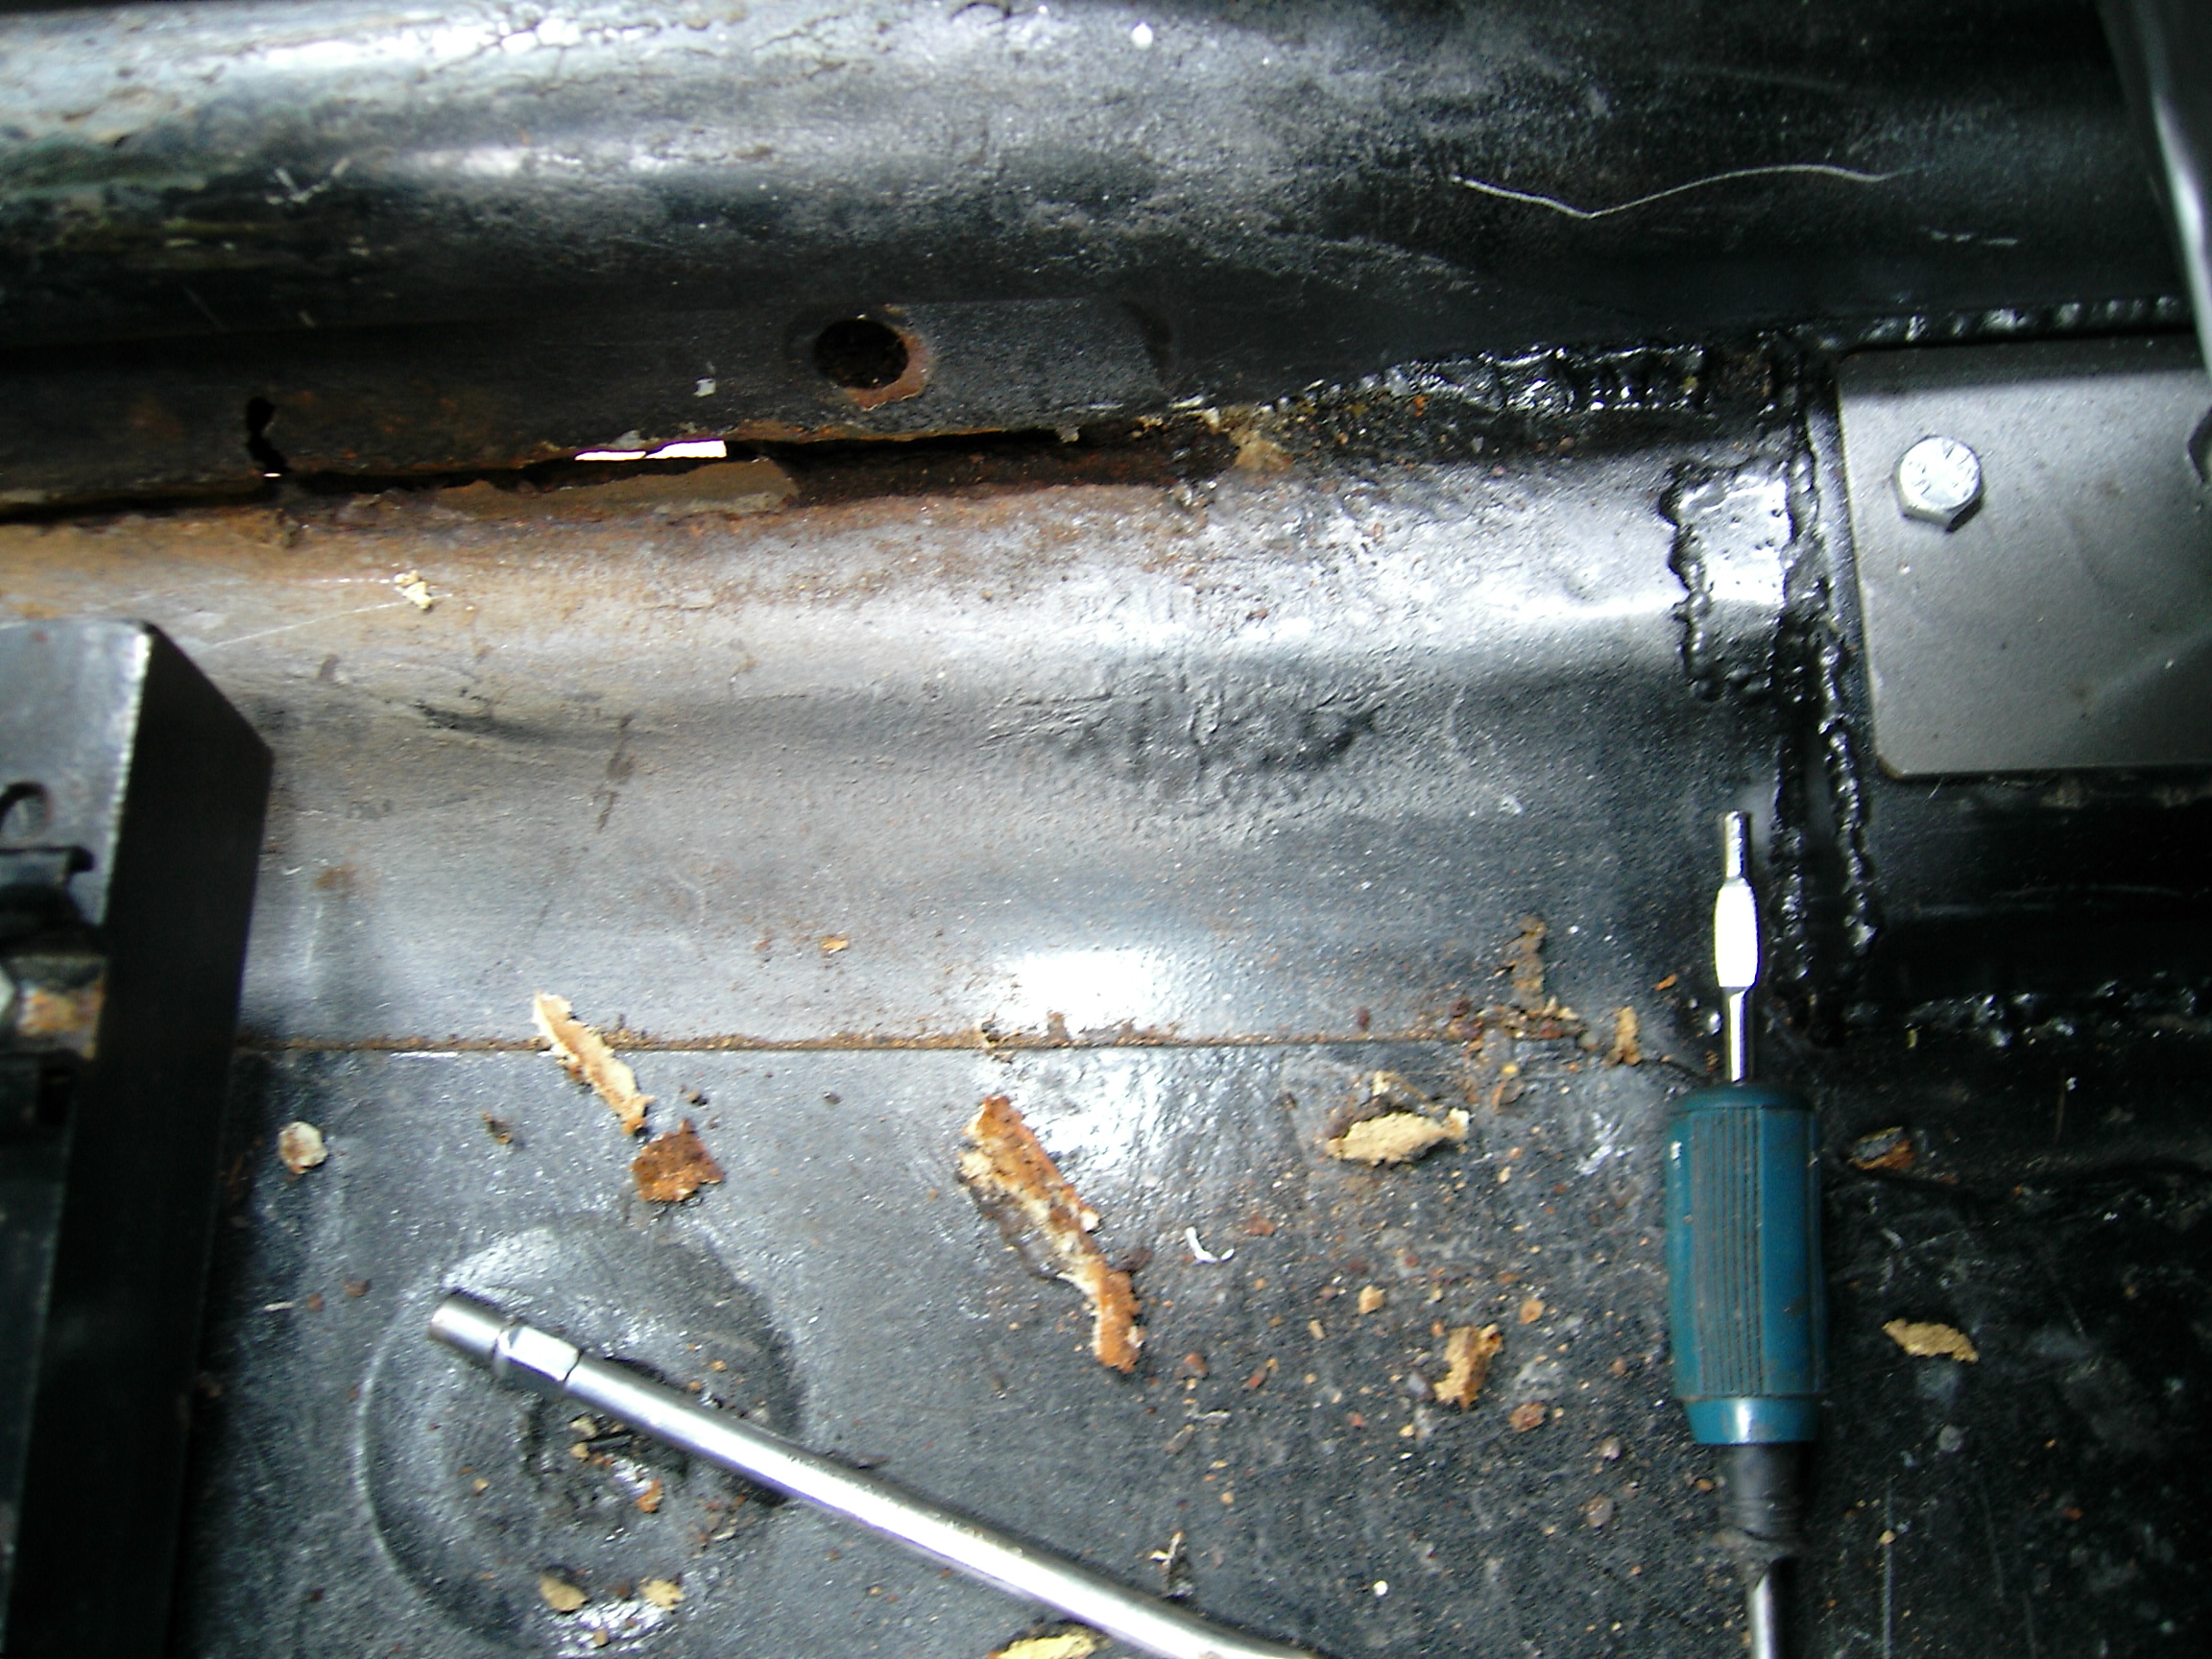
After:
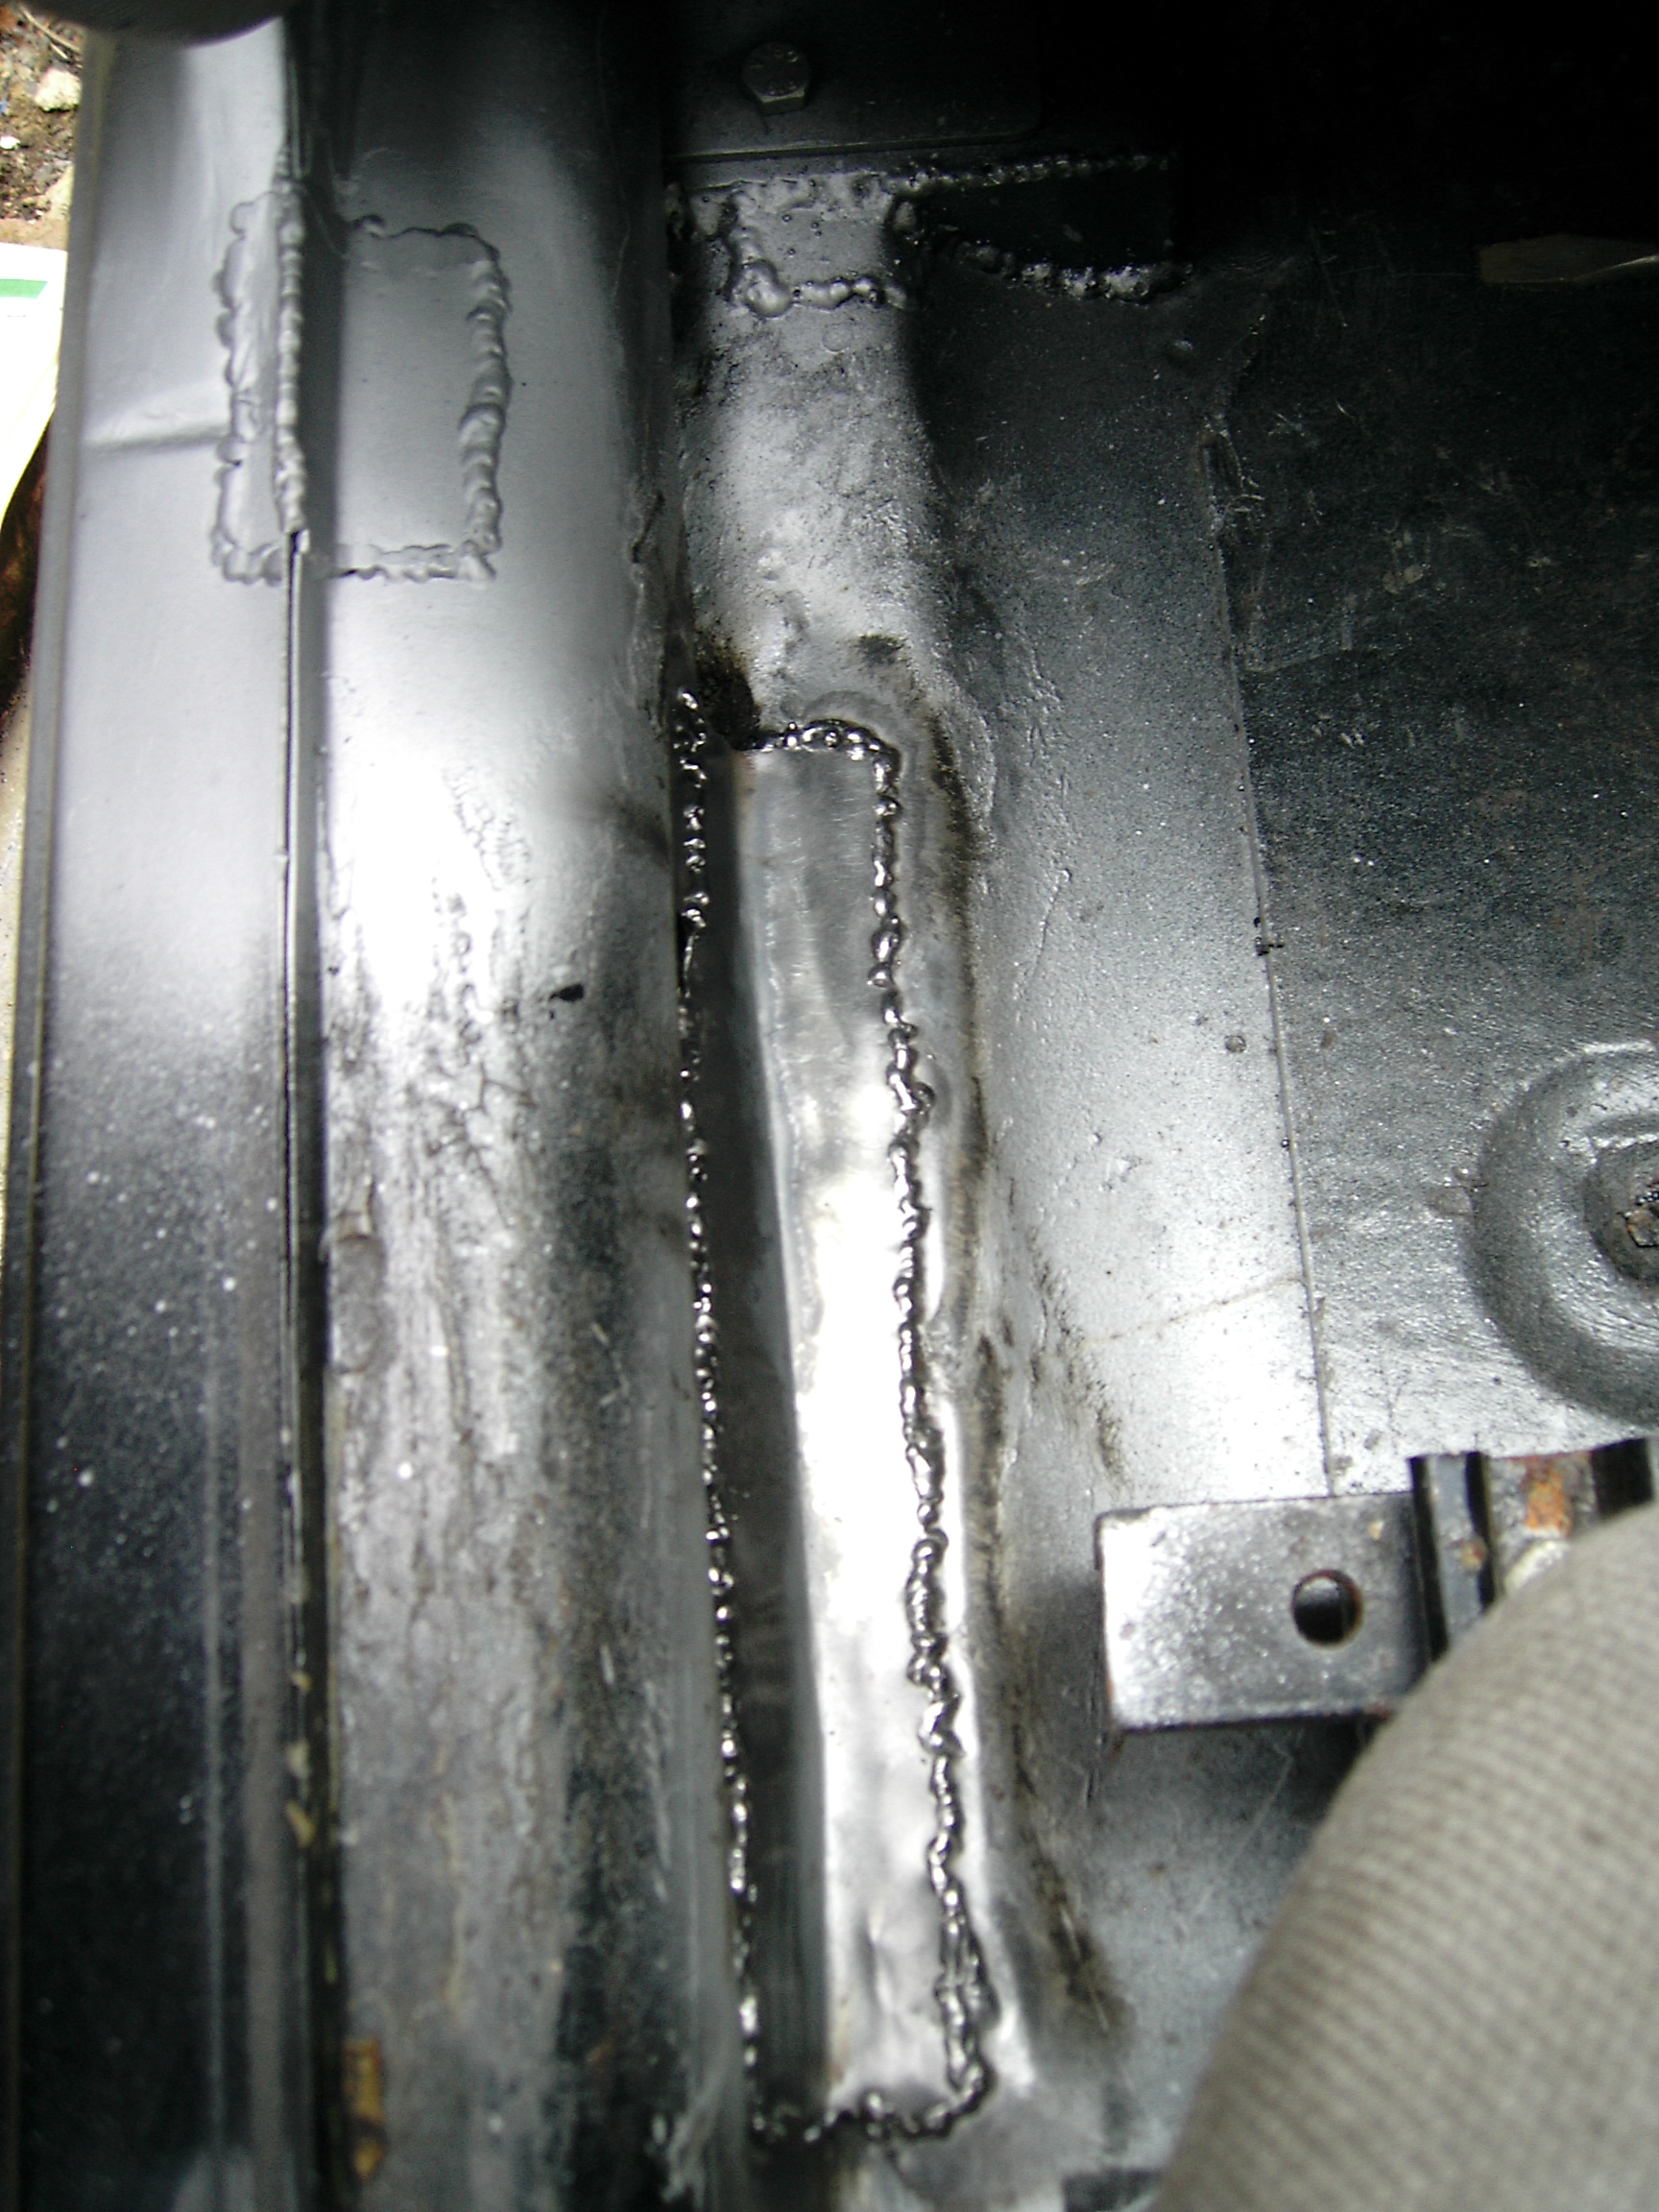
It'll be underneath the carpet so my view it doesn't have to be that tidy, just good for strength and rust resistance in future. But up to you of course.
I did spend a lot more time making the outer sill around the door rubber look nice though....also good to allow water to run off easily here as they get standing water here as it is!
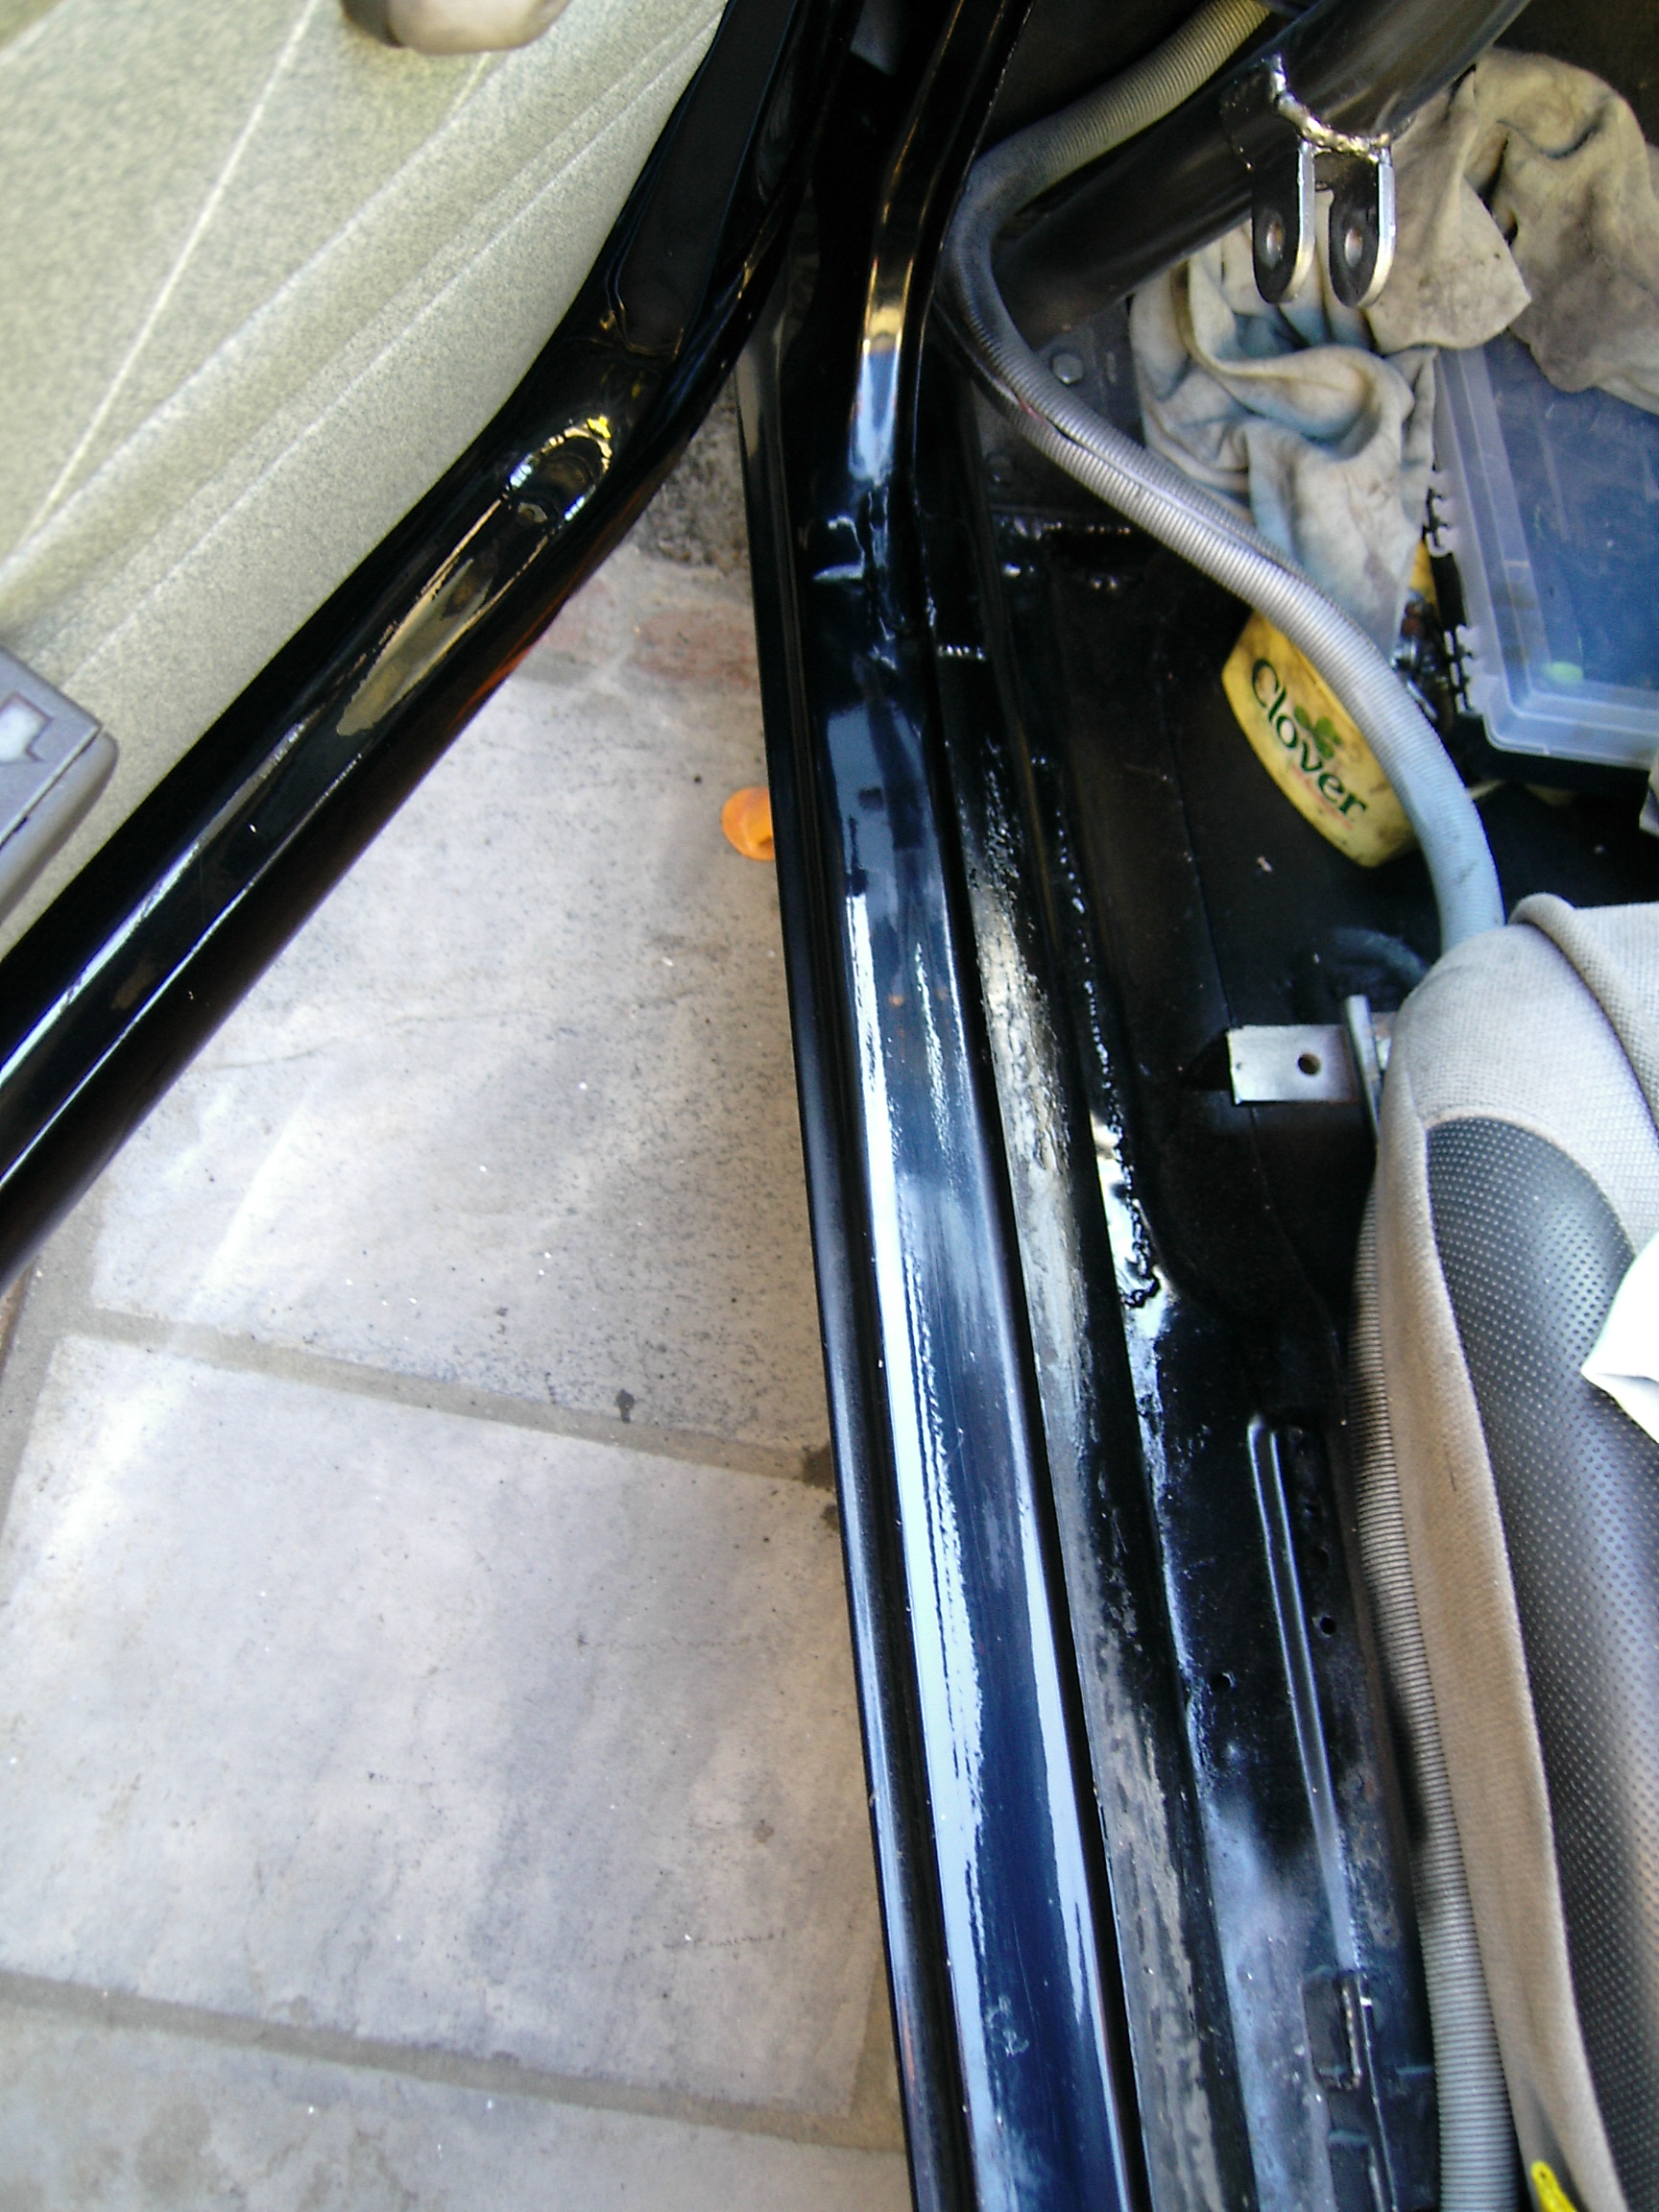
Before:
After:
It'll be underneath the carpet so my view it doesn't have to be that tidy, just good for strength and rust resistance in future. But up to you of course.
I did spend a lot more time making the outer sill around the door rubber look nice though....also good to allow water to run off easily here as they get standing water here as it is!
That's looking nice!I had similar on the Marbella. I just created an L section and welded / beat into shape as follows:
Before:

After:

It'll be underneath the carpet so my view it doesn't have to be that tidy, just good for strength and rust resistance in future. But up to you of course.
I did spend a lot more time making the outer sill around the door rubber look nice though....also good to allow water to run off easily here as they get standing water here as it is!

Thanks for the pictures. They're a big help.
I have attached some more pictures. I am intending to take the whole of the outer sill off ( a bit daunting) because I think it will make it easier to do a better job of fixing the back end of the sill (in the wheel arch area) and the area by the door.
I have a new sill ready to go on.
I am a bit concerned though that the floor has previously been welded up to about 2 inches or so inboard of the inner sill, so I will probably have to cut all that out and start again, and with the whole sill off as well, is there a danger of the door aperture getting out of shape whilst everything is unattached and the car is raised up?
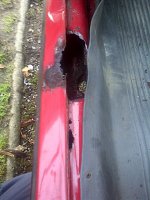
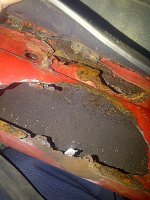
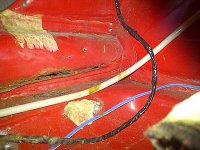
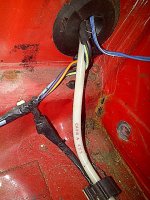
I also need to replace a sill at some point so also interested in the best way to hold the car while it is left structurally weakened. I did think about temporarily welding in a brace bar across the door frame. But probably just ok to cut the sill off (supporting the car at the suspension mounts) and weld on the new one.
It would be just my luck if I welded a brace bar in temporarily it would be my neatest bit of welding on the car!
When I did the sill on my Mk1 I did not use any bracing, however on pooroldcodgers car I would be welding in some box section or angle iron across the door opening as the inner door step has a large hole in it. On my Mk1 this was intact so it provided the strength whilst the outer sill was removed.
It is important to test the door fit before welding on the new sill so you need to take this into account when welding on the bracing, as something straight across the opening will stop the door from shutting.
It is important to test the door fit before welding on the new sill so you need to take this into account when welding on the bracing, as something straight across the opening will stop the door from shutting.
Thanks for the advice. I will look in to that carefully. I need to plan this carefully. How to brace the door and still have the door be able to shut you mean?
When I did the sill on my Mk1 I did not use any bracing, however on pooroldcodgers car I would be welding in some box section or angle iron across the door opening as the inner door step has a large hole in it. On my Mk1 this was intact so it provided the strength whilst the outer sill was removed.
It is important to test the door fit before welding on the new sill so you need to take this into account when welding on the bracing, as something straight across the opening will stop the door from shutting.
Well I had my first chance for a while to have a look at the inner sill.
I cut come of the really crusty stuff out but obviously there is more to do.
I would like to make this repair if possible leaving the outer sill on as it has previously been repaired, and other than the drain holes is not too bad.
From the previous diagram from Giacosa it seems that the floor section turns downwards and is welded to the bottom of the outer sill, along with the bottom section of the inner sill (non-existent in my case).
My plan is to finish cutting out the rot and extend the floor first.
Then cut out the rot on the inner sill and weld a piece in to come down and meet the floor.
On the other hand I could just make a right angled piece that joins the inner sill to the floor which would be more straightforward but not how the original was made.
I am not too fused about appearance as it will be covered by the floor mat, but I do want it strong.
Any suggestions guys?
Attachments
It depends what you want to achieve, if you just want it to pass an MOT then some patches will do, but do not expect it to last that long before it needs more work. If you want to do it right and as it was originally then in my opinion the outer sill has to come off.
It depends what you want to achieve, if you just want it to pass an MOT then some patches will do, but do not expect it to last that long before it needs more work. If you want to do it right and as it was originally then in my opinion the outer sill has to come off.
I can see the logic of that - I am just a bit daunted by it !
What would be the order of events?
Put in a brace across the door aperture
Cut off outer sill along its whole length
Repair the floor outer edge
Replace outer sill
Build new inner sill to meet the outer sill ?
Thats right apart from the last two, you would repair the inner sill before you fit the outer sill as it is sandwiched between the outer sill and floor. You also have the strengthening pieces at the front and rear to contend with.
It is daunting when you first do it as you will be cutting off a large chunk of the car, but take your time and work through everything methodically and it is not as bad as you think. It is very time comsuming though and you need to be checking that your outer sill will fit properly at every stage, its very easy to get the floor/inner sill in slightly the wrong place which then throws everything out.
It is daunting when you first do it as you will be cutting off a large chunk of the car, but take your time and work through everything methodically and it is not as bad as you think. It is very time comsuming though and you need to be checking that your outer sill will fit properly at every stage, its very easy to get the floor/inner sill in slightly the wrong place which then throws everything out.
Have a look on my recent photos of my sisley. In my case the plan was to re-use outer sill. Bottom spot welds were drilled out, two horizontal cuts A pilar and rear quarter.
Thats right apart from the last two, you would repair the inner sill before you fit the outer sill as it is sandwiched between the outer sill and floor. You also have the strengthening pieces at the front and rear to contend with.
It is daunting when you first do it as you will be cutting off a large chunk of the car, but take your time and work through everything methodically and it is not as bad as you think. It is very time comsuming though and you need to be checking that your outer sill will fit properly at every stage, its very easy to get the floor/inner sill in slightly the wrong place which then throws everything out.
I did wonder about the order of the last 2, as it would be asier to work against the "given" of the outer sill line, but as the inner sill is sandwiched that's not an option.
I am not sure how to deal with the seat adjuster "bracket" ( not sure of the right name for it, but the bit attached to the inner sill that the seat meshes in to). Ideally that needs to come off I think?
Have a look on my recent photos of my sisley. In my case the plan was to re-use outer sill. Bottom spot welds were drilled out, two horizontal cuts A pilar and rear quarter.
I just had a look through your build - incredible. It just shows what can be lurking behind what look like not too bad panels!
I will be studying your pictures for inspiration!
I did wonder about the order of the last 2, as it would be asier to work against the "given" of the outer sill line, but as the inner sill is sandwiched that's not an option.
I am not sure how to deal with the seat adjuster "bracket" ( not sure of the right name for it, but the bit attached to the inner sill that the seat meshes in to). Ideally that needs to come off I think?
With the outer sill removed you can cut the inner sill away from the seat mount and do the welding from the outside:

My photo is not the best but you can see the seat mount hanging down below whats left of the inner sill. My repair piece for the inner was welded from the outside and plug welded back to the seat mount.
Not sure if you have seen my thread on my yellow 4x4:
https://www.fiatforum.com/members-motors/357398-digger-yellow-4x4.html
Might help give you more of an idea of what's involved.
Last edited:
Similar threads
- Replies
- 0
- Views
- 45


