

OP
OP
smahaley
Member
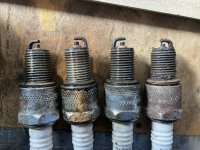
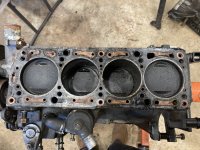
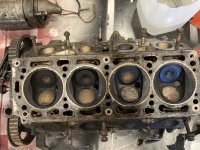
Okay good people. I’m in a pickle.

That’s the crankshaft pulley nut. It is seemingly a non-standard size, based on what I’ve read - it is a 30mm. Let’s call it weird discovery #8.
I did a test pull on it with my breaker bar and the camshaft gears isolated because I had to take the flywheel off to have clearance for the engine stand.
The crankshaft budged - and the camshafts did not. I’m now in a zone of combined regret and fear that I’ve thrown the workings out of timing / clearance, AND am not sure how to safely arrest the movement of the crankshaft so I can pull hard and not worry that something skips and I bang up some valves.
TIA for your advice.
I could try to source some much longer mounting bolts for the engine stand, rehouse it, remount the flywheel and start from there…?
 ,
, 


.png")
.png")