panda.jpg

Panda Panda 100HP project (cooperman style!)

Introduction

Right thought I would start a thread as there are a few mods happening to my panda and wanted somewhere to have them all in one place! I have owned my 100HP since 2010 and love it! She gets serviced at fiat evry year and had belts and water pump replaced last year. I wanted to start modding her but not go OTT as been there and done it before! Hopefully you guys like it!
So this is what I have done:

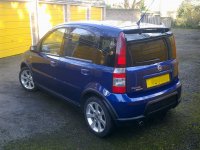
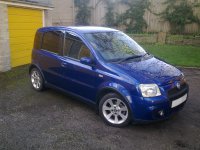
Day one cleaned!
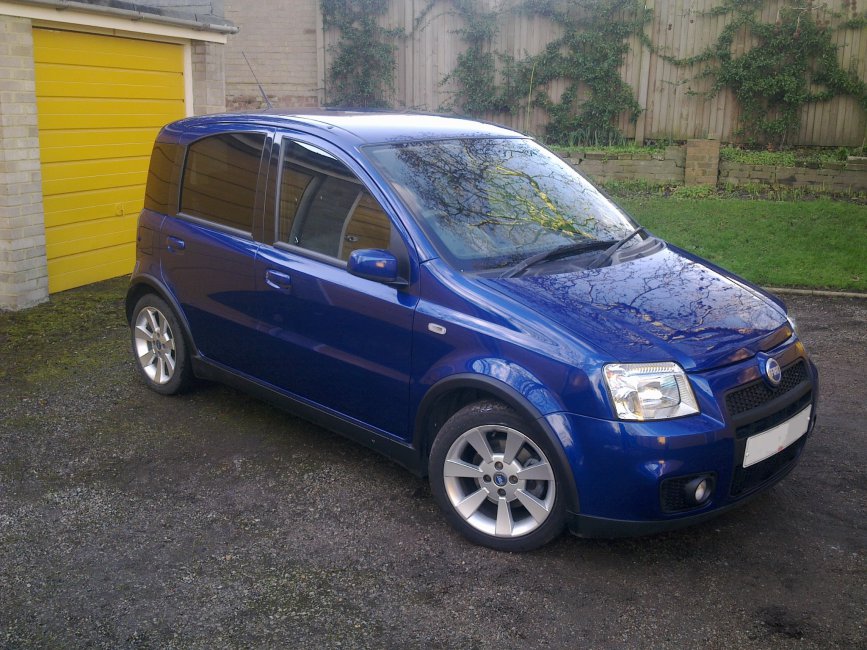
panda.jpg
panda rear.jpg

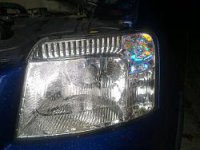
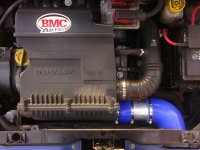
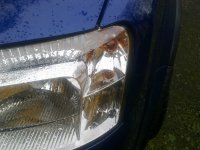
BMC Panel filter replaced and clear indicator bulbs front and back fitted:
Before
panda orange bulbs.jpg
After
Panda cleat indiactor bulbs.jpg

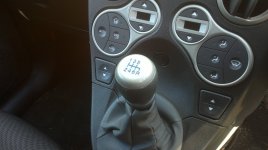
Gear leaver blue detailing done with touch up pen:
gear leaver.jpg

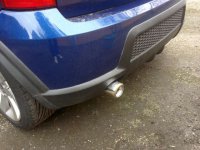
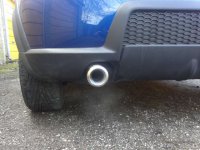
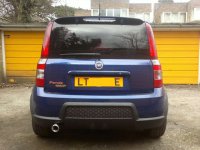
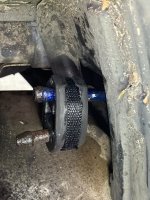
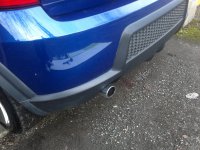
Ultersport rear 80mm back box fitted, with multi hole exhuast rubber to space it away from the bumper:
Before
009 (2).jpg
After
011.jpg
Panda new exhaust rubber 27213.jpg

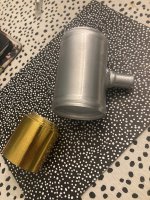
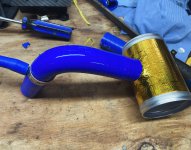
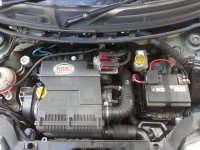
Home made induction mod give great induction noise over 3000rpm!:D here is the link to how I made it https://www.fiatforum.com/panda/319449-100hp-induction-mod-under-30-a.html:
Before
019.jpg
After
028.jpg


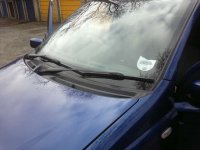
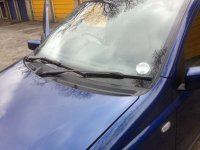
New tax disc holder fitted:
Before
008.jpg
After
tax disc after.jpg

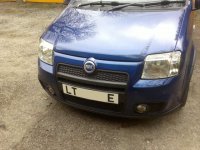
Pressed metal plates (Yes I know the legal issues with these before everyone starts kicking off!:devil:) but wanted to have a clean look!
Front
metal front plate.jpg
Back
rear number plate.jpg

Really happy with the way the car is coming on! The rear end is looking nice and fat, will be looking at getting a silver rear fog light bulb to balance up the lights and looking at spacers the same as Demi has to fill the arches a bit more. All 4 tyres will be getting replaced also for Toyo T1R's as got some cheap front tyres put at the mo and had enough of them!! Lesson learnt!
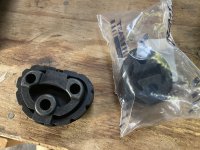
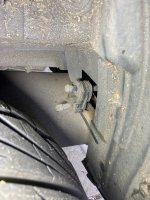
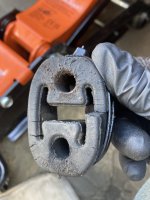
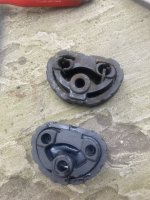
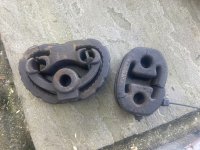
The Rear Exhaust rubbers replaced today, it’s safe to say the old ones were on their last legs!!
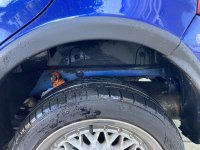
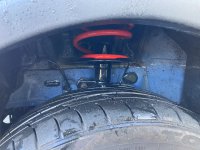
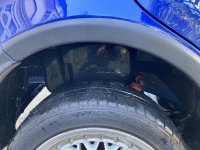
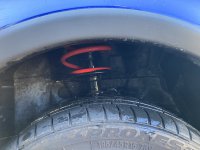
While I had the Jack out I gave all the wheel arches a good clean ready for the winter! 😂🤦🏻‍♂️
 

Attachments

  • IMG_4003.jpeg
    IMG_4003.jpeg
    3.2 MB · Views: 690
  • IMG_4004.jpeg
    IMG_4004.jpeg
    2.1 MB · Views: 1,339
  • IMG_4006.jpeg
    IMG_4006.jpeg
    1.6 MB · Views: 1,284
  • IMG_4008.jpeg
    IMG_4008.jpeg
    1.6 MB · Views: 1,336
  • IMG_4013.jpeg
    IMG_4013.jpeg
    2.2 MB · Views: 1,324
  • IMG_4015.jpeg
    IMG_4015.jpeg
    3.4 MB · Views: 1,151
  • IMG_4018.jpeg
    IMG_4018.jpeg
    2.8 MB · Views: 1,276
  • IMG_4020.jpeg
    IMG_4020.jpeg
    2.6 MB · Views: 555
  • IMG_4023.jpeg
    IMG_4023.jpeg
    2.6 MB · Views: 1,008
  • IMG_4025.jpeg
    IMG_4025.jpeg
    2.2 MB · Views: 997
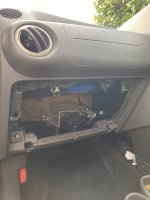
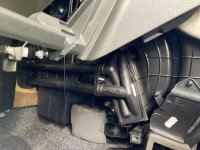
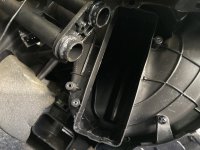
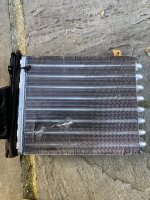
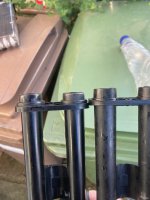
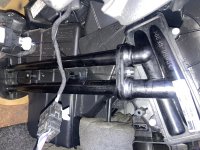
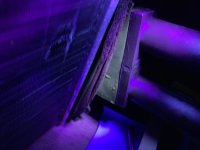
Heater matrix replaced today, couple of things yes it can do done without taking the dash out, you just have to remove the glovebox to help give you some movement on the lower dash on the passenger side.
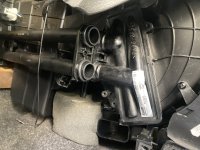
The other point is some pipes for the heaters are not interchangeable!
I had a new pipe fitted last month and when I fitted the new matrix and added the water it leaked like a sieve causing me abit of panic and stress! 😂😂
It’s only when I checked the ends they were total different which meant I had to fit the pipe for the matrix I bought. All in all took about 2 hours!
Let’s see if it stops my water lose!
 

Attachments

  • IMG_4115.jpeg
    IMG_4115.jpeg
    1.6 MB · Views: 1,383
  • IMG_4123.jpeg
    IMG_4123.jpeg
    2.9 MB · Views: 960
  • IMG_4125.jpeg
    IMG_4125.jpeg
    3.1 MB · Views: 32
  • IMG_4126.jpeg
    IMG_4126.jpeg
    3.3 MB · Views: 668
  • IMG_4128.jpeg
    IMG_4128.jpeg
    3.1 MB · Views: 1,084
  • IMG_4131.jpeg
    IMG_4131.jpeg
    1.5 MB · Views: 1,367
  • IMG_4133.jpeg
    IMG_4133.jpeg
    3.8 MB · Views: 1,065
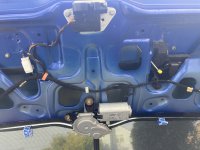
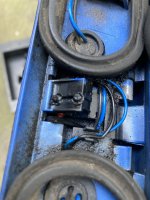
Rear boot handle: my rear handle stopped working which meant I had to use the key to open the boot.
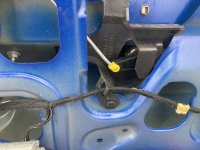
Today’s job was to clean the mirco switch as apparently they become clogged with dirt.
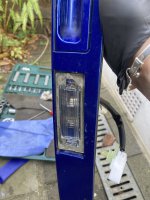
I removed the clips that hold on the boot cover, took off the 4 nuts that hold the lamp unit on, there is an electrical connection you need to undo and I disconnect the lock arm.
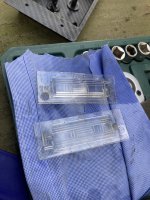
I cleaned up the switch and while I was there I cleaned the number plate light lenses also.
The handle click defo sounds better now.
All in all it took about 30min and it was free! 😂😂😂🐼💙🇮🇹
 

Attachments

  • IMG_4231.jpeg
    IMG_4231.jpeg
    2.2 MB · Views: 2,198
  • IMG_4229.jpeg
    IMG_4229.jpeg
    2.9 MB · Views: 861
  • IMG_4230.jpeg
    IMG_4230.jpeg
    3 MB · Views: 431
  • IMG_4233.jpeg
    IMG_4233.jpeg
    1.7 MB · Views: 1,144
  • IMG_4234.jpeg
    IMG_4234.jpeg
    2.9 MB · Views: 839
  • IMG_4235.jpeg
    IMG_4235.jpeg
    1.3 MB · Views: 2,465
  • IMG_4236.mov
    13.9 MB
I don't suppose you noticed how easy/hard it would be to remove the trim that holds the number plate lights and handle? I stupidly used some higher wattage bulbs in the lights and they got too hot causing the plastic to warp...
 
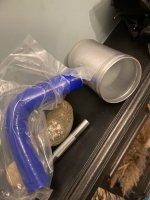
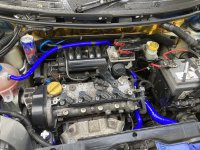
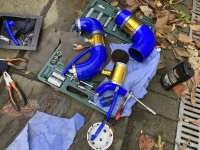
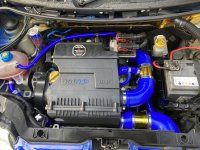
Well I took the plunge and ordered myself a full set of silicone water hoses for the pandavan.
Of course they had to be in blue! 💙😇
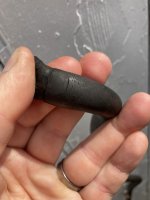
I couldn’t help myself and I’ve already replaced the screen washer pipe (who knew there was one!) and the top hose which already caused me drama when I replaced it the low brake fluid warning light coming on the dash! 😂🤦🏻‍♂️🤦🏻‍♂️
Think as I pulled the pipe of i pulled the connector in the bottle as one of the wires was lose! 😂 abit of solder and wire later and it’s all working as it should be!
On inspecting the old hose you could see a lot of cracking near the end that goes to the thermostat, be interesting to see what the big ones look like and fingers crossed I get to the bottom of my water lose issue.
Cooperman,

Any chance you could post a list of hose parts and the source? so those of us fellow 100hp owners can follow you further down the Rabbit hole :)
 
Cooperman,

Any chance you could post a list of hose parts and the source? so those of us fellow 100hp owners can follow you further down the Rabbit hole :)
Hi Mike,
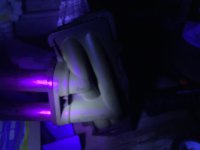
Unfortunately I seem to be going deeper as even with the hose and the new matrix I’m still losing the same amount of water even though both parts showed clear signs of leaks (I’ve put uv dye in the water and the matrix area showed lots of dye around the top of it, so I’m not just throwing parts at it for now reason.
Link for the pipes sir
https://www.egrracing.es/tienda/PANDA-100-HP-KIT-AGUA-p582321571?
 

Attachments

  • IMG_4144.jpeg
    IMG_4144.jpeg
    1.8 MB · Views: 1,089
  • IMG_4145.jpeg
    IMG_4145.jpeg
    3.2 MB · Views: 1,253
  • IMG_4141.jpeg
    IMG_4141.jpeg
    1.6 MB · Views: 1,665
If it's leaking from the joint, even slightly, just a few cc

There's no need to undo anything to see it

If you pull the carpet away from the heater box, passengers side, there will be a bead of coolant between the black plastic heater box and the floor pan


If it's dry look elsewhere
 
No chance its a pinhole leak in the narrow bore pipe from the expansion tank? Had it on 2 100HPs now, and it's hard to spot.
The pipe and the expansion tank have both been replaced but the old pipe was in pretty rough shape
 

Attachments

  • IMG_3685.jpeg
    IMG_3685.jpeg
    1.3 MB · Views: 37
Last edited:
If it's leaking from the joint, even slightly, just a few cc

There's no need to undo anything to see it

If you pull the carpet away from the heater box, passengers side, there will be a bead of coolant between the black plastic heater box and the floor pan


If it's dry look elsewhere
It’s dry round there now as I’ve had the kitchen paper under it, before it was leaking that’s why it’s strange why replacing the matrix and pipe didn’t stop it
 
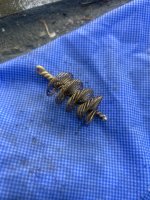
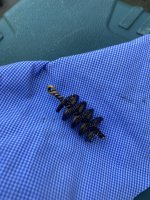
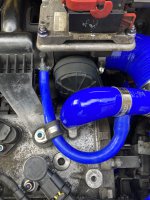
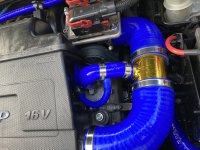
That was a good couple of hours, I’ve finally got round to replacing the oil breather pipe for a silicone one.
It Was pretty straight forward just lots of measuring and test fitting, overall I’m happy with how it came out, ideally the little pipe would of be facing the back but due to the pipe on the manifold being as fragile as a chocolate tea pot I’d thought I’ll add a support clip for the pipe to take the pressure off the connection.
Oh and while I was at it I cleaned the breather filter! 💙🐼🇮🇹
The last picture with shows the original black pipe fitted!
 

Attachments

  • IMG_4529.jpeg
    IMG_4529.jpeg
    1.8 MB · Views: 480
  • IMG_4530.jpeg
    IMG_4530.jpeg
    2.2 MB · Views: 468
  • 413F21D0-7B5B-484C-B7D5-B78B15C0A59D.jpeg
    413F21D0-7B5B-484C-B7D5-B78B15C0A59D.jpeg
    2.8 MB · Views: 357
  • IMG_4571.jpeg
    IMG_4571.jpeg
    2 MB · Views: 623
  • IMG_4570.jpeg
    IMG_4570.jpeg
    2.2 MB · Views: 369
  • IMG_4574.jpeg
    IMG_4574.jpeg
    3 MB · Views: 513
  • IMG_4575.jpeg
    IMG_4575.jpeg
    3.5 MB · Views: 615
  • IMG_4577.jpeg
    IMG_4577.jpeg
    1.6 MB · Views: 27
  • IMG_4580.jpeg
    IMG_4580.jpeg
    2.9 MB · Views: 301
  • IMG_4579.jpeg
    IMG_4579.jpeg
    2.8 MB · Views: 512
  • IMG_4567.jpeg
    IMG_4567.jpeg
    3.1 MB · Views: 573
Today I fitted my Christmas present which was my centre console arm rest.
The arm rest comes in 2 pieces so the first job was to screw them together as per the instructions, I took the centre console out to help fitting and to give it a good clean.
The kit comes with screws for the arm rest to secure to the console but I replaced these with nuts and bolts as it felt more secure.
Overall I’m super happy with the fitment and support it gives, if you do a lot of driving I would recommend one! 💙🇮🇹🐼

@cooperman, can you remember where you got the armrest from? My son is keen to get one fitted to his 100HP.

Thanks
 
Back
Top