Removal and refitting of 1108 cylinder head
Tools needed:
variety of spanners from 10-16mm
Ratchet and socket set, slimline 13mm socket for centre front head bolt
5mm allen key
sump plug
sharp knife
Torque wrench
jack and axle stand
mugs of tea, and a bit of patience!!
Parts needed:
Head gasket kit
head bolts
Jubilee clips to replace broken Fiat clips
cam belt [if needed]
Time
Hmm, if all goes well, then 1 whole day, or a weekend. I did mine over 8 days as I had to obtain another head
Difficulty
Its a tough one this, so I would say hard. Previous experience of removing a cylinder head would be useful, this job can be done by one person.
Here I aim to rectify what could be a head gasket leak, it turned out that the head was past repairing [for me, it probably could be repaired], the head gasket was shot, but one of the water jackets in the head was corroded badly on its edge.
Removal
remove airbox front and back
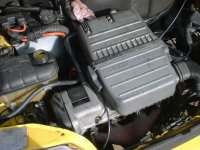
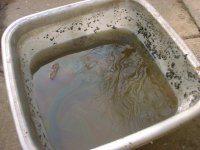
Drain the water, I undid the lower rad hose, drained water, then did it back up, there was oil in the water:
remove water tank, helps access to the cam belt
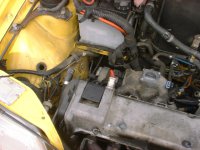
remove the coil packs with plug leads attached, I took the whole plate off with the coils attached, I put some numbered stickers on the plug leads to help with refitting
remove the cam cover
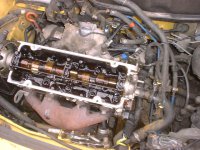
remove the injection unit, you can probably move it to one side, but I just undid everything and removed it from the car, you will need some new jubilee clips as the original Fiat ones have to be broken to get them off, make a note of where everything fits, all hoses and wires pretty much stay where they were so its quite easy really. Undo the lead from the blue sensor on the inlet manifold being careful not to lose the clip, and the lead on the cam wheel end of the head that also fits to a sensor
remove the spark plugs, easier to do this with the head on the car due to the pressure needed to unscrew them, in my case the last person to fit them had crossthreaded no1 plug, and it was only screwed in a couple of turns, good job I got another head!!
jack up the drivers side corner, to give access to under the wheelarch, place on axle stand to enable safe access under the car
remove the wheel, then the wheelarch liner
looking up to the top of the alternator, locate the 16mm bolt, undo, then undo the bottom bolt and move alternator forward to loosen the belt
remove the timing wheel bolted to the crankshaft with 3 x 13mm bolts, take the alternator belt off with it
remove cambelt covers top and bottom, bottom one a bit tricky, just pull!
line up the timing marks on the cam wheel, and the crankshaft cam belt wheel
loosen the cam belt tensioner, then pull the belt off the cam wheel
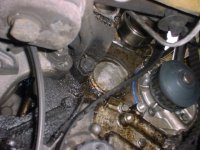
I left the inlet manifold attached to the head, this can be easily removed later where access to the lower nuts is much easier
under the front of the car, remove the exhaust downpipe bracket, you may need to tap it out of the way
working from above, remove the exhaust manifold-to-head nuts and washers, you may also undo the lower ones if you can reach, I found that no2 lower nut can only be accessed from underneath, and I had to remove my oil filter to get to it, it had to come off anyway.
pull the exhaust manifold forward, it will drop down a bit, out of the way
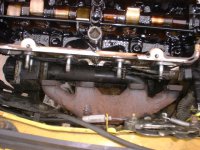
remove cylinder head bolts as per manufacturers requirements, then carefully lift off the entire head complete with inlet manifold and camshaft in place
inspect the gasket or head to see where the problem is
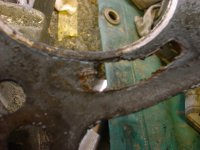
In my case, the gasket had failed by no1 water jacket, it was also on its way out on no4 too, water jacket edge on head was goosed
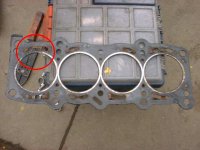
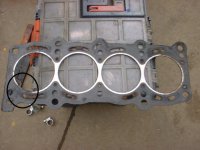
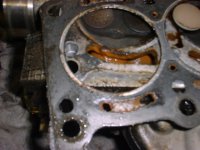
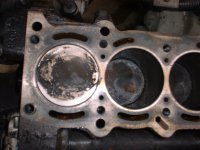
Here is the no1 piston, its gone clean on the edges due to hot water getting in, so I will have to drain the oil too, luckily I had already got in an oil filter.
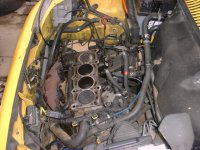
Engine bay minus a cylinder head
The head on the bench
I had some difficulties which means another head was required, firstly one spark plug had been crossthreaded by the last owner. My head between water jackets in no1 and no4 were corroded, right up to where the fire ring of the gasket fits, it would need welding and skimming to put right, so I looked for another head and found one on ebay, locally for just £15
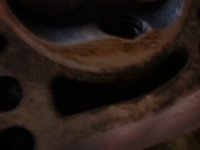
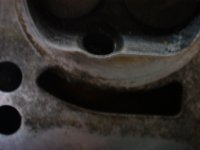
My replacement head has had some porting done on it, the casting was also slightly different but all gaskets and parts were the same, I checked a few things by measuring, all was well, pics of the ports, and the new head [no thatch casting]
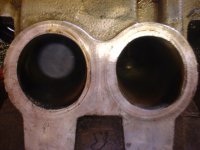
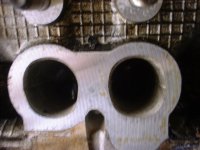
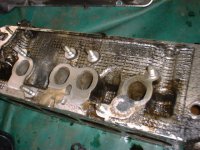
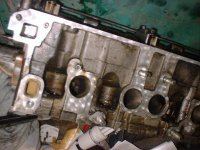
As I was fitting a different head, I had to swap over the inlet manifold, using a new gasket that came in the kit, I also swapped over the sensor that fits next to no1 cylinder, the head I got came with it, but I knew my original was working.
I also took this opportunity to fit the new plugs in place as access it much easier
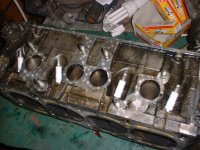
Inlet manifold gasket in place
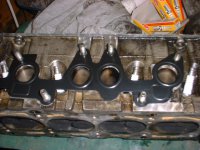
Inlet manifold fitted, taped over the hole so that nothing drops in there by accident
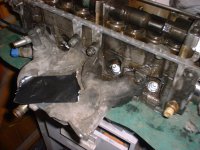
Sensor on no1 end of head was swapped over
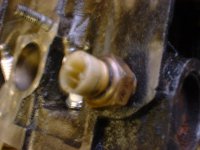
Thermostat housing was swapped over, and new gasket fitted
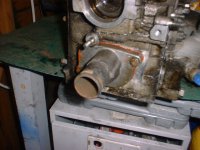
The rubber seal on the coil pack was also changed for a new one which came with the gasket kit
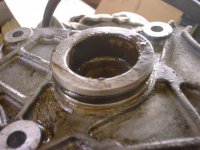
I then drained the oil
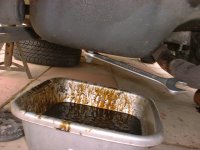
At this stage you may need to have your cylinder head skimmed, if it has overheated, then do it definatly. My head was checked for flatness by somebody who knows how, it had recently been skimmed so I refitted it as it was.
Refitting the cylinder head
Make sure that the top of the block, and the cylinder head is clean of any old gasket material, and dry of oil and water
The block should have a locating dowel at each end fitted, get your new head gasket and determine which way round it has to go, its always worrying at first as it never looks right until you have flipped it over and back to front a couple of times, it will only fit one way though.
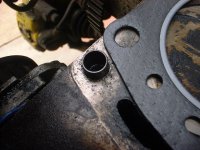
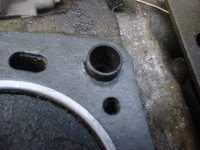
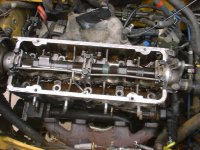
Here is the gasket sitting nicely on the block
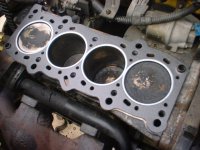
carefully lower the head onto the dowels on the block, it will slip into place nicely
Head bolts
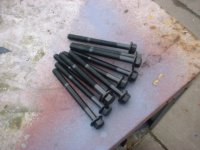
Insert the head bolts into their holes, you can do them up finger tight at this stage
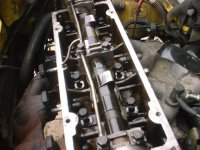
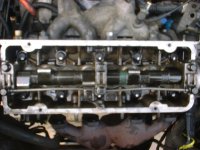
The head bolts need to be tightened in 3 stages, using your torque wrench set it to 30Nm, and tighten the bolts as specified in your manual, after that first stage of each bolt I dabbed a dot of tipex onto each bolt head, facing the back of the car
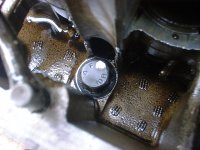
So now they are all at stage 1, and all dabbed with tipex
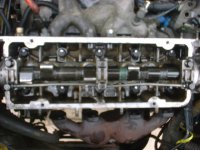
The next stage is to tighten them in order again, by 90 degrees, now the white spots are all facing the passenger side of the car
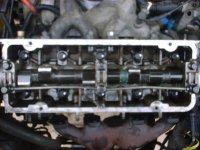
Last stage, tighten another 90 degrees, the spots will now be facing the front of the car
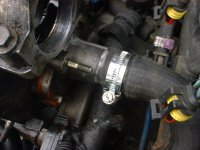
Now we can start putting all the bits and bobs back on, starting with the water pipe, and using a new jubilee clip
At this point, you can fit your spark plugs, if they are aleady fitted, make sure they are tight
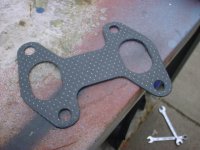
Exhaust manifold gaskets, there are two of them
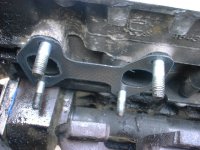
Place them onto the bolts
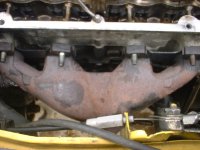
lift the manifold back into place, and tighten the nuts up
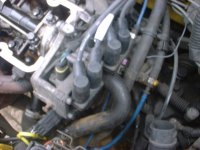
Refit the coil packs
Refit the water hose at the back of the inlet manifold, also at the back, is a blue connector that goes to a blue sensor, fit this now
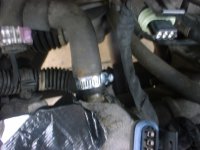
Refit the injector unit, including the small hoses and connectors
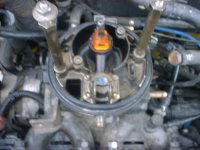
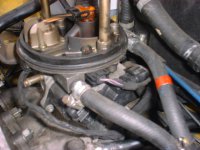
Refit the connector to the sensor on the back of the head, at no1 end
Then refit your plug leads to the spark plugs
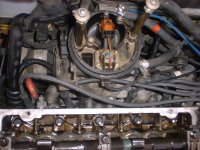
Refit the cam belt [new one if you have one] with the timing mark to the cam wheel, the cam wheel should also be set with its timing mark facing the mark on the head
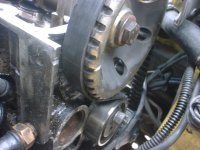
Fit the lower end of the cam belt, again, line up the timing marks on the belt and pulley
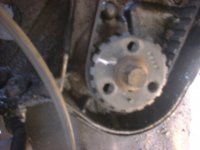
When both pulleys and belt are set, tension the belt with the tensioner [I used a crow bar] and nip it up with a 13mm spanner
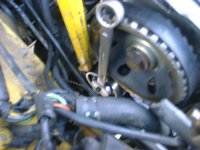
Turn the engine over with a ratchet on the crank end bolt, and make sure that the timing is correct when the marks come round again, if not, adjust it by slackening the tensioner, adjusting the belt, then retightening
I filled my oil up with cam cover removed, partly to get oil onto the cam, and partly because its easier to pour the oil into the engine, you need 3.5L of oil.
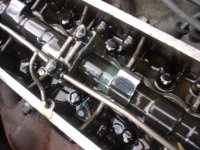
Refit the cam cover and oil cap [cam cover gasket guide at https://www.fiatforum.com/cinquecen...al-refit-cam-cover-gasket-1108cc-engine.html]
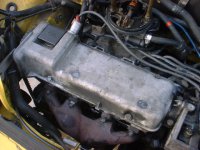
Refit the expansion tank, and connect the large hose underneath to it, and the small hose from it to the injection unit at the front, replacing jubilee clips where needed
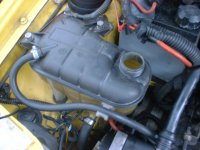
Fill with water, making sure both bleed valves are open, make sure to use antifreeze, although what I did was I refilled with plain water first to check for leaks before draining and then refilling with water/antifreeze when satisfied that all is well, in my case I had not fully tightened one of the thermostat housing bolts and water leaked from it, so there you go!
Next, attach the lower cam belt cover, quite tricky this, just a case of pushing and shoving until it fits, screw the bolt in and nip it up
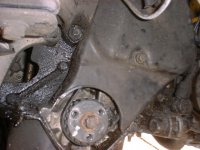
Then the top cam belt cover
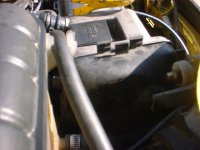
I now fitted the alternator belt pulley, followed by the belt, and from above use a crowbar to tension the alternator, then from below tighten the nuts up
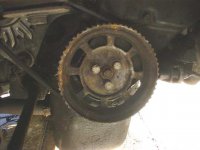
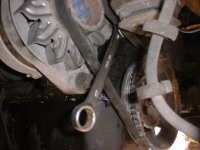
Next, refit the arch liner, its big and daft but it stops everything getting mucky, just before you attach this, you may as well check the washer bottle pipes and connections
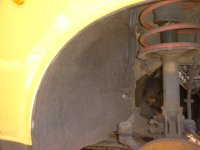
Then the wheel
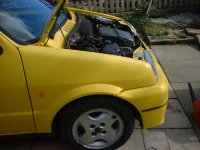
I then fitted the air box back to the car
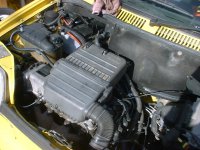
Lower the car to the ground, and have a good look over to check there are no tools etc left in the engine bay, thats it, job done, now its time to start it.....
Hmm more to do!! The cam that came with my head must have been a bit worn, the engine was a bit tappety from the top end, it runs though, and the test drive on local roads to get it warm followed by an easy run down a duel carriageway went without any drama, or loss of fluids, back home then and I allowed the car to cool, I then drained the water and refilled with antifreeze/water mix.
I found this job quite hard, but I managed it in the end, I was annoyed that the cam was noisy, it could be the grade of oil that I put in it, the job would have been much simpler if it had meant I used the original head, afterwards I found a bolt left over that had attached a wiring bracket to the back of the inlet manifold, too hard to get at now so it will have to wait for another day!!
I tried to put this guide onto 3 pages [removal, on the bench, refitting] but had a bit of mither, so if a Mod is willing, please split!!
Thanks for looking!! Nik
Tools needed:
variety of spanners from 10-16mm
Ratchet and socket set, slimline 13mm socket for centre front head bolt
5mm allen key
sump plug
sharp knife
Torque wrench
jack and axle stand
mugs of tea, and a bit of patience!!
Parts needed:
Head gasket kit
head bolts
Jubilee clips to replace broken Fiat clips
cam belt [if needed]
Time
Hmm, if all goes well, then 1 whole day, or a weekend. I did mine over 8 days as I had to obtain another head
Difficulty
Its a tough one this, so I would say hard. Previous experience of removing a cylinder head would be useful, this job can be done by one person.
Here I aim to rectify what could be a head gasket leak, it turned out that the head was past repairing [for me, it probably could be repaired], the head gasket was shot, but one of the water jackets in the head was corroded badly on its edge.
Removal
remove airbox front and back

Drain the water, I undid the lower rad hose, drained water, then did it back up, there was oil in the water:

remove water tank, helps access to the cam belt

remove the coil packs with plug leads attached, I took the whole plate off with the coils attached, I put some numbered stickers on the plug leads to help with refitting
remove the cam cover

remove the injection unit, you can probably move it to one side, but I just undid everything and removed it from the car, you will need some new jubilee clips as the original Fiat ones have to be broken to get them off, make a note of where everything fits, all hoses and wires pretty much stay where they were so its quite easy really. Undo the lead from the blue sensor on the inlet manifold being careful not to lose the clip, and the lead on the cam wheel end of the head that also fits to a sensor
remove the spark plugs, easier to do this with the head on the car due to the pressure needed to unscrew them, in my case the last person to fit them had crossthreaded no1 plug, and it was only screwed in a couple of turns, good job I got another head!!
jack up the drivers side corner, to give access to under the wheelarch, place on axle stand to enable safe access under the car
remove the wheel, then the wheelarch liner
looking up to the top of the alternator, locate the 16mm bolt, undo, then undo the bottom bolt and move alternator forward to loosen the belt
remove the timing wheel bolted to the crankshaft with 3 x 13mm bolts, take the alternator belt off with it
remove cambelt covers top and bottom, bottom one a bit tricky, just pull!
line up the timing marks on the cam wheel, and the crankshaft cam belt wheel
loosen the cam belt tensioner, then pull the belt off the cam wheel

I left the inlet manifold attached to the head, this can be easily removed later where access to the lower nuts is much easier
under the front of the car, remove the exhaust downpipe bracket, you may need to tap it out of the way
working from above, remove the exhaust manifold-to-head nuts and washers, you may also undo the lower ones if you can reach, I found that no2 lower nut can only be accessed from underneath, and I had to remove my oil filter to get to it, it had to come off anyway.
pull the exhaust manifold forward, it will drop down a bit, out of the way

remove cylinder head bolts as per manufacturers requirements, then carefully lift off the entire head complete with inlet manifold and camshaft in place
inspect the gasket or head to see where the problem is
In my case, the gasket had failed by no1 water jacket, it was also on its way out on no4 too, water jacket edge on head was goosed


Here is the no1 piston, its gone clean on the edges due to hot water getting in, so I will have to drain the oil too, luckily I had already got in an oil filter.

Engine bay minus a cylinder head

The head on the bench
I had some difficulties which means another head was required, firstly one spark plug had been crossthreaded by the last owner. My head between water jackets in no1 and no4 were corroded, right up to where the fire ring of the gasket fits, it would need welding and skimming to put right, so I looked for another head and found one on ebay, locally for just £15
My replacement head has had some porting done on it, the casting was also slightly different but all gaskets and parts were the same, I checked a few things by measuring, all was well, pics of the ports, and the new head [no thatch casting]


As I was fitting a different head, I had to swap over the inlet manifold, using a new gasket that came in the kit, I also swapped over the sensor that fits next to no1 cylinder, the head I got came with it, but I knew my original was working.
I also took this opportunity to fit the new plugs in place as access it much easier

Inlet manifold gasket in place

Inlet manifold fitted, taped over the hole so that nothing drops in there by accident

Sensor on no1 end of head was swapped over

Thermostat housing was swapped over, and new gasket fitted

The rubber seal on the coil pack was also changed for a new one which came with the gasket kit

I then drained the oil

At this stage you may need to have your cylinder head skimmed, if it has overheated, then do it definatly. My head was checked for flatness by somebody who knows how, it had recently been skimmed so I refitted it as it was.
Refitting the cylinder head
Make sure that the top of the block, and the cylinder head is clean of any old gasket material, and dry of oil and water
The block should have a locating dowel at each end fitted, get your new head gasket and determine which way round it has to go, its always worrying at first as it never looks right until you have flipped it over and back to front a couple of times, it will only fit one way though.


Here is the gasket sitting nicely on the block

carefully lower the head onto the dowels on the block, it will slip into place nicely

Head bolts

Insert the head bolts into their holes, you can do them up finger tight at this stage

The head bolts need to be tightened in 3 stages, using your torque wrench set it to 30Nm, and tighten the bolts as specified in your manual, after that first stage of each bolt I dabbed a dot of tipex onto each bolt head, facing the back of the car

So now they are all at stage 1, and all dabbed with tipex

The next stage is to tighten them in order again, by 90 degrees, now the white spots are all facing the passenger side of the car

Last stage, tighten another 90 degrees, the spots will now be facing the front of the car

Now we can start putting all the bits and bobs back on, starting with the water pipe, and using a new jubilee clip

At this point, you can fit your spark plugs, if they are aleady fitted, make sure they are tight
Exhaust manifold gaskets, there are two of them

Place them onto the bolts

lift the manifold back into place, and tighten the nuts up

Refit the coil packs

Refit the water hose at the back of the inlet manifold, also at the back, is a blue connector that goes to a blue sensor, fit this now

Refit the injector unit, including the small hoses and connectors


Refit the connector to the sensor on the back of the head, at no1 end

Then refit your plug leads to the spark plugs

Refit the cam belt [new one if you have one] with the timing mark to the cam wheel, the cam wheel should also be set with its timing mark facing the mark on the head

Fit the lower end of the cam belt, again, line up the timing marks on the belt and pulley

When both pulleys and belt are set, tension the belt with the tensioner [I used a crow bar] and nip it up with a 13mm spanner

Turn the engine over with a ratchet on the crank end bolt, and make sure that the timing is correct when the marks come round again, if not, adjust it by slackening the tensioner, adjusting the belt, then retightening
I filled my oil up with cam cover removed, partly to get oil onto the cam, and partly because its easier to pour the oil into the engine, you need 3.5L of oil.

Refit the cam cover and oil cap [cam cover gasket guide at https://www.fiatforum.com/cinquecen...al-refit-cam-cover-gasket-1108cc-engine.html]

Refit the expansion tank, and connect the large hose underneath to it, and the small hose from it to the injection unit at the front, replacing jubilee clips where needed

Fill with water, making sure both bleed valves are open, make sure to use antifreeze, although what I did was I refilled with plain water first to check for leaks before draining and then refilling with water/antifreeze when satisfied that all is well, in my case I had not fully tightened one of the thermostat housing bolts and water leaked from it, so there you go!
Next, attach the lower cam belt cover, quite tricky this, just a case of pushing and shoving until it fits, screw the bolt in and nip it up

Then the top cam belt cover

I now fitted the alternator belt pulley, followed by the belt, and from above use a crowbar to tension the alternator, then from below tighten the nuts up


Next, refit the arch liner, its big and daft but it stops everything getting mucky, just before you attach this, you may as well check the washer bottle pipes and connections

Then the wheel

I then fitted the air box back to the car

Lower the car to the ground, and have a good look over to check there are no tools etc left in the engine bay, thats it, job done, now its time to start it.....
Hmm more to do!! The cam that came with my head must have been a bit worn, the engine was a bit tappety from the top end, it runs though, and the test drive on local roads to get it warm followed by an easy run down a duel carriageway went without any drama, or loss of fluids, back home then and I allowed the car to cool, I then drained the water and refilled with antifreeze/water mix.
I found this job quite hard, but I managed it in the end, I was annoyed that the cam was noisy, it could be the grade of oil that I put in it, the job would have been much simpler if it had meant I used the original head, afterwards I found a bolt left over that had attached a wiring bracket to the back of the inlet manifold, too hard to get at now so it will have to wait for another day!!
I tried to put this guide onto 3 pages [removal, on the bench, refitting] but had a bit of mither, so if a Mod is willing, please split!!
Thanks for looking!! Nik

