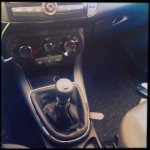
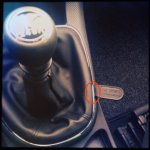
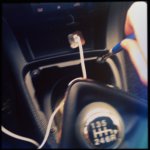
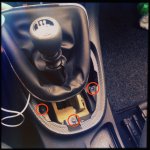
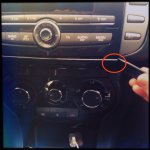
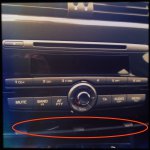
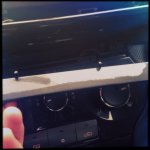
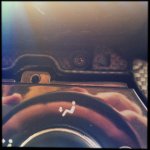
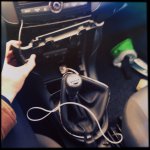
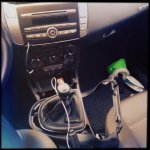
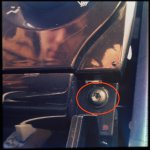
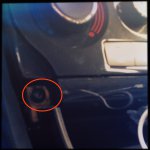
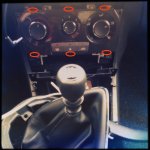
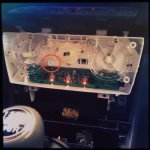
Remove silver surround to gearshift gaiter (prise up with screwdriver ) Remove torx screws - be prepared with a T25 screwdriver. There are several screws which hold in the plastic surround to the central console and gearstick. Take them all out. The shiny plastic covers to the dash above the heater controls can be prised off with a putty knife or wallpaper scraper . There a number of snap-fit lugs which can (and in one case did) break. The top retaining screws of the surround are then visible . Remove these.
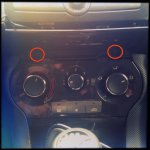
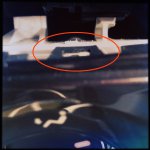
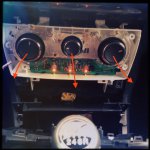
The fascia of the heater control panel is held in place by six lugs. Snap undone the lower three - use a flat thin screwdriver and it helps to stand on your head to see these. Once loosened its easy to lift up the panel and snap the top lugs free. The control knobs are on pretty tight but with a bit of a tug they come off . They replace the right way easily as there is only one way they go on.The innerds of the panel are now accessible . There is a transparent plastic piece visible which acts as a series of prisms to direct the lighting and which breaks easily but can be repaired if necessary. The two bulbs are visible at the top of the panel . After replacing them test before reassembly. Reassemble is simply the reverse of dismantling. Takes about 20 minutes if all goes well.
NB. Take care to push the control knobs well home before snapping back the front cover otherwise the knobs wont rotate very well.
I managed to break a couple of plastic lugs but it still all holds together . I lost one screw down in the centre console and when trying to fish it out with a magnetic probe I lost the end of that too!


