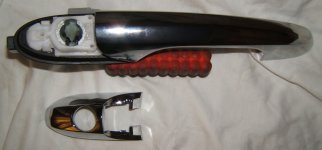
Modifying The Handle Rod Connection
The big different between these handles and the originals is the Handle rod connection. This causes two problems 1. The size causes it to hit the window runner and 2. The rod connects to the wrong side of the handle.
I think the large piece of metal is there to add extra theft protection or to add weight in the handle pull mechanism. Either way its got to go for our use. It is relatively easy with a hacksaw though the metal is quite dense so a good hack saw blade is needed.
First cut off this section of the metal. Put some masking tape over the mechanism to stop filings getting everywhere.
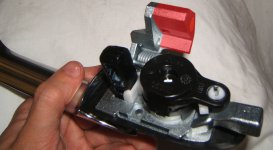
Half way through the cut.
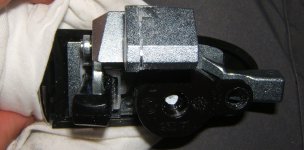
All the way off, You may need to file the back down to smooth off any sharp edges and level it out with the rest of the part.
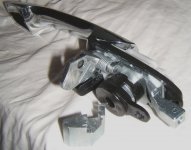
Next you need to cut off the part that interferes with the window runner.
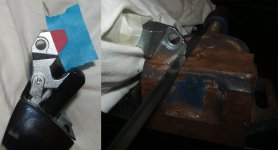
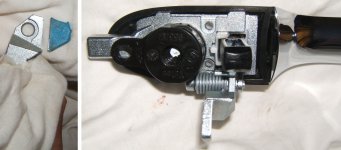
I filed down the sharp edges to prevent any paintwork accidents.

Next you need to remove the lock cover, this will give you a hell of a lot more manoeuvrability when fitting the handle to the car. . Take out the three smaller Philips screws, for the rearward one turn the black lock mechanism to the side. When the screws are out you can separate the metal base from the chrome body by a few centimetres. I found using cable ties to pin the handle mechanism in the open position is very handy.
Open it up and you will see a white plastic body held into the chrome outer body by four clips. The rear two clips are very easy to undo with a small screwdriver I just pushed the white tabs inwards.
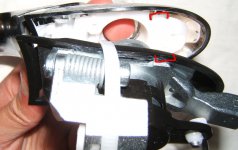
The front two are a little harder to undo. Imagine this is still connected where you see the flat head screwdriver here I turned it clockwise against the white insert . This let the clips pop free.
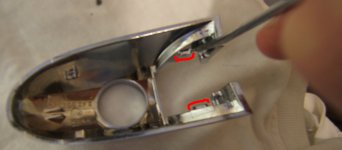
You should be left with two hopefully unbroken parts.
