Image0159.jpg

Bravo (Classic) Van with a difference!!!.

Introduction

Heres the replacement for my highly abused yet extremely reliable Bravo.... Another Bravo (y) I'm moving up a year here :D Not going to be bitten like the last time, this is going to have a strip down and re-rustproof with a few bits to be thrown in too (copper lines all round are in the plans). Most importantly, this car is going to be converted to a van and painted black with some "toys" installed... More pics soon! :)

Image0159.jpg
  • Like
Reactions: Joshhh
mal, that sounded sick!!! ;) as you come out of the tunnel i think you engaged race mode ha...but this coming along nicely :) cant wait for the finished product!

Cheers Chris! Have you seen the vid for my Sporting in that same tunnel? It has the cams I want, Ill swap them some weekend and see what the difference in sound will be... I think its going to turn into one of those cars where there will be constant adjustments made! But hope to have it in a normal state over the summer :D

Another update! :eek:

For the eagle eyed, I have had no breather for ages (not recomended) (n)

Until yesterday (y)
Image0688.jpg


On its new pipe
Image0689.jpg


With a sticker :p
Image0690.jpg


Finally in its new home (y)
Image06911.jpg


Much better, no nasty fumes (y) Which reminds me, I need a new pollen filter... :bang:

I decided to do an oil change and scalded myself in the process :doh:
Image0692.jpg


And then swap one arm (y)
Image0695.jpg


Too much power :devil:
Image0696.jpg


The past still haunts this car, one of the bushes was missing, presumed rotted away and the other one was unrecognizable :rolleyes: heres the other end of that mess
Image0698.jpg


But not to worry, I have spares :cool:
Image0697.jpg


Now heres the arm. The bushes were alright...
Image0699.jpg


The balljoint wasnt (n)
Image0700.jpg


And a new one appears :yum:
Image07011.jpg


30 mins later, fitted and no more annoying clonking from the left (y) The right is for next weekend...

Had to make up a bracket for the ehxaust but it failed to do anything useful :mad:
Image0702.jpg


So I chopped up the heatshield and gear gaiter from a 2001 Bravo and used its mounts, pics of it I shall get soon ;)

As is a common problem, rusty oil sump
Image0703.jpg


Which when cleaned...
Image0704.jpg


And painted...
Image0705.jpg


Should prolong its lifespan (y) Ill give it a further make over next weekend when the paint is fully dry. Once again, the eagle eyed may have spotted my exhaust bracket in action. And copped I have the totally wrong engine for the year of car... :eek:

This should keep me going :) Now for the next update hmm.... :D
 
Its not oxidising, just rough, didnt get a chance to smooth it properly, untill today (y) I was using Shell Helix Ultra 5w40 but its too light for these engines, so back to Helix Plus 10w40 :)

Hats off to Andycam for supplying wheel liners for my Punto and for a great chat, I'll be doing some work on that when I get the time, keep a look out for it (y)

Driving to get the parts meant another thing, I had to go through a tunnel... :cool:

http://www.youtube.com/watch?v=fuAUeL1e_AY

The camera dosent do justice, I cannot wait to take it to the port tunnel someday, the sound literally adds to your lifespan :worship: I need those early mk1 cams on this engine! :D
so i missed this thread for a few days. then i come back and theres a lovely video full of naughty noises :devil: god i love that
 
Cheers Chris! Have you seen the vid for my Sporting in that same tunnel?

yeah i had a little browse round your youtube, and had a look...very nice aswell..kinda have a softer spot for the bravo of course :) and is there any performance gain between the cams on the punto than the bravo ones ? different torque bands ?
 
Cheers for the comments!

yeah i had a little browse round your youtube, and had a look...very nice aswell..kinda have a softer spot for the bravo of course :) and is there any performance gain between the cams on the punto than the bravo ones ? different torque bands ?

From what I've read, the Punto cams are the same as Panda 100hp cams, so a handy few bhp on tap and deeper growl up the rev band (y)

A tiny update or should I say state of health...

After trying a few petrol stations, its clearly running the best on texacos stuff, so I'm sticking with that for the moment :) so theres a golden tip, texacos pretty damn good (y)

I have now joined the club of head gasket failures (n) another grim statistic. After sorting the hose leak, its used a sight of water in a week and is blowing tonnes of steam through the exhaust :bang: It still drives fine, but not as happy as it used to (n)

Stay tuned, I'll deal with that (y)
 
Last edited:
I have 2 weeks of hols, then 2 weeks of college, followed by a week of exams. Then its summertime :cool:

So all the major stuff like the hg and exhaust will be hopefully sorted by then :) and I have plans for another thing I've been waiting to do for ages that I may have the funds for... ;)

But for the moment, I'm playing with this and working out an adapter plate (y)
Image0706.jpg


Image0707.jpg


Image0709.jpg


Image0708.jpg


Guesses to what its off and its not a Fiat either :D if I find something more suitable or better fitting, then this gets the bin, literally :p

So there will be no major updates for a few weeks at least, unless I get the front bumper sorted (y) Roll on the summer hols, I want to work on my car with a bit of comfort!!! :worship:
 
4-1 manifold, hmm interesting:) good luck with that, that is what i think your next update is ;)

Cheers! I dont think its going to work, it has a smaller bore than the old system so i think this is getting the bin (n) but dont worry I can pull pars out of thin air (y)

Speaking of updates... :D

Finaly the bumper is getting into shape :)
Image0713.jpg


But that will be finished in another update... So onto this :)
Image0710.jpg


One for the yellow car, one for my daily hack :D
Image07121.jpg


And now begining to go into uncharted territory...
Image0714.jpg


Then it all falls into place :D
Image0715.jpg


And that wrapped that up for the evening :)
Image0716.jpg


Ive never taken cams out of these engines so this is a first
Image0717.jpg


This one was a little damaged inside, I fitted the cam back and it dosent interfere with the bearings so ill polish it out when I have the time :)
Image0718.jpg


What a therapeutic evening :p Untill the next update...! (y)
 
And more business earlier, I'm a little higher due to all those paint fumes :spin:

First job I did was to clean down the extention :)
Image07211.jpg


Realising I did things the wrong way round (ment do this then clean :doh:), I then proceded to smooth the rough castings (y)
Image07241.jpg


And the sides as much as possible
Image07251.jpg


So I could give it a lick of paint (y)
Image0726.jpg


Now the plan was to paint it blue and white but plans change, coffee beckons and cakes await devouring. So we end for the moment with this:
Image0729.jpg


Untill the next update...! :D
 
Ironically, heres an update :p

First, I'm deaf for the evening (n)


Yeah, it fell off, damaged from the last time... Oh well!

Now heres not how to tint windows (n)
Image0744.jpg


Prepping wasnt a problem. Idiocy was though. This roll was 3 years old...
Image0745.jpg


And not long enough for the fronts. So I attempted to do the back :)
Image0746.jpg


So I cut...
Image0747.jpg


Trimmed...
Image0748.jpg


And made solution
Image0749.jpg


Got the tape out...
Image0750.jpg

Image07511.jpg


Then soaked the film
Image07521.jpg

Image07531.jpg


Out with the roller...
Image07541.jpg


And made a total ham sandwich of it with the heat gun :bang:
Image0755.jpg


I will get it right, just need the time (y)

So untill the next update, expect to see this in action...
Image0756.jpg


Image0757.jpg


And these high lift cams being fitted :yum::yum::yum::yum::yum::yum::yum::yum::yum::yum:
Image0735.jpg


Stay tuned...! :D
 
never realised tinting can go so wrong! :eek: im ment to be tinting my windows soon haha! and is the film on the inside or outside the window? :p

Believe me, you can do it right or very wrong...

Doing it right
Image649.jpg


Doing it wrong
Image01281.jpg


Image0408.jpg


Yes, i did both of those... Ill see if i can find a better pic of the silver car, its woeful :bang:

You measure it on the outside and shrink it to fit but because i was in a rush i did the heating at the wrong time and didnt shrink the tint, causing that mess (n)

I just need the time, ill get it right! :D
 
These days I realy don't know where I get the time to work on this car :p I do have the weekend booked hopefully for a major update... ;)

But for now its all prep :D

Heres the new "improved" inlet manifold I'll be putting on. You can see were I've smoothed 2 ports and haven't gone near the other 2
Image0758.jpg


These manifolds leave the factory fairly rough (n)
Image0759.jpg


And after some careful sanding at both ends, then a filing in the middle and a clean pull through results in a smooth manifold :cool:
Image0760.jpg


Stay tuned, you never know what will be in the next update...! :D
 
i beleive i saw a HTC Wildfire or Desire in one of those pics ;) keep up the good work though!

What you saw was my Nokia E5 :D
Image0805.jpg


Now I do believe it is time for a very small update... ;)

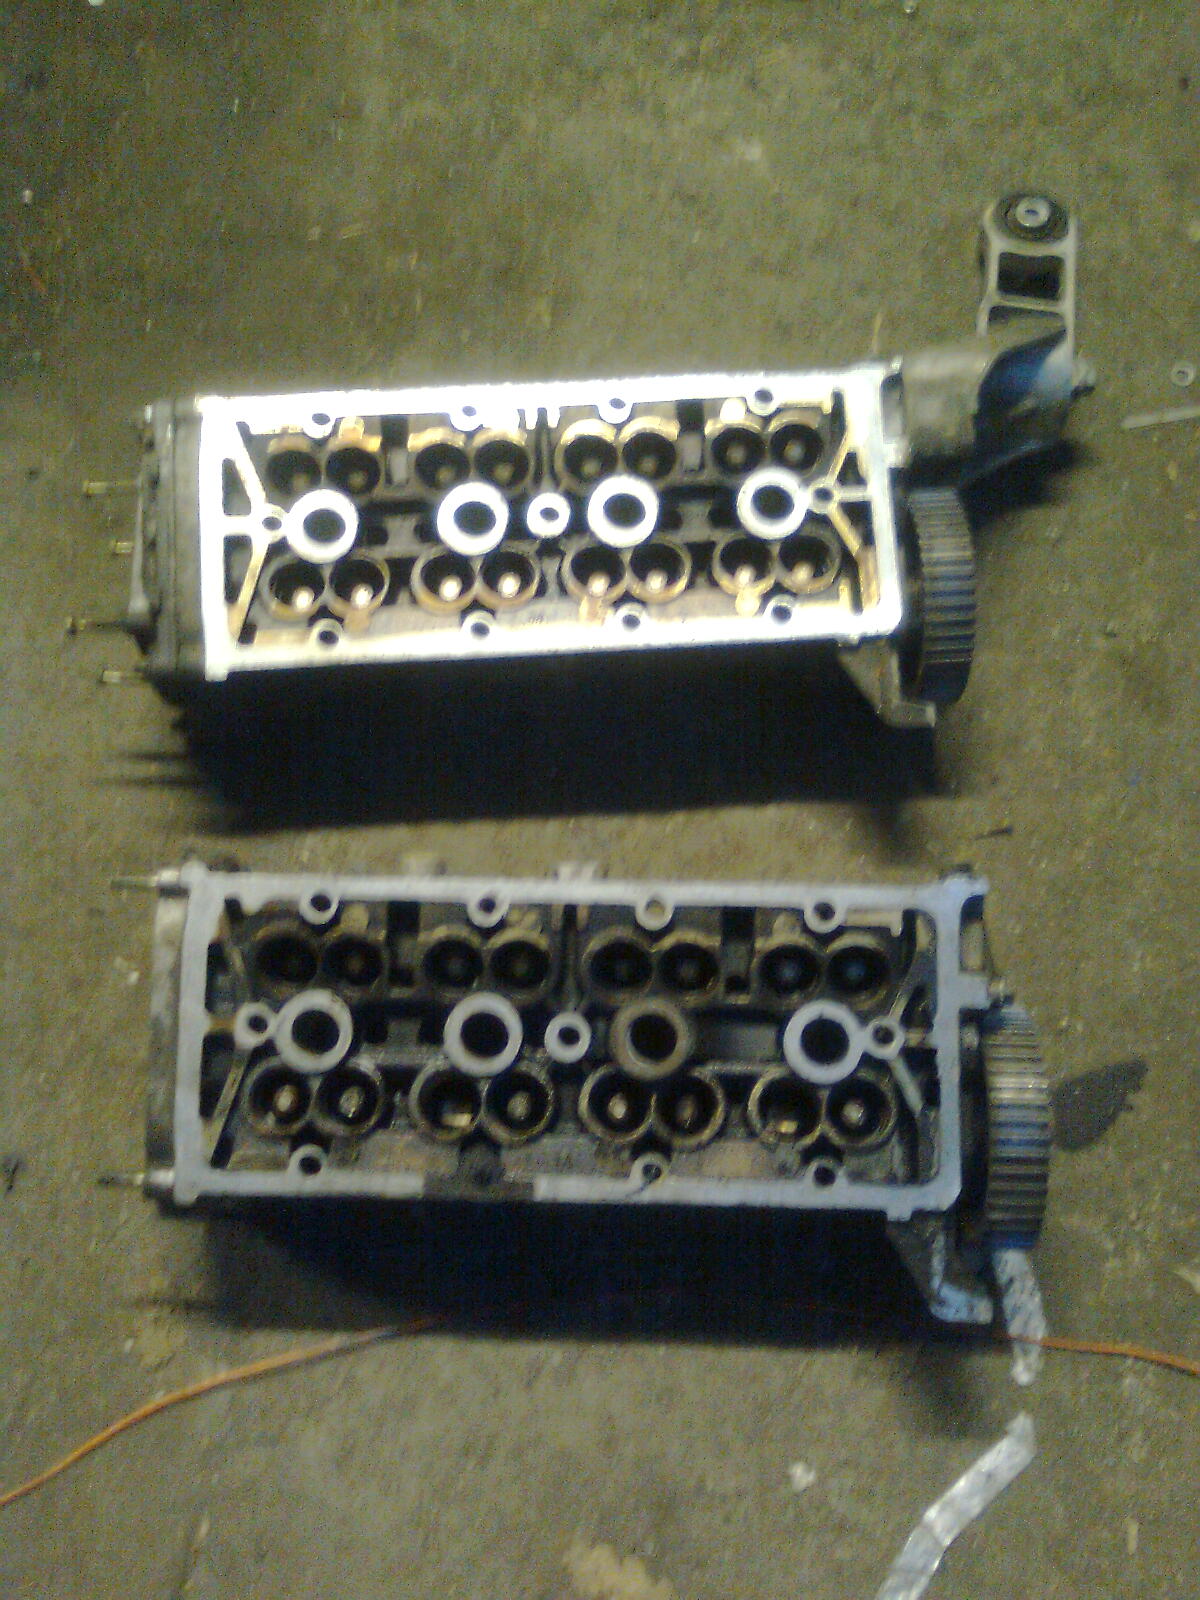
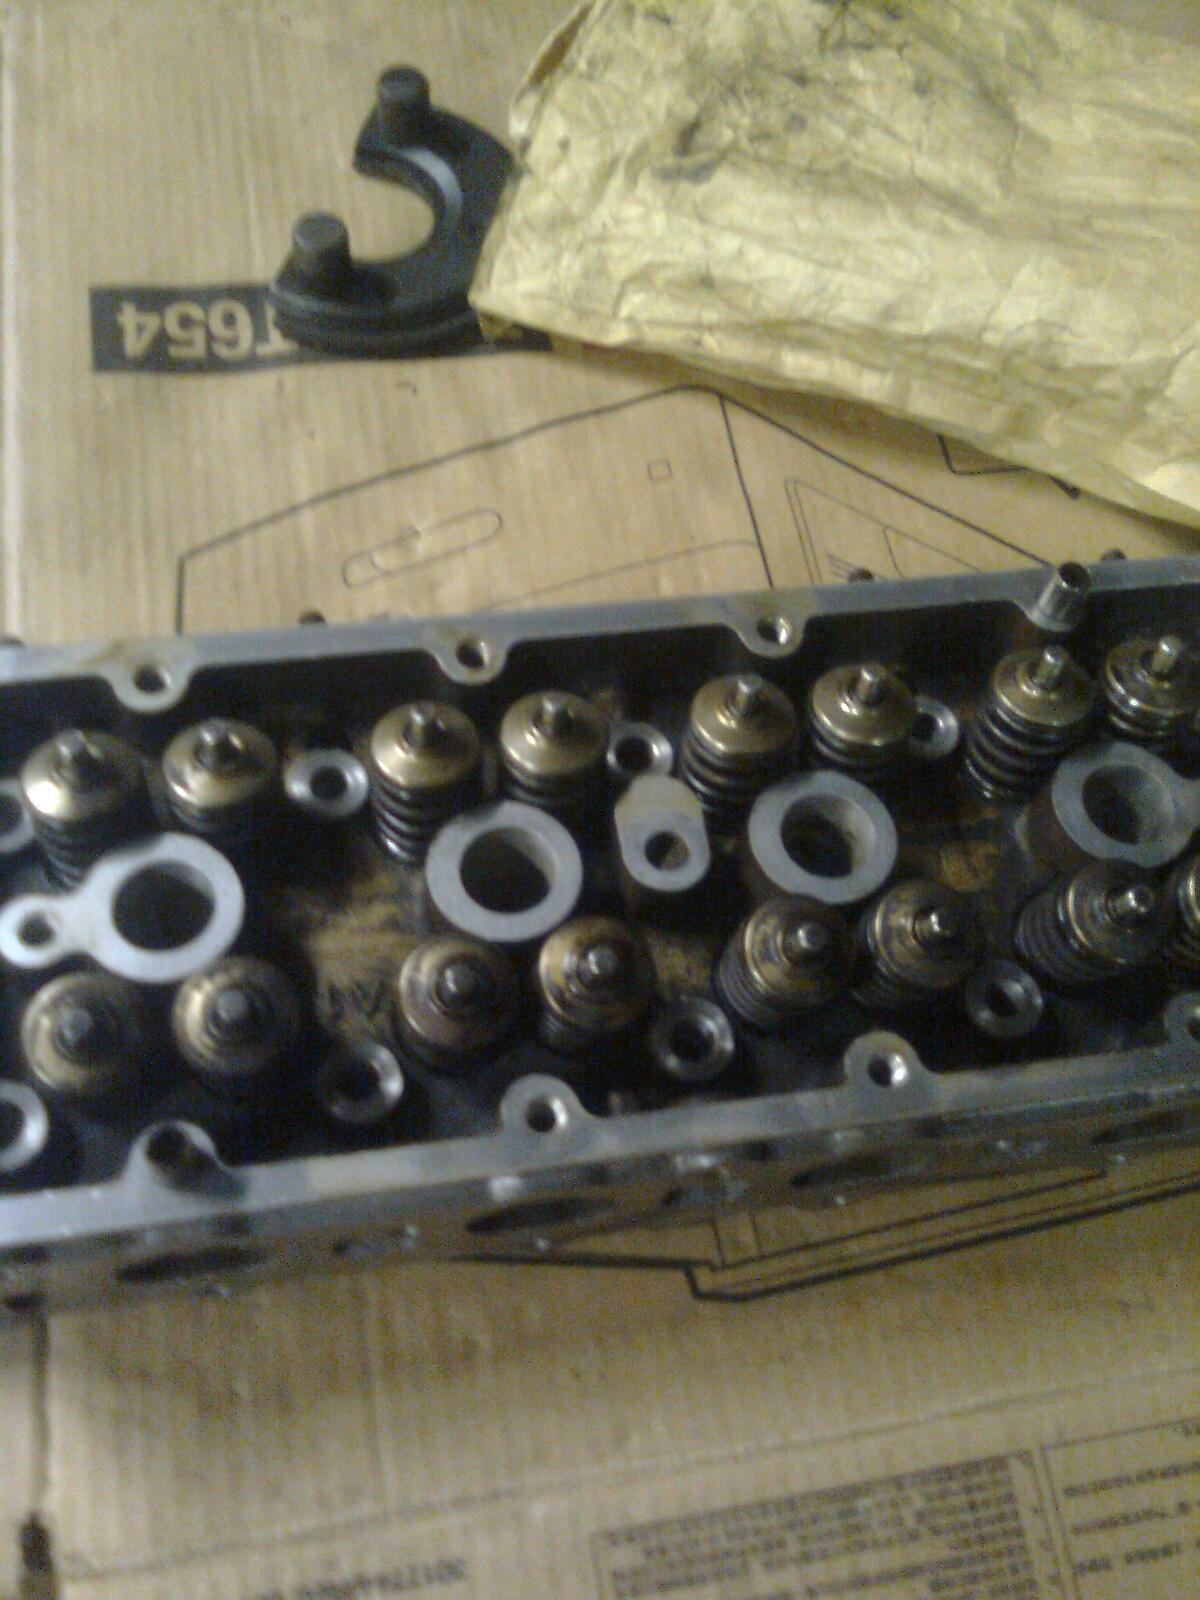
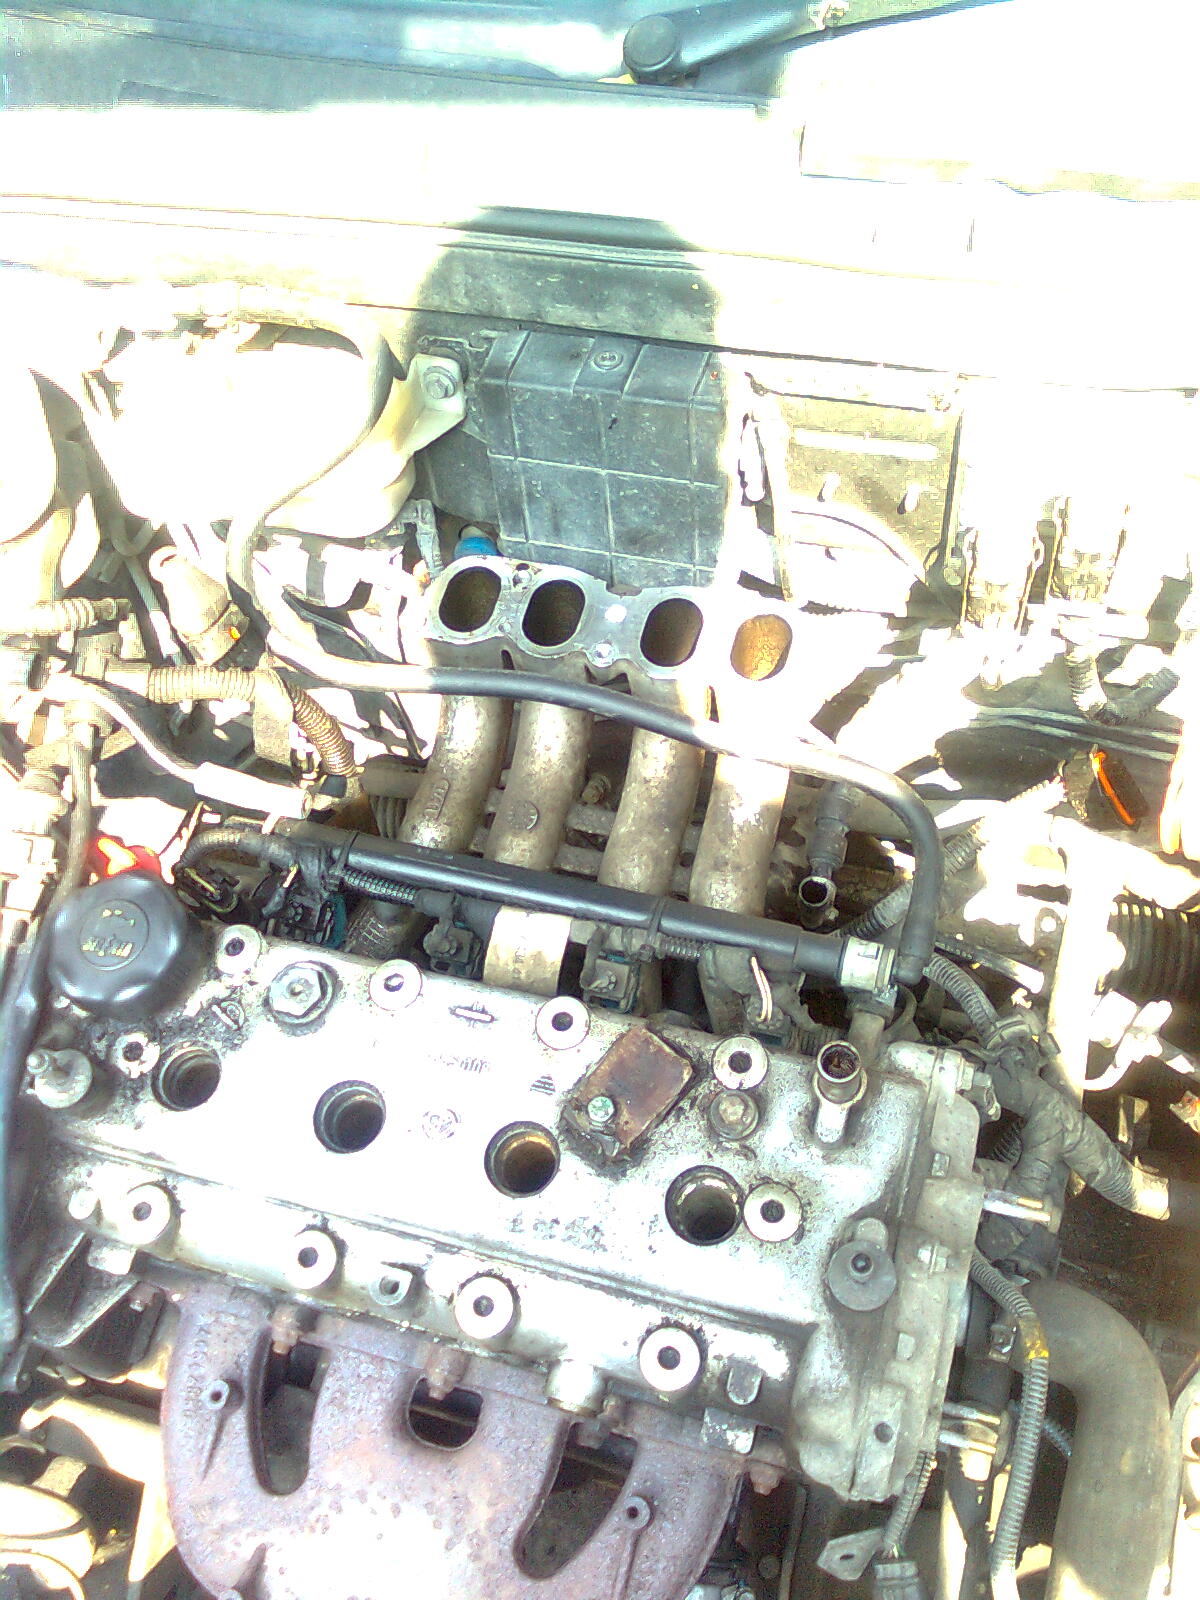
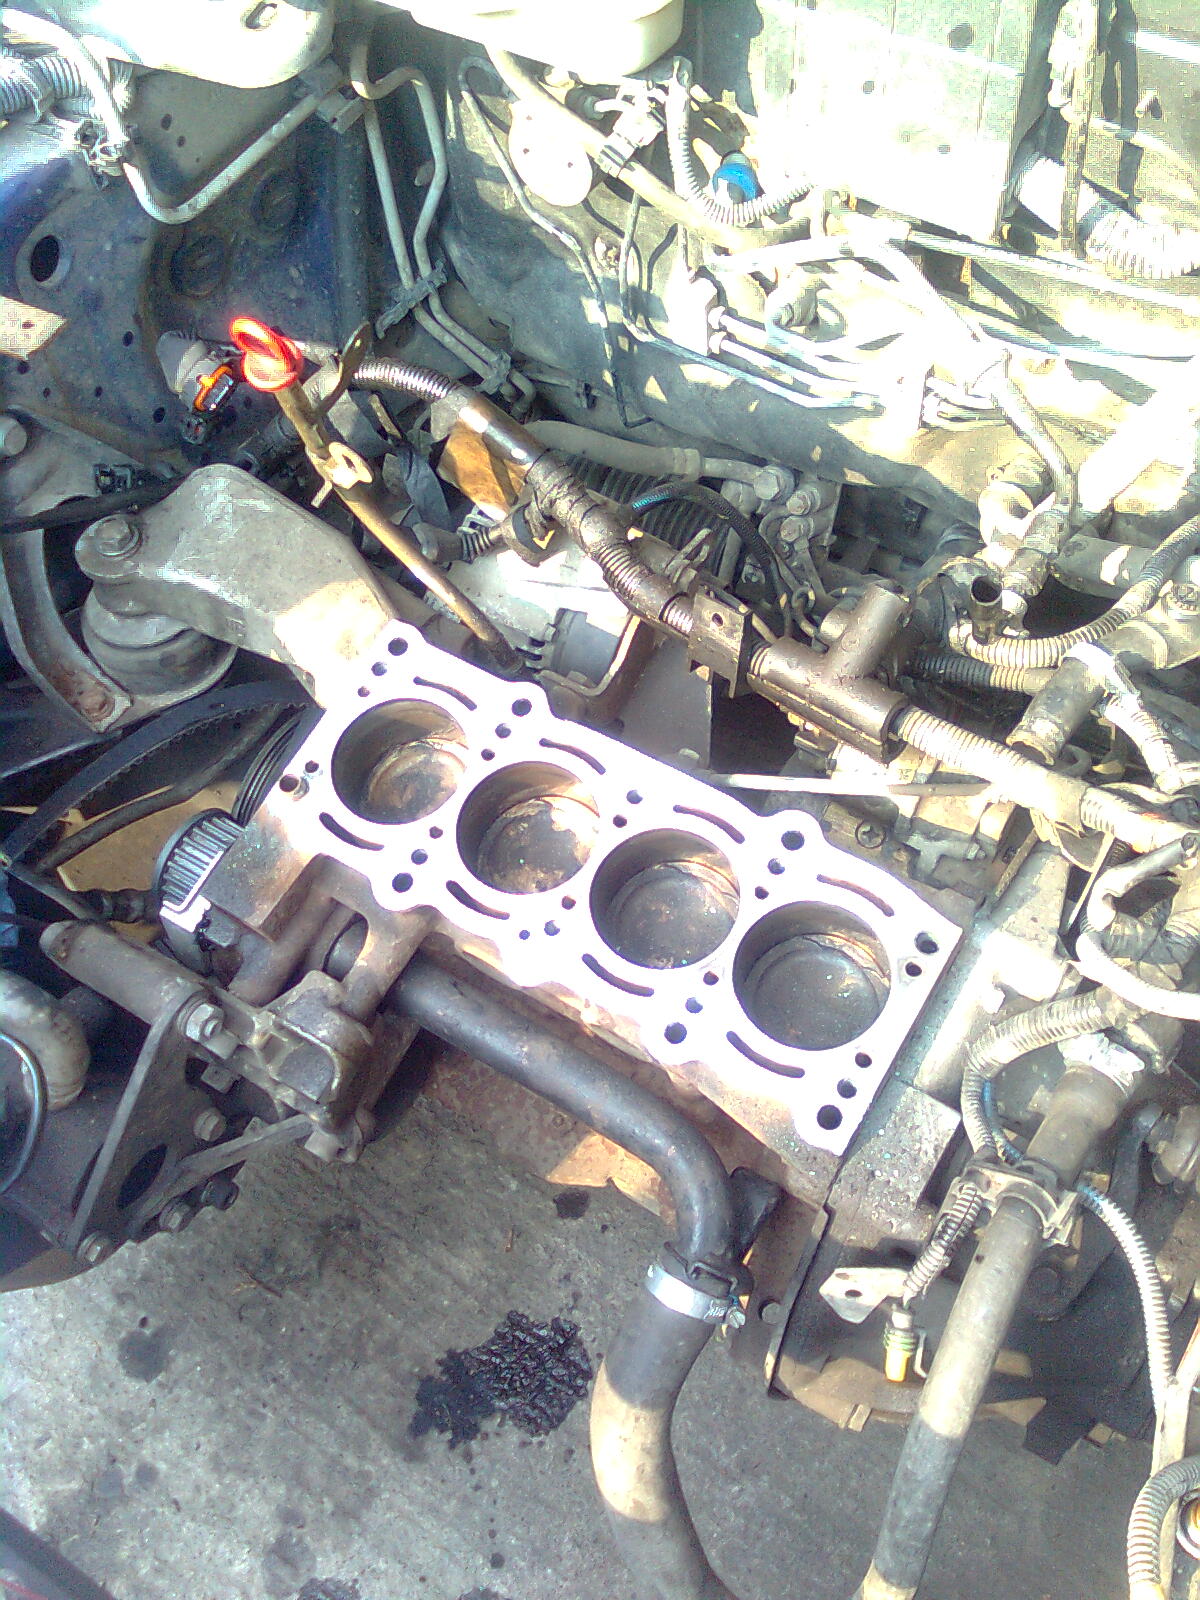
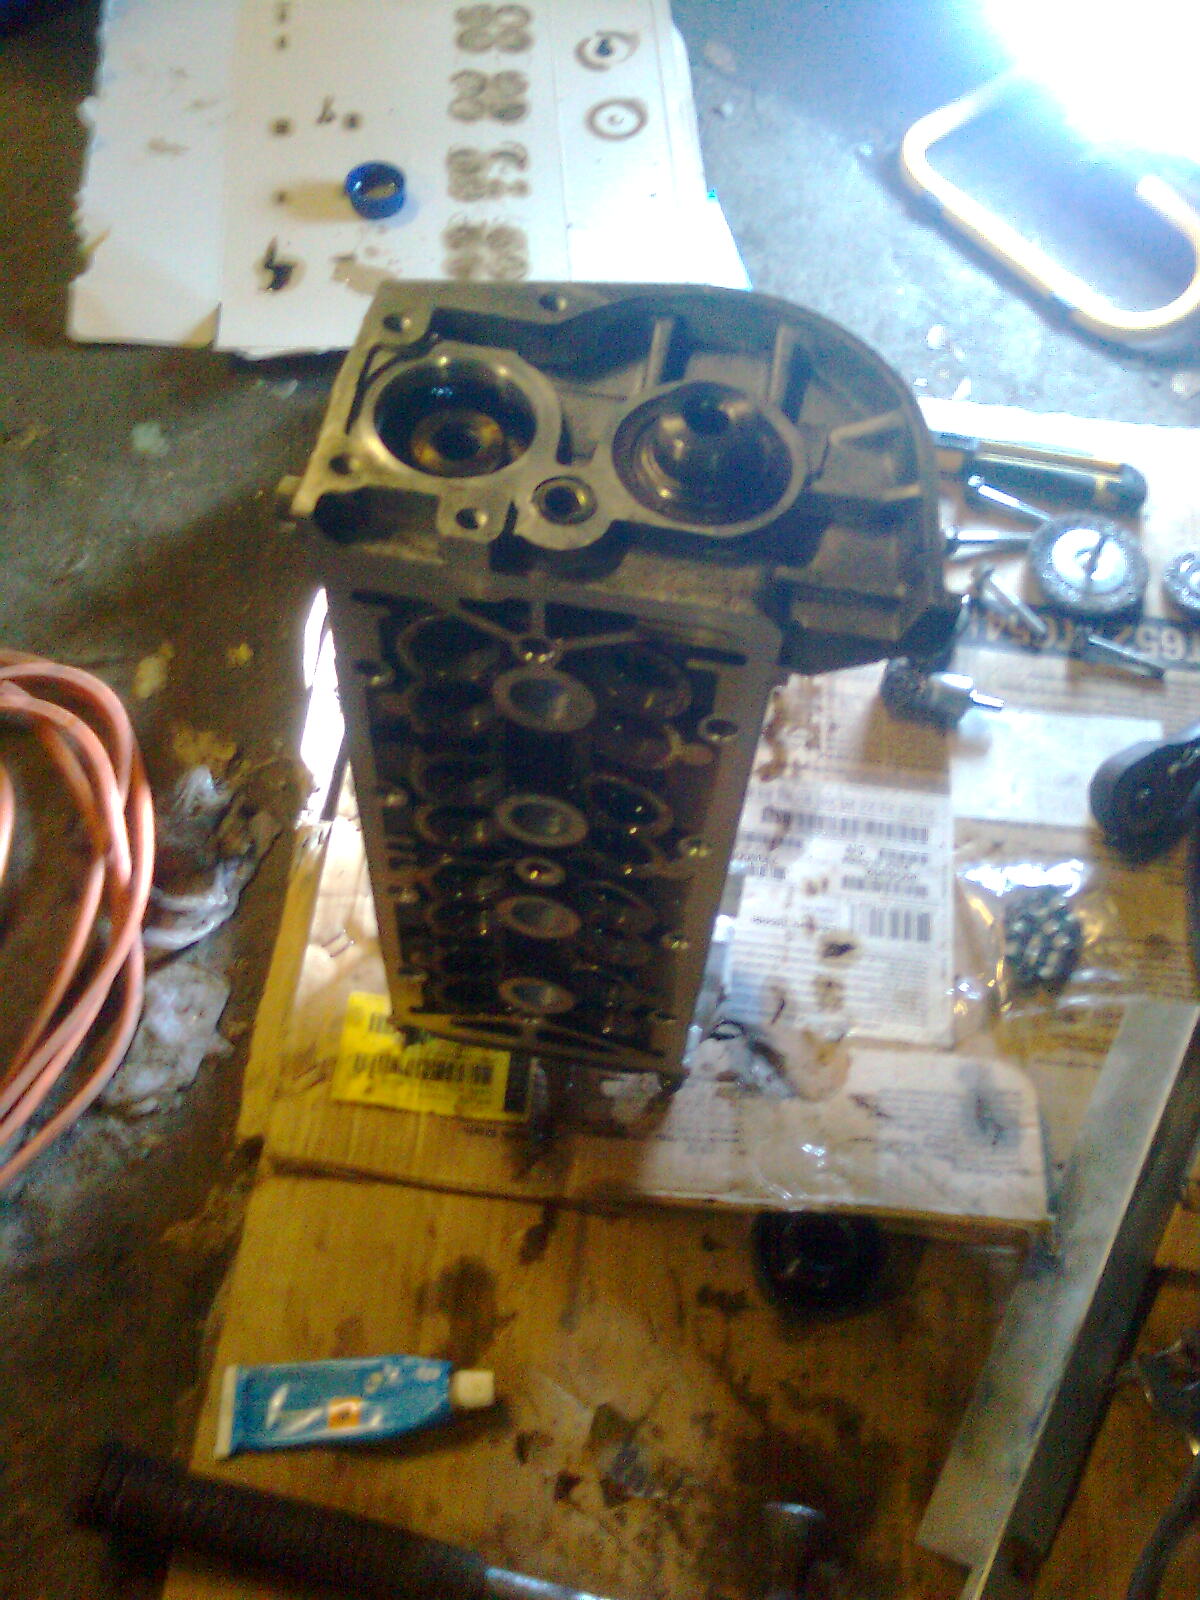
Lets start here with this cylinder head...
Image07611.jpg


Needed cleaning...
Image0763.jpg


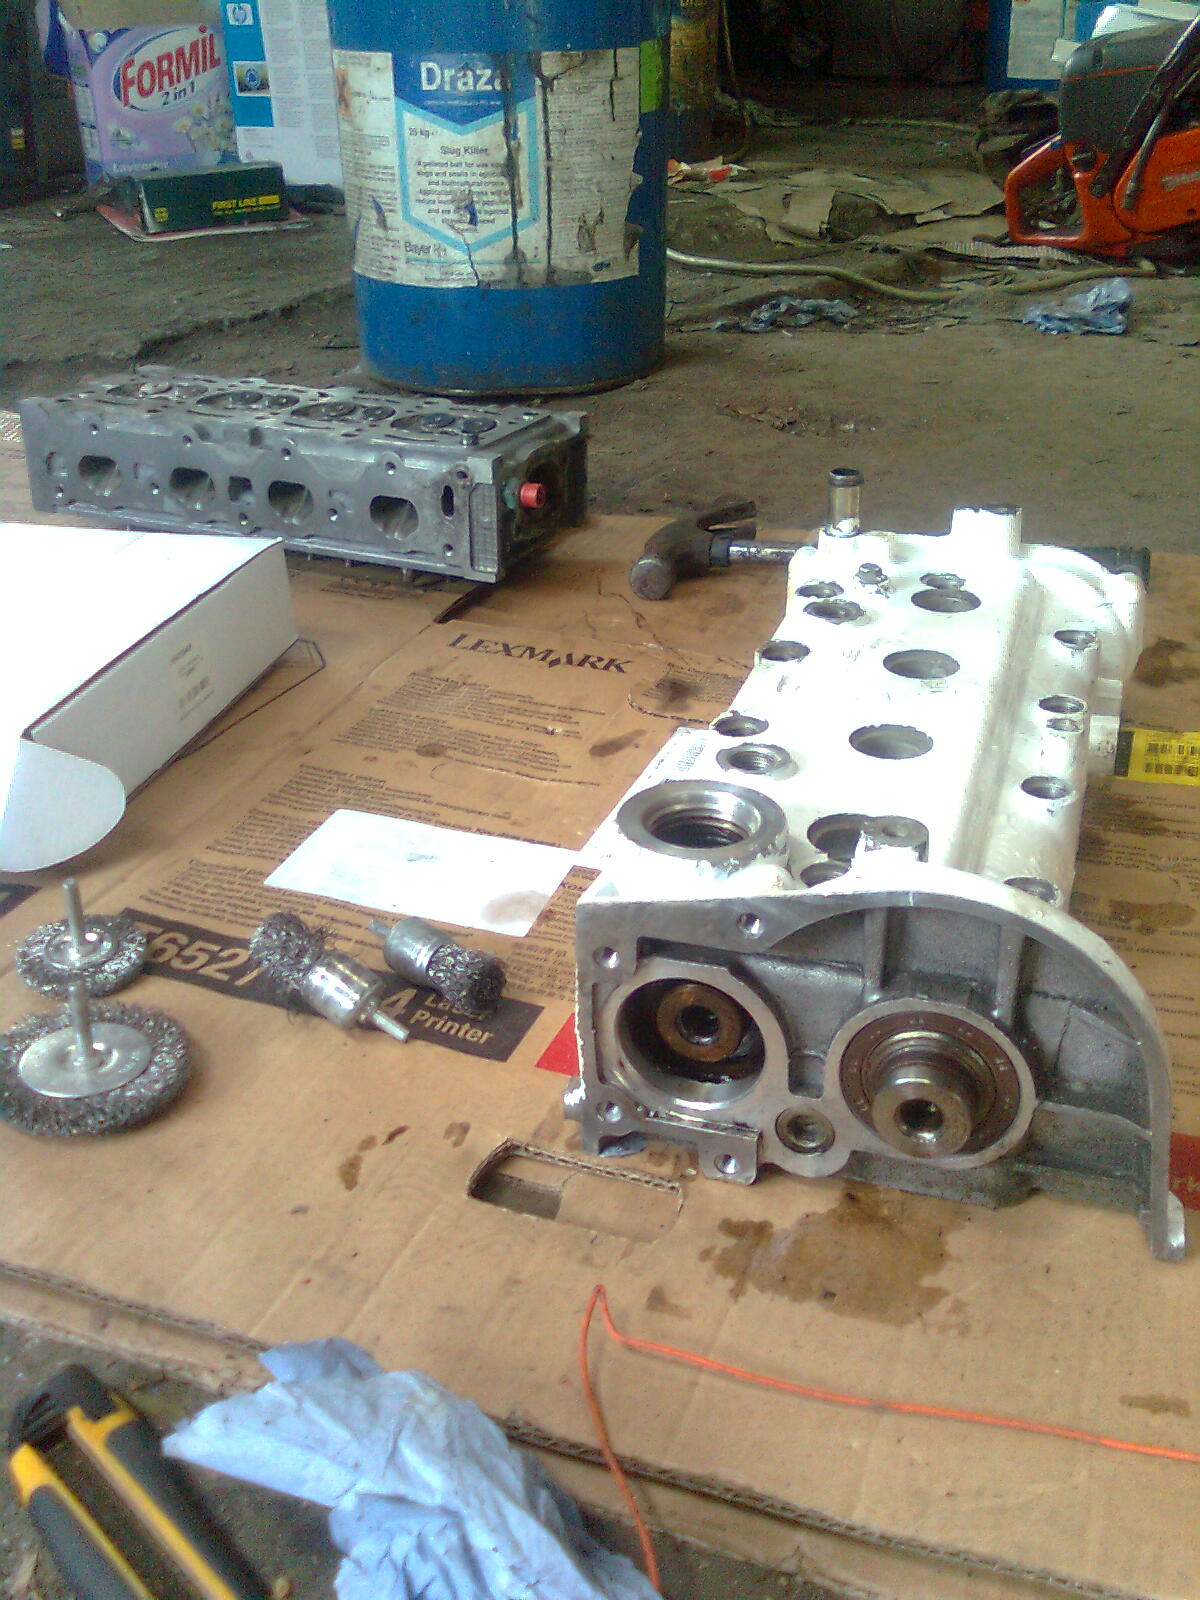
All over. The process was long and involved solvents, so I couldn't take many snaps... However heres the finished result :)
Image0764.jpg


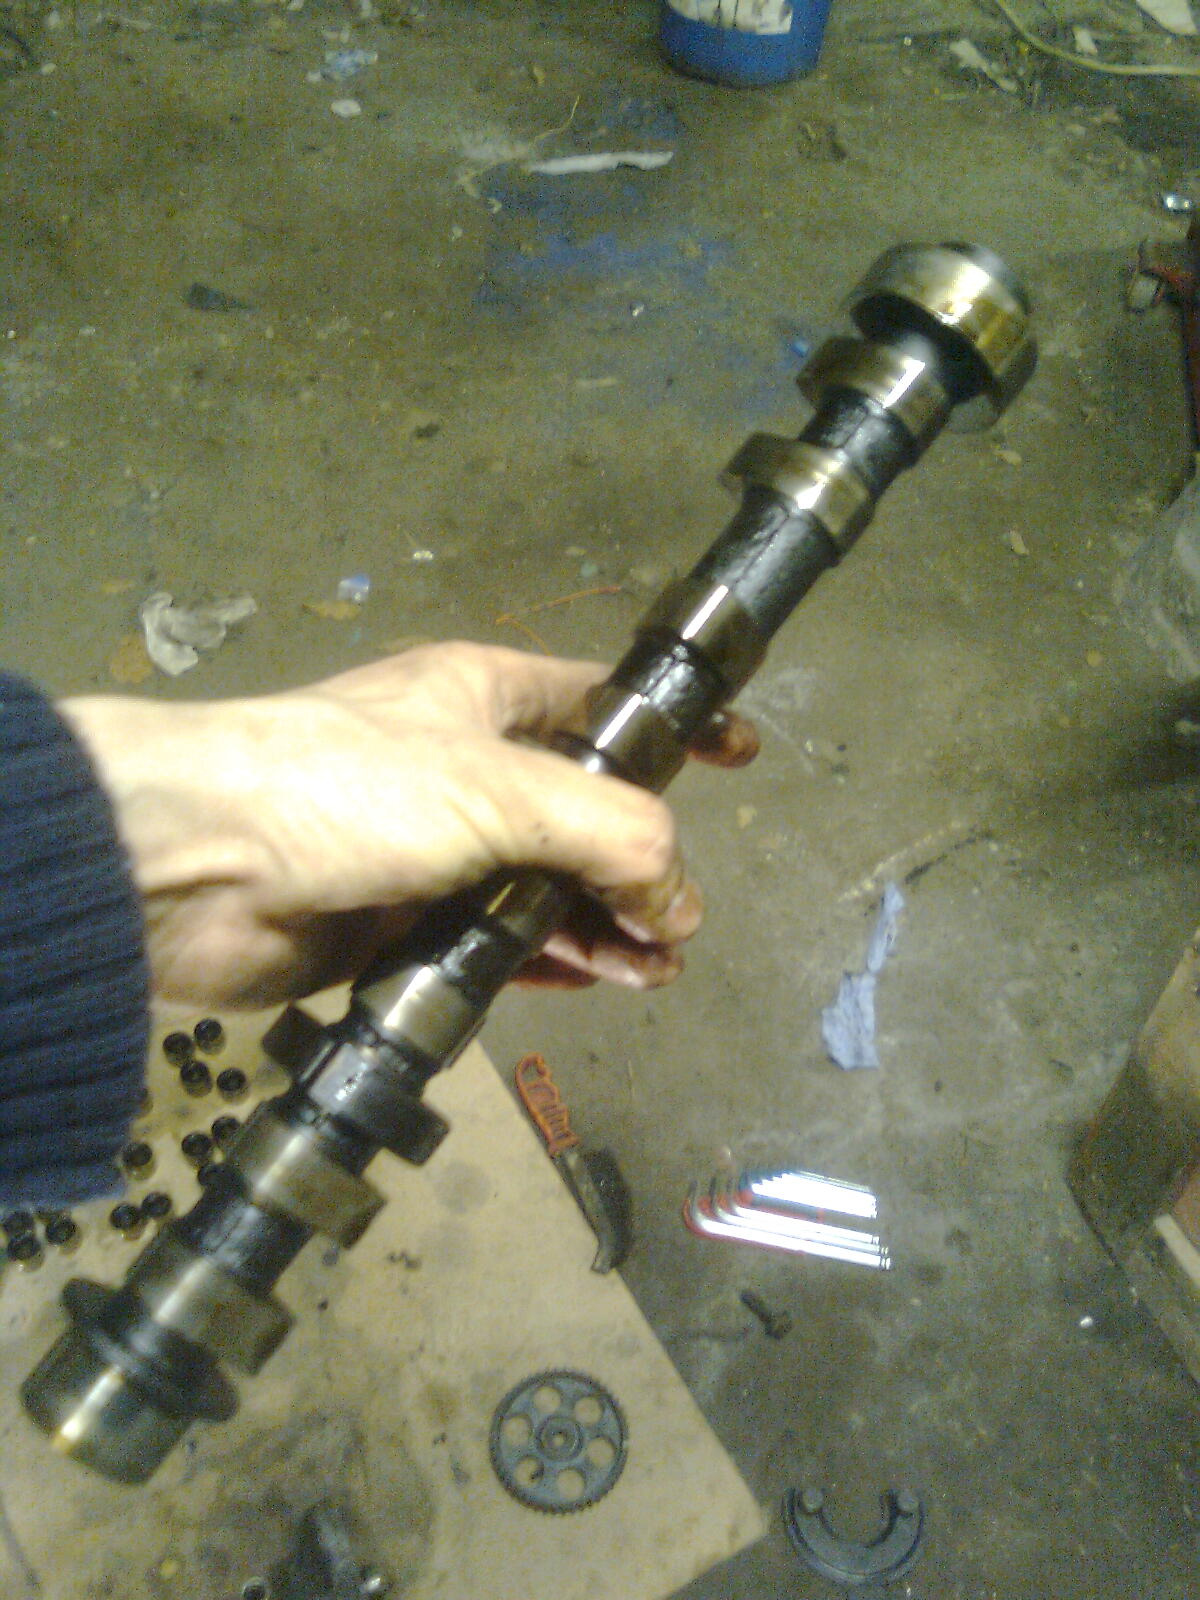
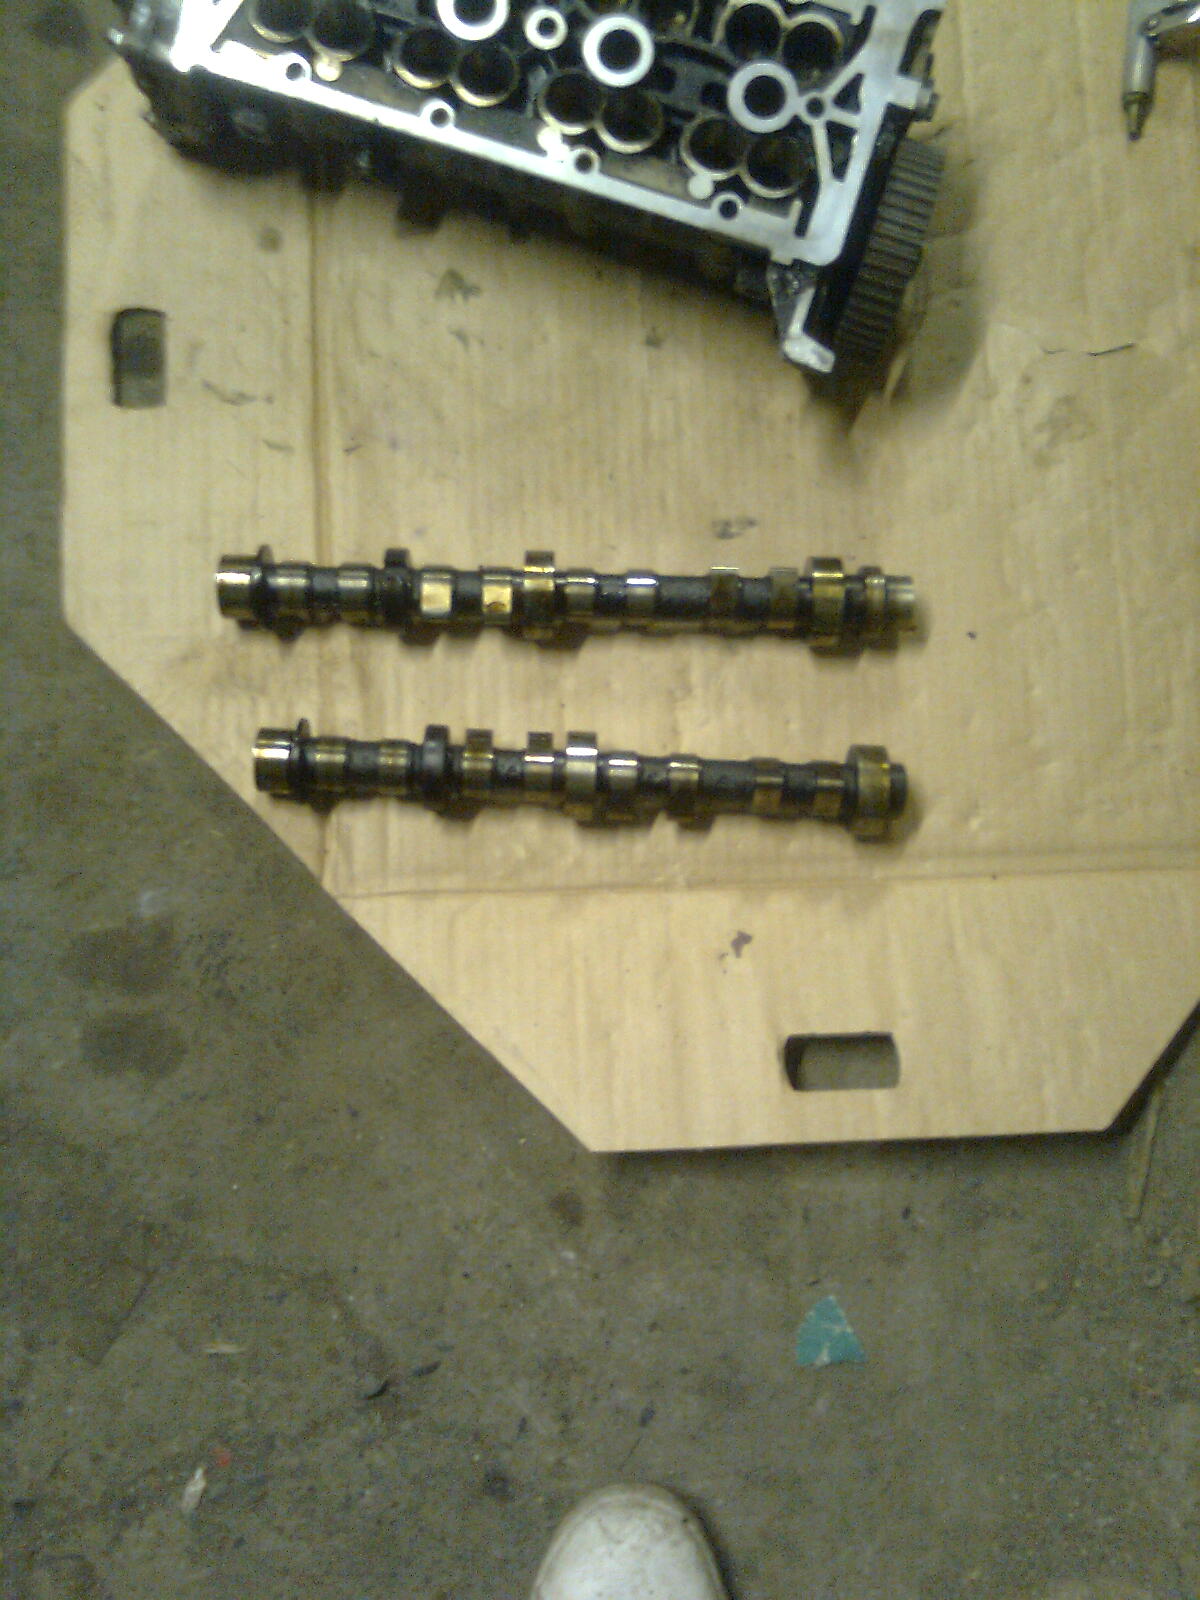
Now onto the extention. In with the cams :D
Image0765.jpg


Always ALWAYS lubricate the journals before you put them in
Image0766.jpg


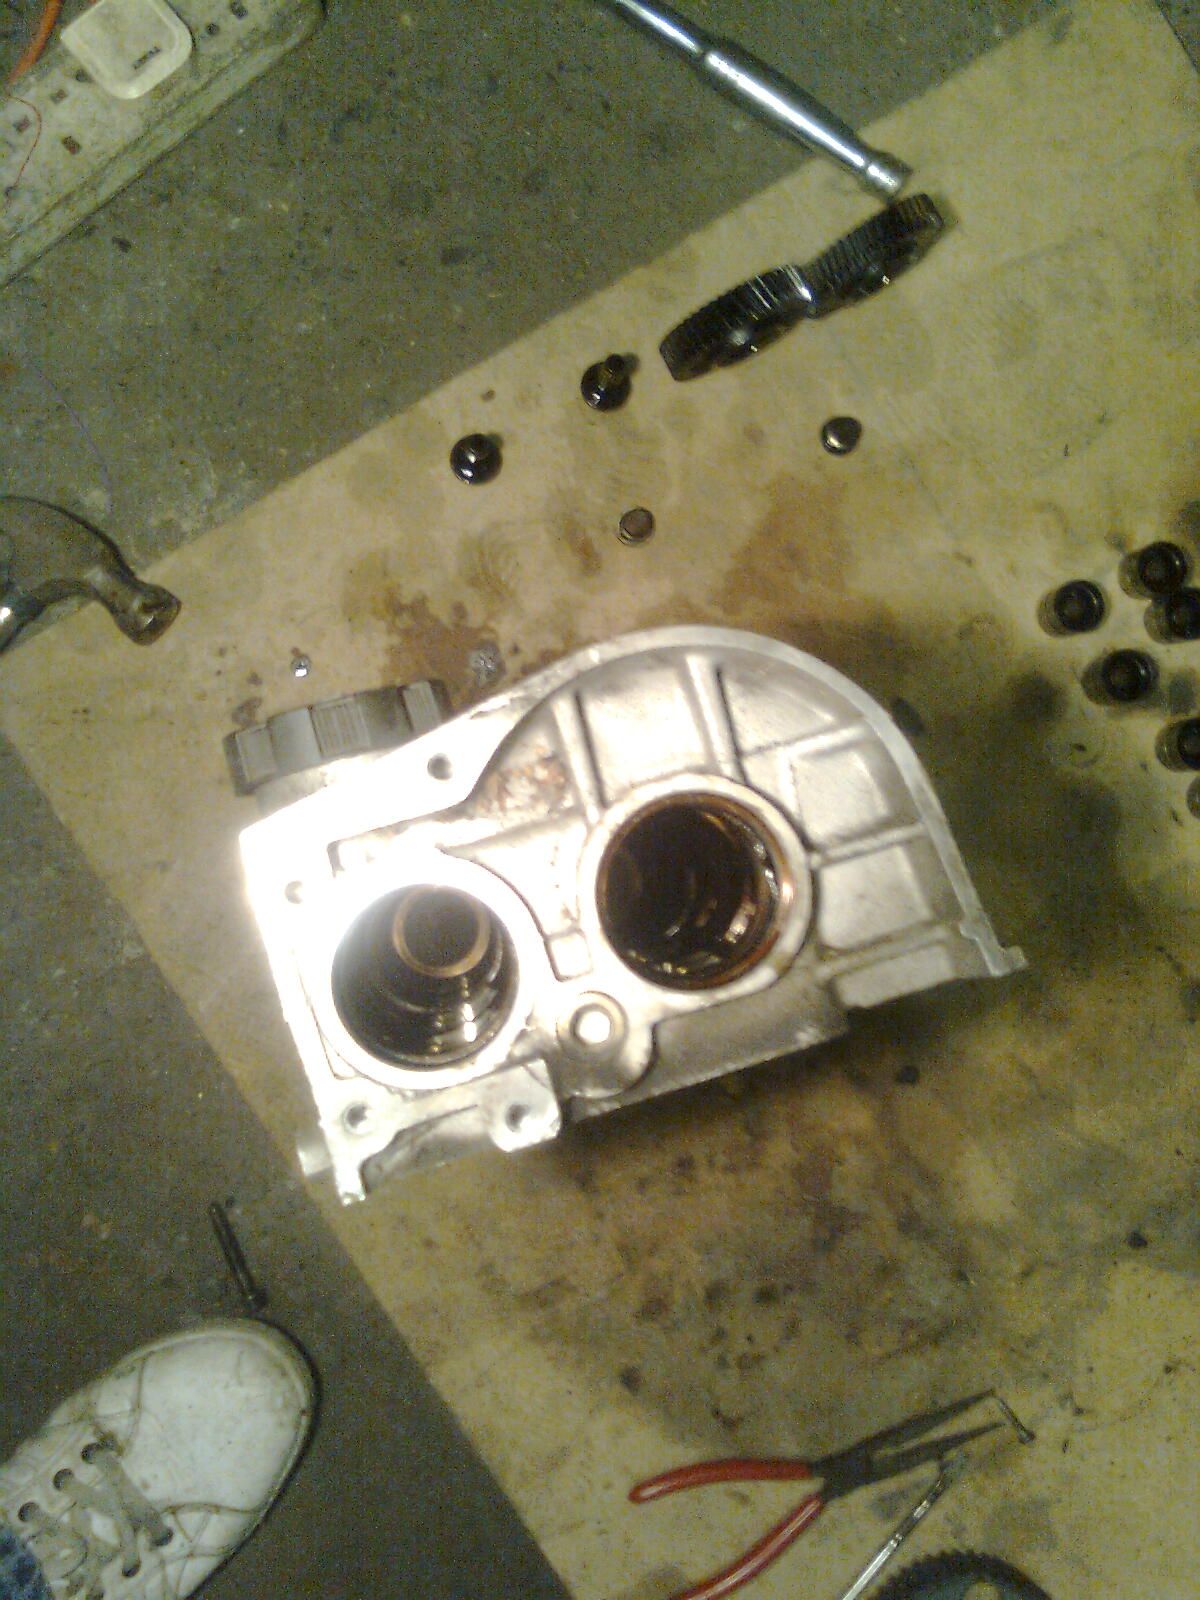
These have a seperate part on spring that needed fidlin' with a screwdriver to fit in properly. Torque to 89lbs/ft (were old fashioned (y))
Image0767.jpg


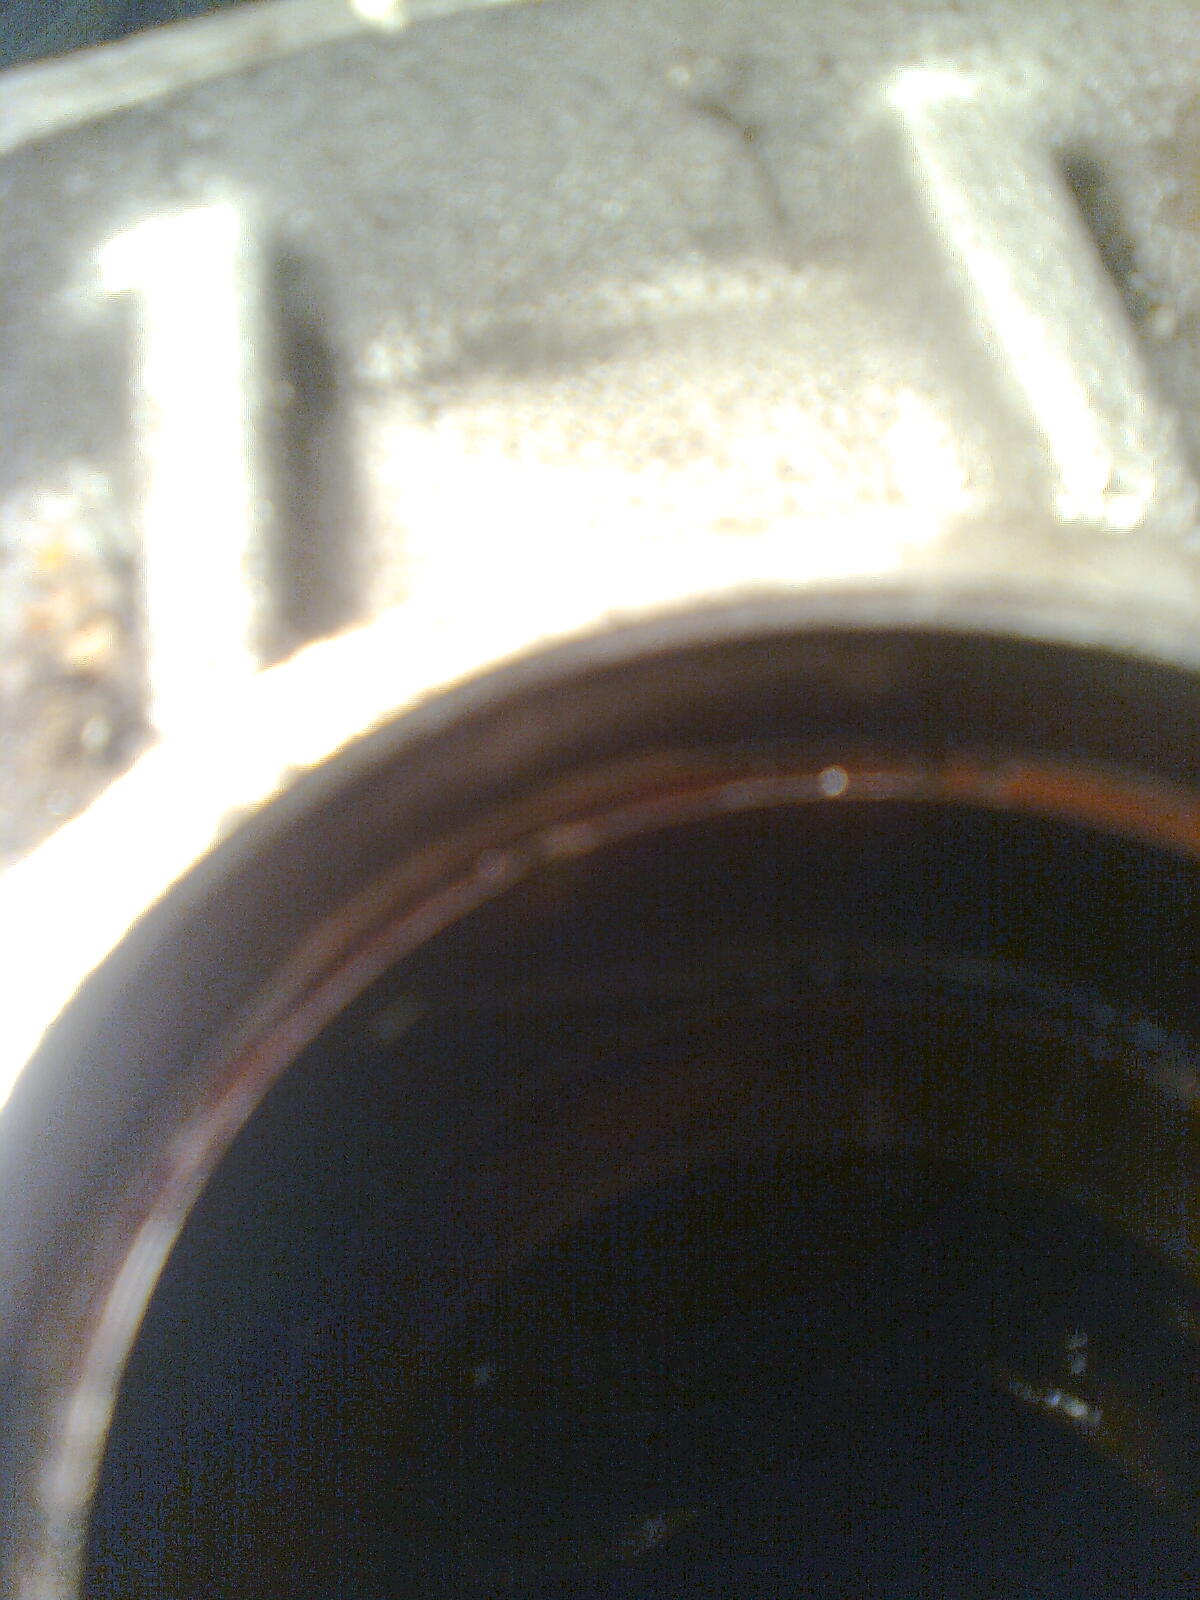
And then the cam oil seal. Bed it in place wit a big socket :D
Image0769.jpg


Then it was 1am so in for the night...

Later that day however, time to make a start...
Image0770.jpg


I didnt even start it. Look at the water coming from the breather (n)
Image07721.jpg


15 mins later...
Image07711.jpg


15 mins after that photo...
Image07731.jpg


5 minutes later...
Image07741.jpg


And just 40 minutes into the job :D
Image0775.jpg


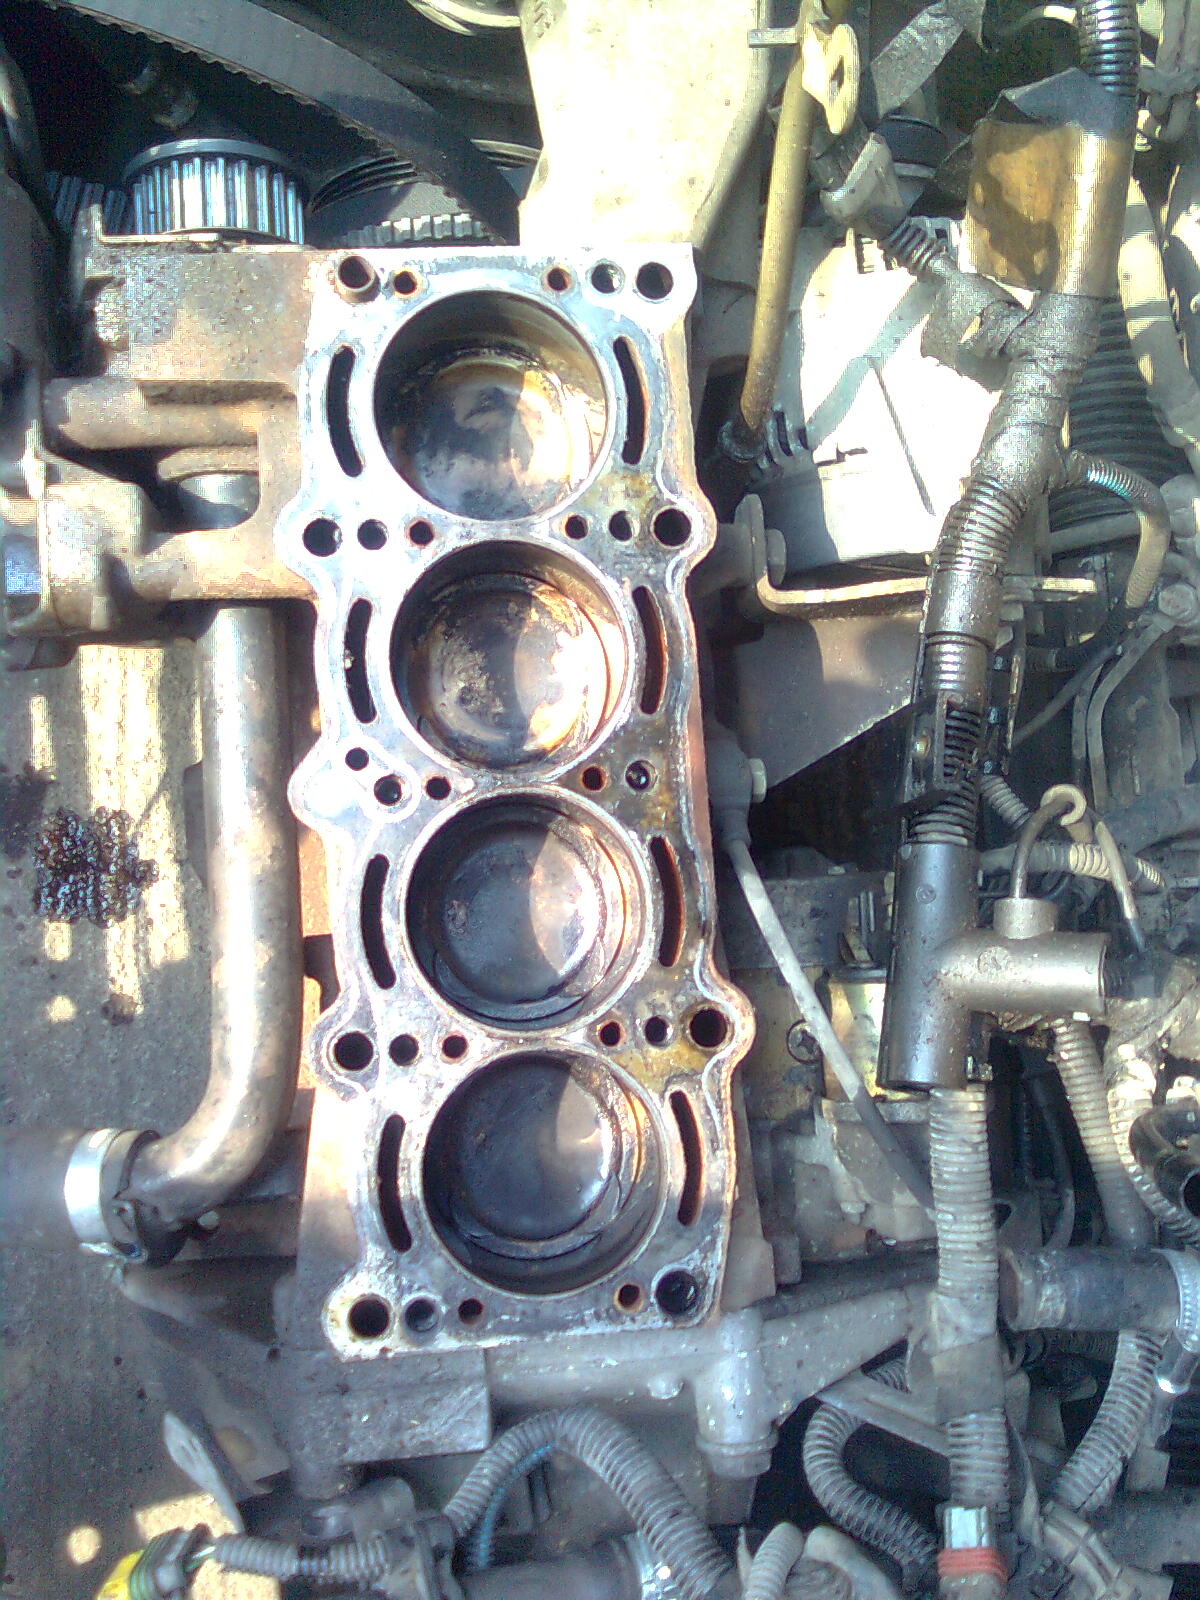
Thats the only extention I've taken off where all the shims fell out. Hallmarks of a well maintained engine (y)
Image0776.jpg


Good oil and regular service show in the colour of the head and valves
Image0777.jpg


But hanging around wasn't an option :p
Image0779.jpg


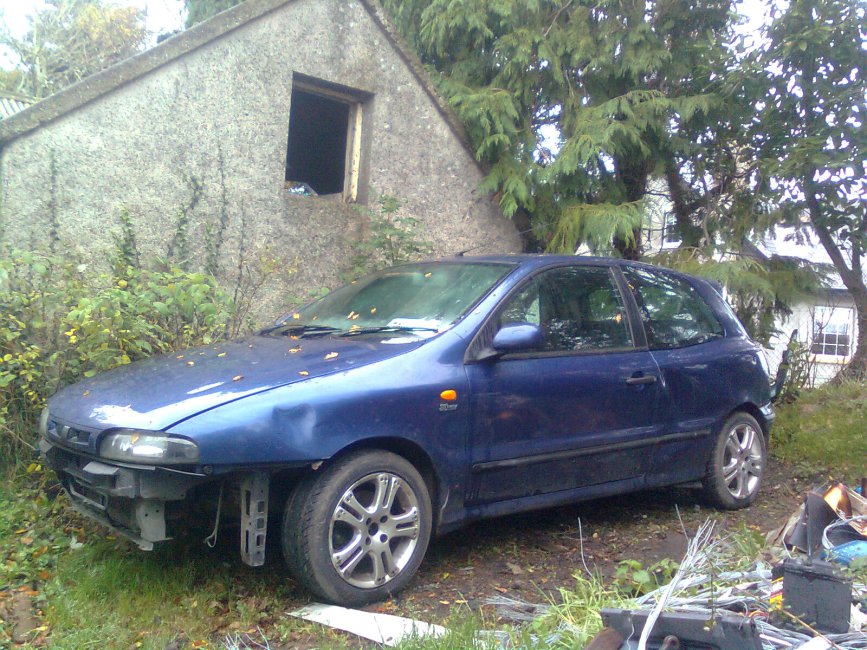
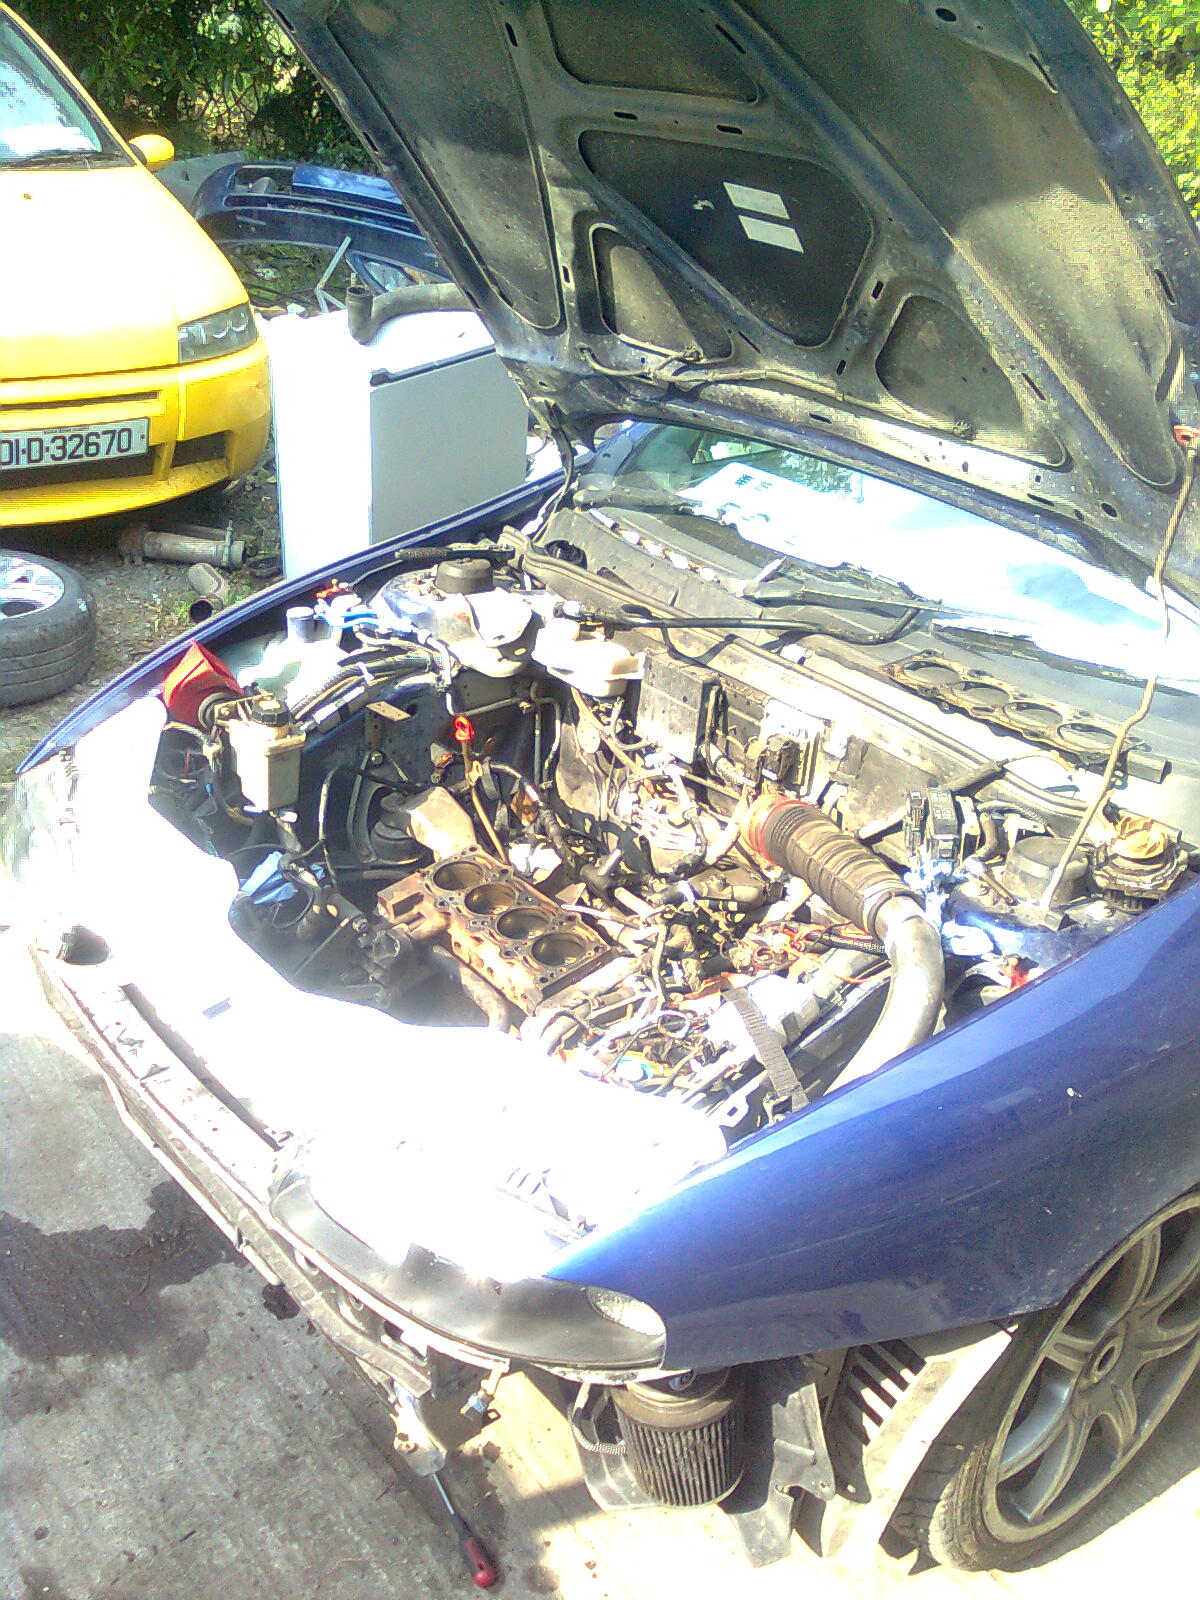
I've never had this engine in this state. We've had it since 2004 :eek:
Image0780.jpg


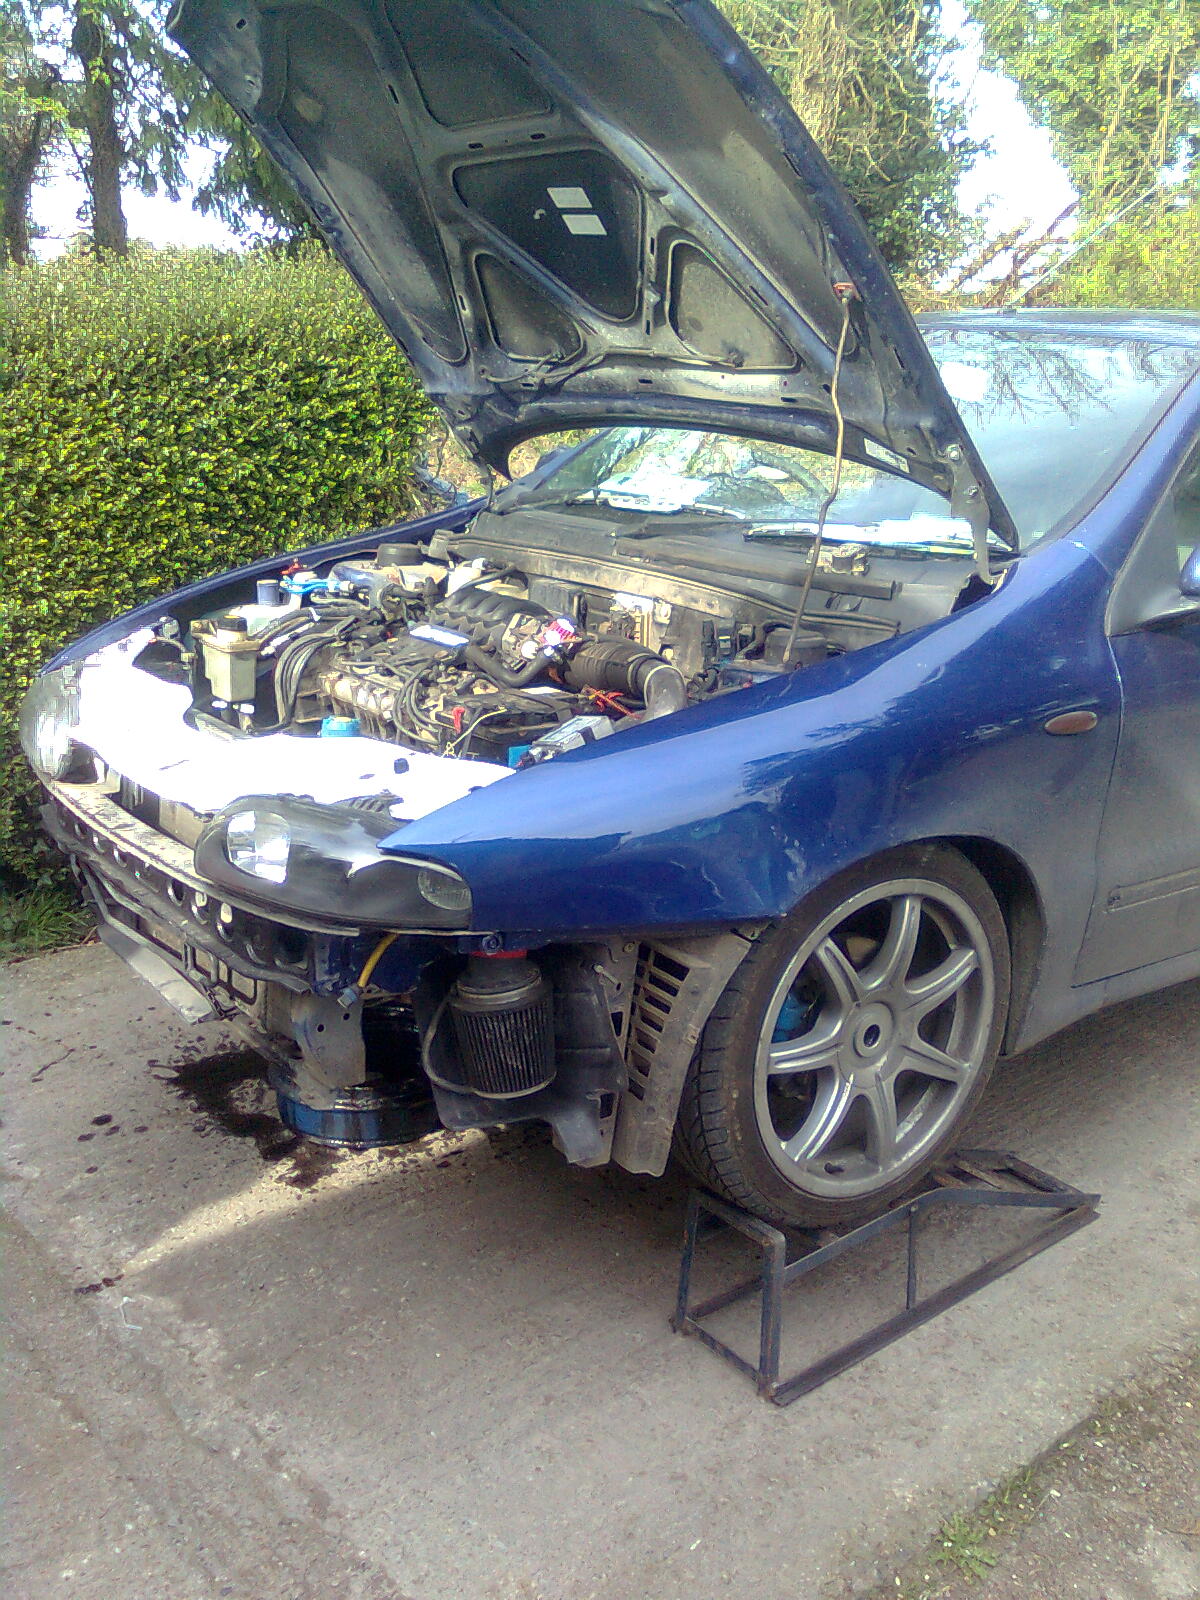
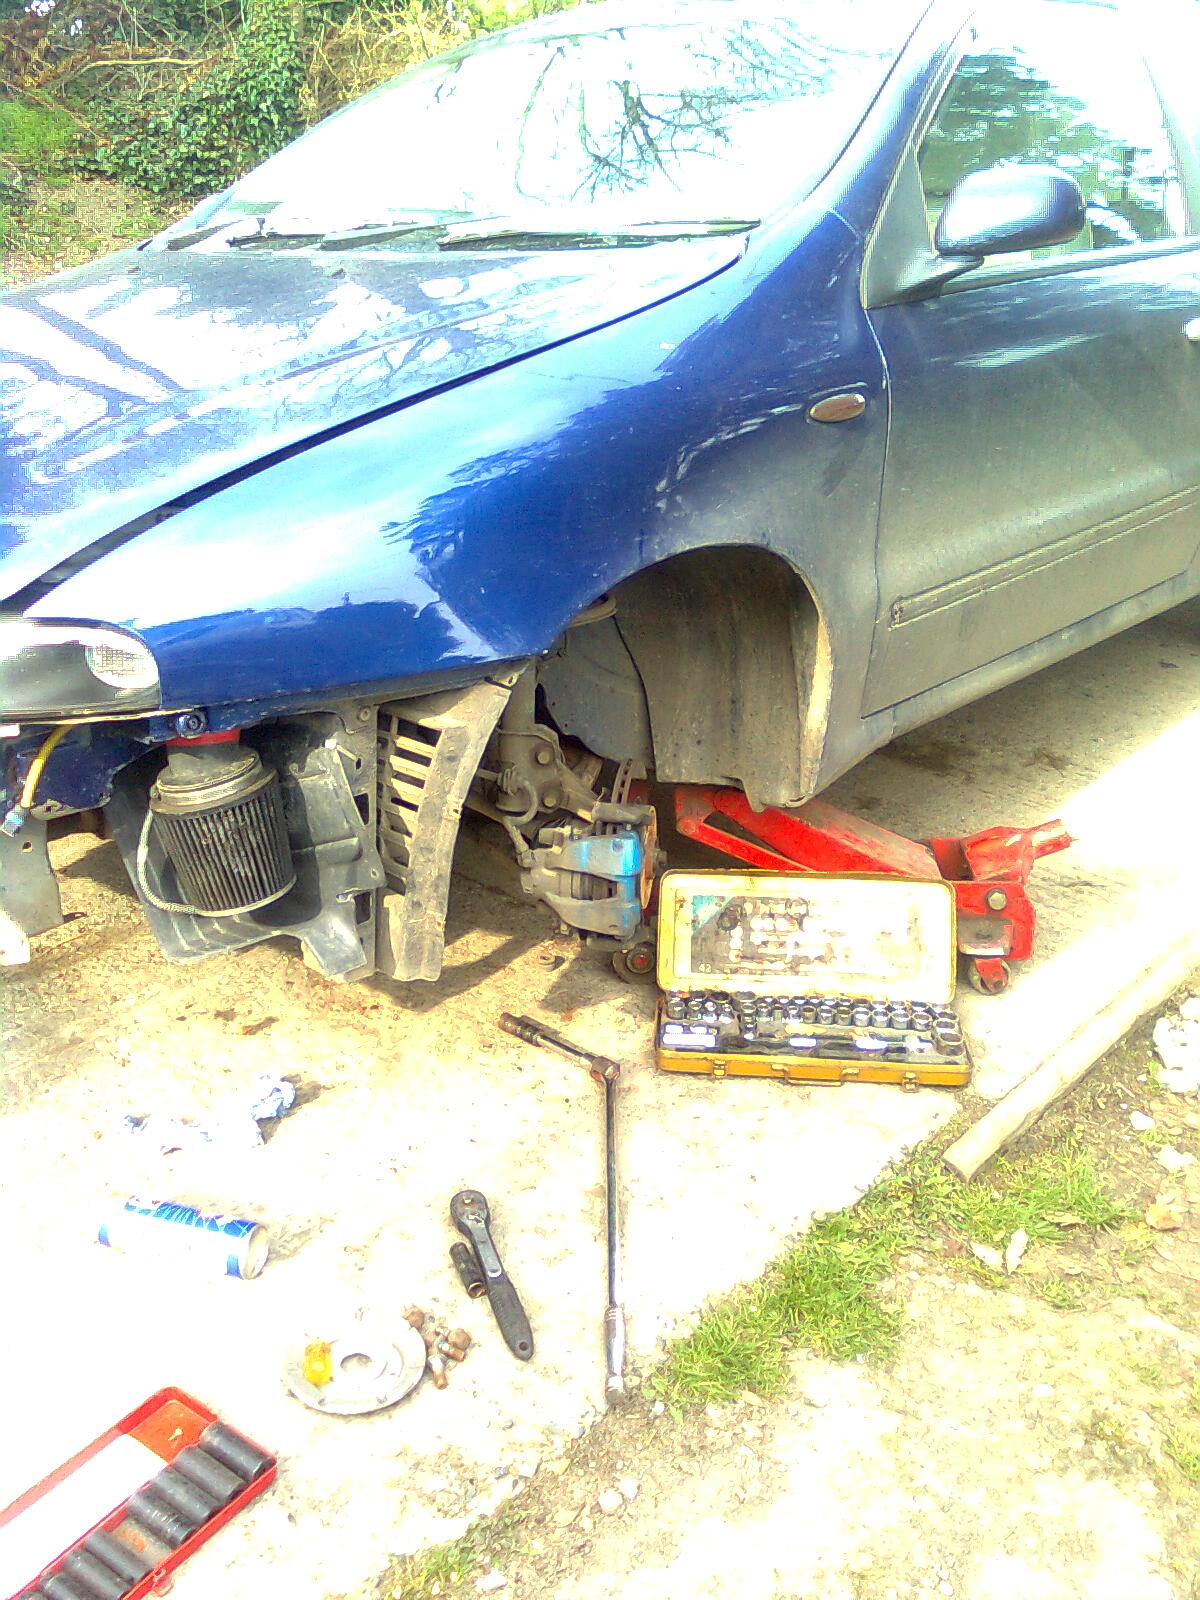
As my new waterpump was thrashed, a new one was rooted out of thin air ;)
Image07811.jpg


Well, almost new... My dad had a miserable time trying to seal one on another one of these engines. I wasn't going to take any chances (y)
Image07821.jpg


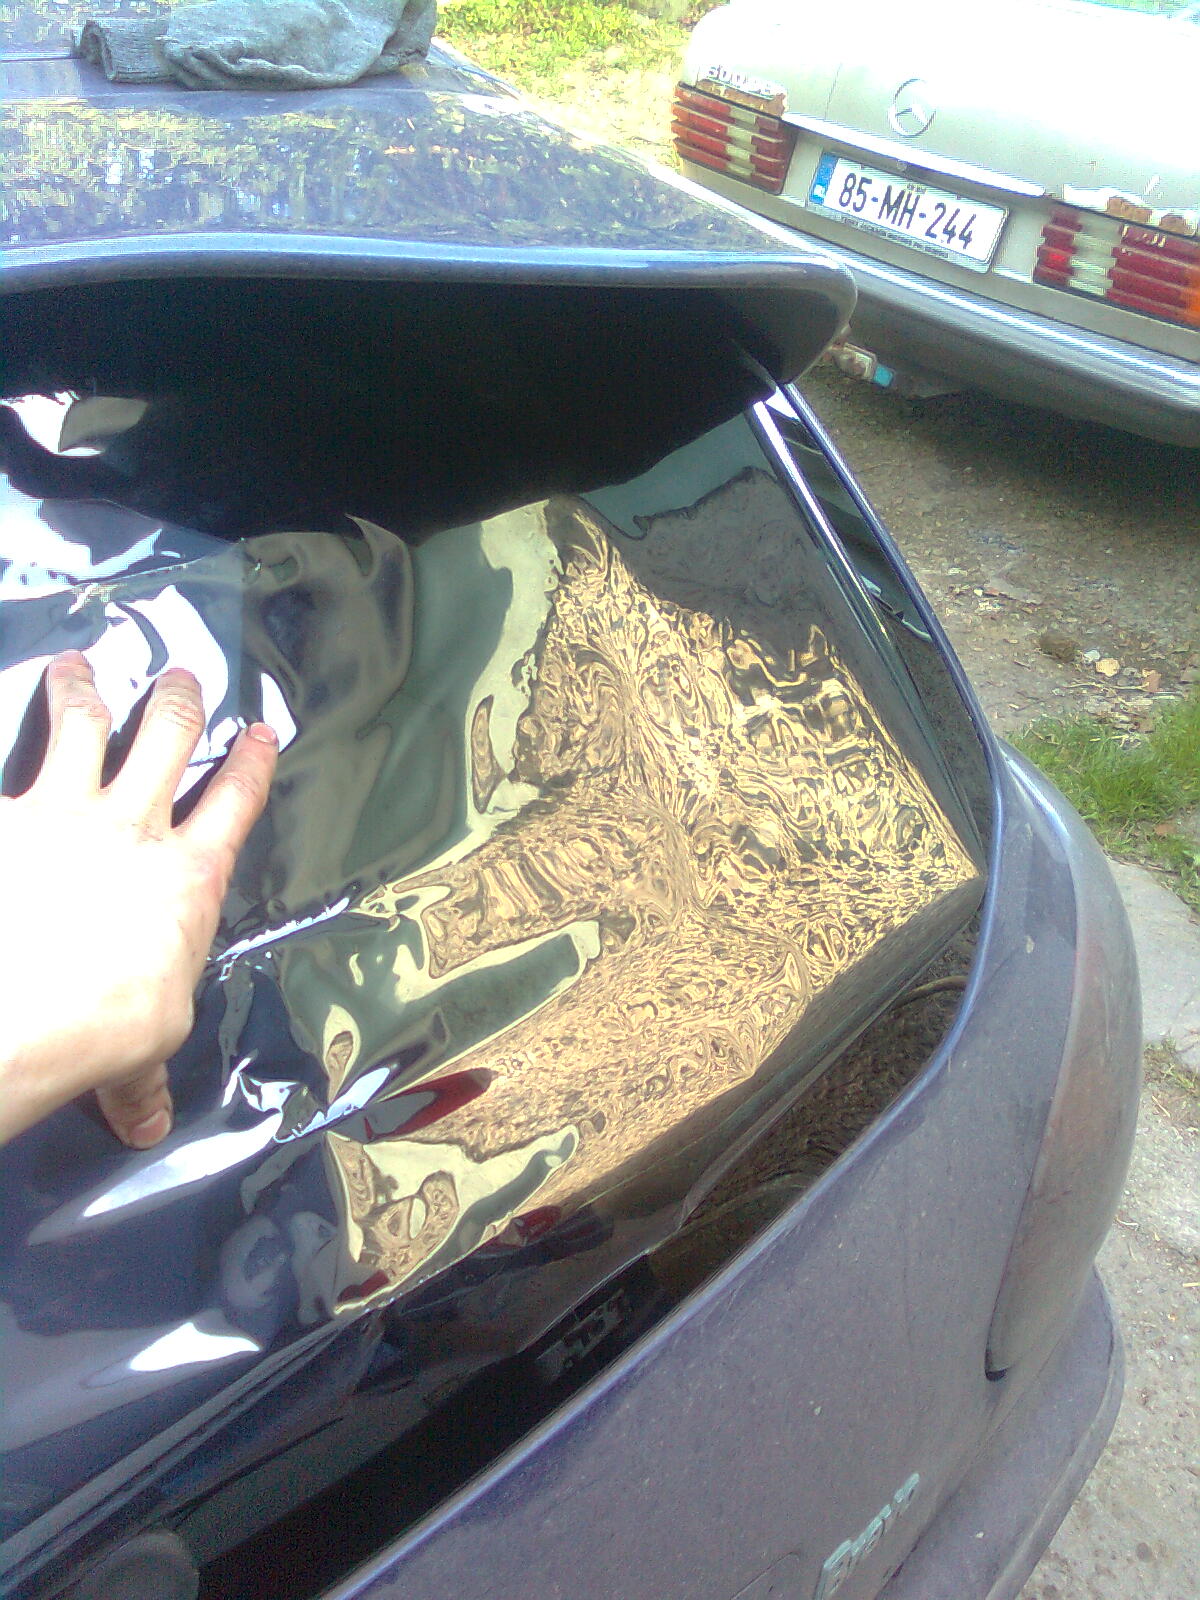
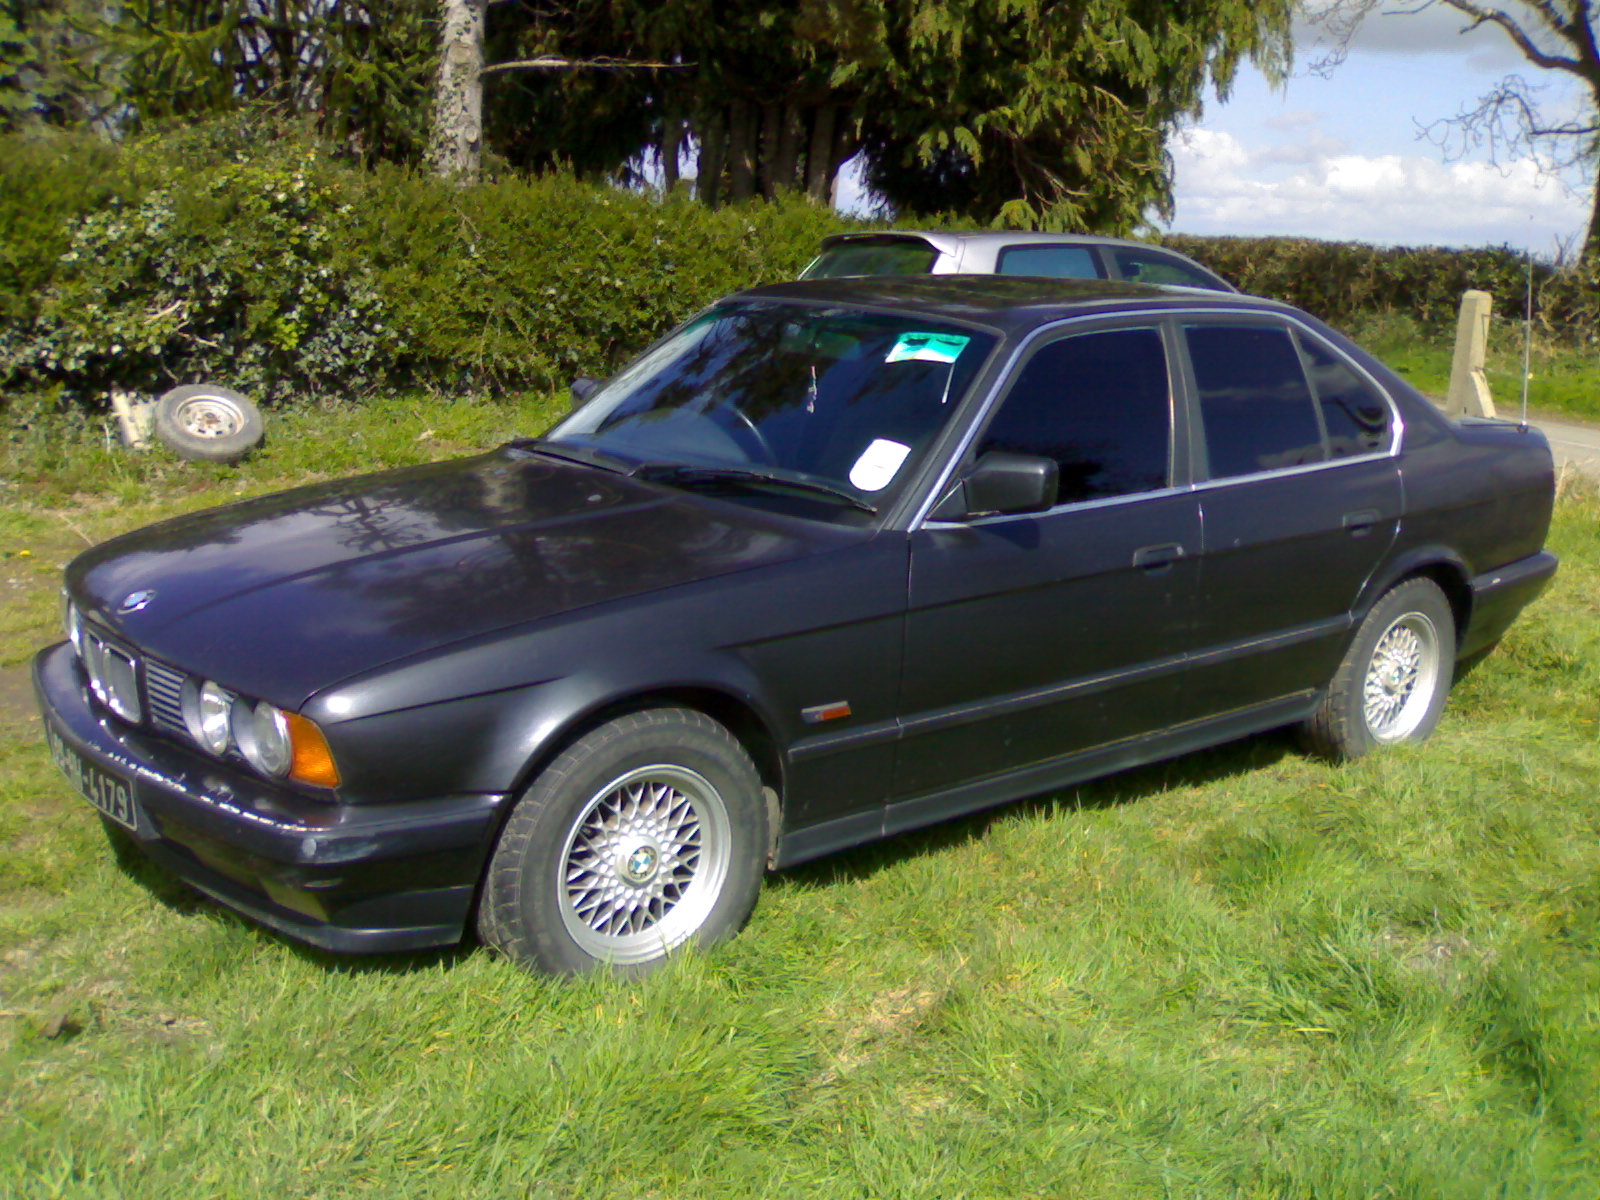
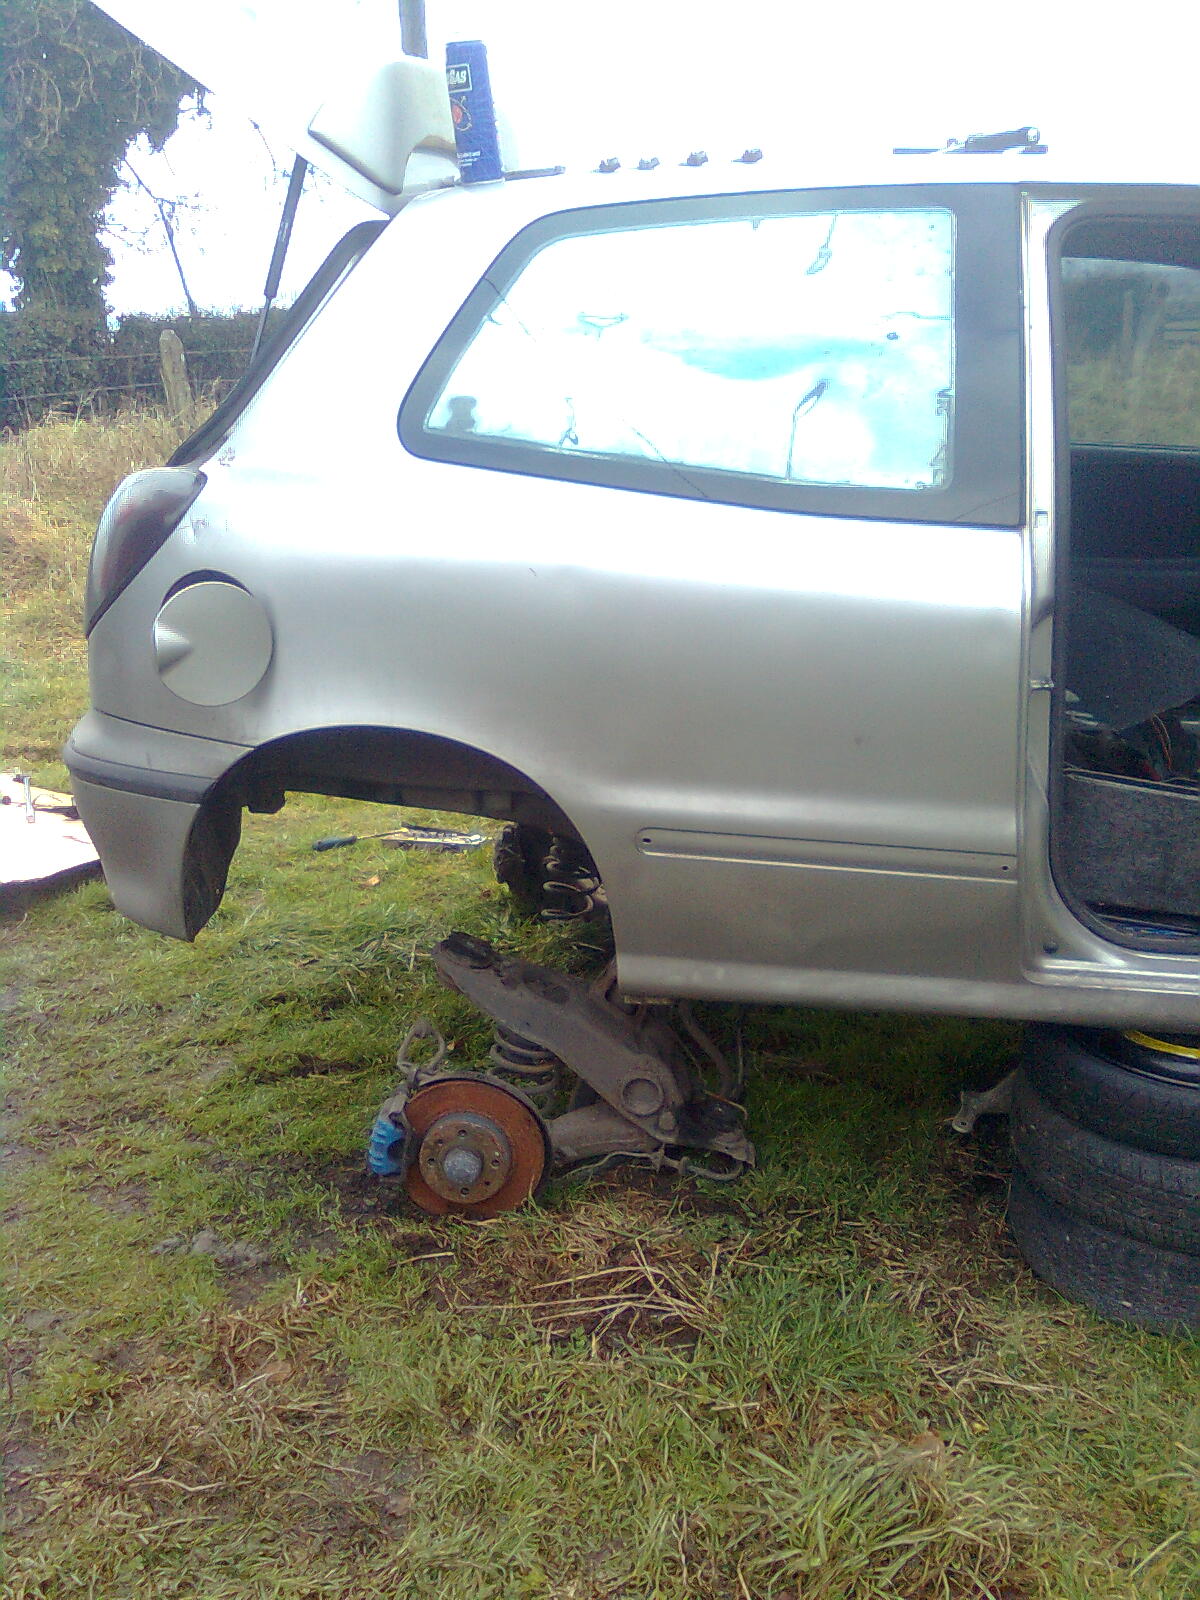
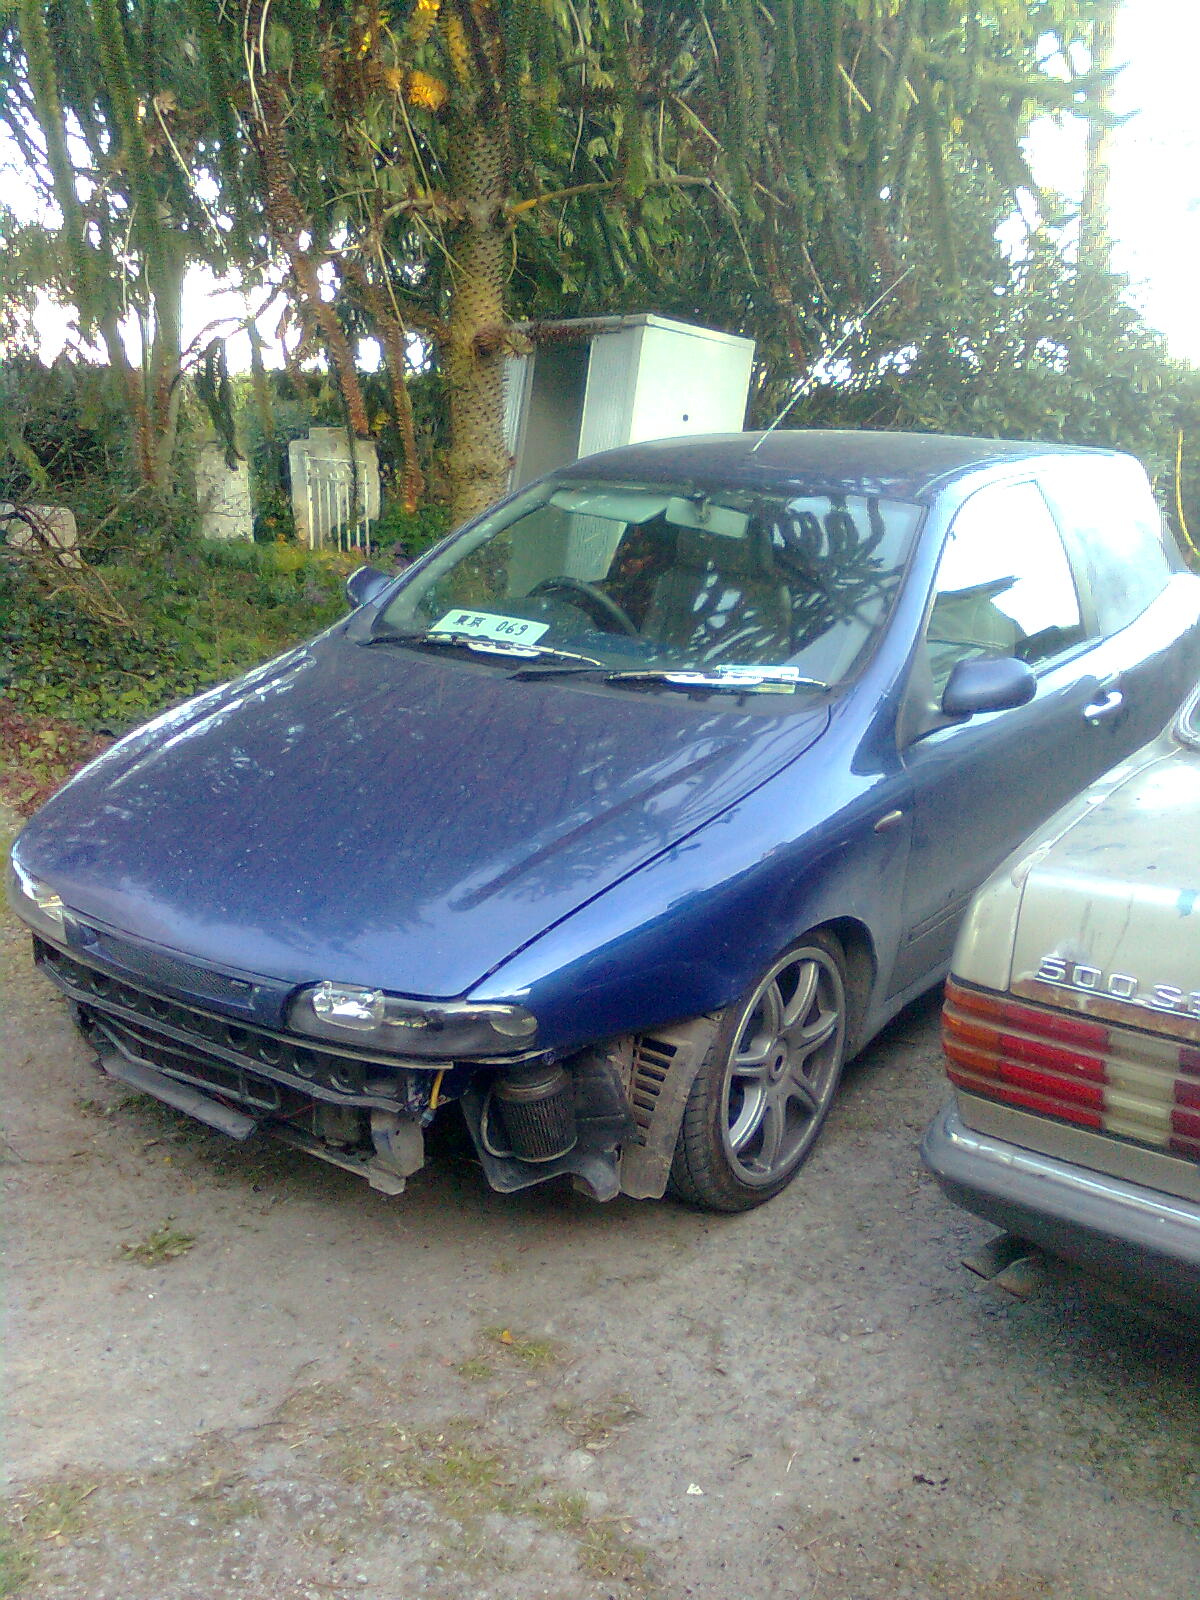
And at this stage, it was time for a break. You might have seen the other car in the pic before...
Image07831.jpg


Newish pump sitting pretty. Time for a coffee :D
Image07841.jpg


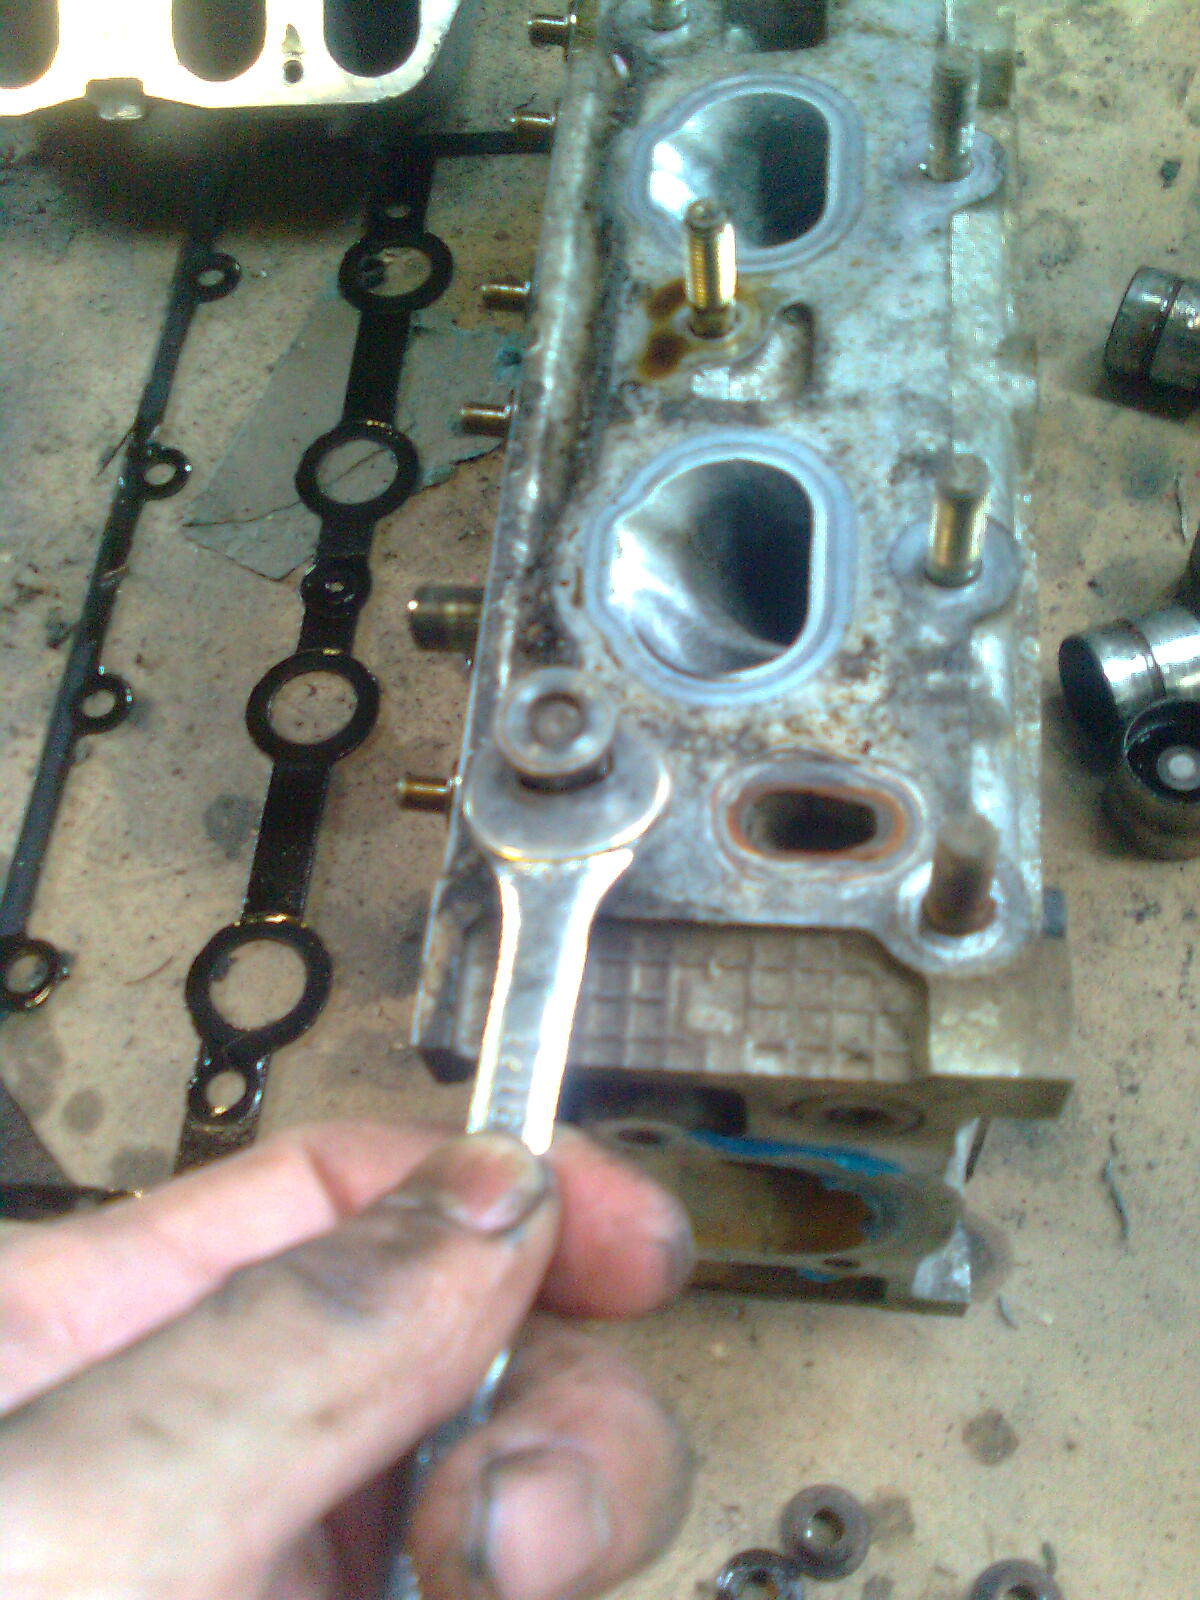
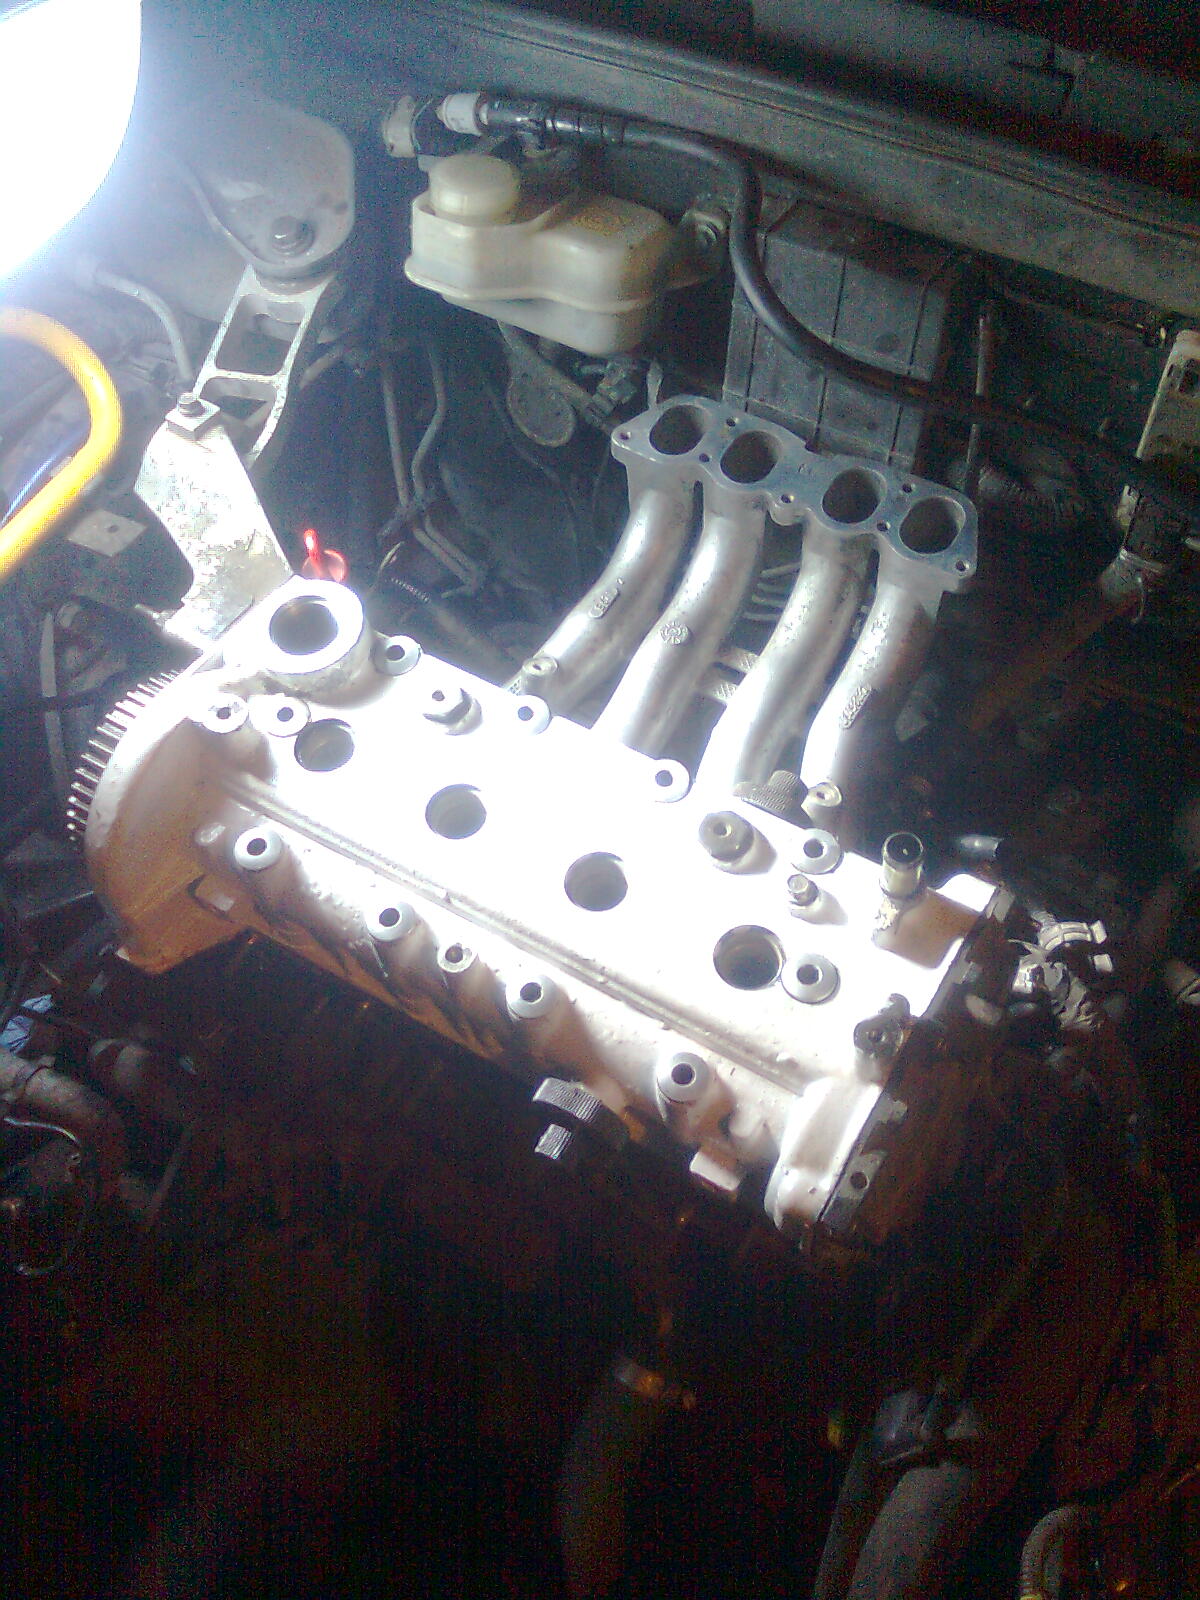
For some strange reason, that head had no inlet studs despite it using a marelli manifold :confused: Just a matter of swapping them one by one :)
Image0785.jpg


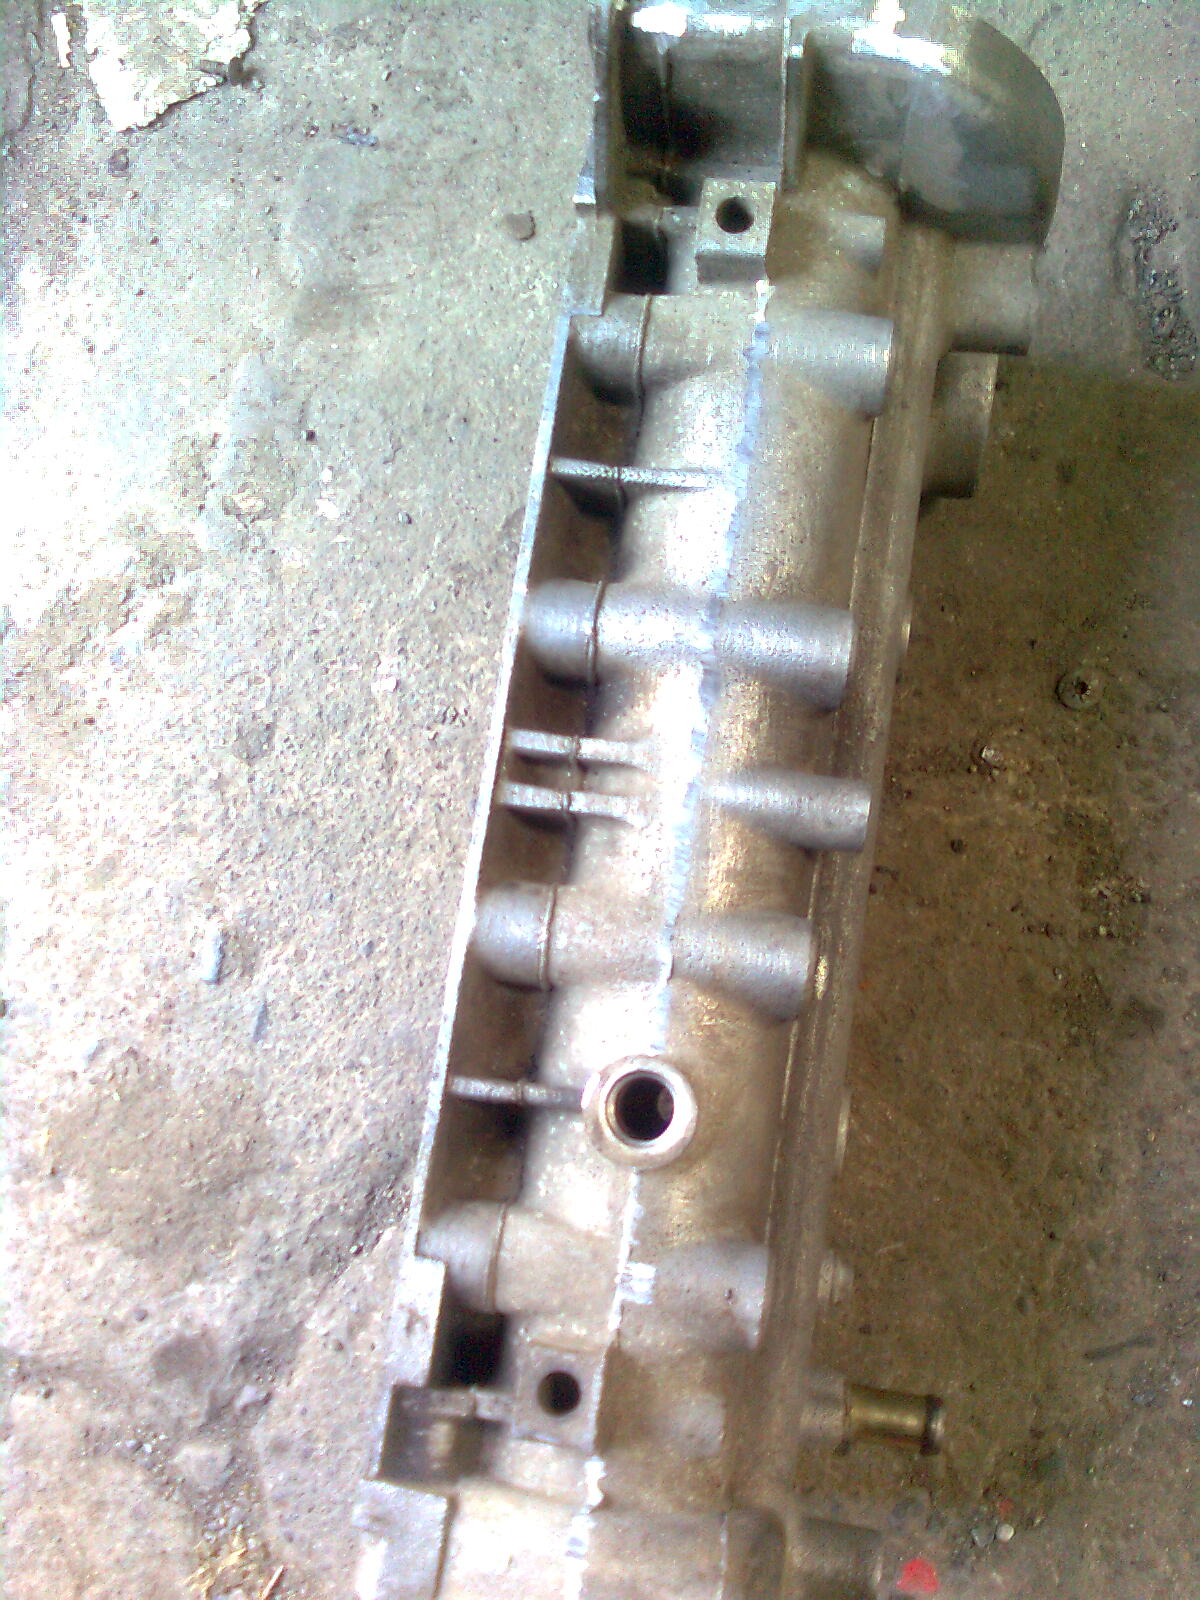
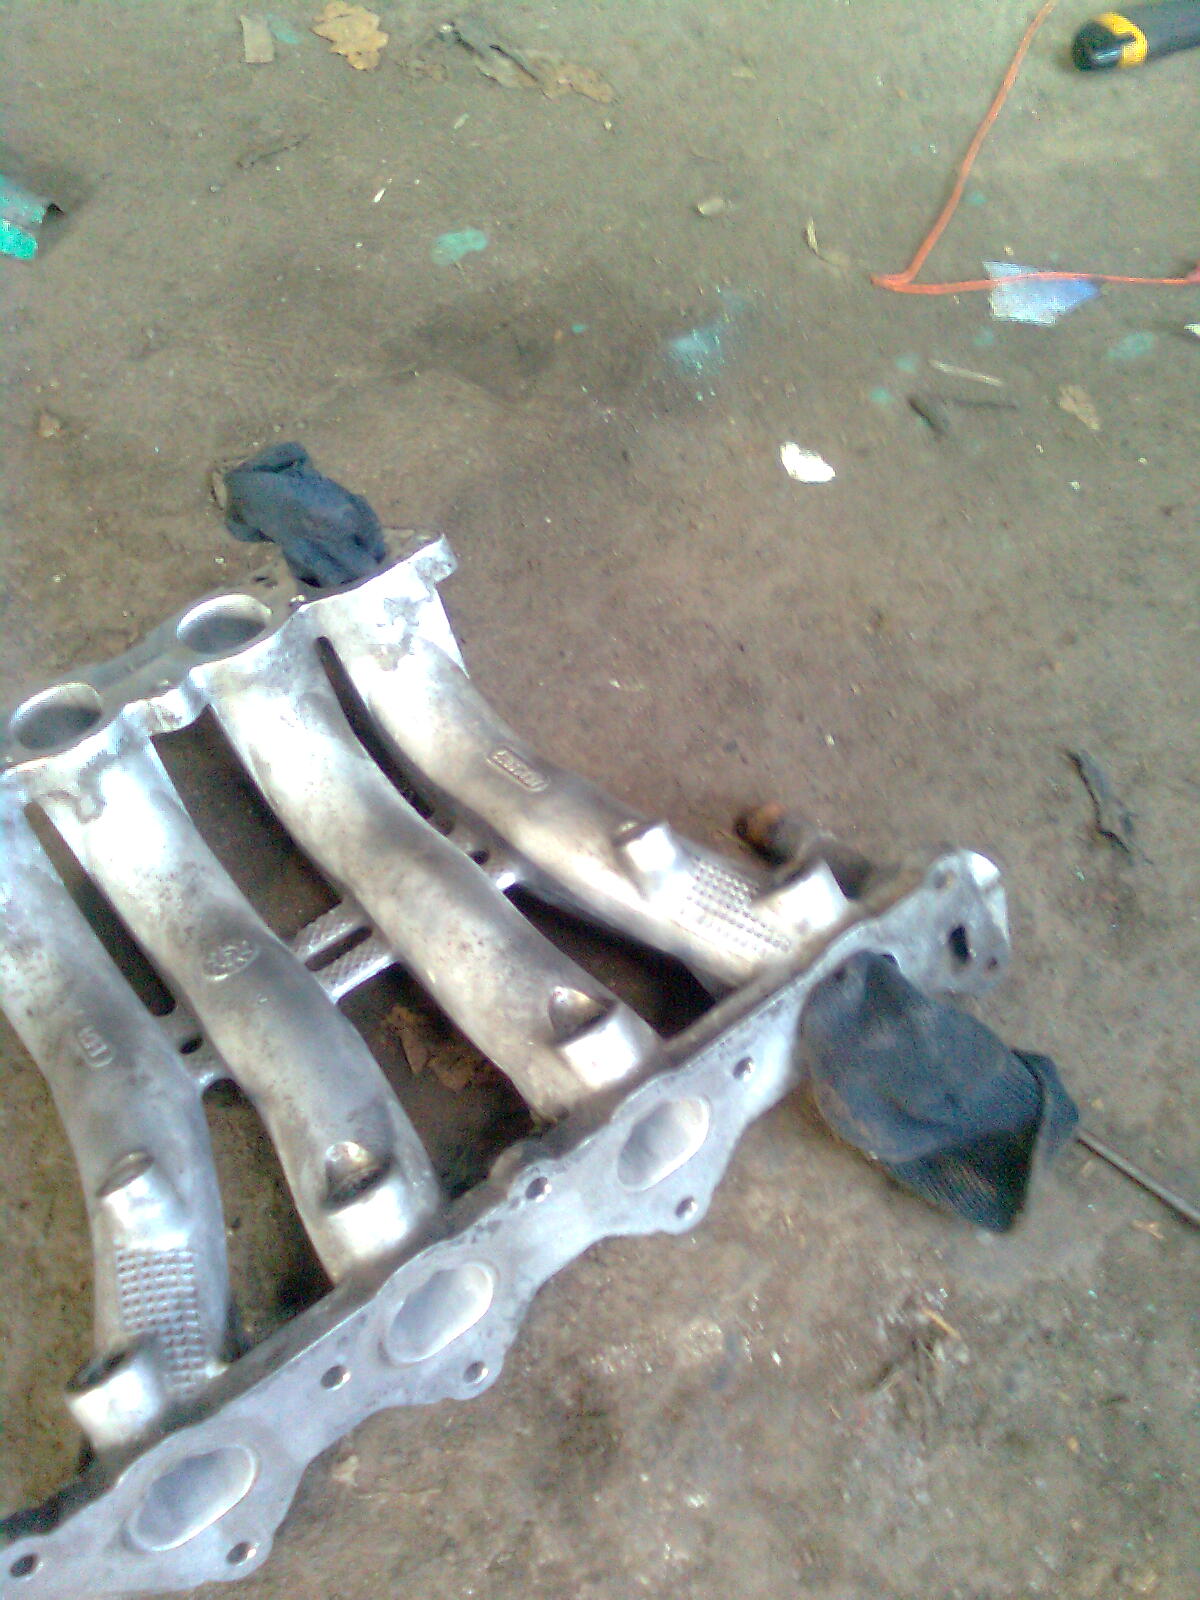
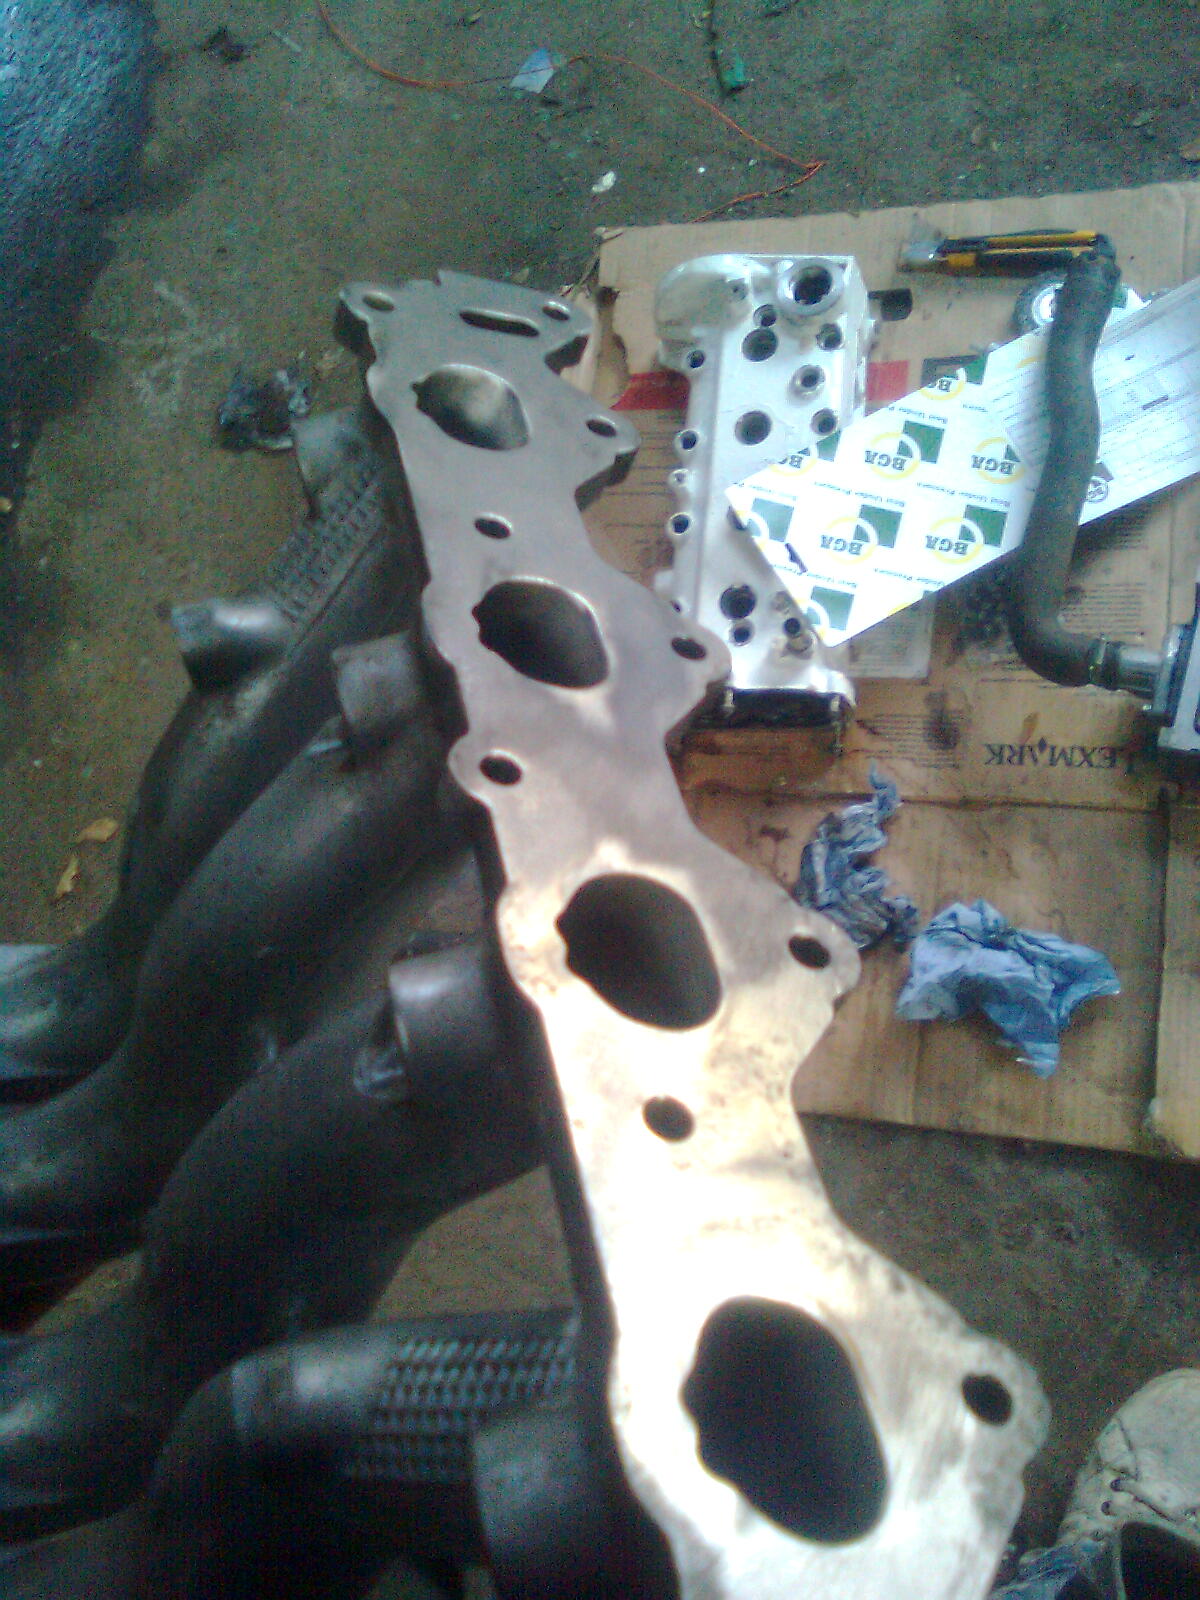
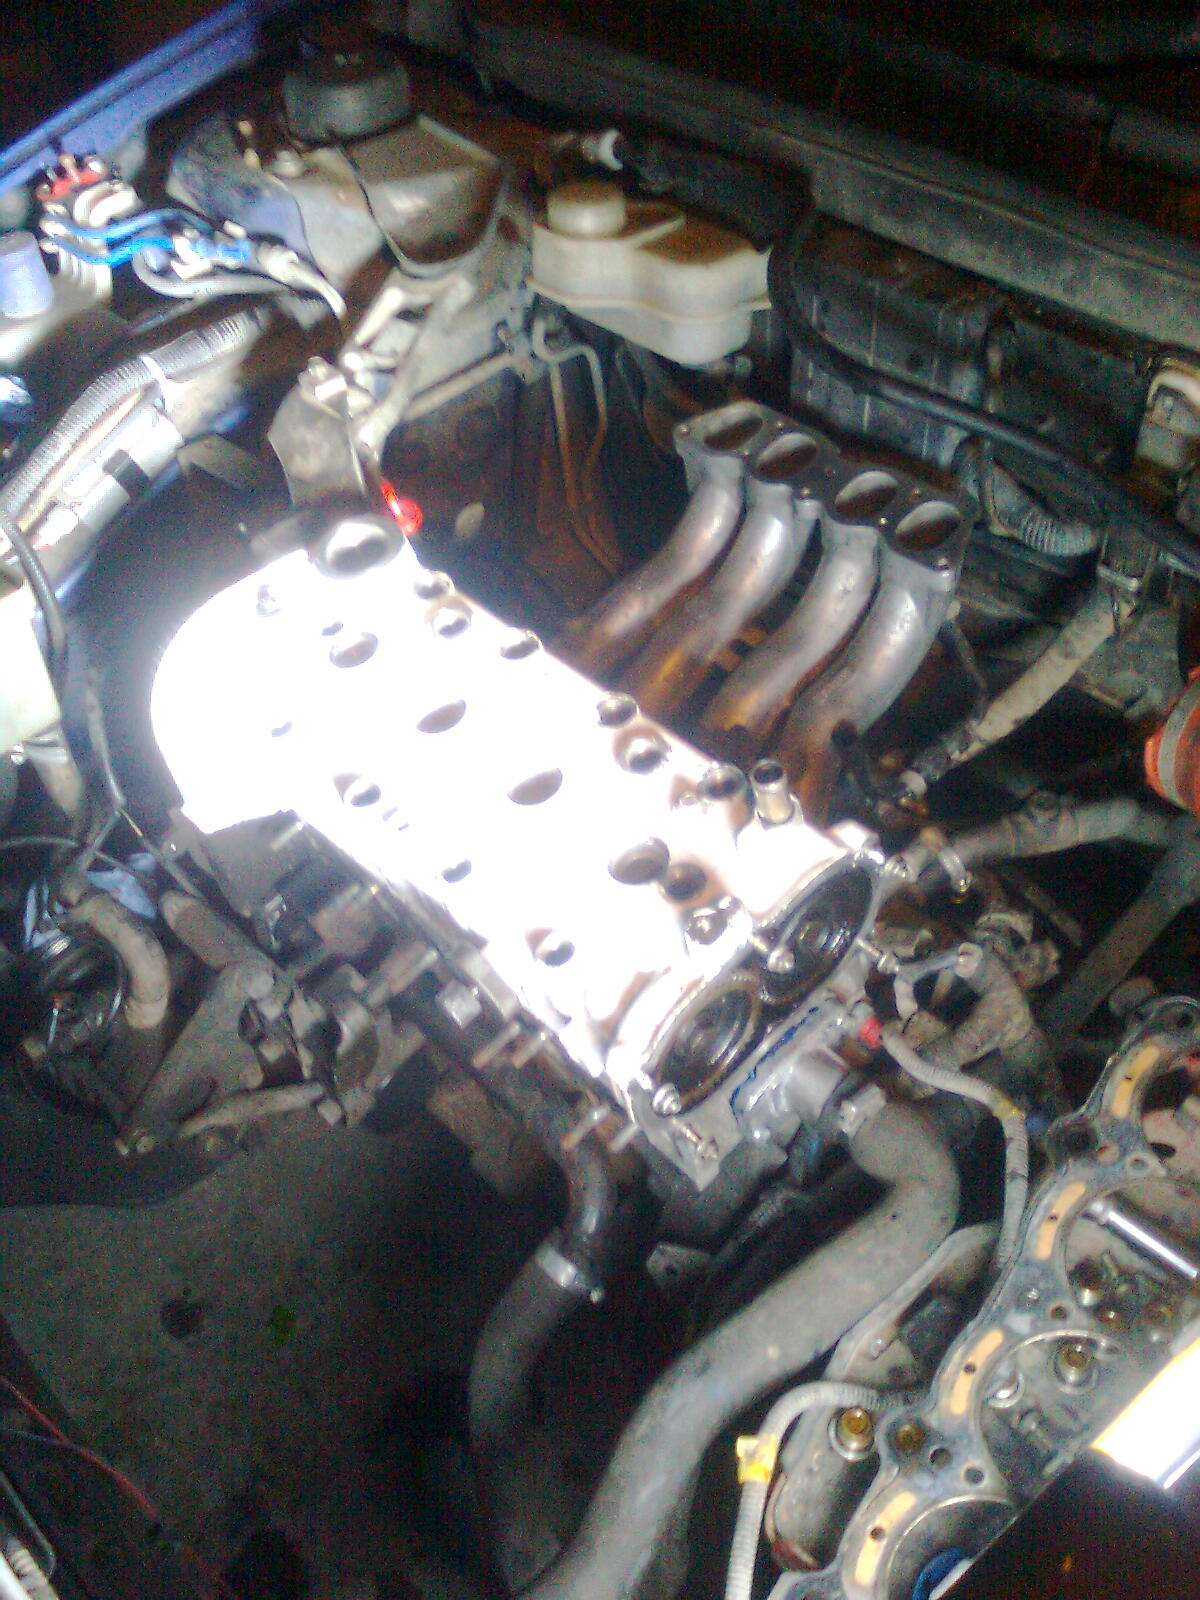
When that was done, time to fully clean the manifold face
Image0786.jpg


Then something magical happens...
Image0787.jpg


Quick tip: heres why you use new bolts on a modern engine, the old ones stretch
Image0788.jpg


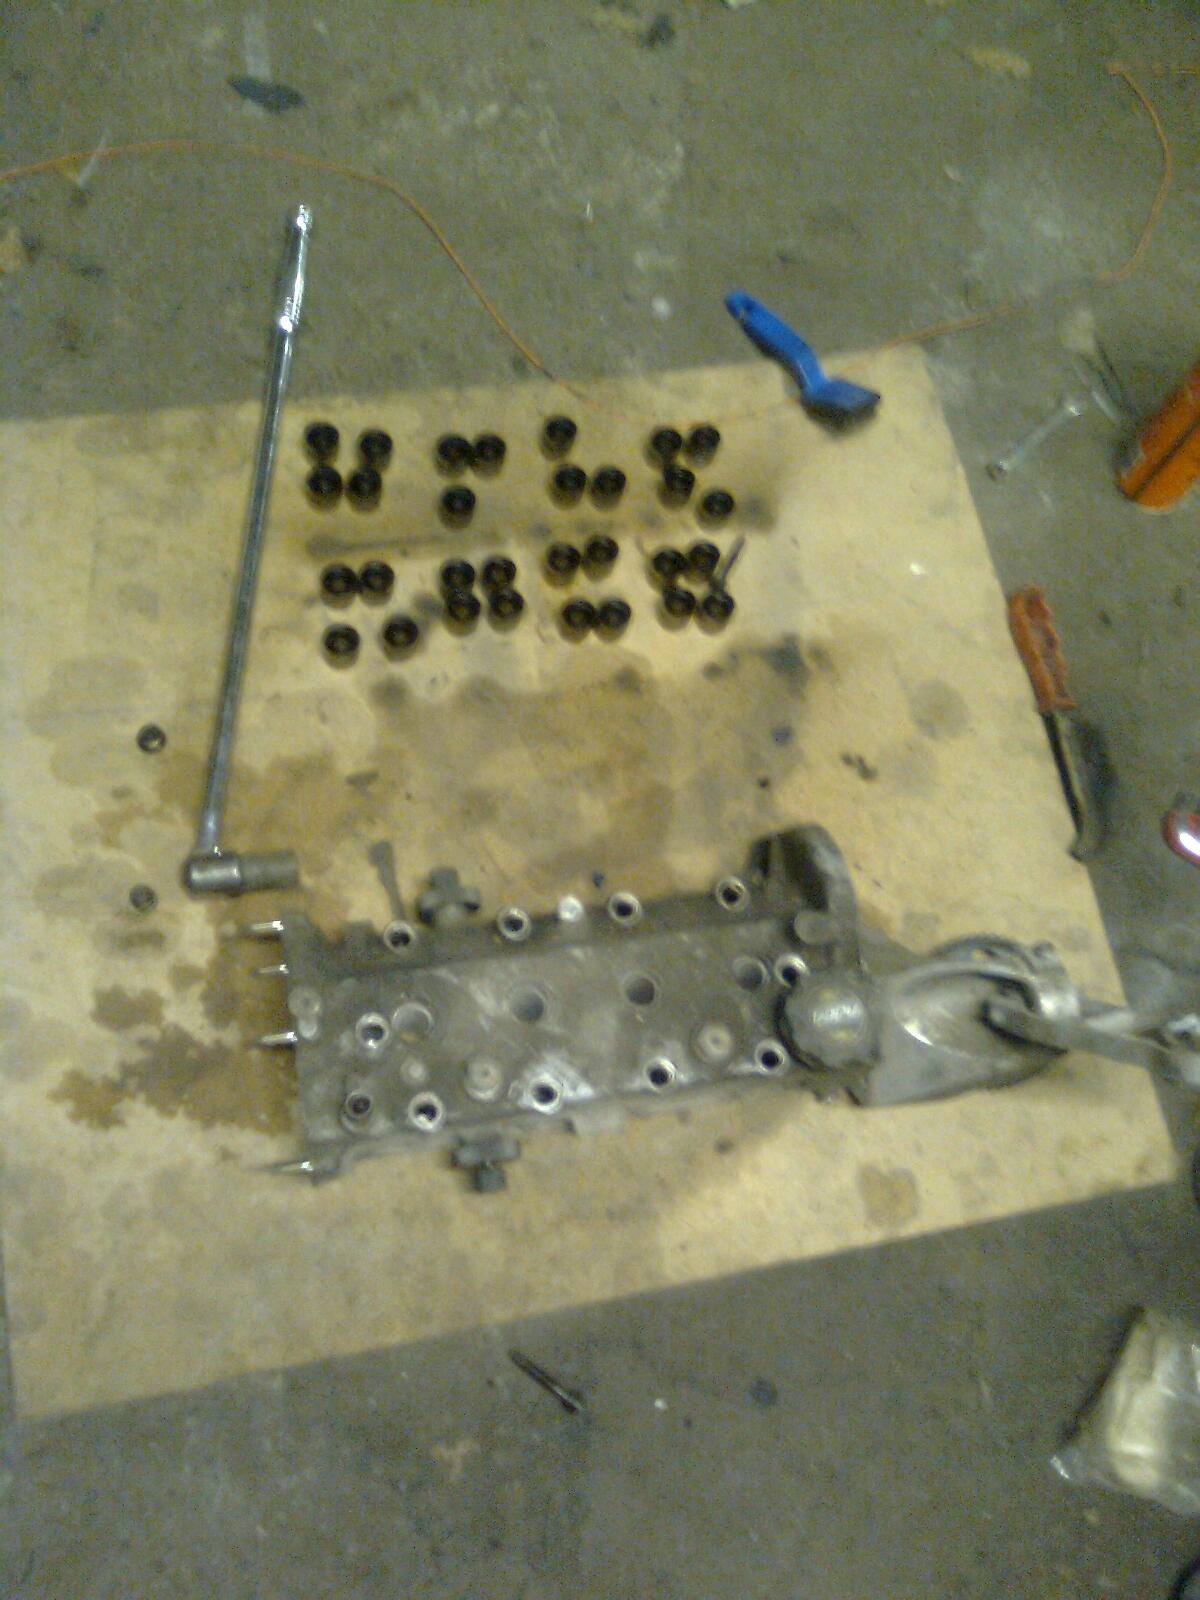
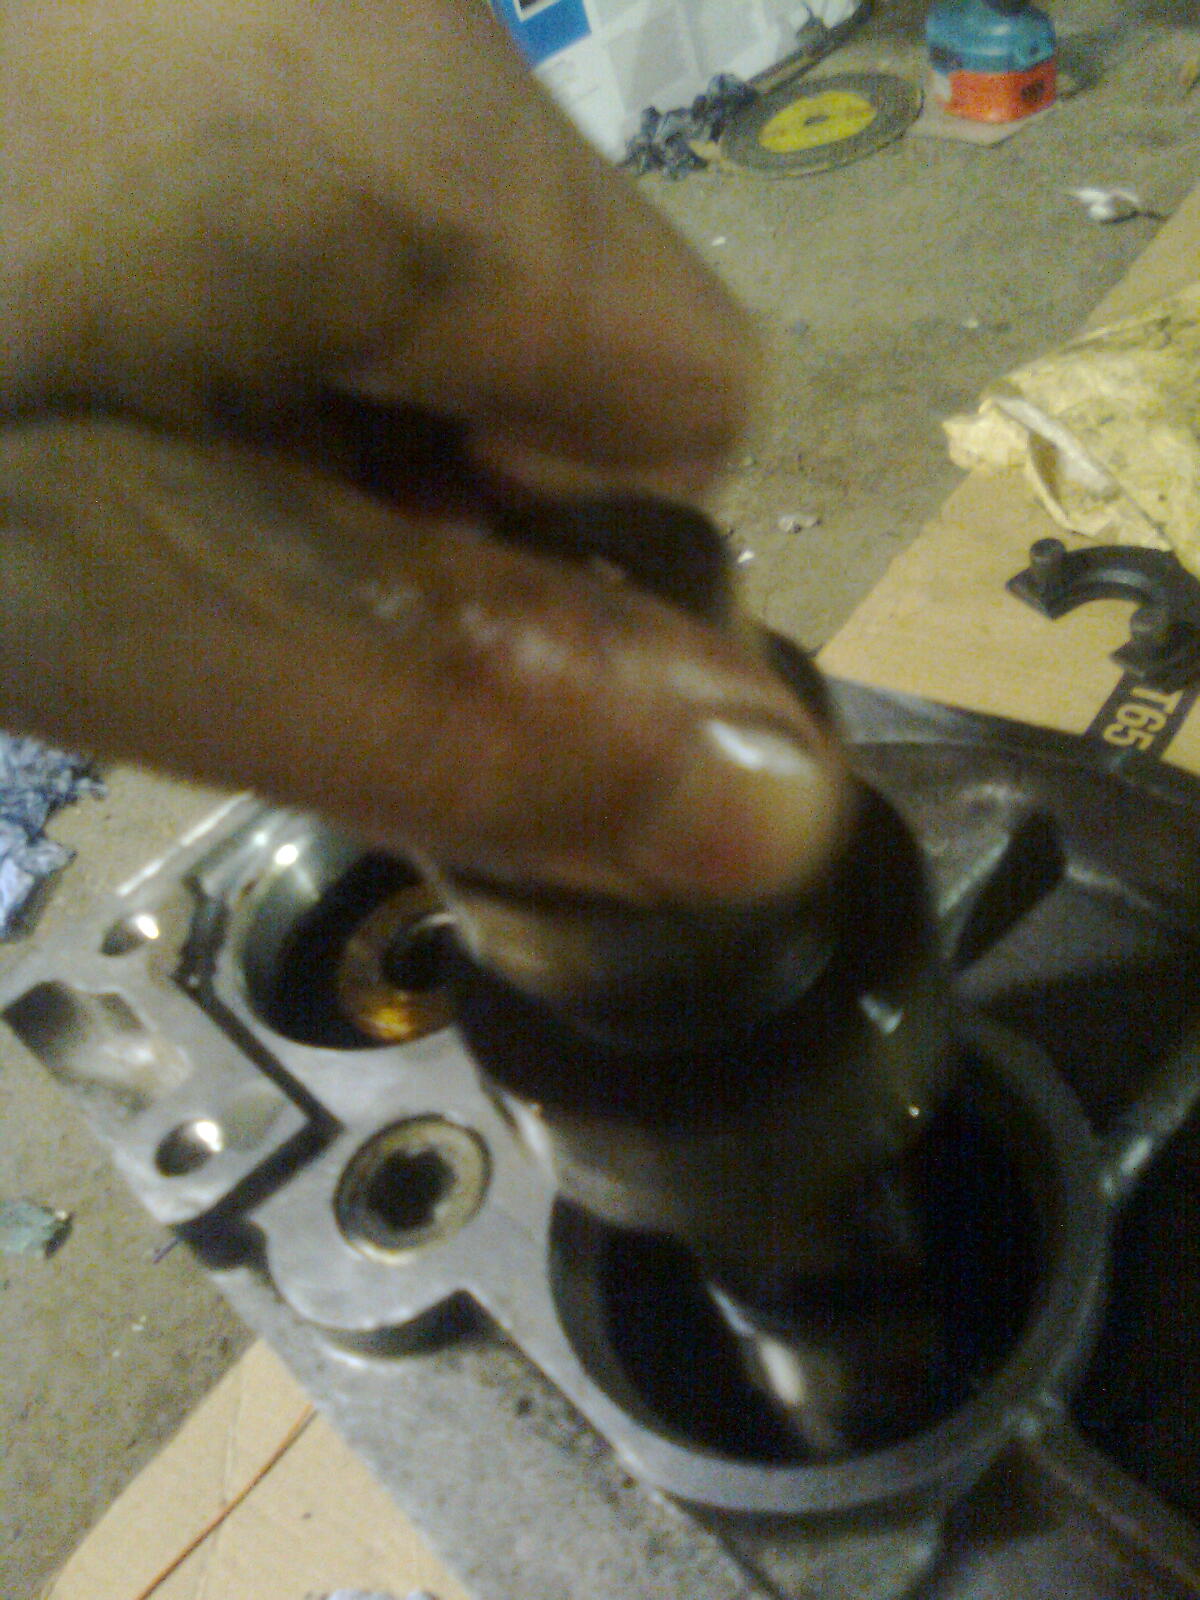
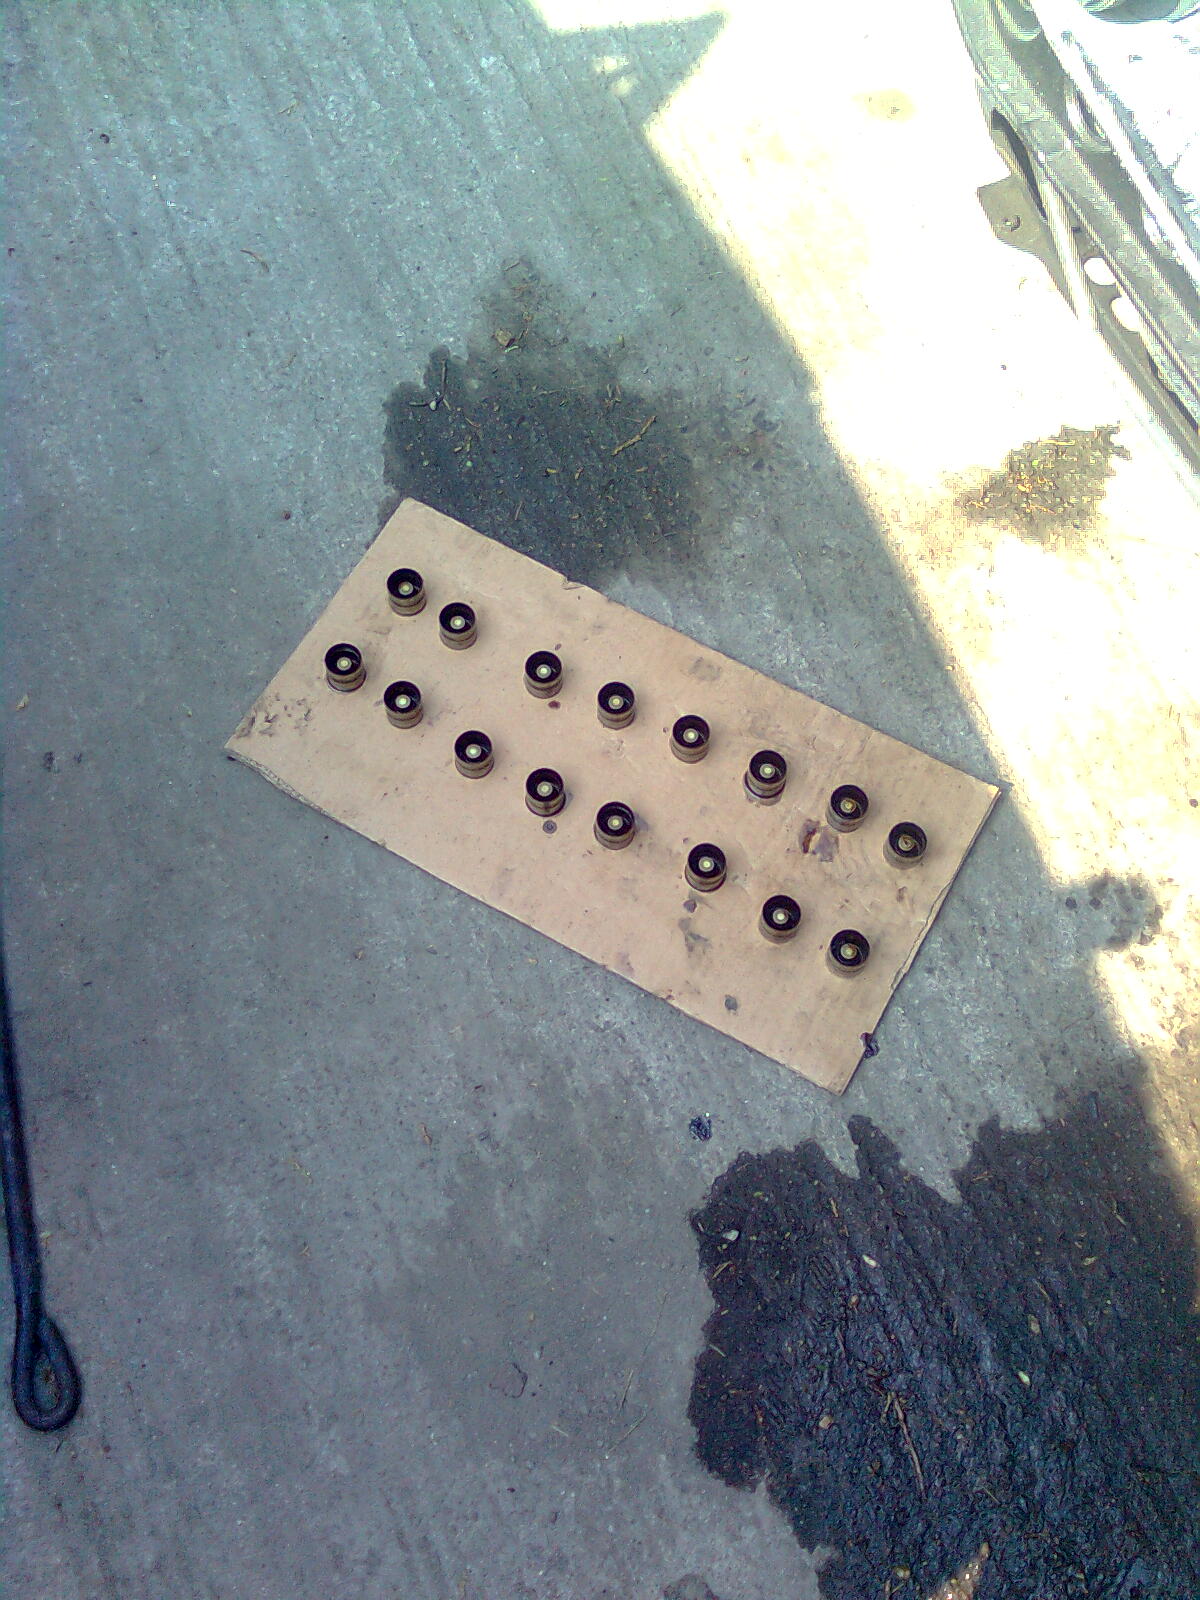
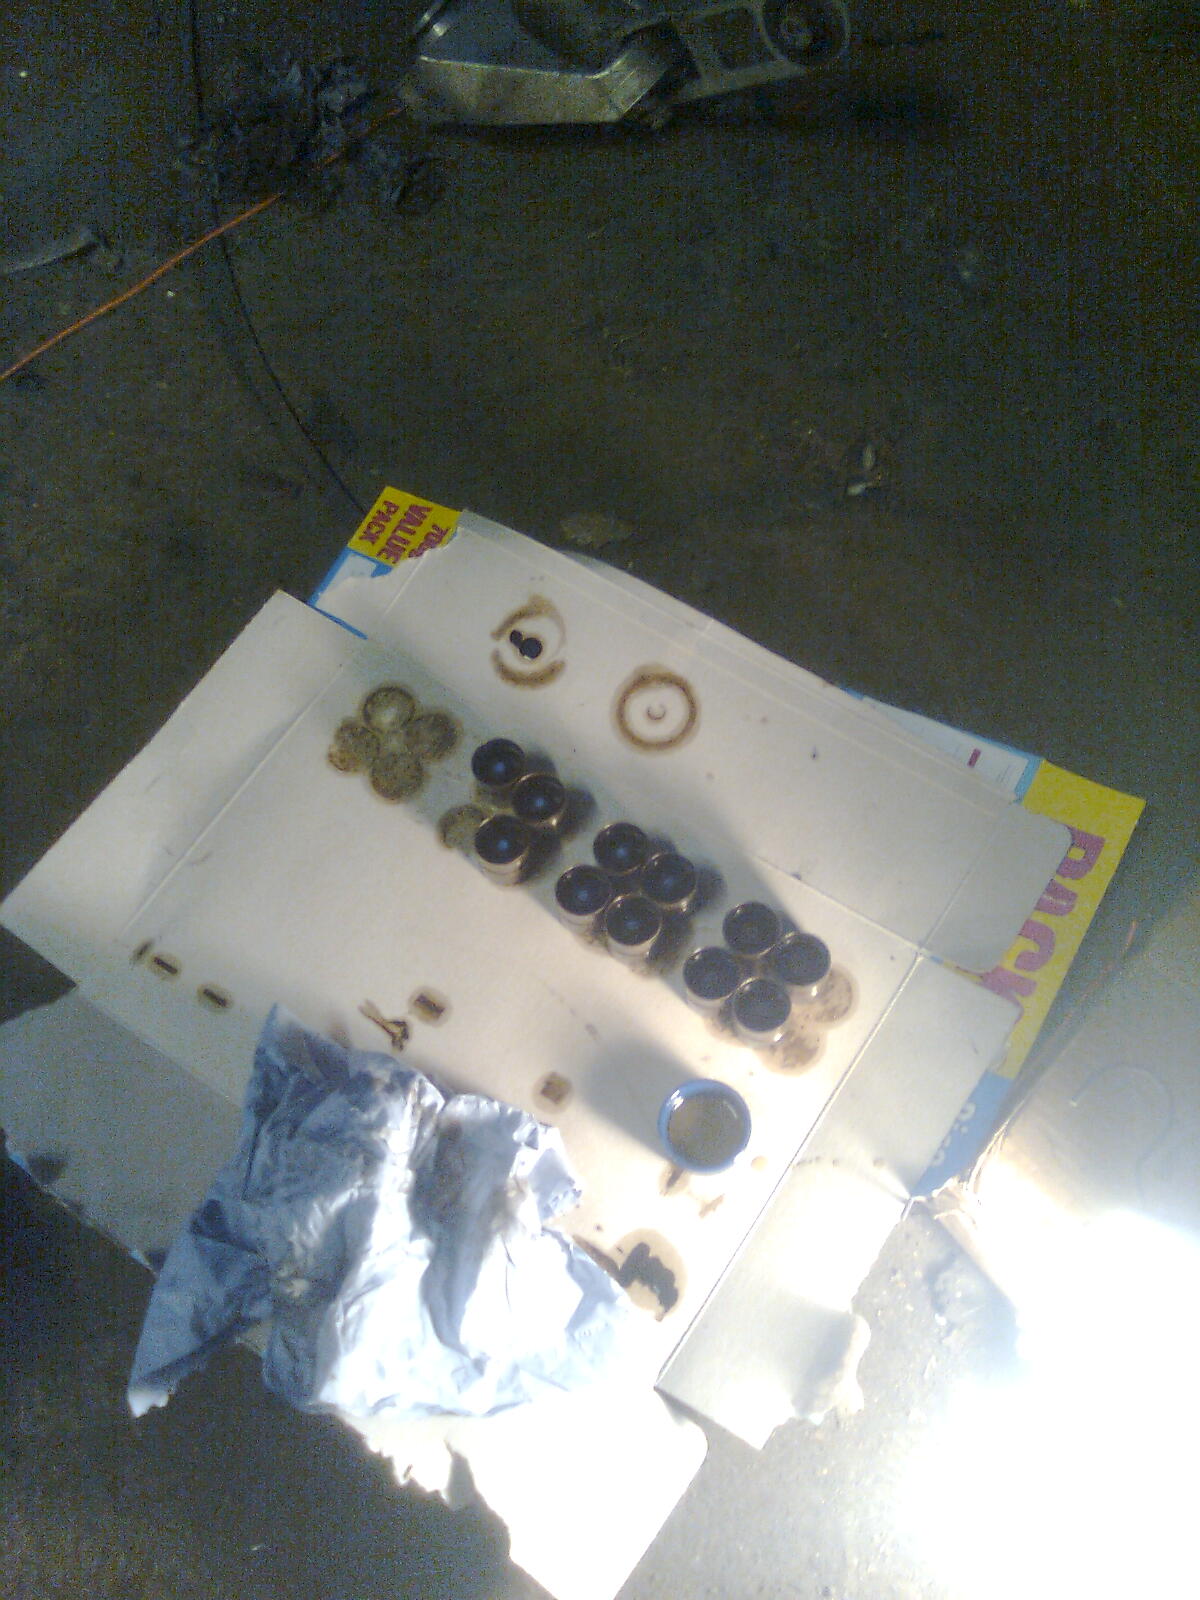
Cleaning the shims one by one, then oiling them up :yum:
Image0789.jpg


All in place :D
Image0790.jpg


Somethings missing hmmm...
Image07911.jpg


Thats better :)
Image07921.jpg


Now its a little bit later at this stage....
Image0793.jpg


Tightening the gears fully...
Image0794.jpg


This required no cleaning (y)
Image0795.jpg


Now for the timing...
Image0796.jpg


And having it look normal :)
Image0797.jpg


And that concluded that for the evening...

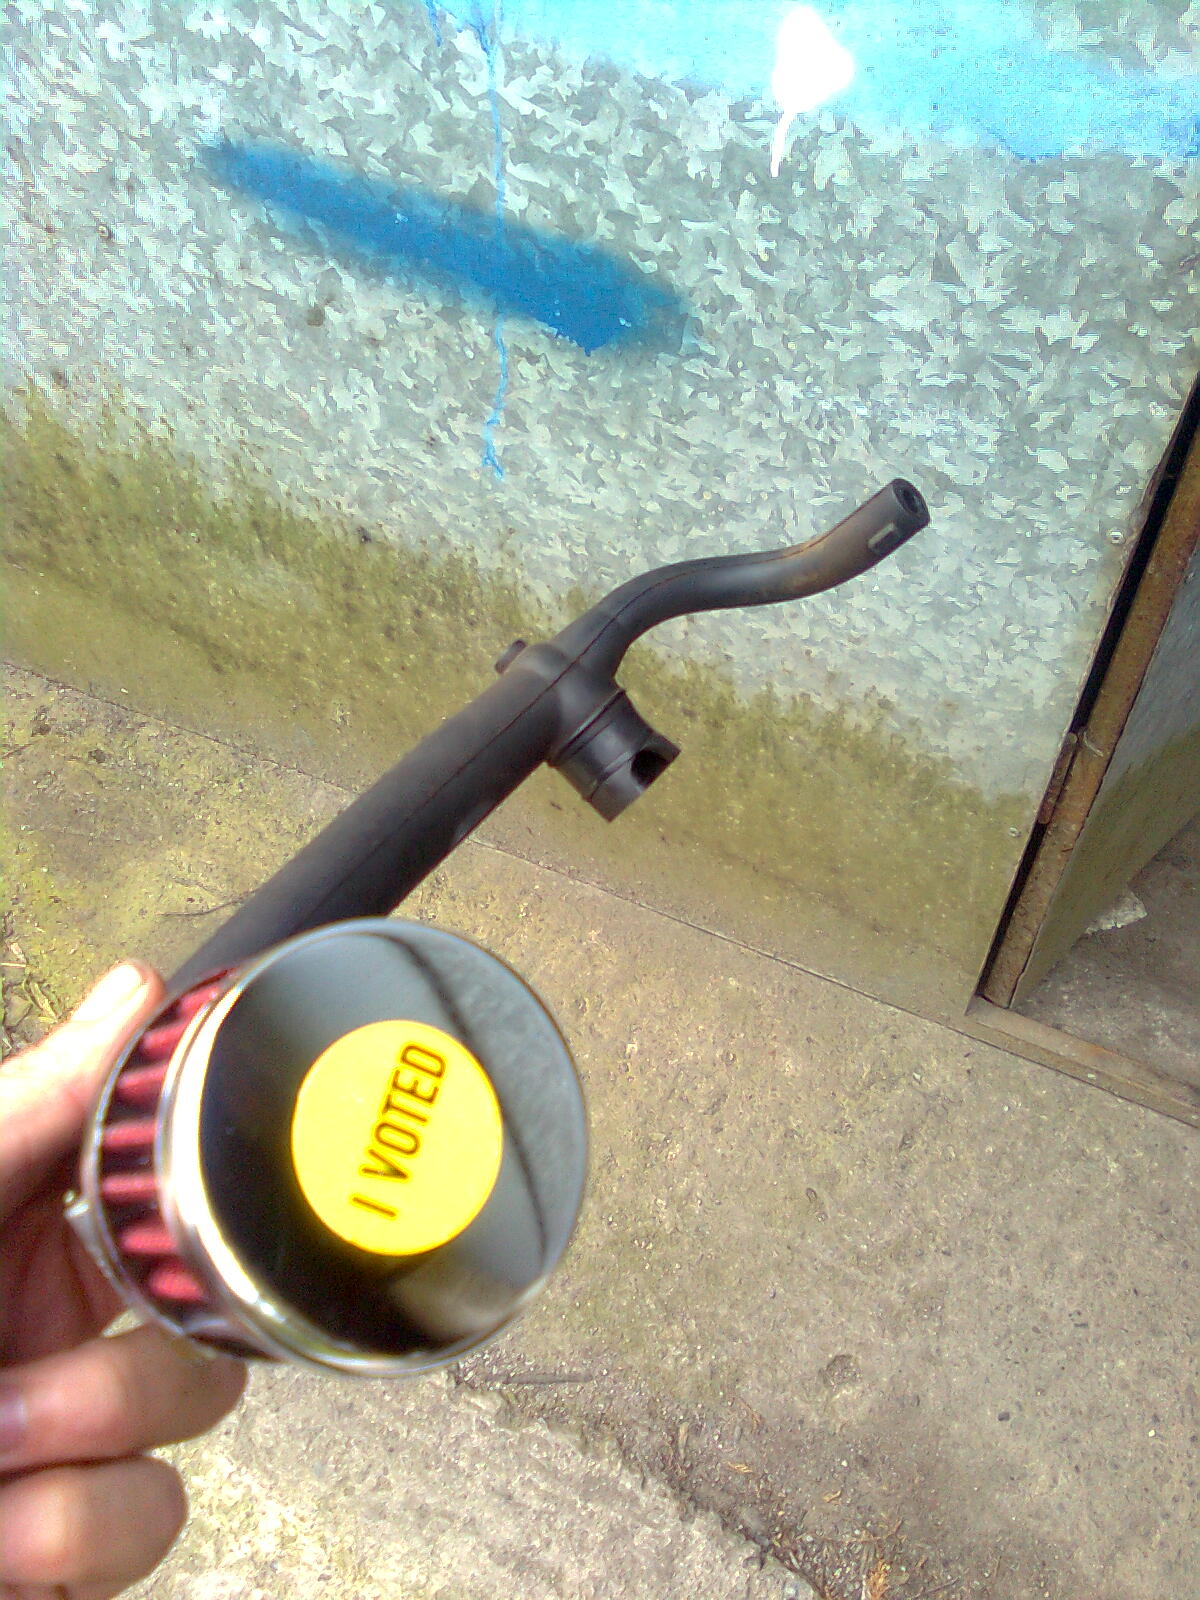
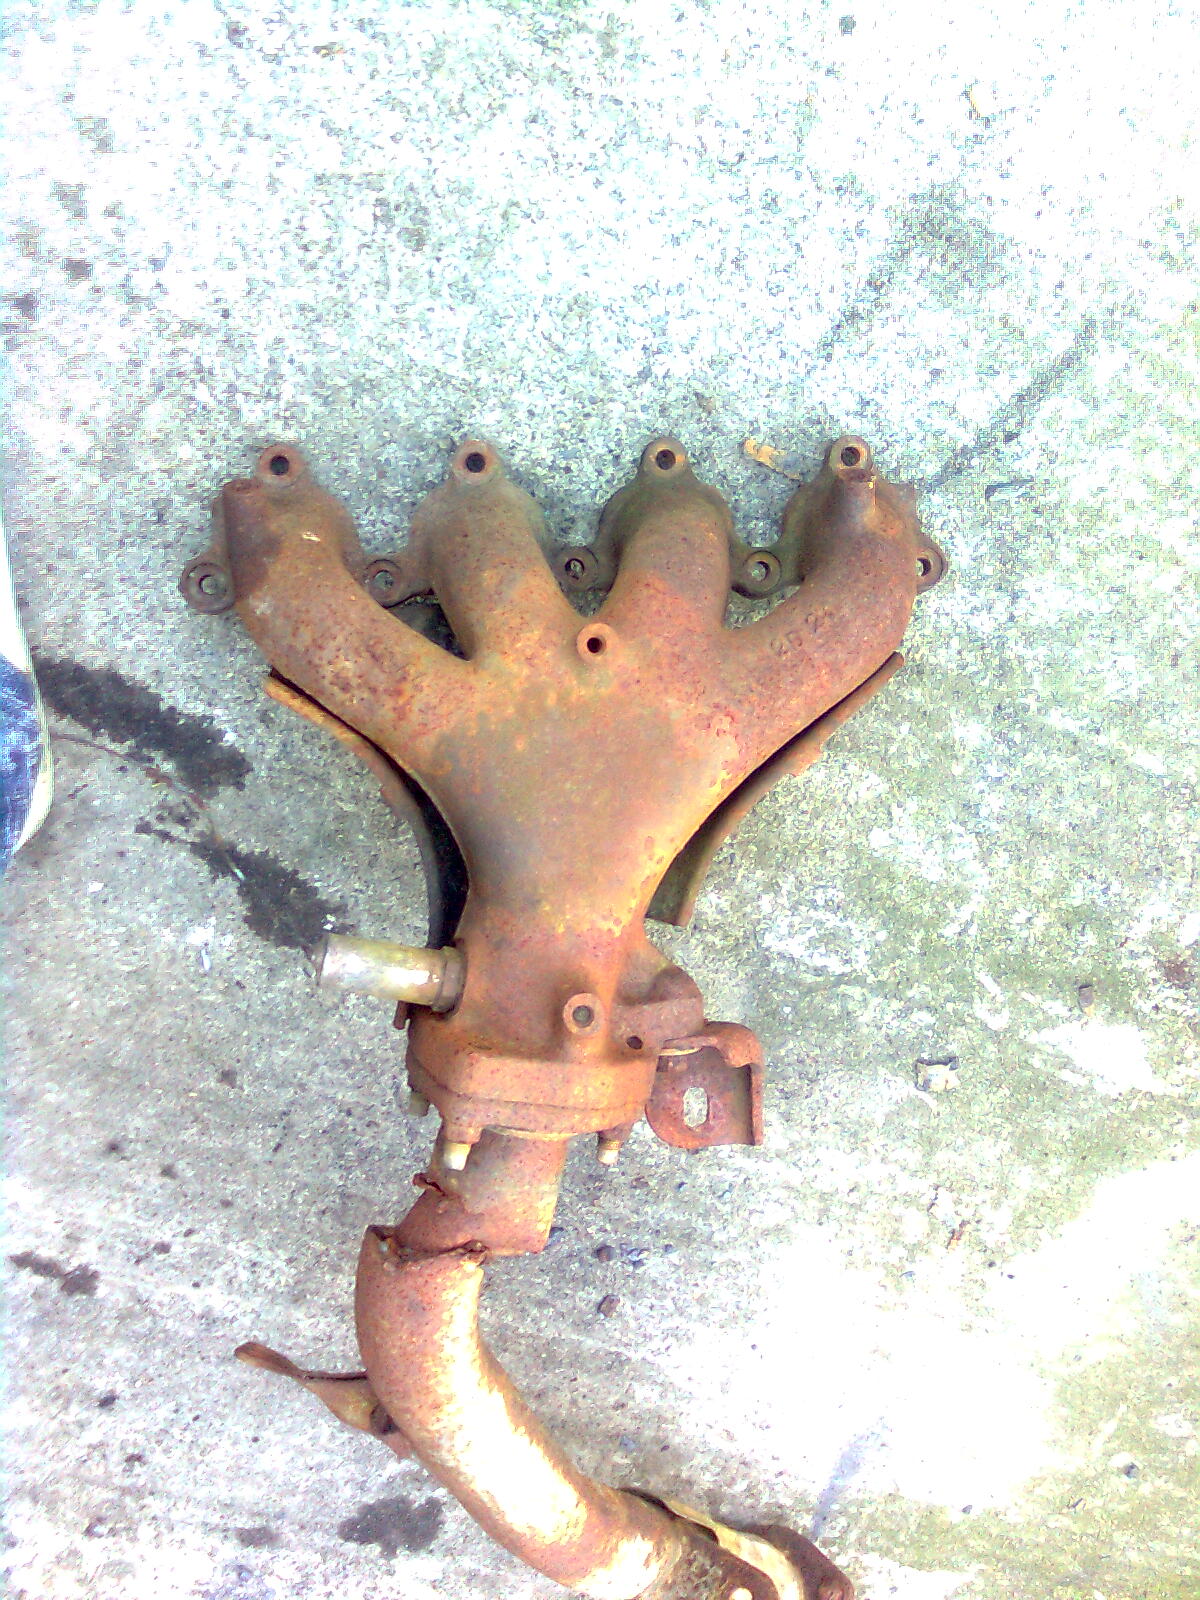
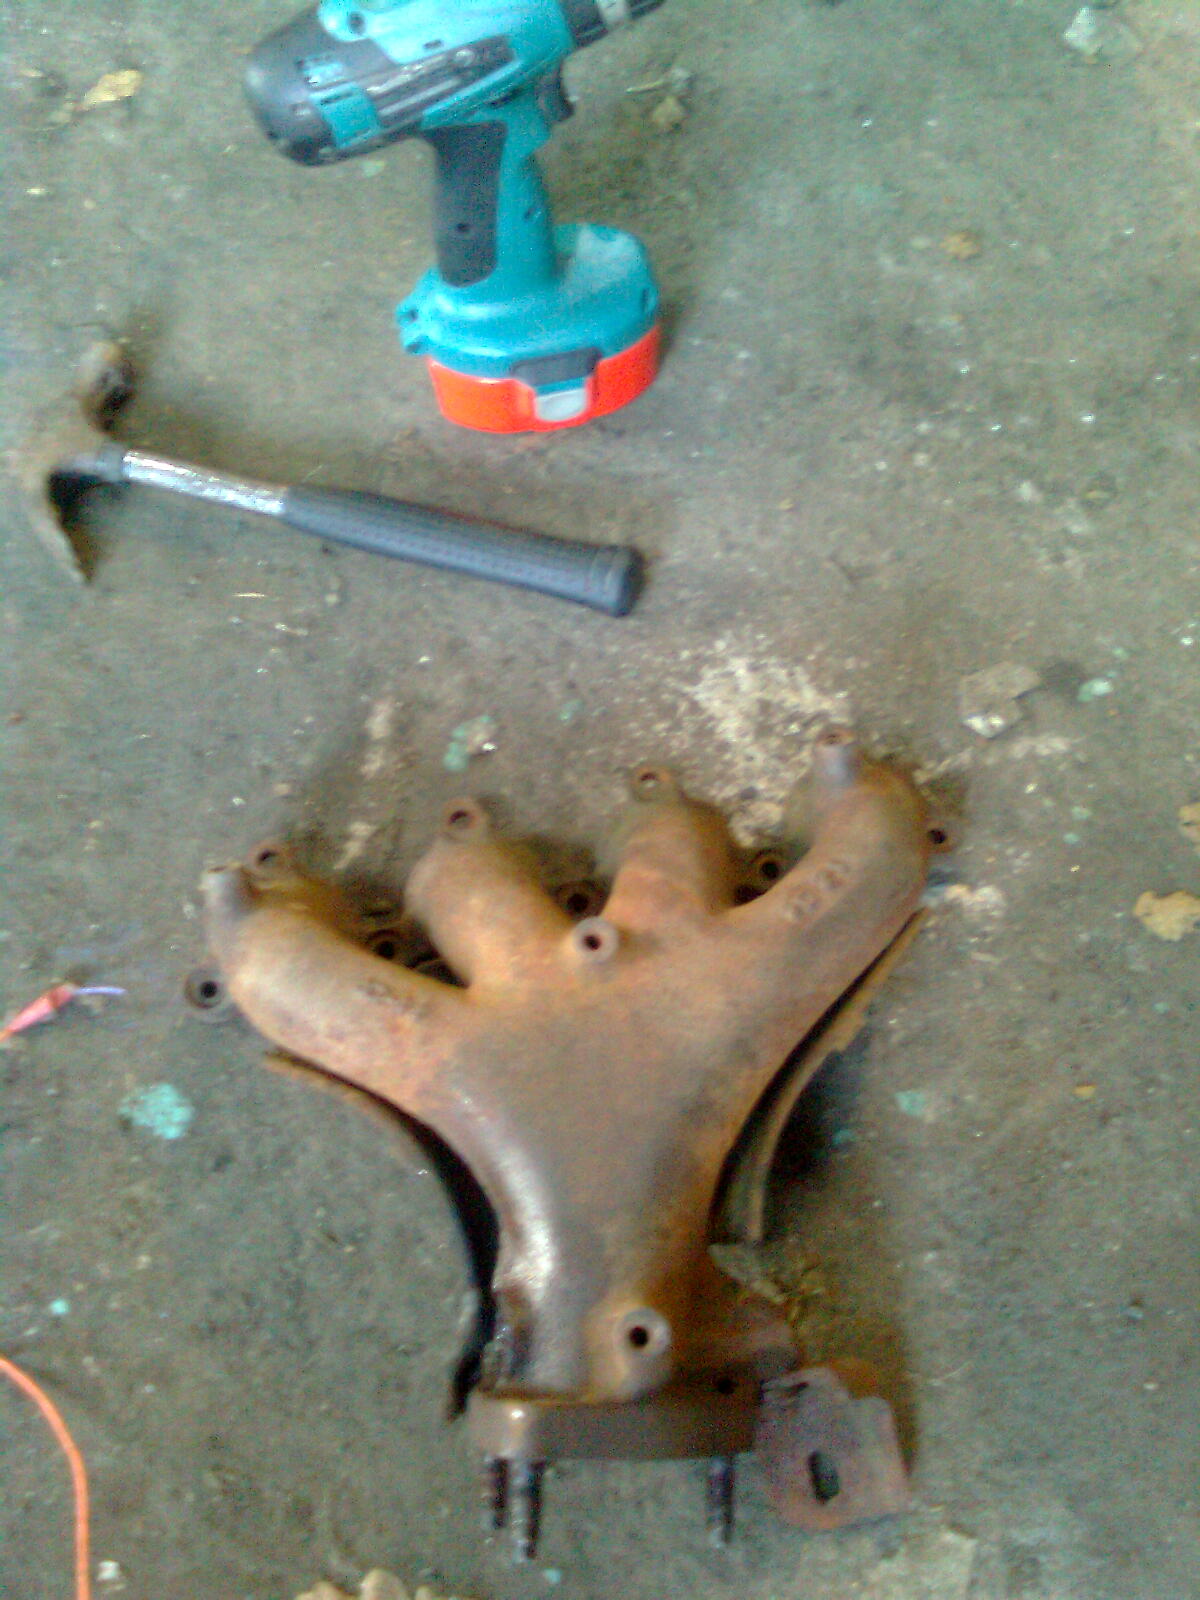
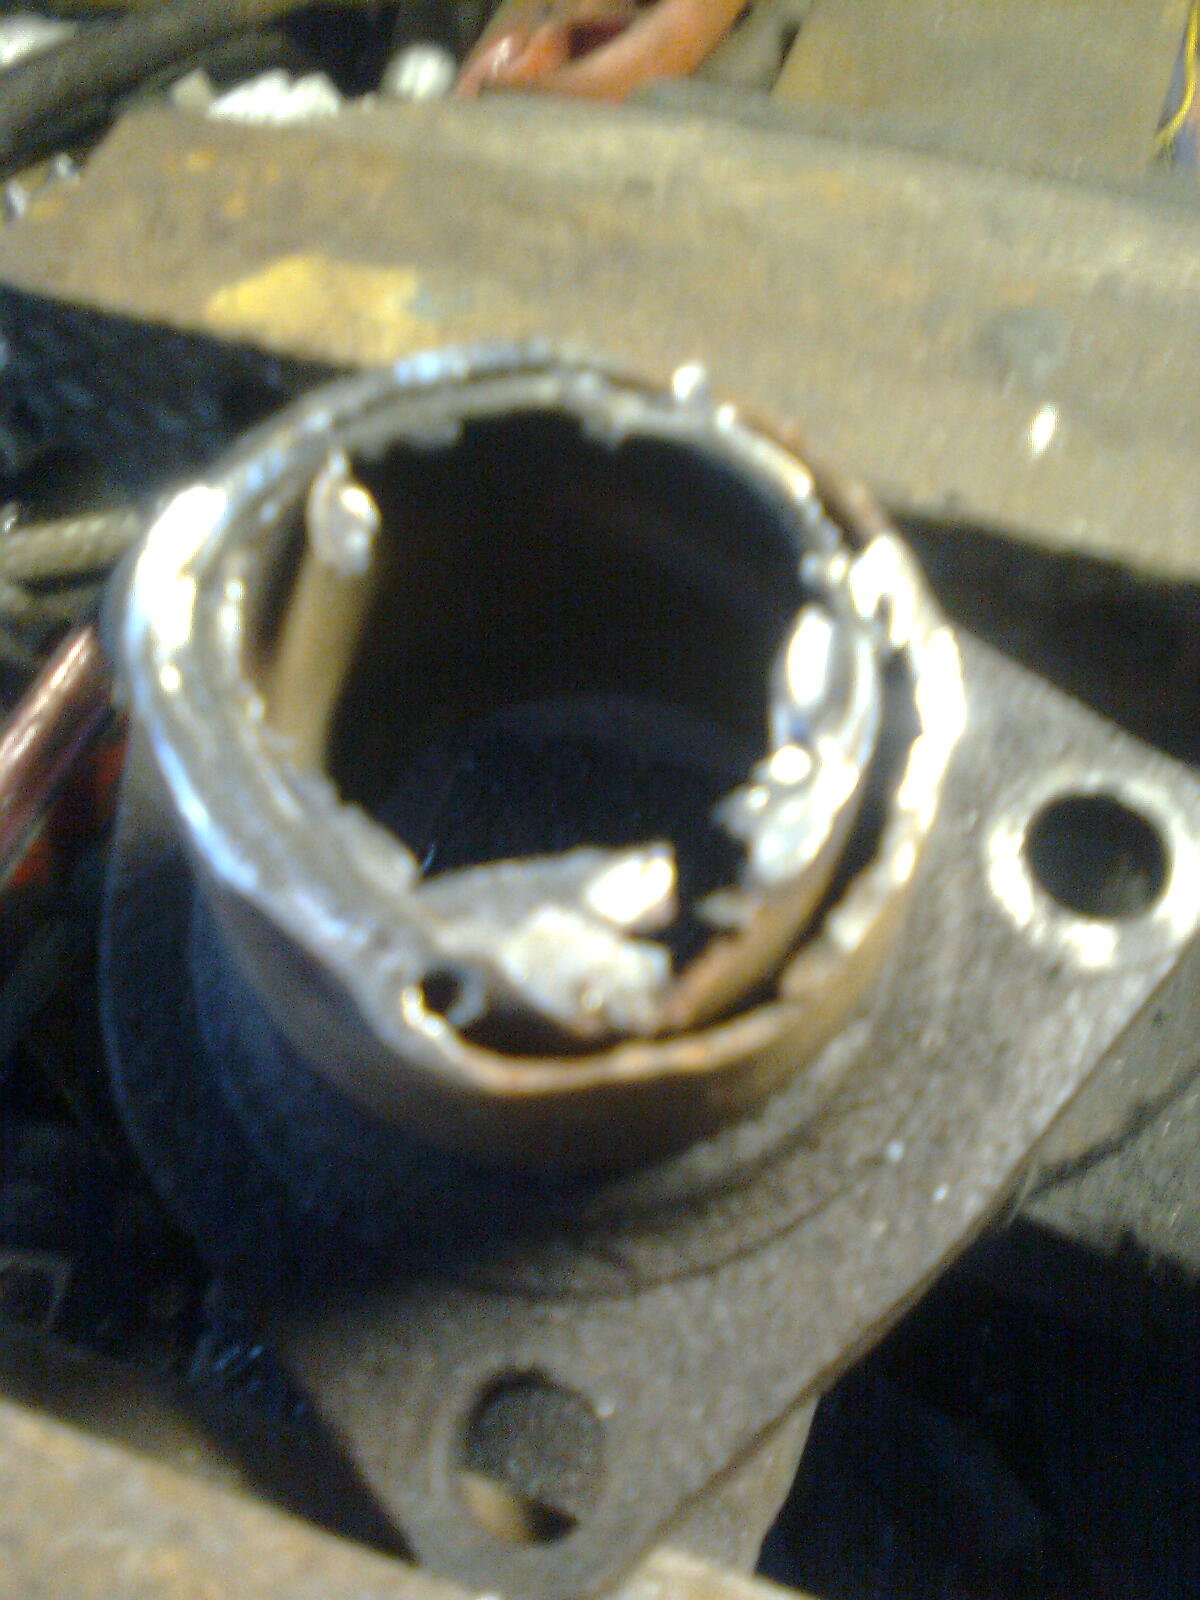
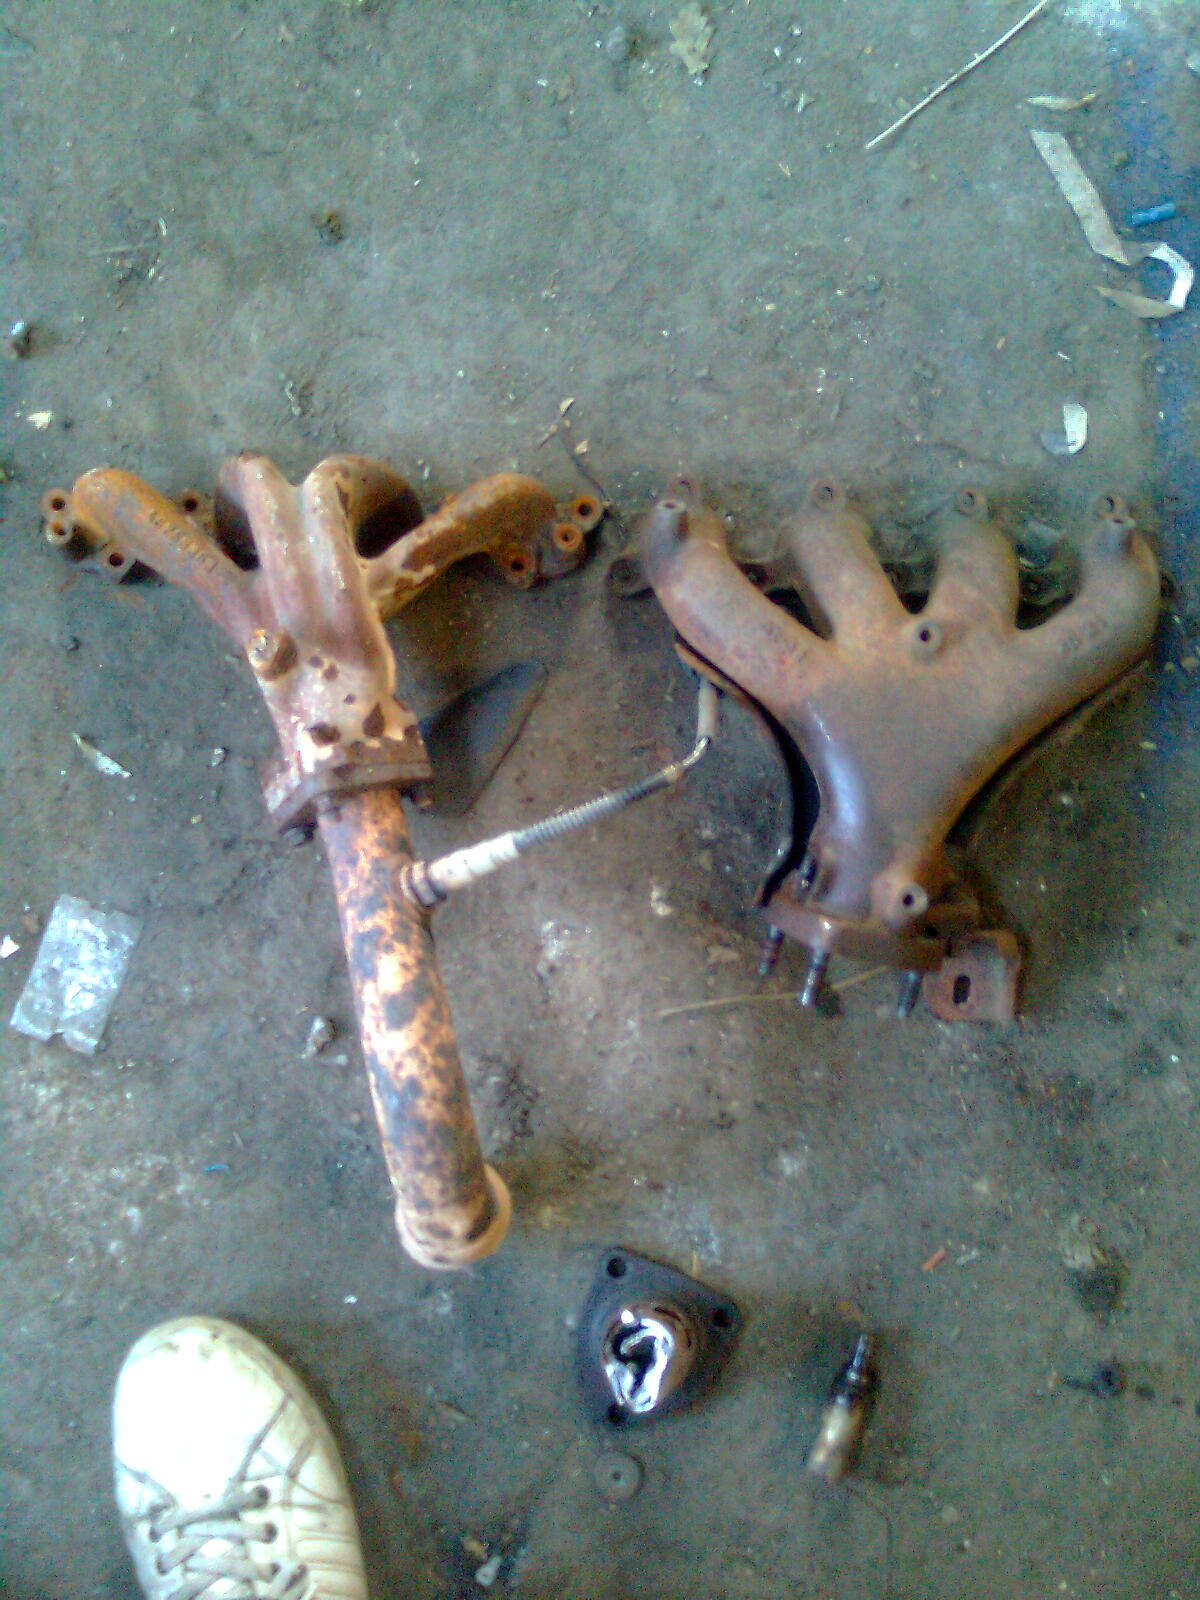
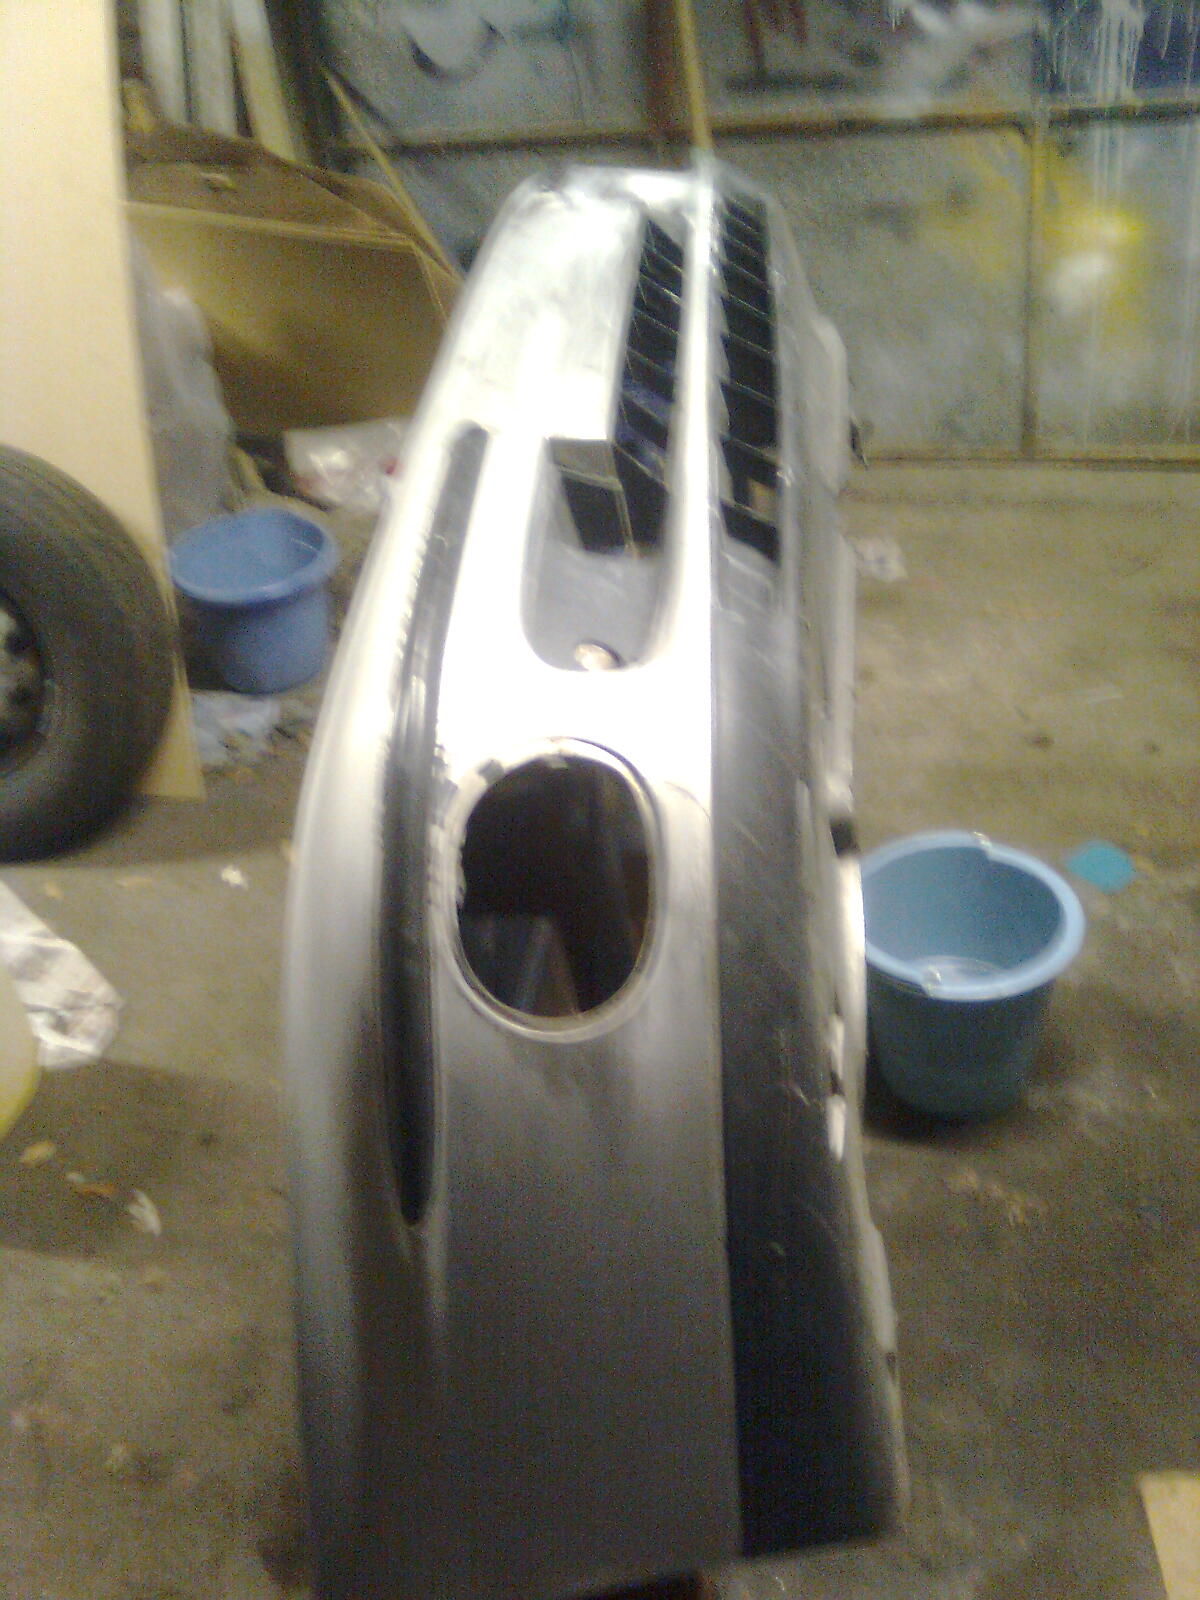
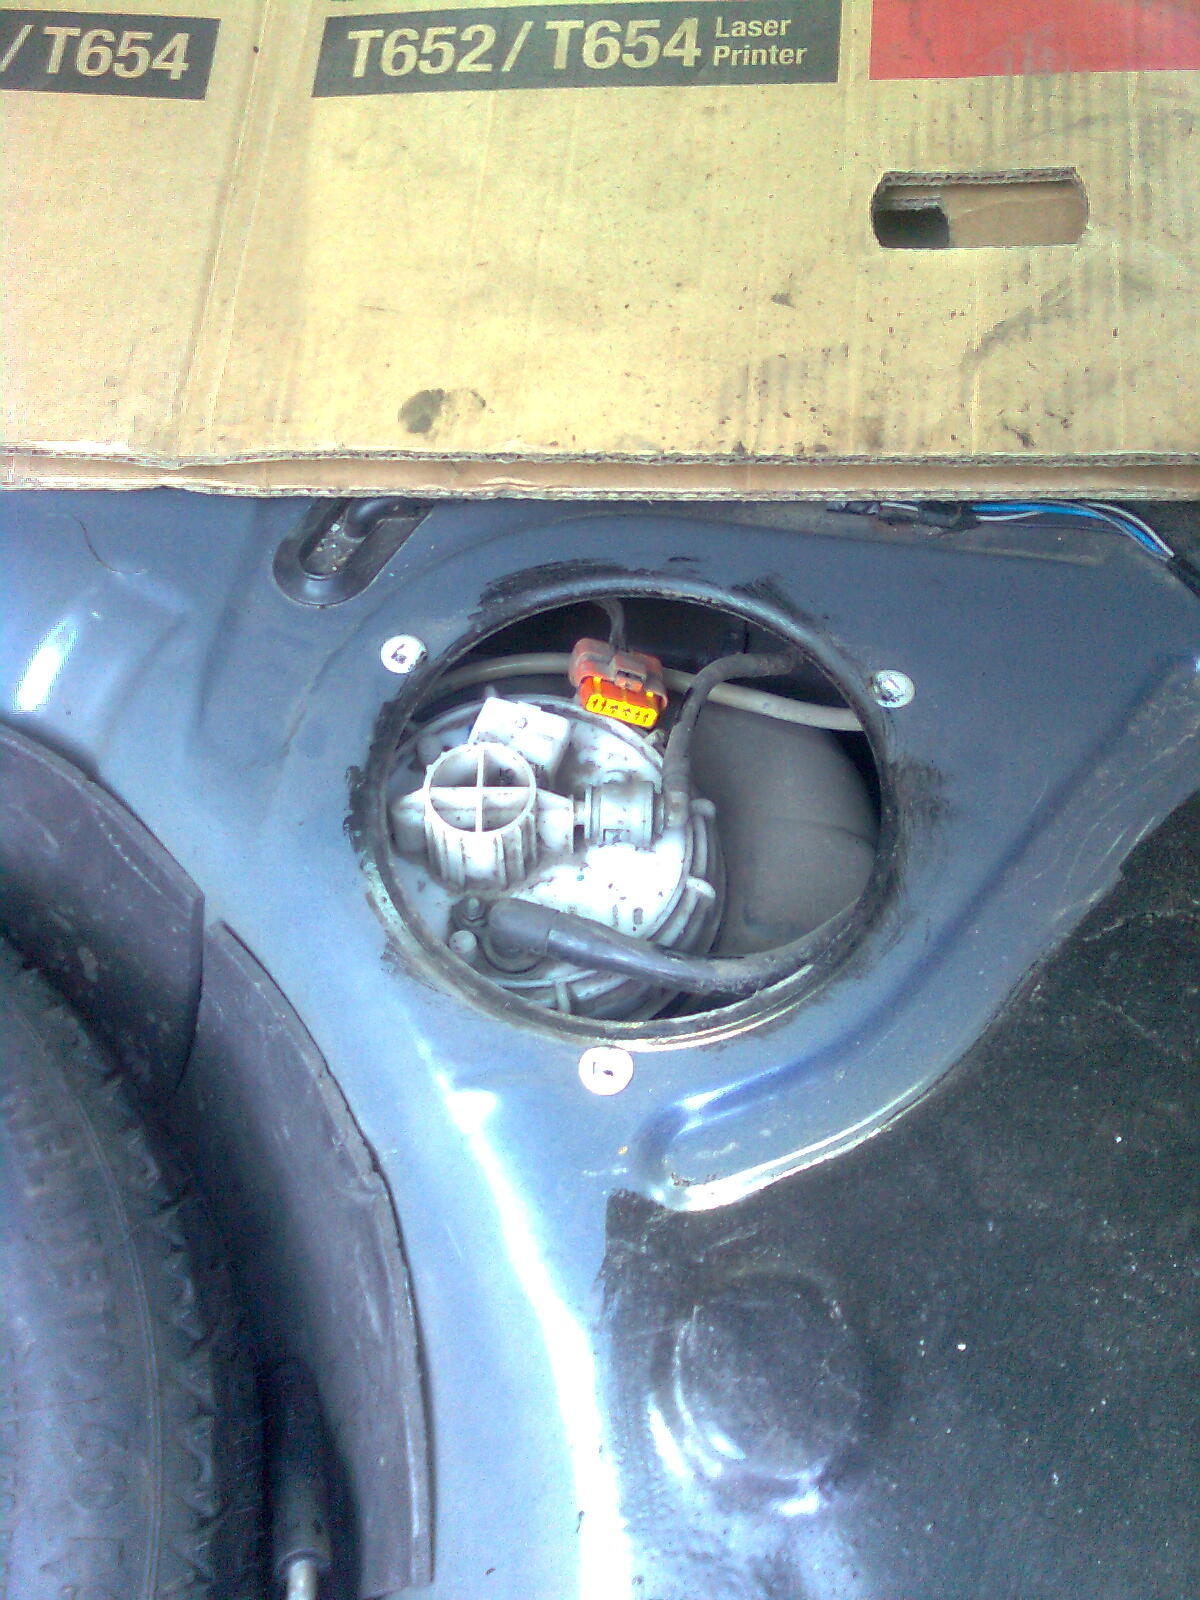
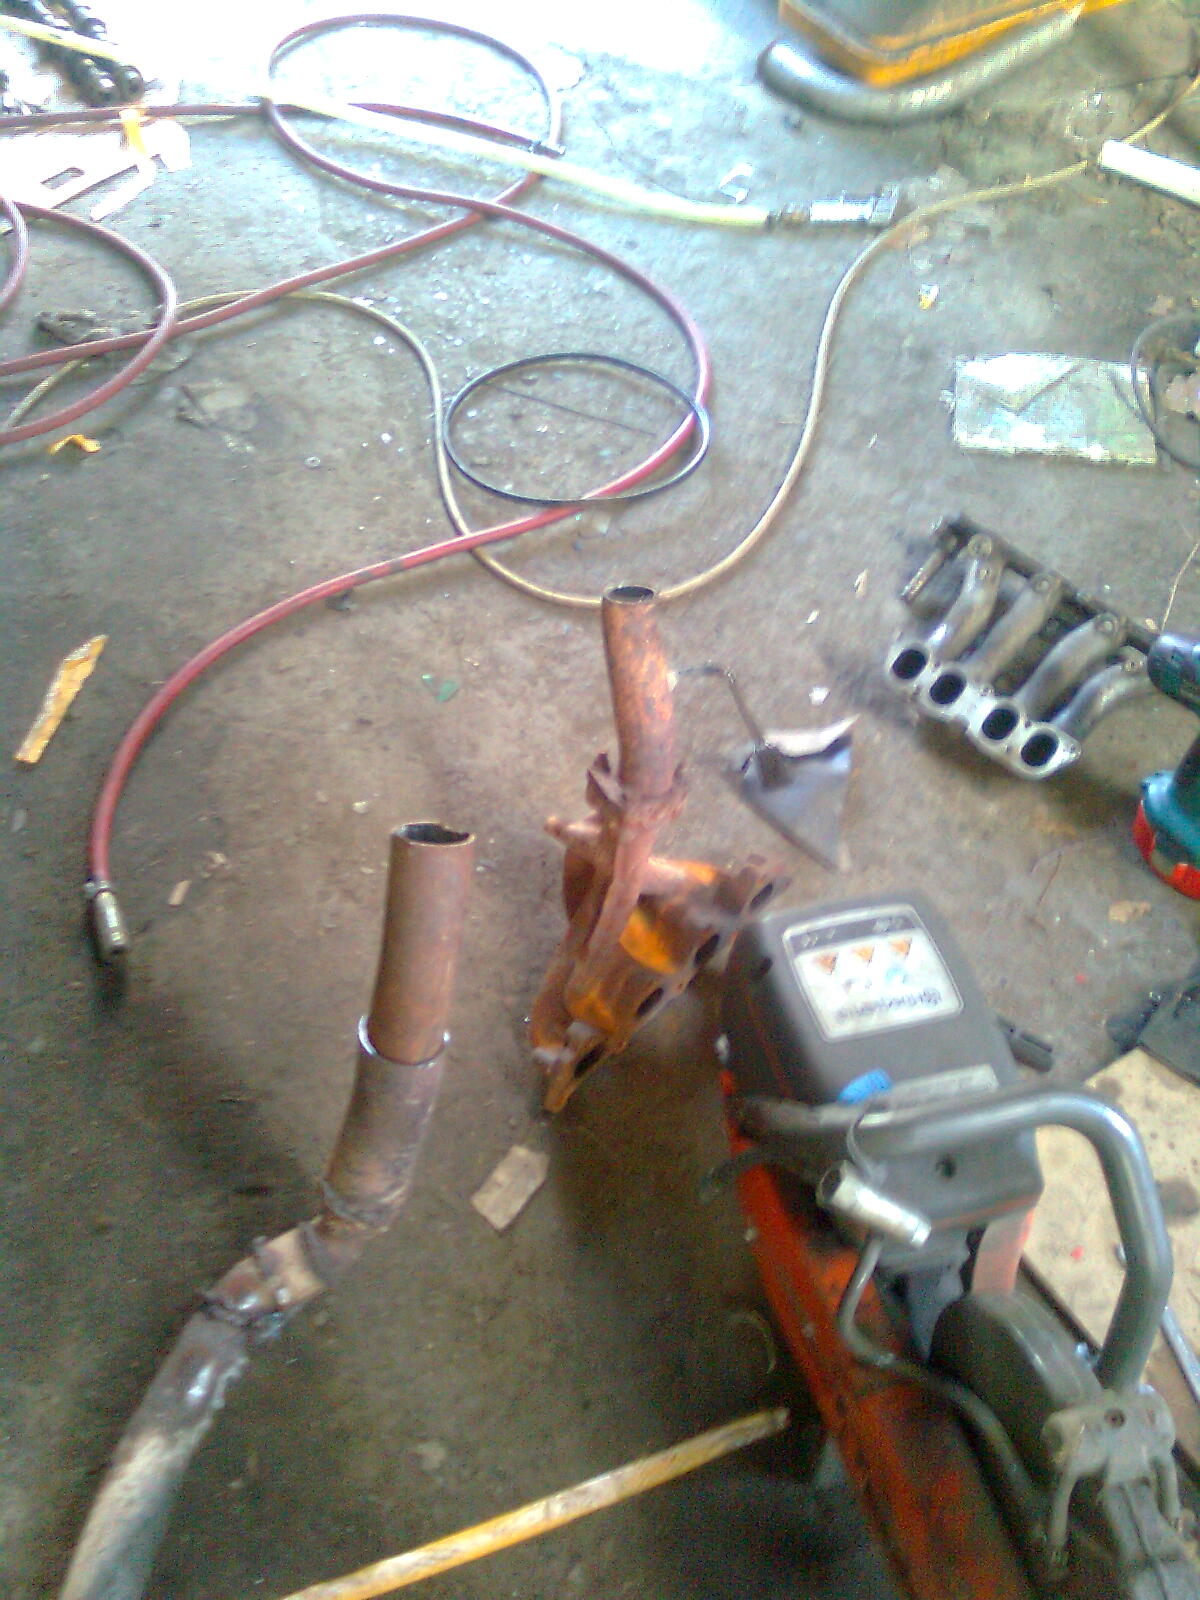
So earlier today, time to source something that resembled an exhaust :D
Image0799.jpg


These do not interchange
Image0798.jpg


Just a few bits to plug in...
Image0800.jpg


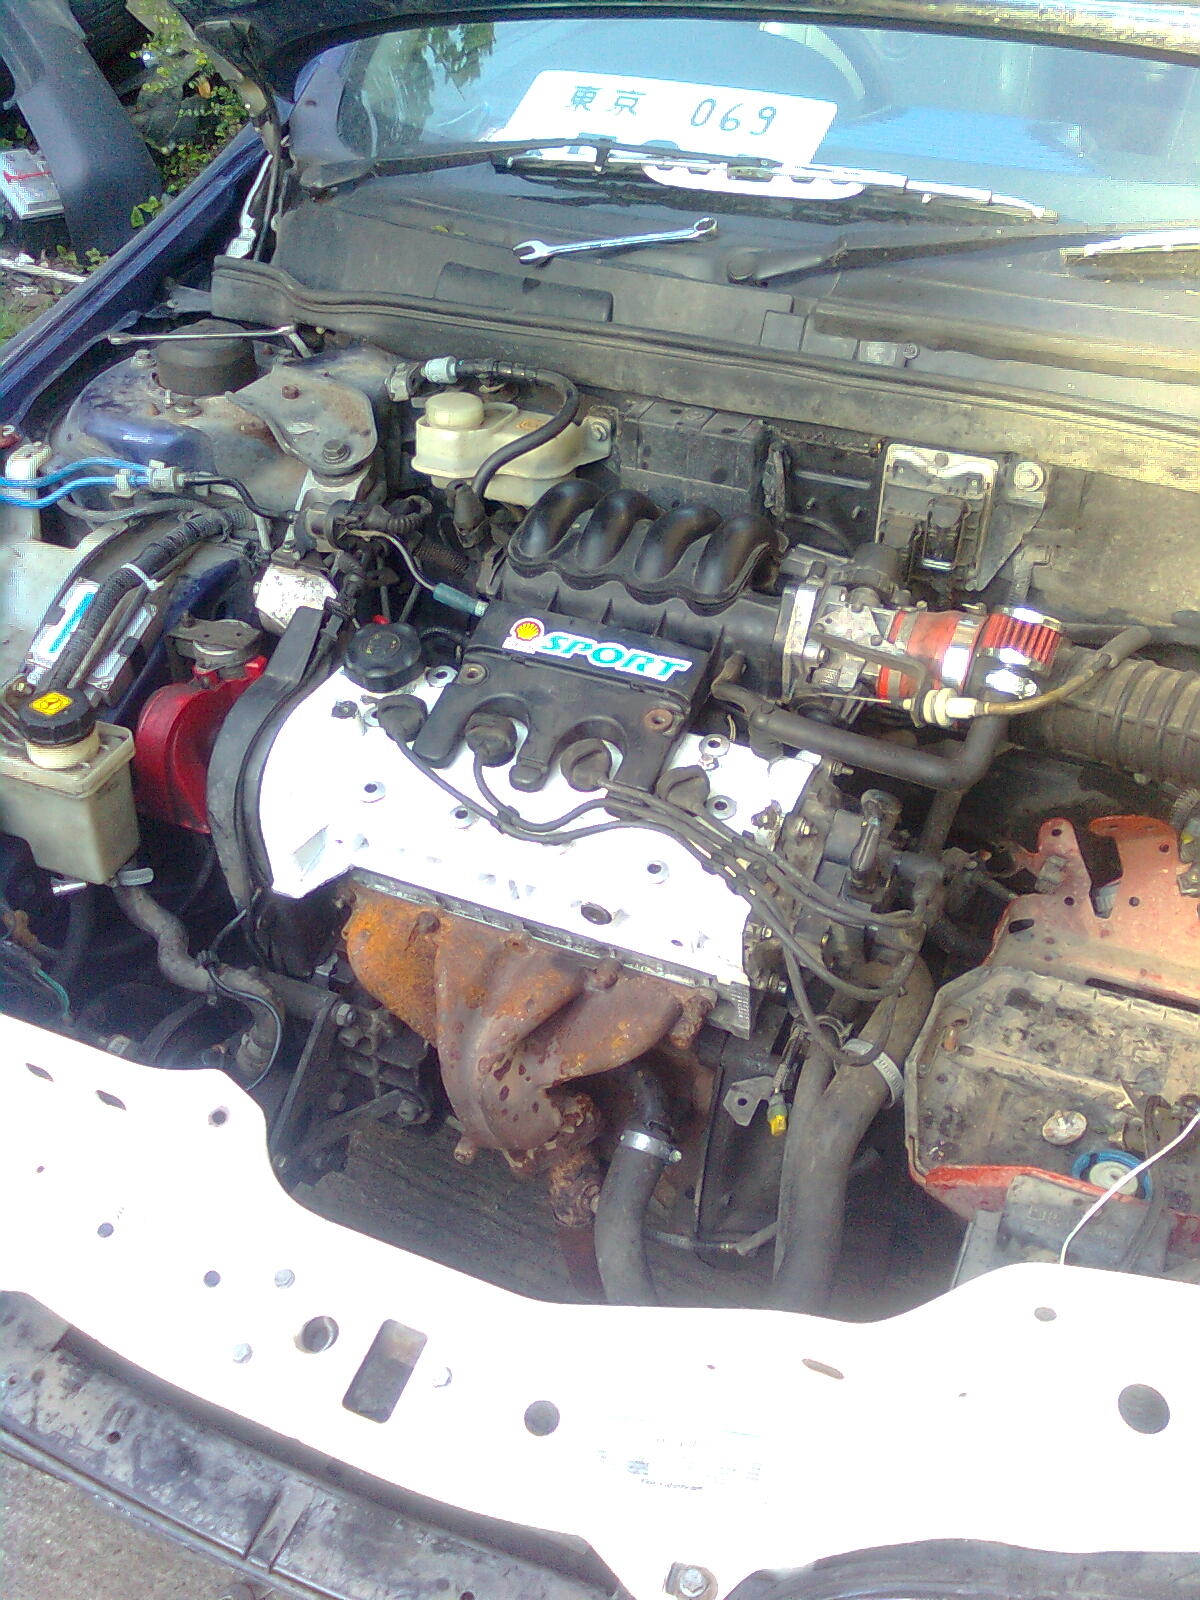
Just the manifold... :eek:
Image0801.jpg


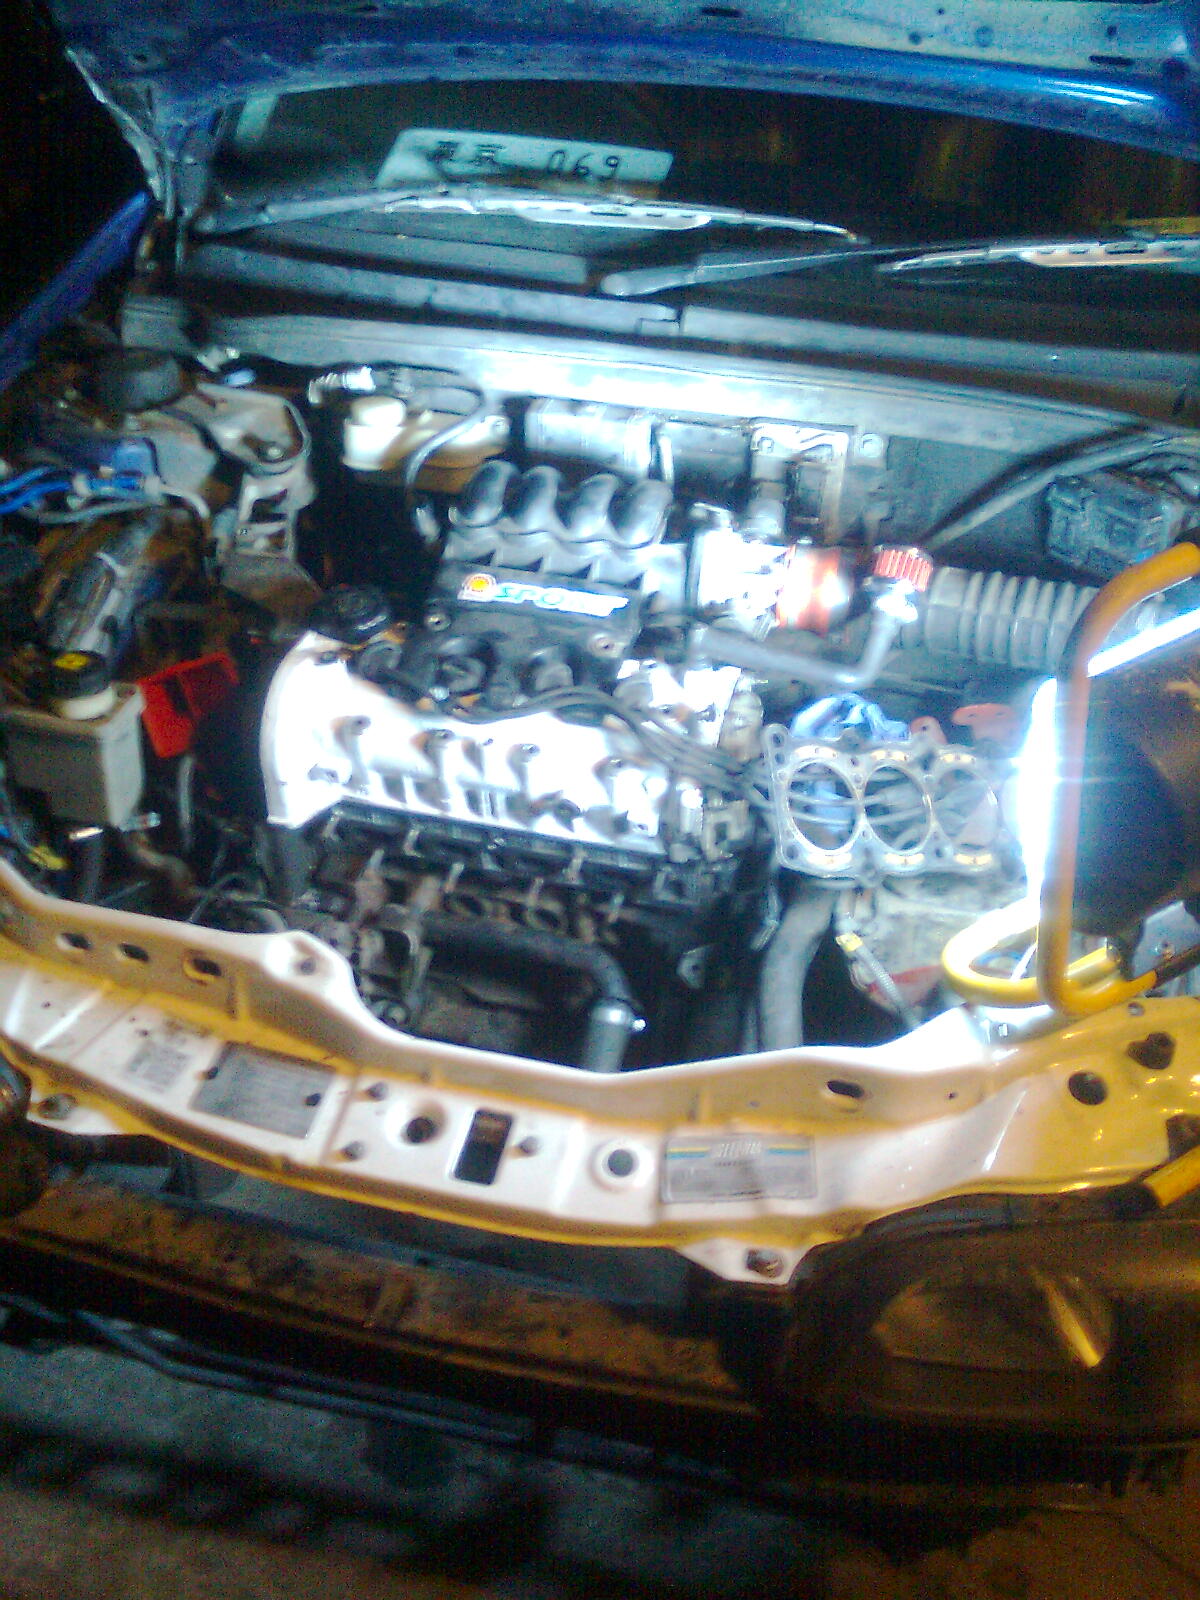
JOB DONE!!!!! :worship:
Image0802.jpg


Took its time starting but its going very smooth, even if your ears bleed at the end of the journey :ROFLMAO:

Now that was a weekend and possibly my longest update? :confused:

Stay tuned for this...
Image0803.jpg


Image07681.jpg


In due time...! :cool:
 
Back
Top