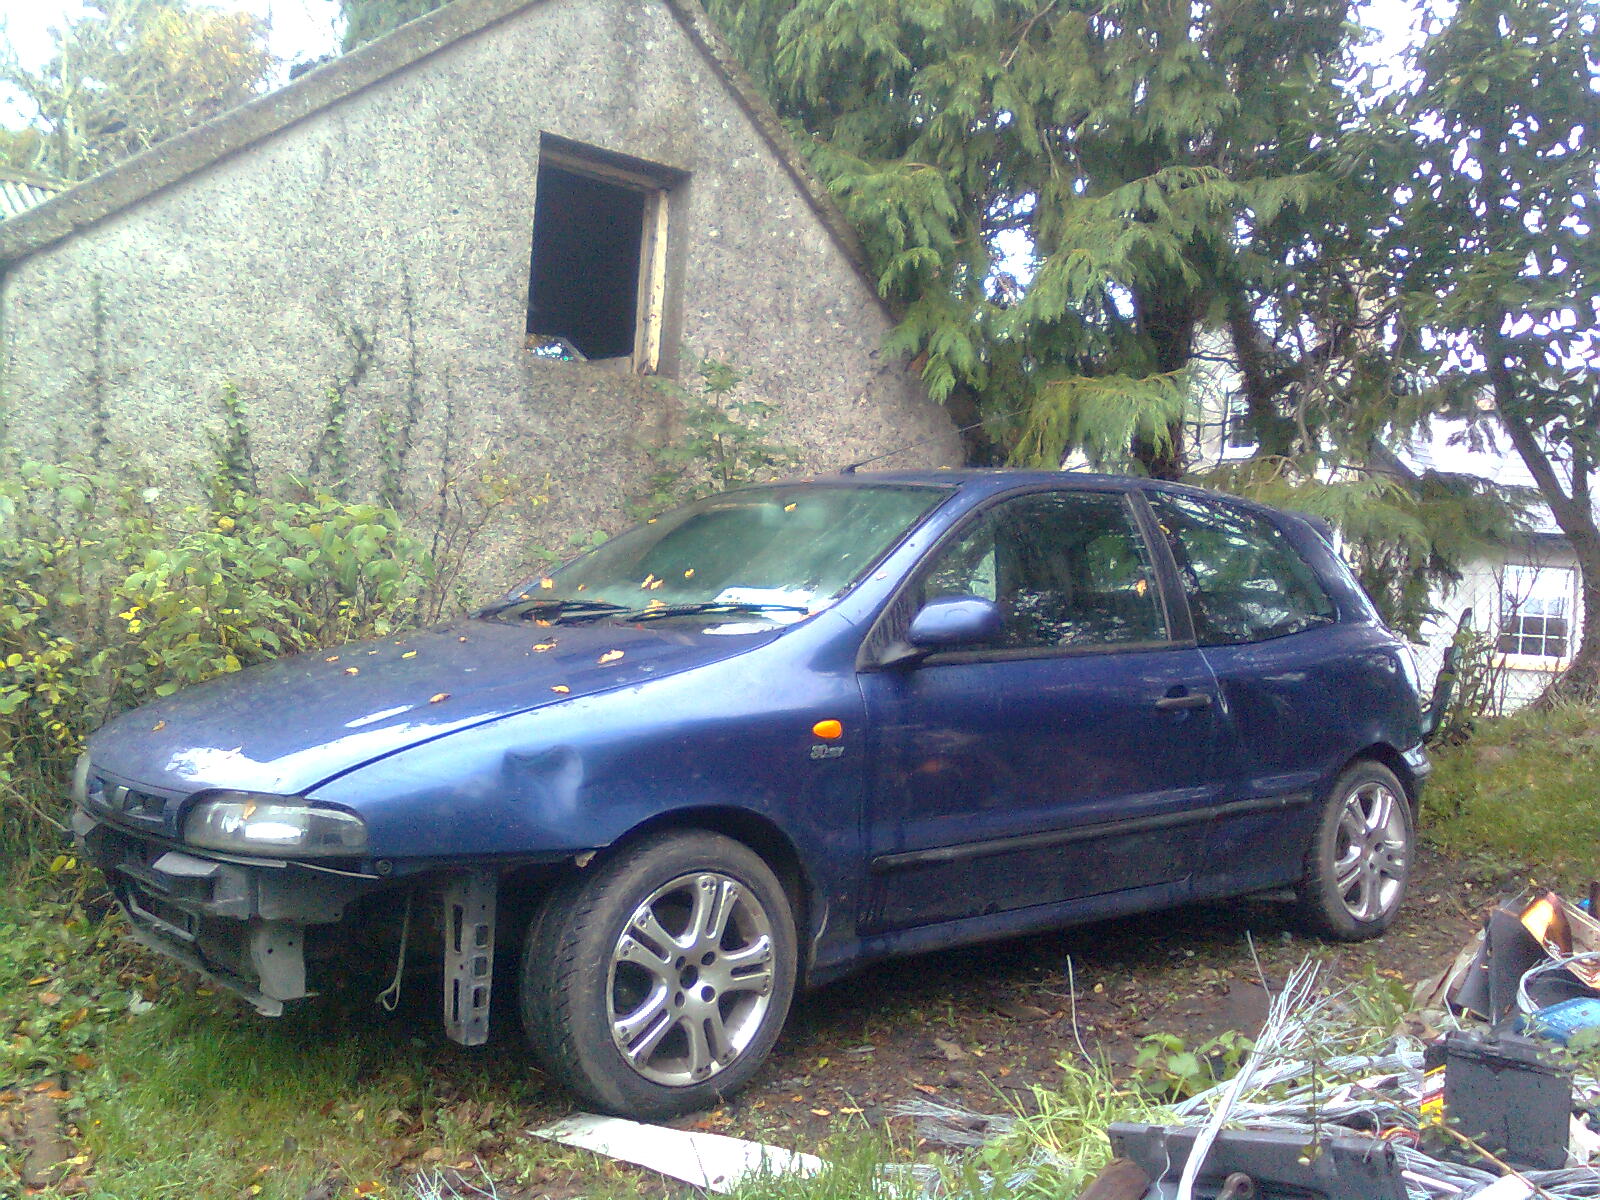
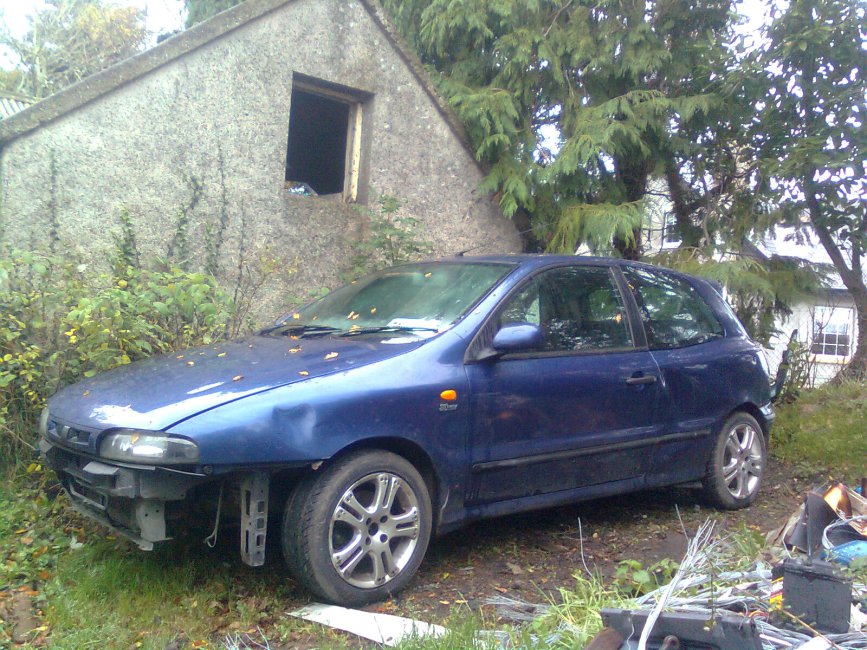
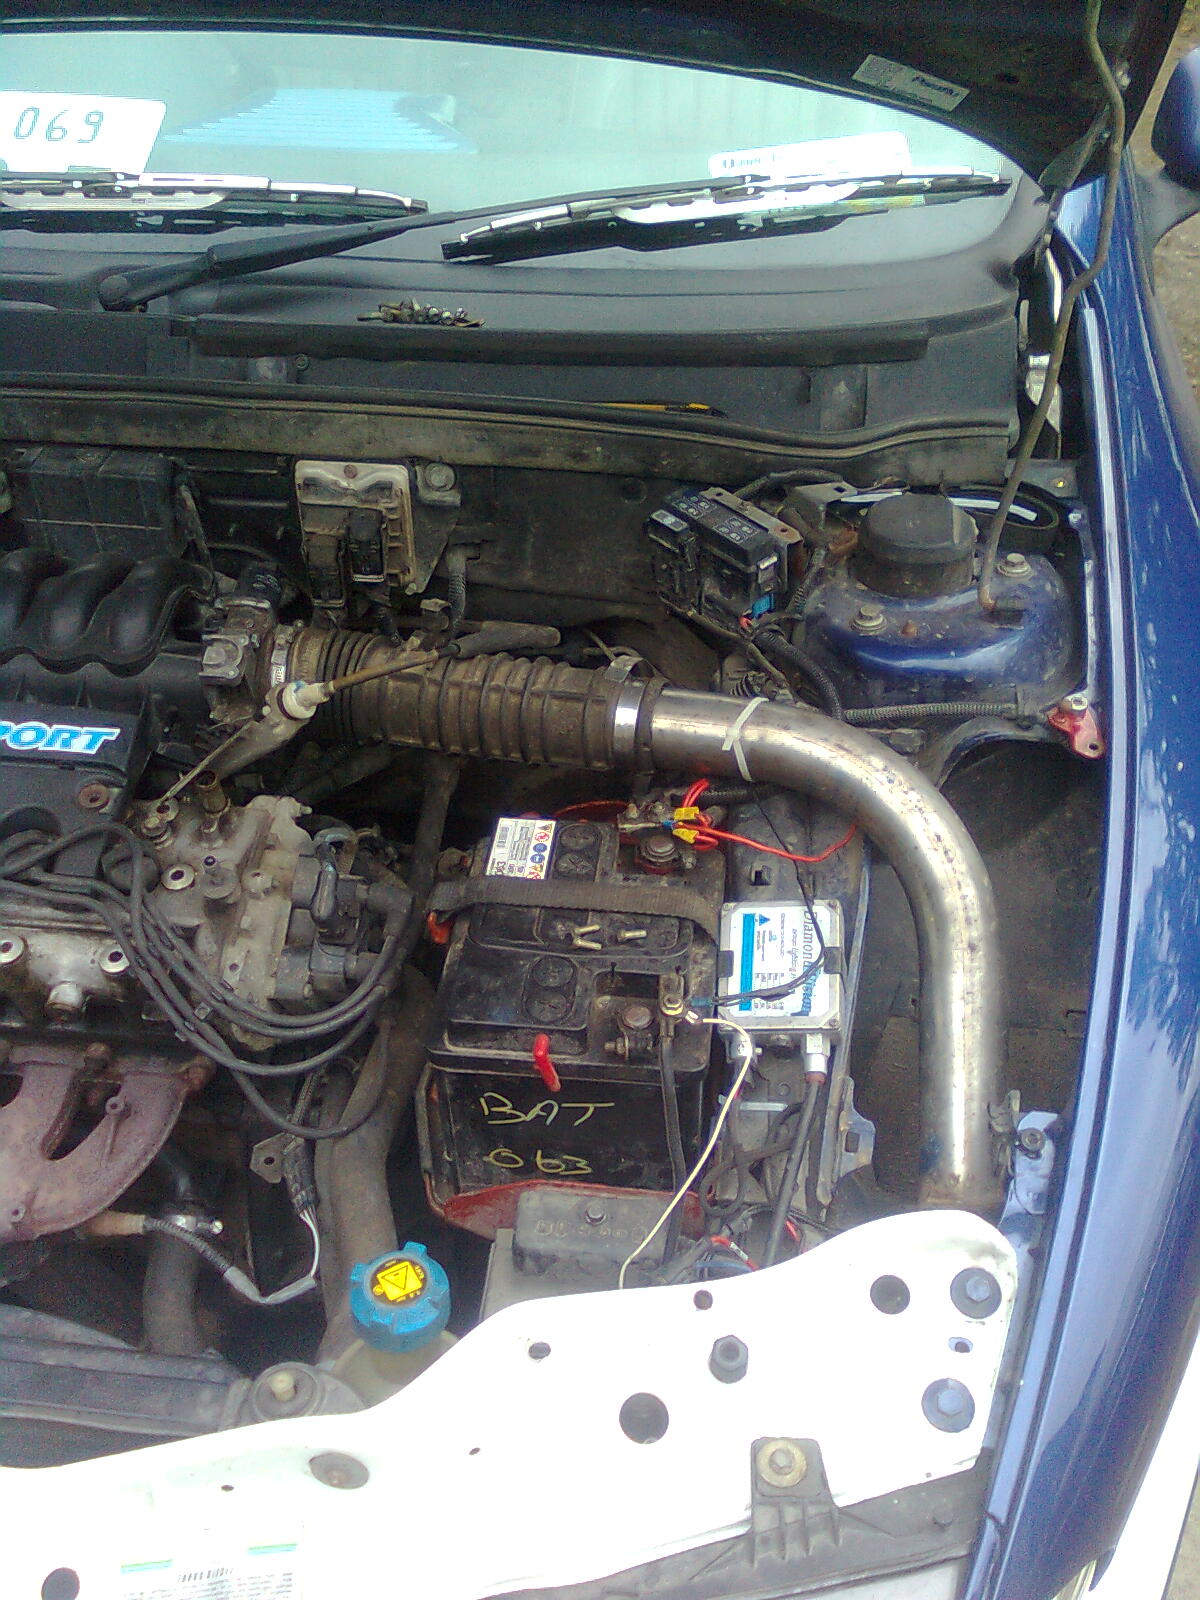
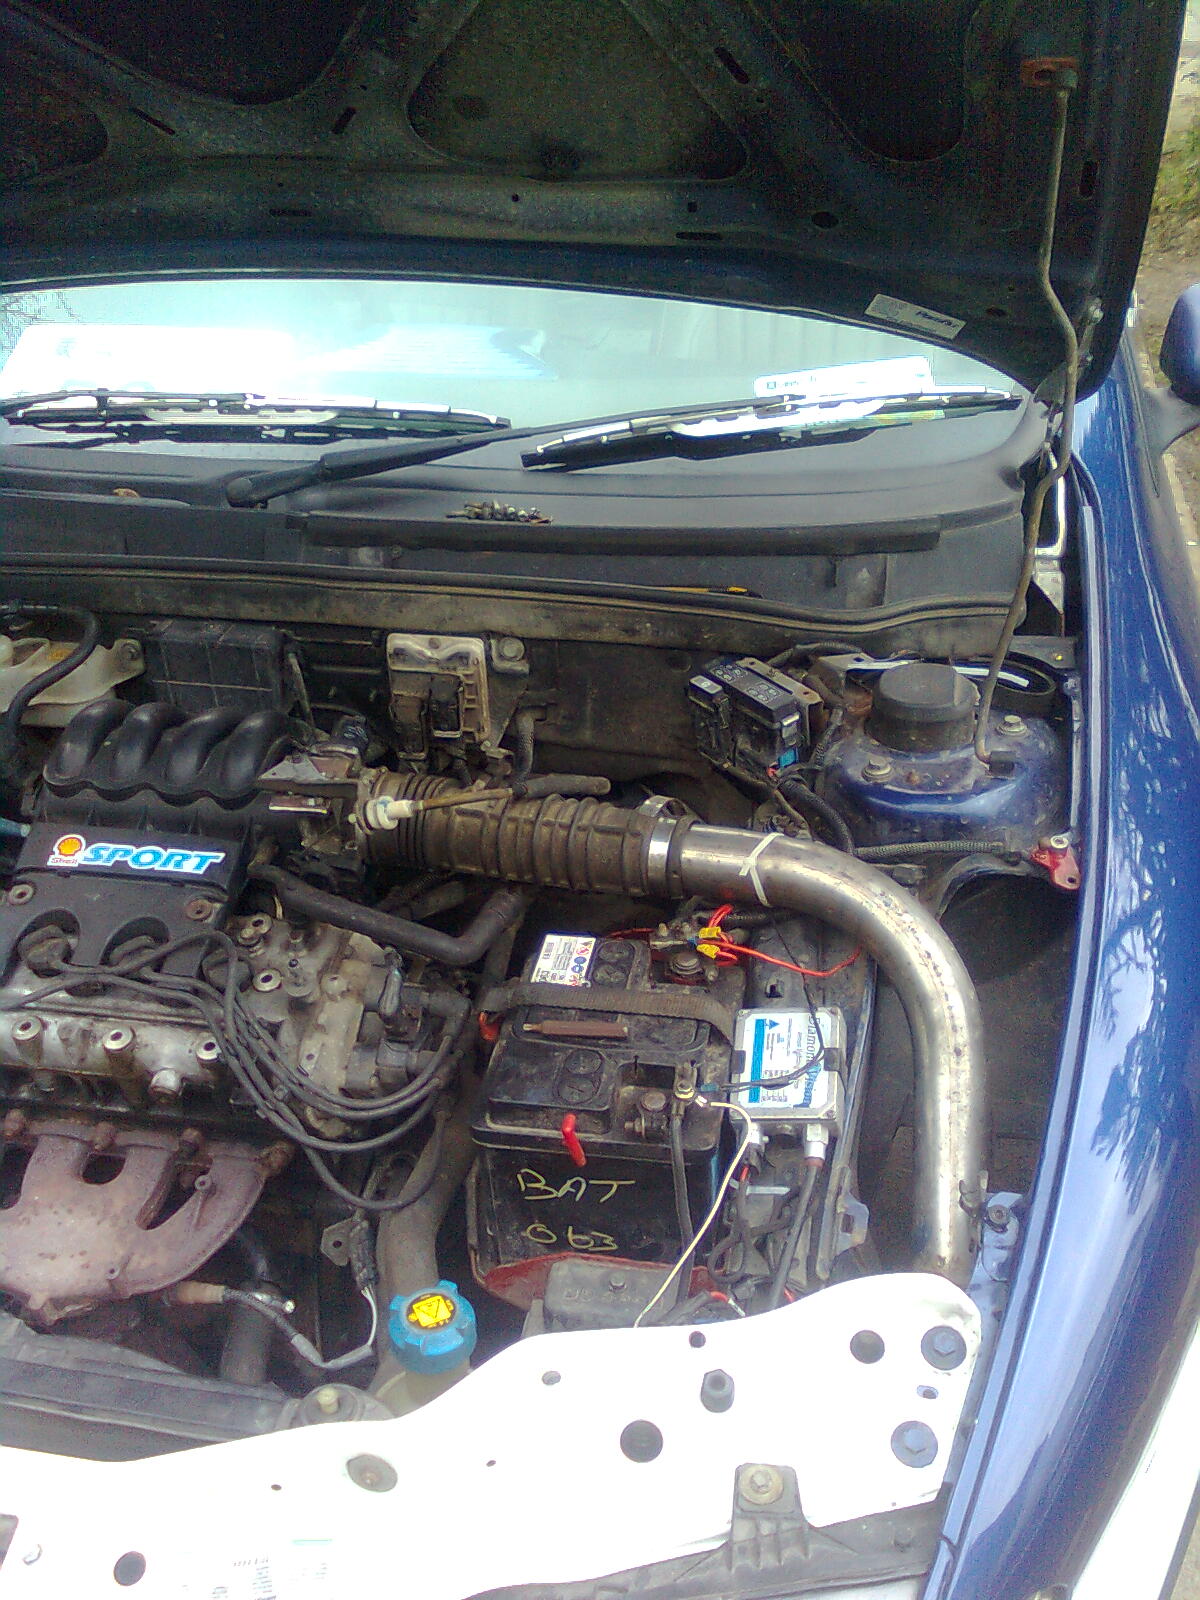
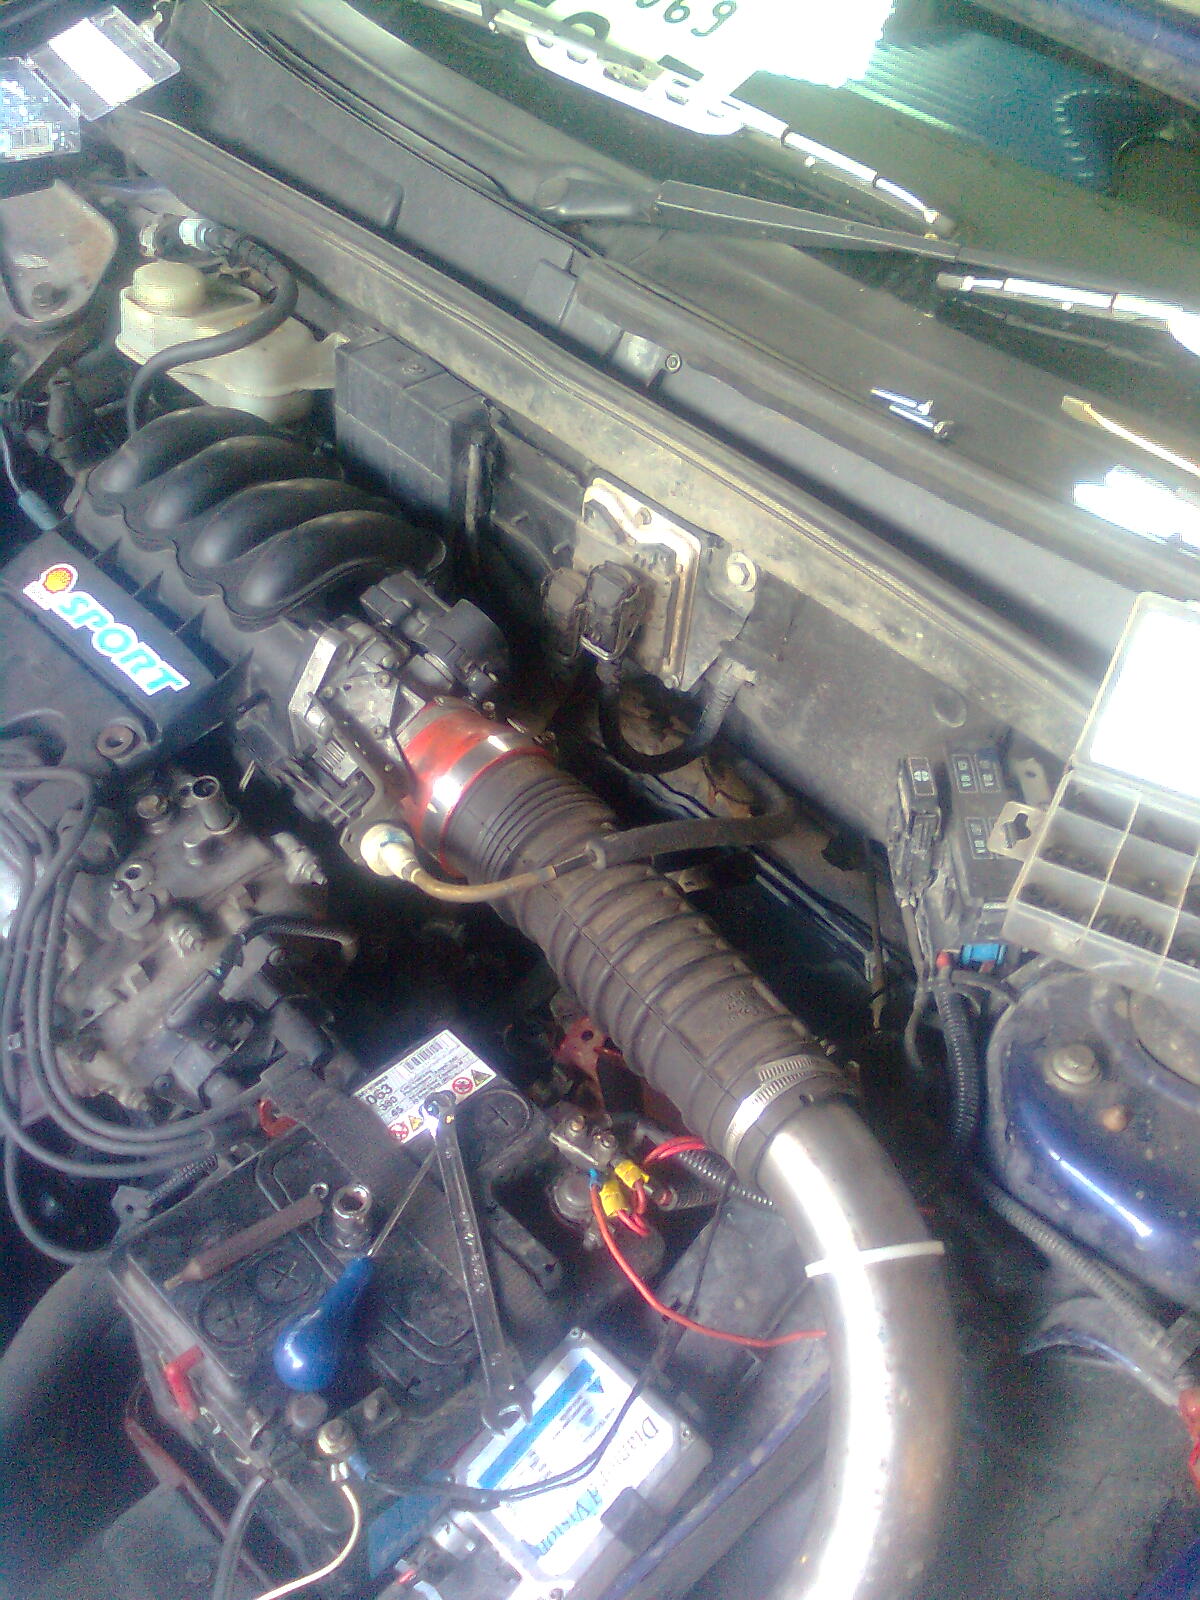
Image0159.jpg

Bravo (Classic) Van with a difference!!!.

Introduction

Heres the replacement for my highly abused yet extremely reliable Bravo.... Another Bravo (y) I'm moving up a year here :D Not going to be bitten like the last time, this is going to have a strip down and re-rustproof with a few bits to be thrown in too (copper lines all round are in the plans). Most importantly, this car is going to be converted to a van and painted black with some "toys" installed... More pics soon! :)

Image0159.jpg
  • Like
Reactions: Joshhh
Dont worry everyone, I have been busy at the weekend (yes Sunday too :p) Now I havnt my other phone handy, but the general jist goes:

Attempted to paint the panels again and the cold ruined the top coat :mad:
Found the mystery leak from the coolant and may have it sorted (mightnt be a hg after all :woot:)
Drilling the tb cable bracket for he marelli tb and trying to source out slicone piping for my induction (y)

I quite like my music and the installation of those subs has been brilliant so far. I dont go round with it trying to shake the car with a hideous boom dede boom dede boom racket (y)(y) but more like middle volume and mid pass filter with some decent music. Perfection :)

Will get pics up as soon as possible...! (y)
 
Wheres the amp from?

Love it mate :)

Cheers! :D

I got it on holidays. From a shop called sm, in the trinoma shopping centre, Quezon city, metro Manila. Now thats a fair few steps to get that eh! :p It works well, 3200w peak output, 4 channels wit a bridging function, would recomend getting one if you find one, not just for the name (y)
 
Dont worry people, theres plenty more left to do! Just at this time of the year, college gets very busy...

I finally found some time to upload those pics :)

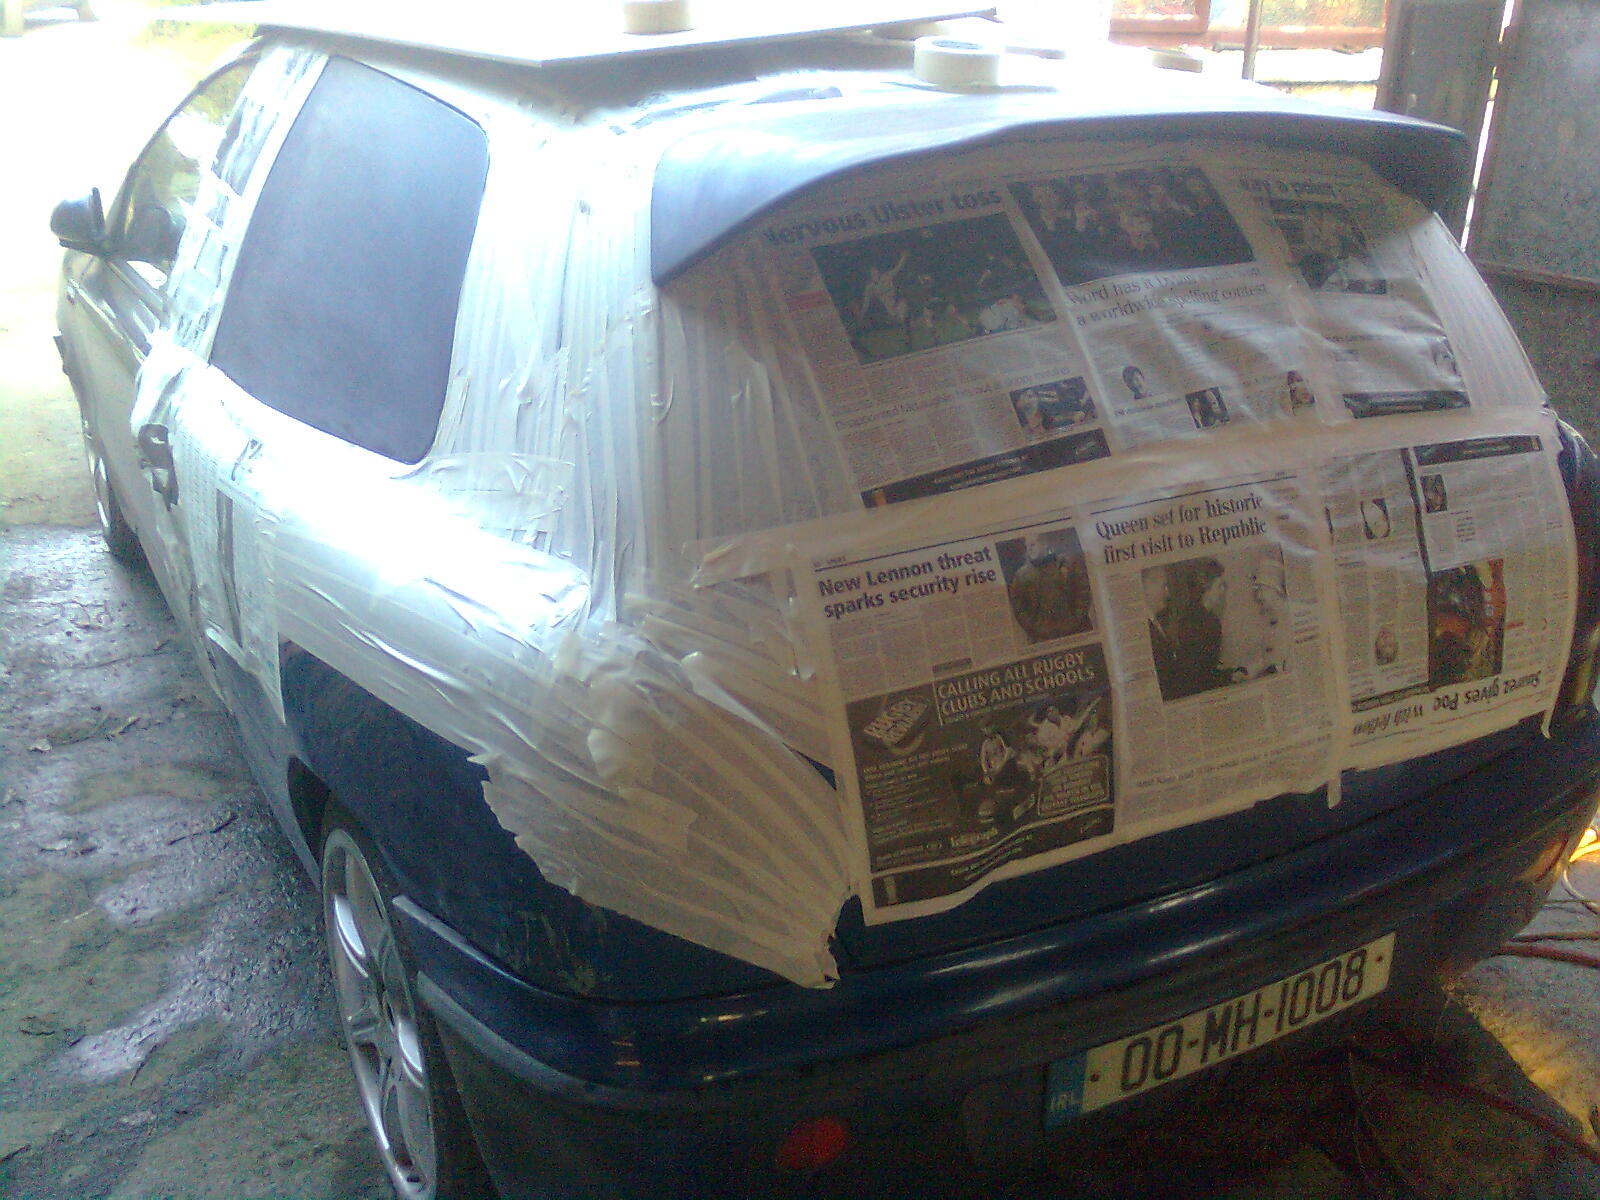
Went for round 2 of painting :)
Image0660.jpg


And typical Ireland, what happens on such a warm sunny day? Outbreak of frost, causing the paint to react :bang: to the drawing board again :cry:

Now onto sunday :p decided to poke round and see if the coolant loss was the hg. I discovered a small pinhole leak from the bottom of the radiator. So I came to the conclusion my radiator has had it, which is very new (n)

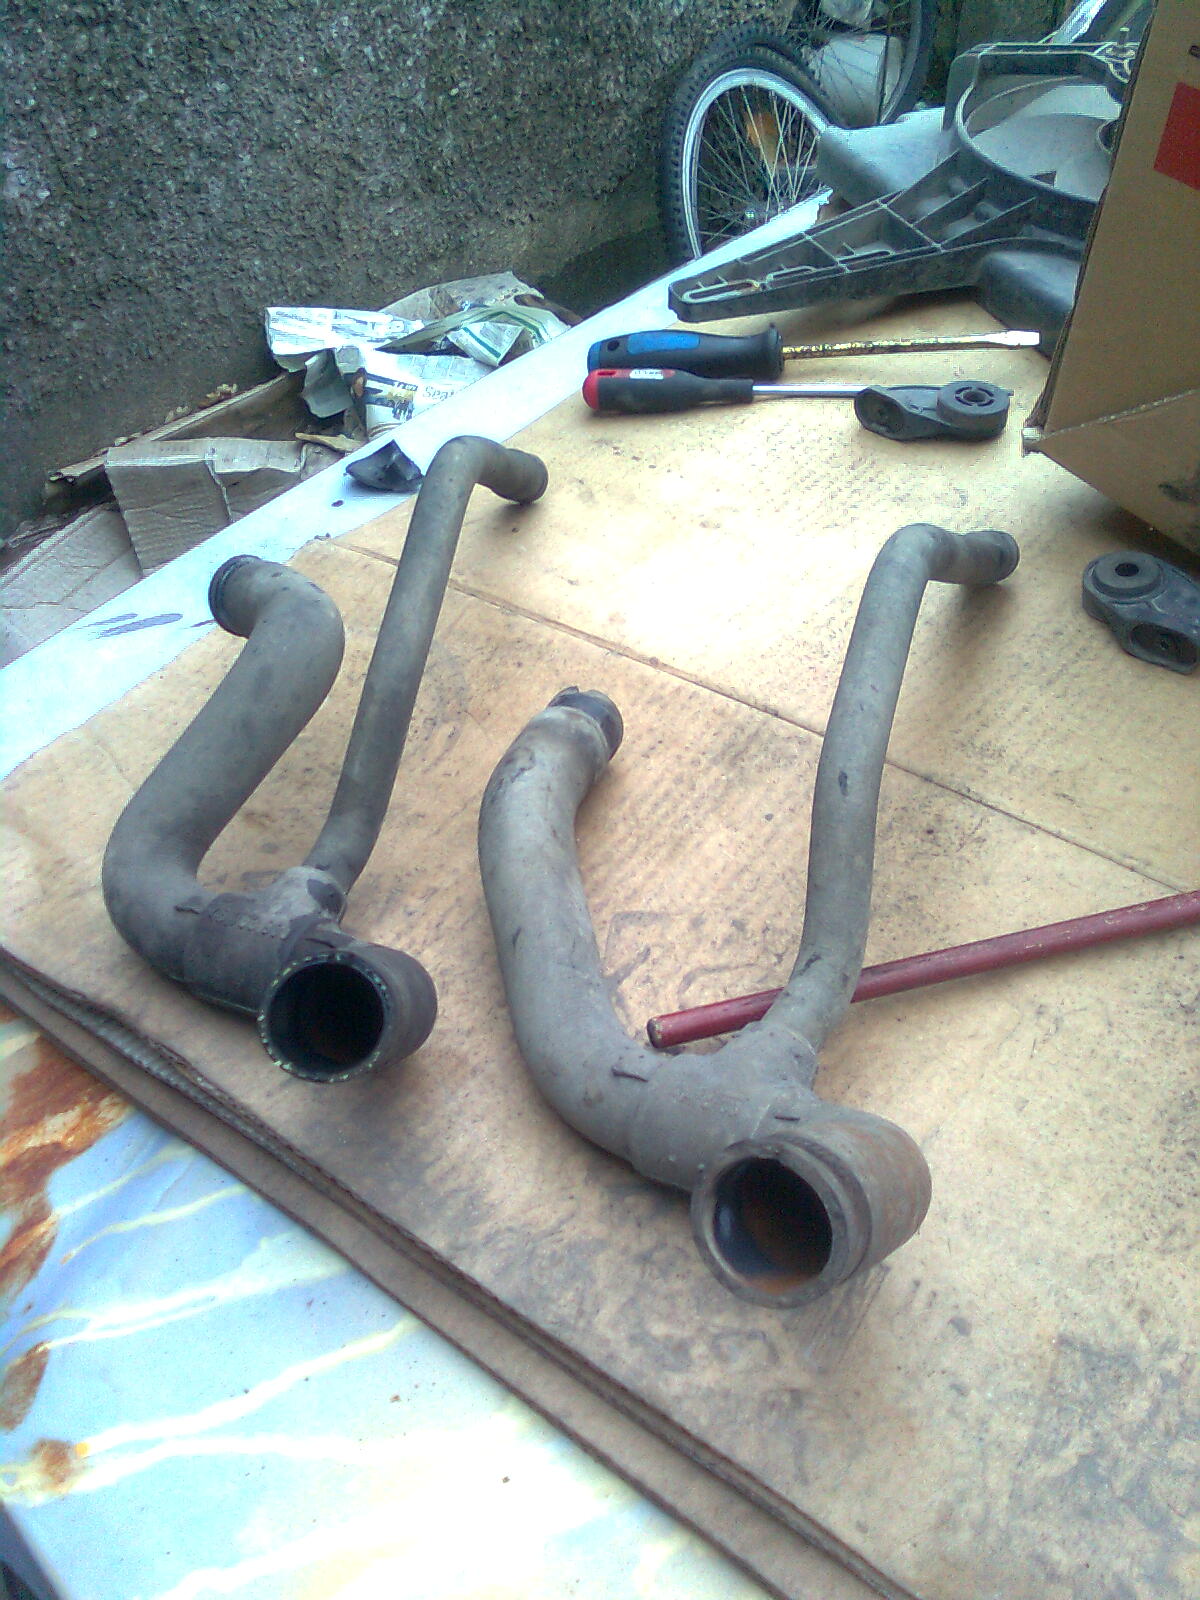
So in the inventory I find this
Image06611.jpg


Now it needed cleaning (brown water :yuck:) which took about an hour. Fitted it (y) then found out it still leaked :doh: What had actually gone was the rubber pipe, which was a problem, I dont have a spare one :eek:
Image06621.jpg


Its the pipe on the left, as found on fly by wire cars, which this isnt...! :rolleyes: not to worry, just had to source a metal pipe...
Image06631.jpg


And fit it. Job done, leak sorted (y)

Now I'm fitting a webber tb to this car. Why am I doing it? To ditch the stepper motor that dosent work, increase induction roar :devil: and economy (2 things that shouldnt be beside each other!)

I need a 76mm to 62mm reducer, which is as rare as rocking horse poo (n) so for the moment I just have to prepare while I'm waiting for one to arrive from ebay (y)

I need my bracket drilled. We first get an old one...
Image0664.jpg


And drill it to suit. Couldnt be simpler!
Image0665.jpg


Yes, she fits perfect. Not bad for someone with a permanent marker and a ruler to measure the holes :D

Untill this adapter arrives, or I get some work done over the weekend, stay tuned! :yum:
 
Is it time for another update...? I think it is :D

Now first things first, when looking for a suitable part an you cant find one, usually you buy a new one, right? Now ive hunted high and low for a new reducer, from 76mm to 62mm. No one had one so i thought screw it, ill get a new one on ebay. £15 inc postage dosent seem expensive to you but its a fortune to me :cry: so I ordered it and am currently waiting for it to be delivered :)

But, a rummage round earlier led me to this part...
Image0667.jpg


Which is what I was looking for :mad: Great, €20 down the toilet :cry: oh well... :shakehead:

Anyone else doing a webber tb conversion, beware of a problem involving the injector light. I started this thread to try find a solution to it (y)

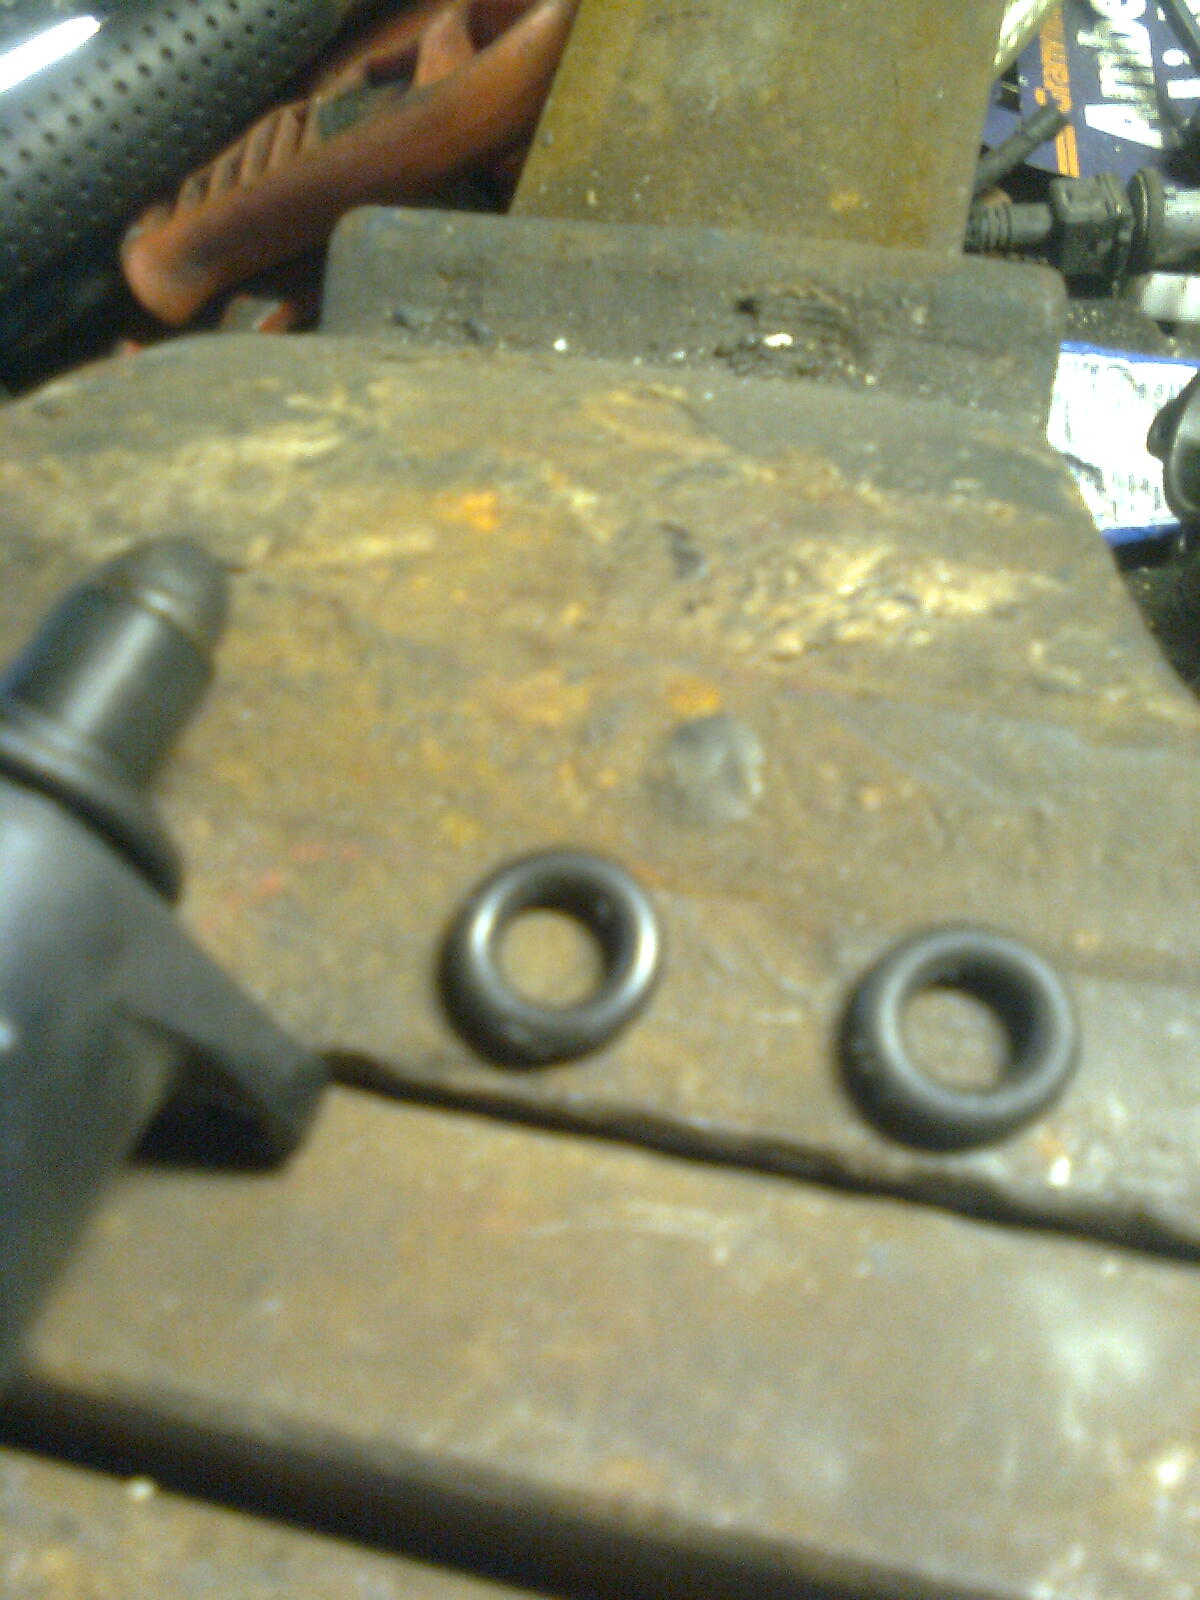
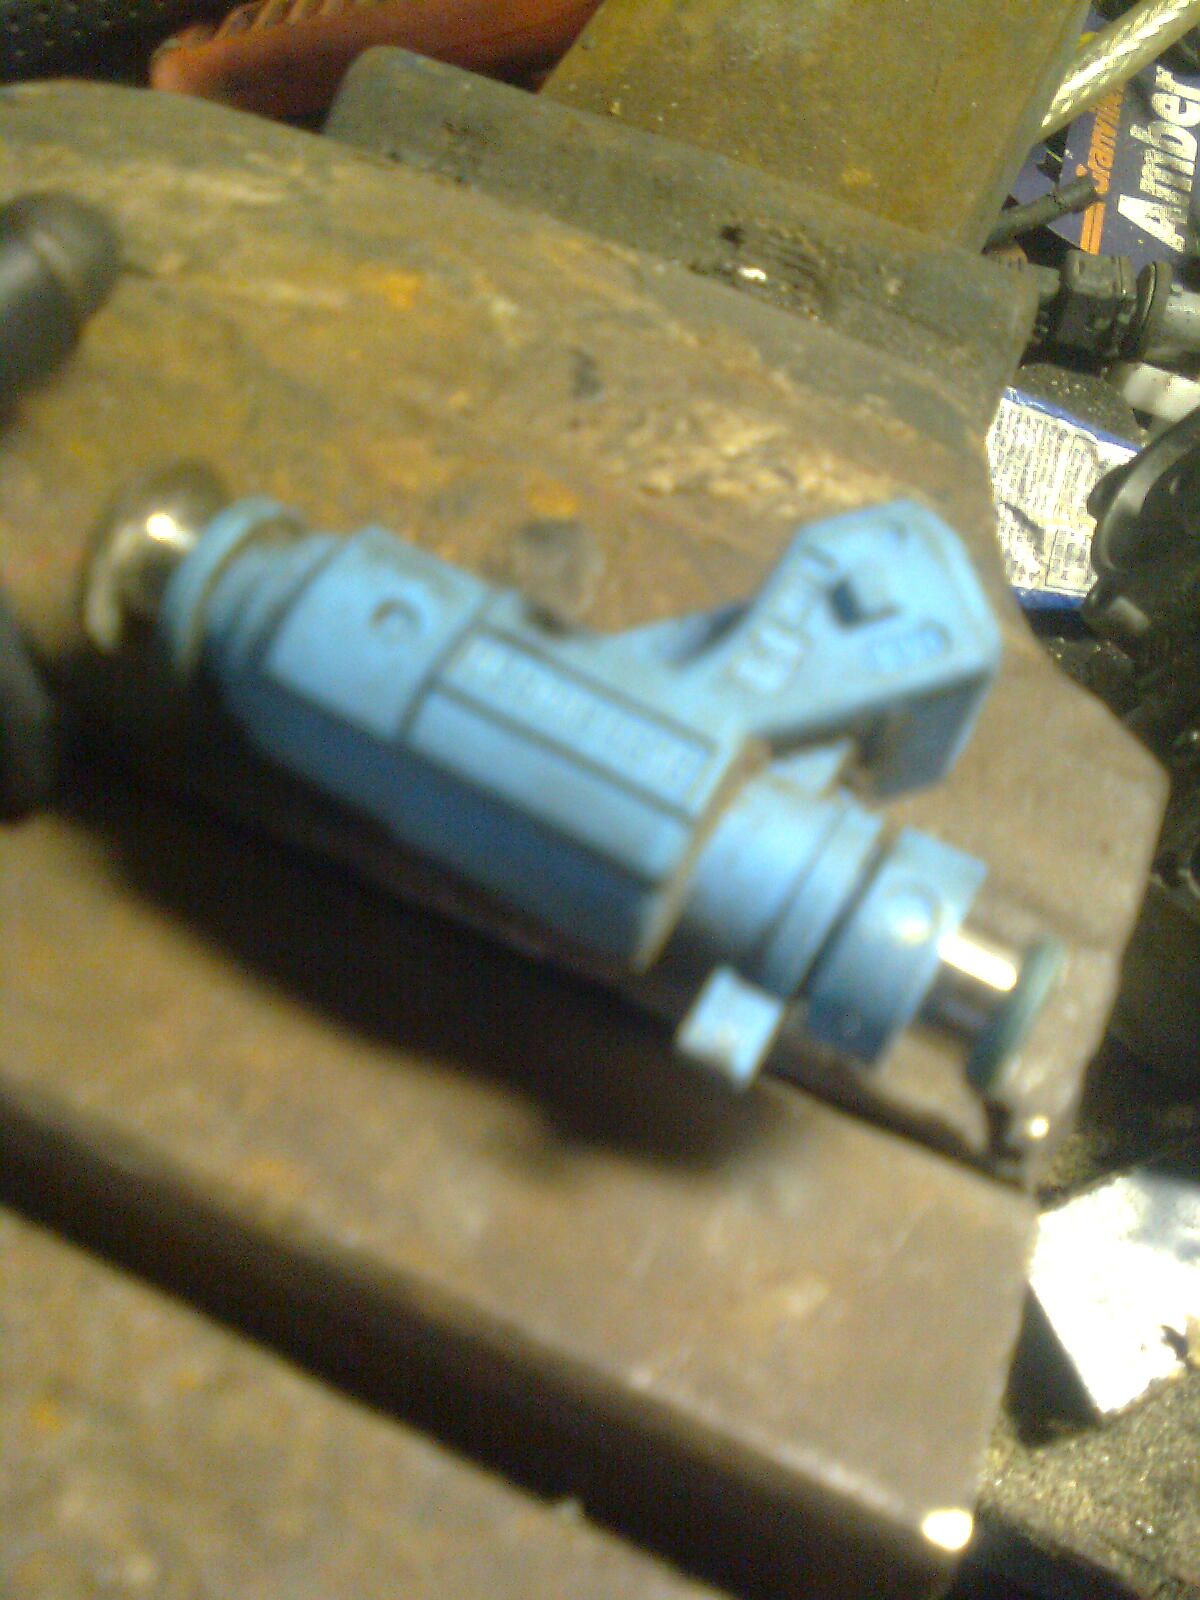
A few things must be considered when fitting the tb. First, youll need to blank off the idle actuator. Very difficult to find a suitable plug but looking at a wonkey injector solved that problem :idea:
Image0668.jpg
Image0669.jpg


And why did i brutalise the injector? :D
Image06711.jpg


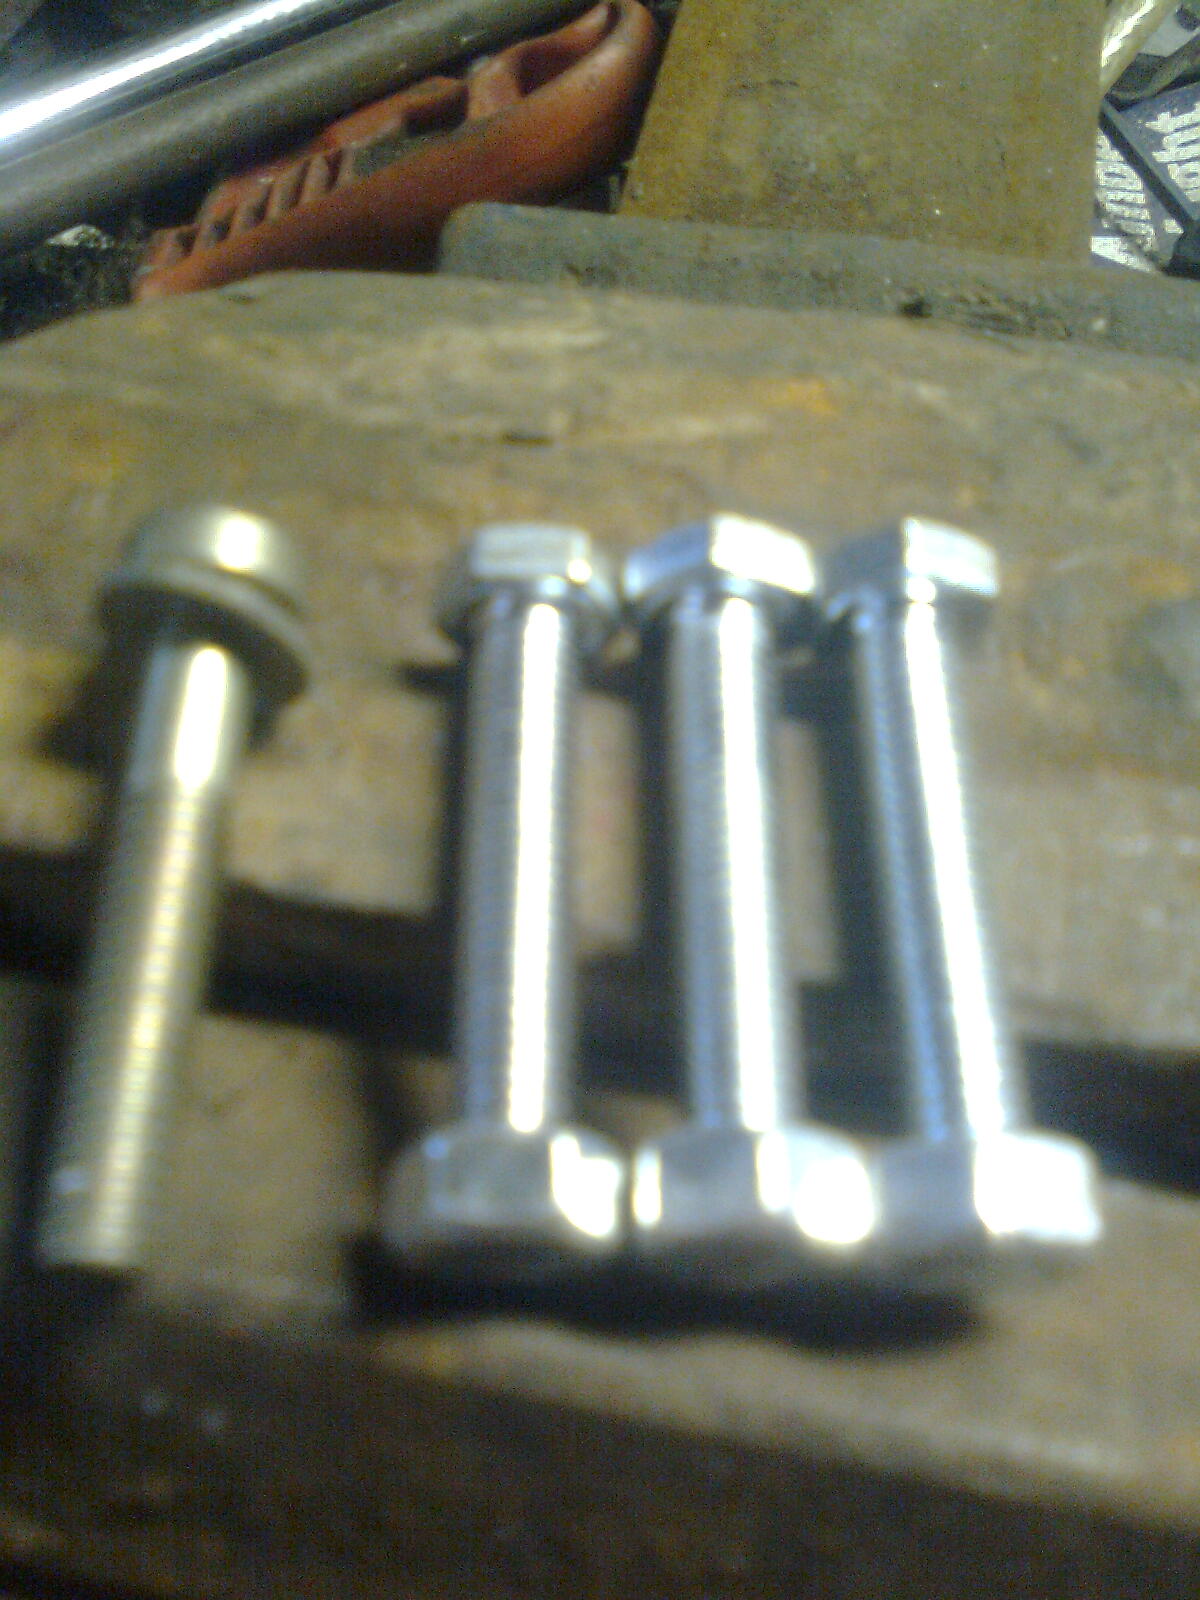
Great, it fits snug :) now to make my own bolts (y) measure them 1st...
Image06721.jpg


Then cut to suit :D
Image0673.jpg


So out I pop to bolt it all up :yum: and... Dosent fit, mounting plate too out of sync causing the throttle to be half open :bang: to the drawing board, sharpish!

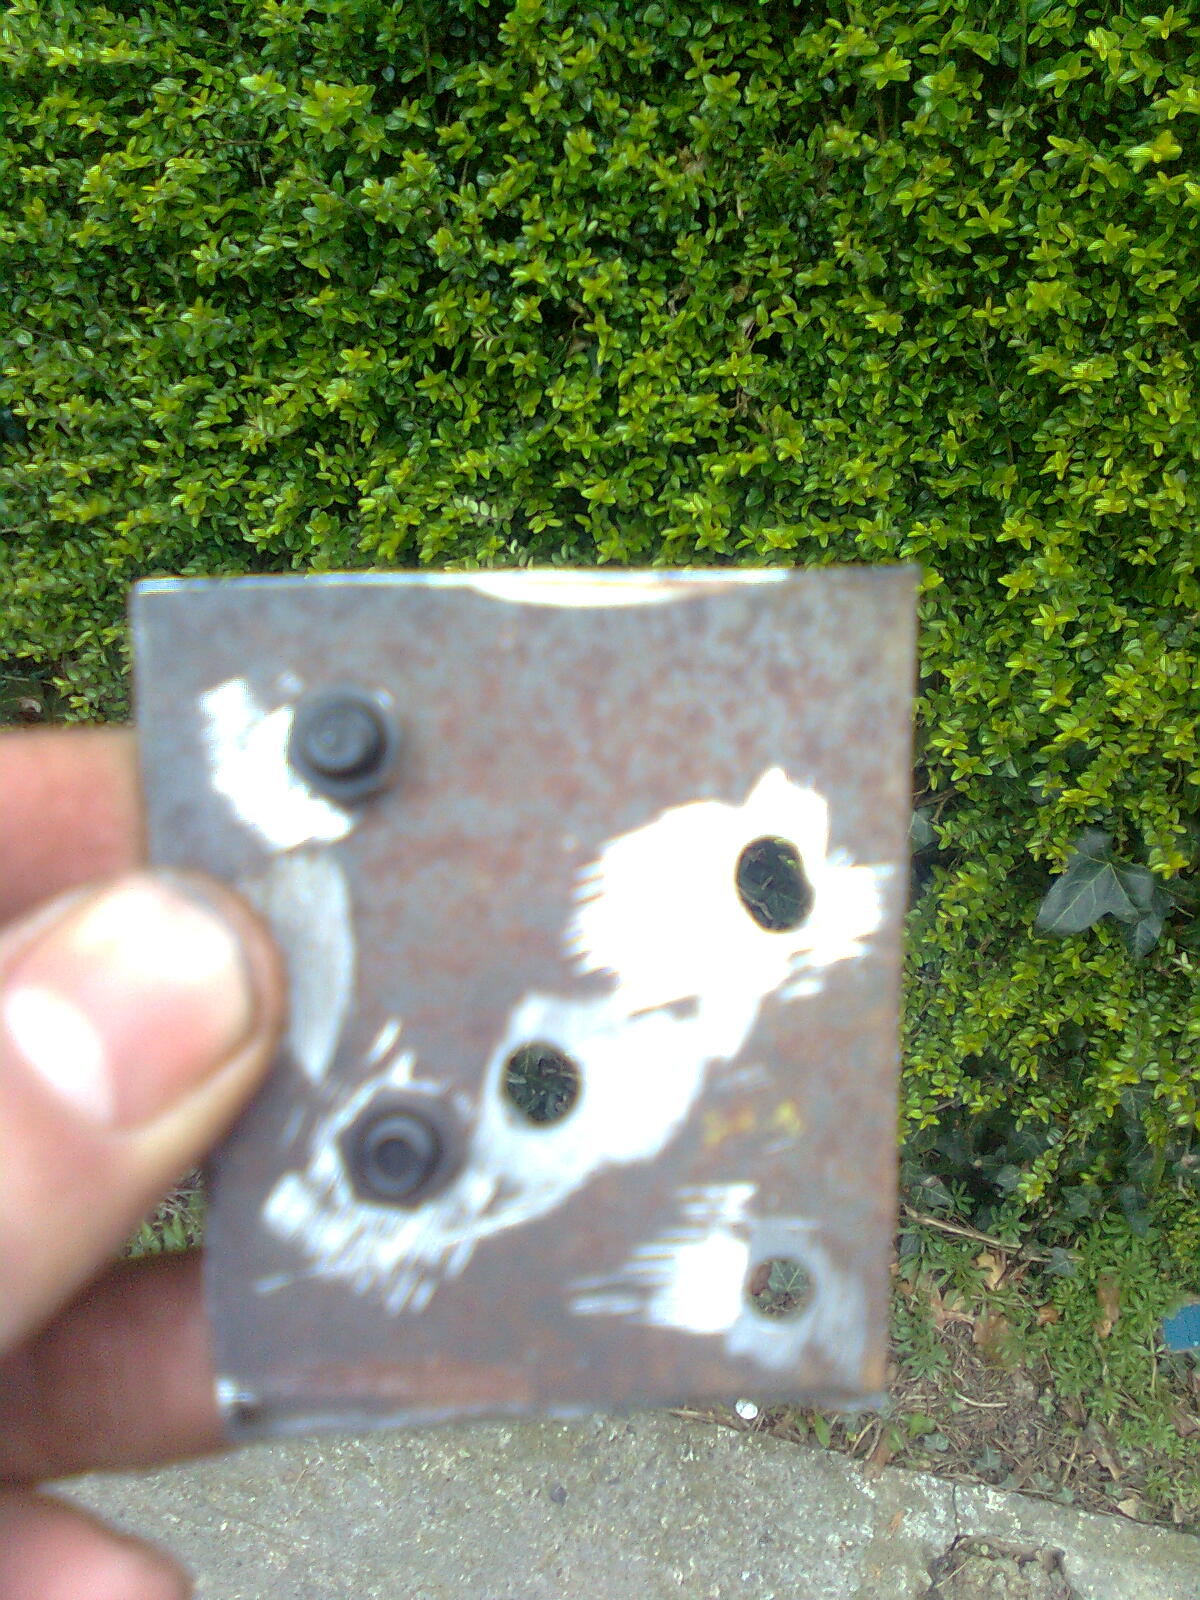
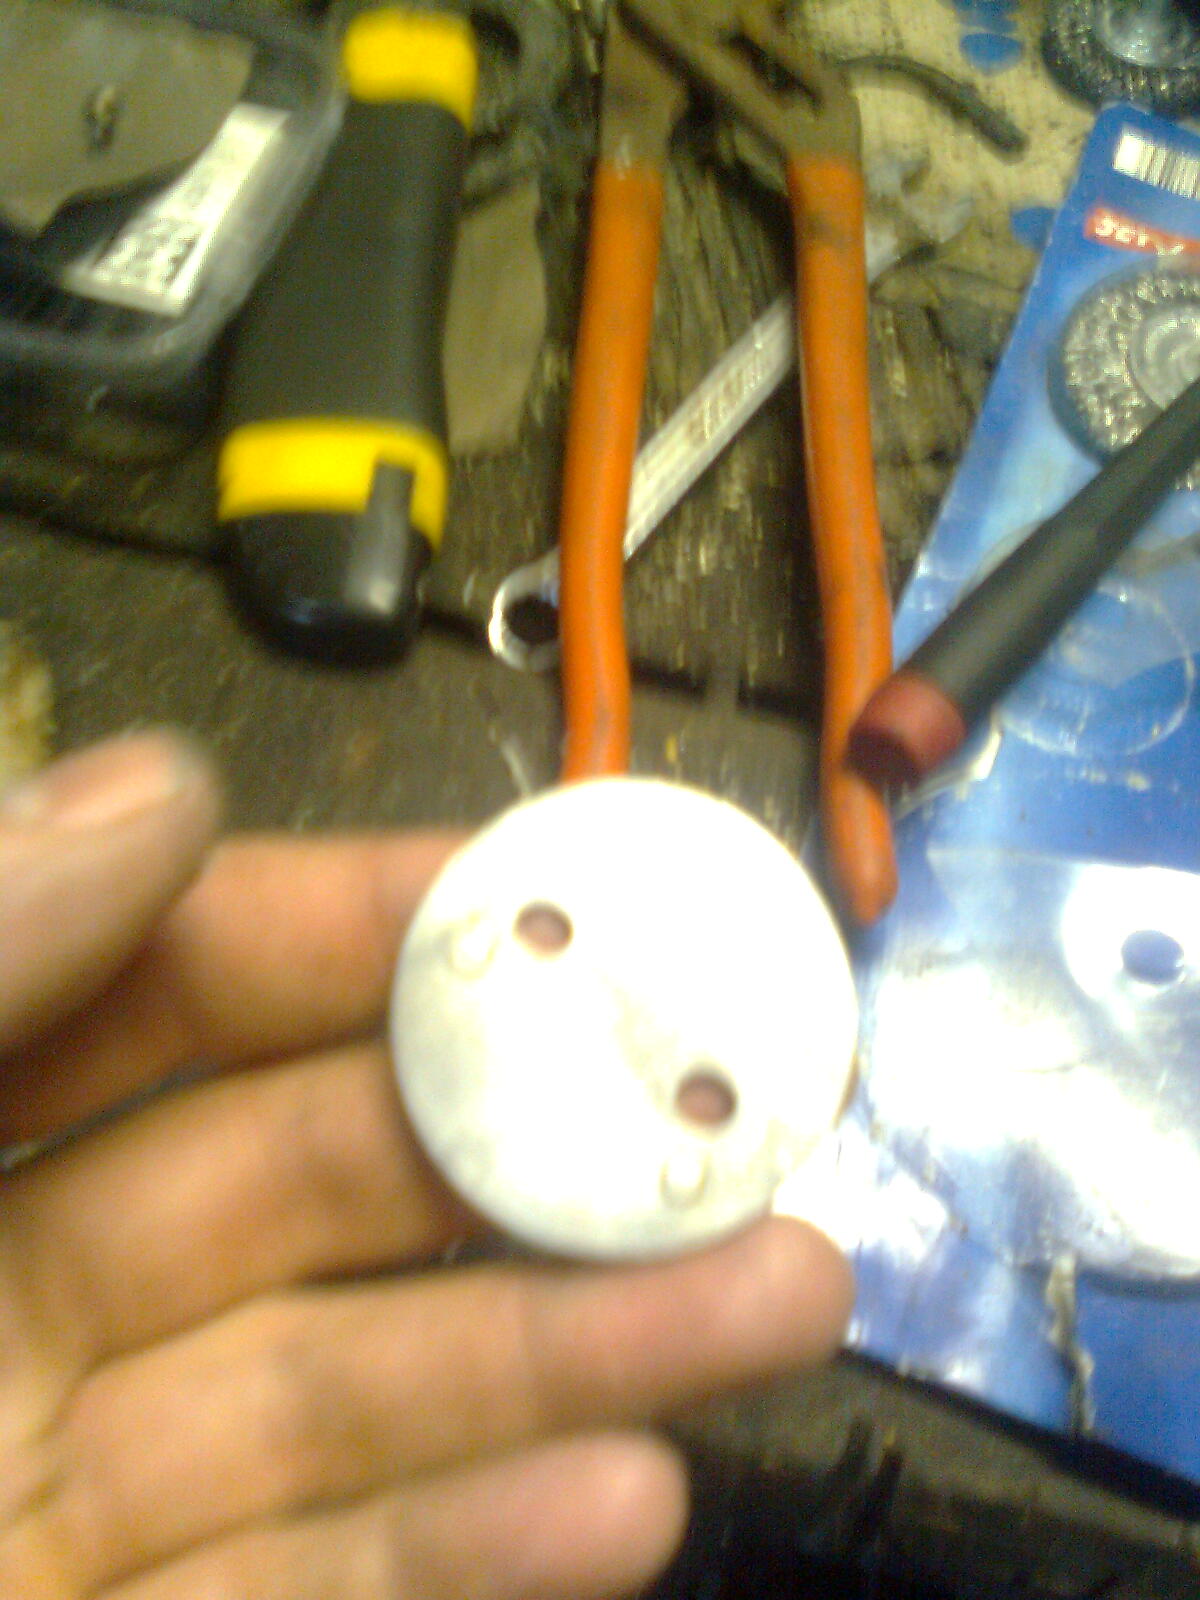
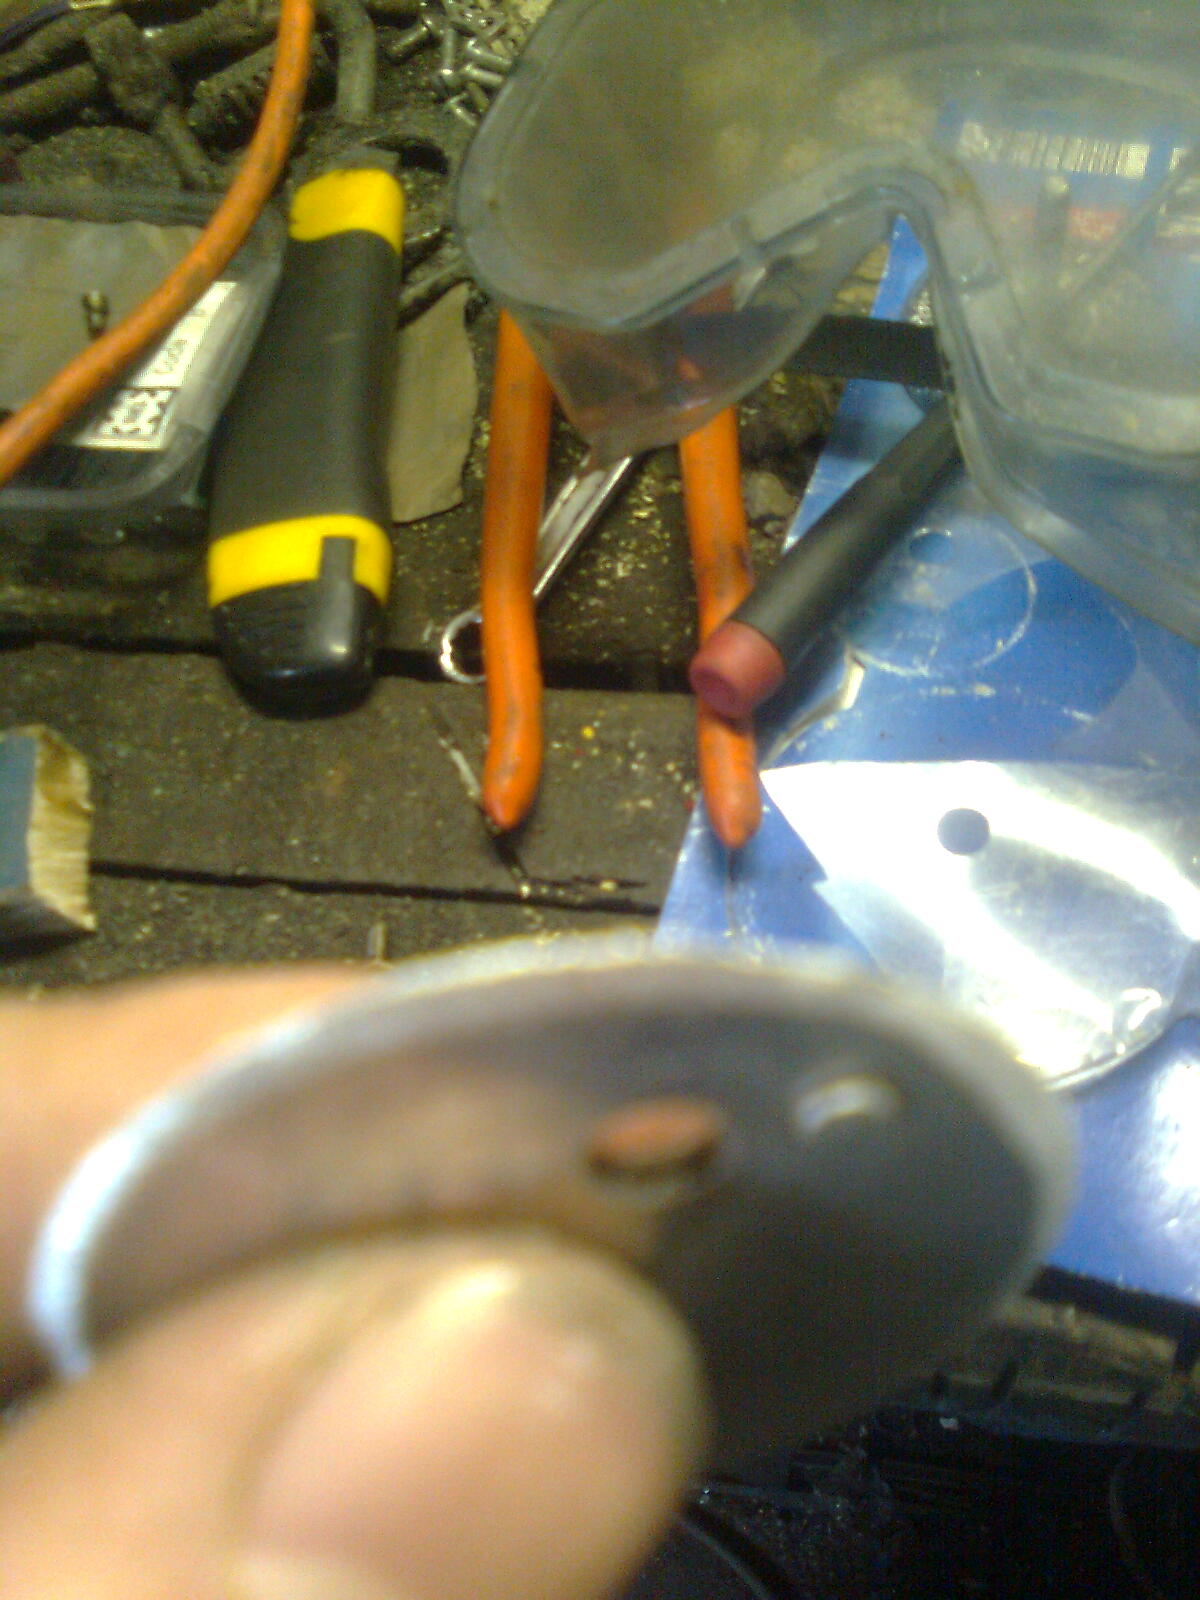
Need an adapter plate (y) simply pull out some sheet steel...
Image0674.jpg


Cut out a small piece, measure and drill holes to suit...
Image0675.jpg


Test fit...
Image0676.jpg


And bolt up. Job done (y)
Image0677.jpg


I may have t revert back to the old tb untill I find a solution to the injector issue, but Im pleased wit the result, works beautifully apart from those small issues :D

Now what to do for the next update... :chin:
 
Was at the scrappies today and bumped into neddy, apologies I couldnt stay longer as we had to source out a suitable van and take out an awkward part before the place closed! If youre interested, I'm selling the Abarth bumper once the Marea bumper is back on, letting it go reasonable, pm me if youre interested :)

All in a lump or what, minor update! :D

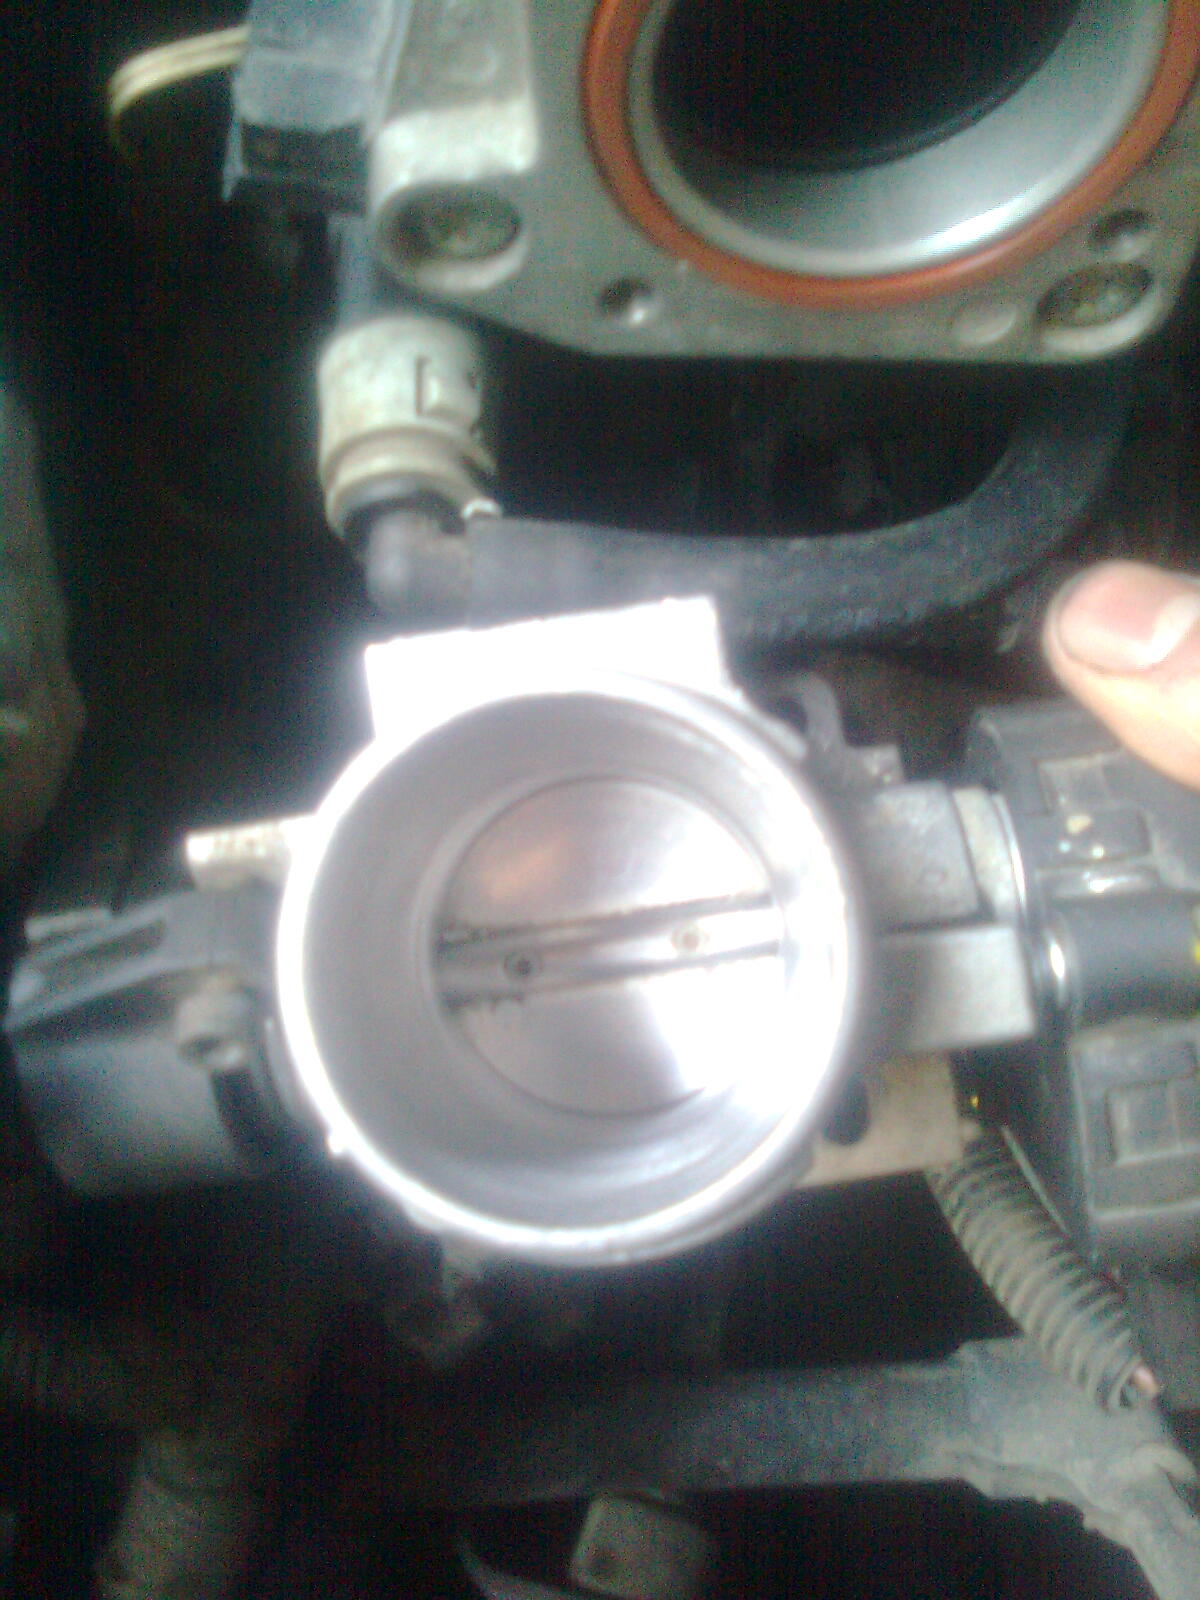
My attempt at fitting the webber tb has been successful. Actually running it wasnt :bang: Idling at 2k rpm and not being able to go above 3k rpm is pretty useless :shakehead: Its a mixture of not further developing the tb and a wonkey stepper motor. So back to the old setup... :rolleyes: This gave me a chance to repolish the tb though (y)
Image0678.jpg


And use my old adapter with the new pipe :D
Image0679.jpg


Dont worry I'll develop it further when I have the time (y)

Hoping to start on the bumper for the next update...! (y)
 
Yes, seen this Bravo in the flesh today, definatley got potential but is still a work in progress, will look really good when finished! It sounds nice too!

I had a look at it and was impressed by the stance, what lowering springs do you have on the back? I have KW -30mm springs on my JTD and the rear is still sitting up too high, even more so since Ive fitted the coupe 20vt wheels.

Also by any chance do ya know where I'd get some Coupe Brembos here in Ireland? Iv tried alot of scrappies and they seem to be rare!:(

Ive spare Bravo van rear window panels if you ever need some extra's. Oh and I made a great discovery today in Kilcock, sideskirts from Alfa 145 and 146's will fit the bravo with just a tiny bit of work!!:D I bet Coupe sideskirts will work too, god bless the Tipo Chassis. So I got 2 sets there today, heres a pic of them beside my machine........

%3E


They will need to be held on wit a few dabs of good silicone but Id prefer that to drilling holes in the poor Bravos cills anyday!

Oh I'll think about the Abarth front bumper, maybe I'll have it as an option, it'd have to fit over my FMIC though:cool:
 
CHeers! Still needs lots of work but I'm getting there! I have no idea what springs they are, I think theyre PI lowering springs but I'm not 100% sure, I got them off ebay a few years ago. Its ment to be a 40mm drop but I think its a little bit more than that :D Coupé brembos are realy hard to find down here, Treanors in Armagh might have one broke up though :) Will they fit your car? Im looking at the side skirts, thats a great alternative to Abarth skirts (they wont fit my car) how much were they? The Abarth bumper came off a TD100 so there should be no problems with an FMIC (y)
 
Hello,
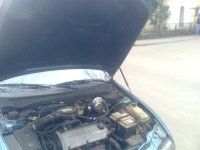
Since seeing you trying the bonnet struts, i've been waiting for a chance to give it a go.
just as well the wind lifted my bonnet of the metal rod that was ment to keep it open, and the weight of the bonnet droping broke the plastic bit that held the metal rod.

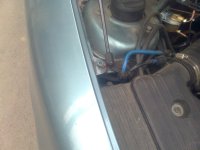
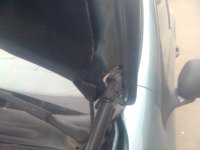
So, we ( me and my father ) got to making a pair of boot lifters fit the bonnet.
after a few hours it was done
I am so happy with the lifters.

will post pictures tonight
 
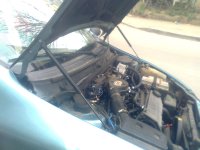
the pictures as promised :
attachment.php


attachment.php


attachment.php

attachment.php


and a picture of the car... but in this one the bonnet doesn't close right, but don't worry, i got it sorted.
attachment.php


so, it can be done!!!
hope you get the bonnet struts working to ! they are to nice not to get working right.(y)

PS:
-that's my LPG system. i've only been using it for 750 km but the costs are 60% of those of petrol.
-any body know what wheels those are? maybe I'l find some center caps for them
 

Attachments

  • Img0183.jpg
    Img0183.jpg
    250.6 KB · Views: 1,025
  • Img0185.jpg
    Img0185.jpg
    216.9 KB · Views: 1,018
  • Img0184.jpg
    Img0184.jpg
    233.4 KB · Views: 1,000
  • Img0186.jpg
    Img0186.jpg
    241.5 KB · Views: 1,002
  • Img0175.jpg
    Img0175.jpg
    239.2 KB · Views: 997
Last edited:
Cheers for the replies and pics! When I get the time I must develop the lifters a bit further, like in the pics :) Glad to see people enjoy this thread, hopefully theres lots to be learned from my experiences (y) and this may be my last 1.2 project car, but definately not the last Bravo project... Once finances permit, wait till you see what I have planned ;)

Over the past month and a bit I've put up over 1200 miles just going about my daily buisness, not even for the sake of a drive! :eek: Apart from a few hiccups (the radiator hose coming loose, stepper motor issues and my exhaust fell off :doh:) the car has performed faultlessly. Not bad for what is essentially still testing grounds! :D

So for the weekend I have planned:
  • Putting in 2 new front arms
  • Oil + filter change (back to 10w 40)
  • Further polishing off my tb (rushed the last time)
  • Possible painting and fitting of the Marea bumper (the Abarth bumper is too inappropriate!

Ill be upgrading the arb (front and rear) with ones from my TD100 when I have the time and funds for bushes to further improve the terrific handling. As it is theres no body roll atall, twisty roads have never been more fun :yum:

Lets see what actually gets done on sat though! :cool:
 
isn't there a way to stop the tb from oxidising?? some clear lacquer maybe?
what oil are you using now?? i'm using some 5w40 from luck-oil ( because it was cheap and wanted to see if it made any difference )
 
isn't there a way to stop the tb from oxidising?? some clear lacquer maybe?
what oil are you using now?? i'm using some 5w40 from luck-oil ( because it was cheap and wanted to see if it made any difference )

Its not oxidising, just rough, didnt get a chance to smooth it properly, untill today (y) I was using Shell Helix Ultra 5w40 but its too light for these engines, so back to Helix Plus 10w40 :)

Hats off to Andycam for supplying wheel liners for my Punto and for a great chat, I'll be doing some work on that when I get the time, keep a look out for it (y)

Driving to get the parts meant another thing, I had to go through a tunnel... :cool:


The camera dosent do justice, I cannot wait to take it to the port tunnel someday, the sound literally adds to your lifespan :worship: I need those early mk1 cams on this engine! :D

I'll have some pics later of my work with a tb today, going to write a guide on it too as I took a stepper motor to bits, stay tuned (y)
 
And heres those pics. The car still isnt running right by the way (n)

We get the tb like this
Image06821.jpg


And after a bit of work, result:
Image0683.jpg


And its still not perfect but it will do for the moment :)

Now for my butterfly. Always wanted to knife edge one (y)
Image0684.jpg
Image0685.jpg
Image0686.jpg


Id say gains from that are virtually none...

And with the old stepper motor, I split it open :)
Image0687.jpg


Not so complicated is it!

What to do tomorow... :yum:
 
Back
Top