
Introduction
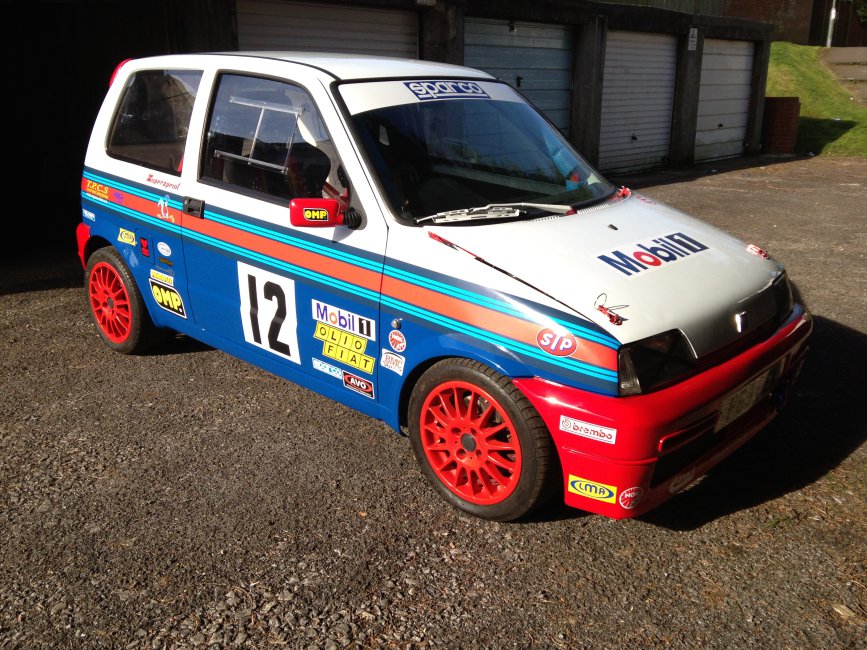
Hi all I have been on here for a while and thought it was about time to post a few pics.
To many he is known as PEX and has been my project car that has been going on forever due to a tight budget.
Have done a load of work to it since I first bought him in 2008 when it was a stock gunmetal Cinquecento sporting.
Here is what I have done so far.
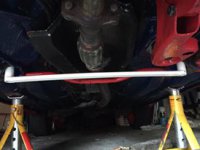
Suspension
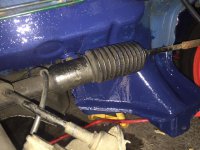
1) Powerflex polyurethane bushes front and rear.
2) Eibach uprated anti-roll bar.
3) Avo coilover adjustable suspension front and rear.
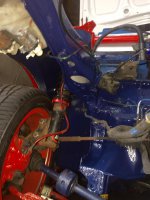
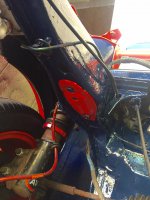
4) Front top Sparco strut brace.
5) Lower front OMP strut brace.
6) Rear strut brace.
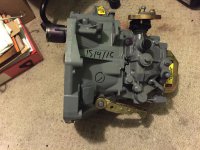
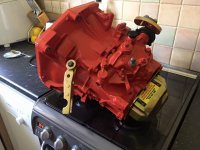
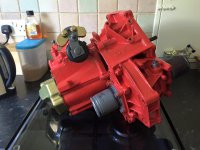
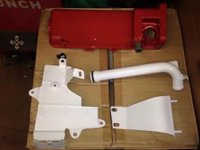
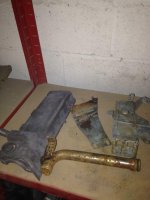
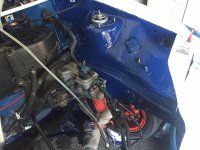
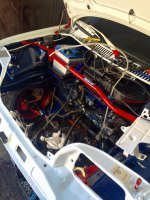
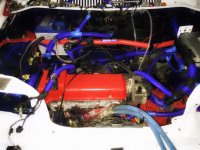
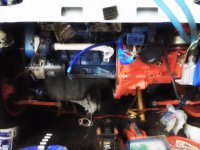
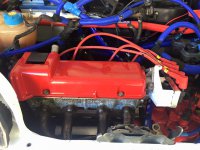
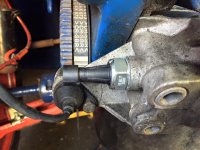
Engine Mods
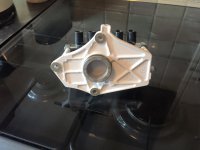
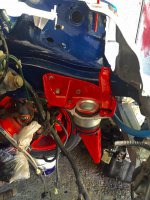
1) Running a P60 SPI
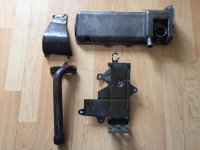
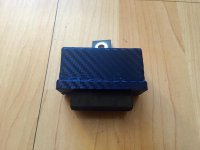
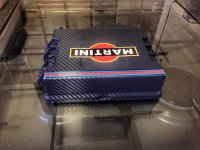
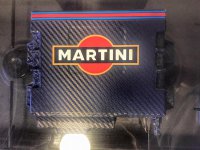
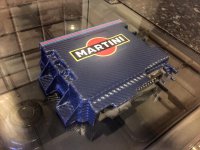
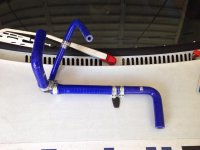
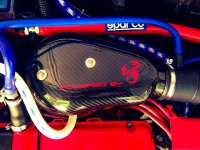
2) Complete cloosed forced air induction system which is a carbon
Dexcraft bob with carbon pipe with Samco reducer onto a BMC carbon
can with filter with intake in the front bumper.
3) 4-2-1 Stainless Supersprint manifold.
4) Decat Power flow stainless exhaust system.
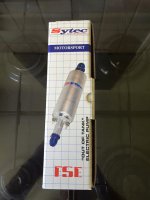
5) Ecu McCritch Chip.
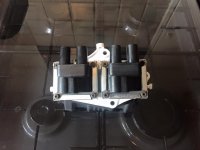
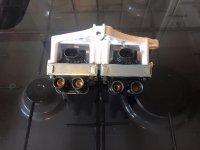
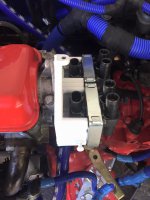
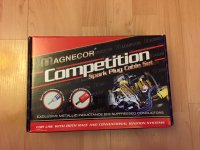
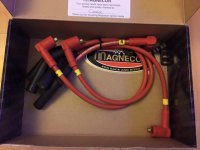
6) Magnacore KV85 V5 Ht leads.
7) ‘Tricker’ 40mm Throttle Body, replaces the stock 30mm throttle body.
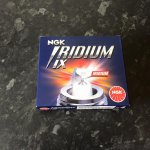
8) NGK spark plus.
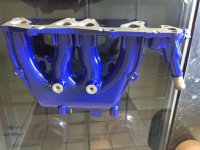
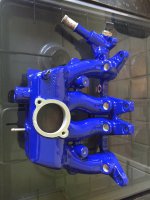
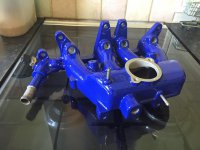
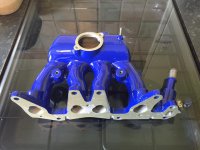
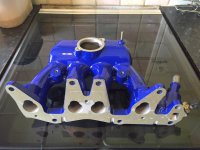
9) Ported and polished inlet manifold and bellmouth outlets.
10) Samco engine silcone hoses.
11) Alloy oil catch tank.
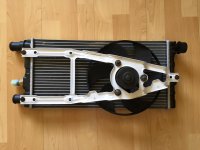
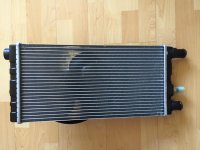
12) Mocal oil cooler.
13) Seicento coolant tank.
14) P75 866 cam.
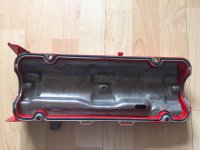
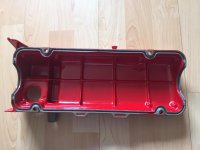
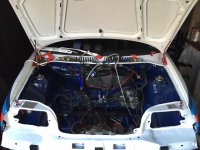
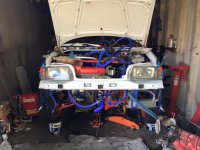
Shell/Chassis/Body
1) Lightened Shell due to weight reduction, Stripped out the inside of the
car, Dashboard still inside nothing else (no rear seats, brackets, seat
belts, soundproofing, headlining).
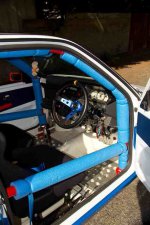
2) 2 x Sparco Sprint bucket seats.
3) 2 x Sparco 3 point race harnesses.
4) 6-point full OMP roll cage, bolted and welded.
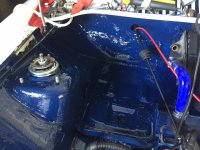
5) Black flocked clock surround
6) Lightweight Alloy race fuel tank
7) Panda front single wiper.
8) Full set of polycarbonate windows with front window sliders.
9) Roof spoiler.
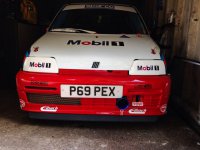
10) Quick release front bumper.
11) Bonnet on bonnet lifters and pinned.
12) Painted in two pack paint.
13) Plumbed fire system.
14) Pull cable power kill switch.
Brakes / Wheels
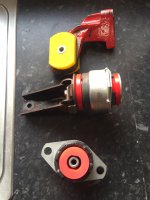
1) Punto GT caliper conversion at the front.
2) Brembo Motorsport drilled/vented discs for a Punto GT on the front
3) Black diamond predetor pads
4) DJ alloy wheels (rare) 175-50-R14’s
5) Falken tyres on 195-45-R14’s.
6) Locking Wheel nuts.
7) Goodridge Braided Hoses at the front.
8) Goodridge Braided Hoses at the rear
To many he is known as PEX and has been my project car that has been going on forever due to a tight budget.
Have done a load of work to it since I first bought him in 2008 when it was a stock gunmetal Cinquecento sporting.
Here is what I have done so far.
Suspension
1) Powerflex polyurethane bushes front and rear.
2) Eibach uprated anti-roll bar.
3) Avo coilover adjustable suspension front and rear.
4) Front top Sparco strut brace.
5) Lower front OMP strut brace.
6) Rear strut brace.
Engine Mods
1) Running a P60 SPI
2) Complete cloosed forced air induction system which is a carbon
Dexcraft bob with carbon pipe with Samco reducer onto a BMC carbon
can with filter with intake in the front bumper.
3) 4-2-1 Stainless Supersprint manifold.
4) Decat Power flow stainless exhaust system.
5) Ecu McCritch Chip.
6) Magnacore KV85 V5 Ht leads.
7) ‘Tricker’ 40mm Throttle Body, replaces the stock 30mm throttle body.
8) NGK spark plus.
9) Ported and polished inlet manifold and bellmouth outlets.
10) Samco engine silcone hoses.
11) Alloy oil catch tank.
12) Mocal oil cooler.
13) Seicento coolant tank.
14) P75 866 cam.
Shell/Chassis/Body
1) Lightened Shell due to weight reduction, Stripped out the inside of the
car, Dashboard still inside nothing else (no rear seats, brackets, seat
belts, soundproofing, headlining).
2) 2 x Sparco Sprint bucket seats.
3) 2 x Sparco 3 point race harnesses.
4) 6-point full OMP roll cage, bolted and welded.
5) Black flocked clock surround
6) Lightweight Alloy race fuel tank
7) Panda front single wiper.
8) Full set of polycarbonate windows with front window sliders.
9) Roof spoiler.
10) Quick release front bumper.
11) Bonnet on bonnet lifters and pinned.
12) Painted in two pack paint.
13) Plumbed fire system.
14) Pull cable power kill switch.
Brakes / Wheels
1) Punto GT caliper conversion at the front.
2) Brembo Motorsport drilled/vented discs for a Punto GT on the front
3) Black diamond predetor pads
4) DJ alloy wheels (rare) 175-50-R14’s
5) Falken tyres on 195-45-R14’s.
6) Locking Wheel nuts.
7) Goodridge Braided Hoses at the front.
8) Goodridge Braided Hoses at the rear