Uploading Images
Uploading Images -
Pictures paint a thousand words
There are two basic ways to get your images uploaded to the forum:
- Gallery Images - Photos uploaded directly to your personal gallery space.
- Attachments - Which are images attached to a single post and uploaded from the new post/thread page.
Option 1 - Uploading to your gallery space
As a registered member of the forum, you automatically get 20MB of diskspace to upload your images to. If you want more, then a
single donation will entitle you to UNLIMITED space!
To get started with the gallery, choose the "
Gallery" link from the blue navigation bar at the top of the page, then click the "
Upload Photos" link which can be found at the top right of the gallery page.
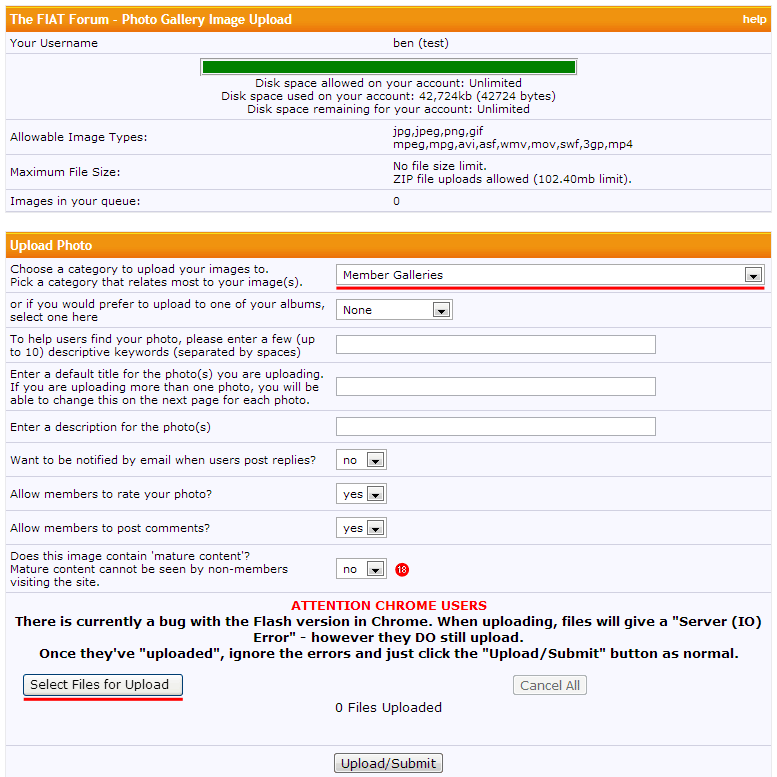
You'll then get the Gallery Upload page up, which looks like this..
You can pretty much leave all of this at default - just check you are uploading to the right category (the underlined box at the top) - you can leave this as "Member Galleries" if you don't need to categorise it - then hit the "Select Files for Upload" to choose the pictures you want to send.
They will start uploading automatically, so let them get to 100% - then when you've done all the ones you want, press the "Upload/Submit" button to get them processed by the system.
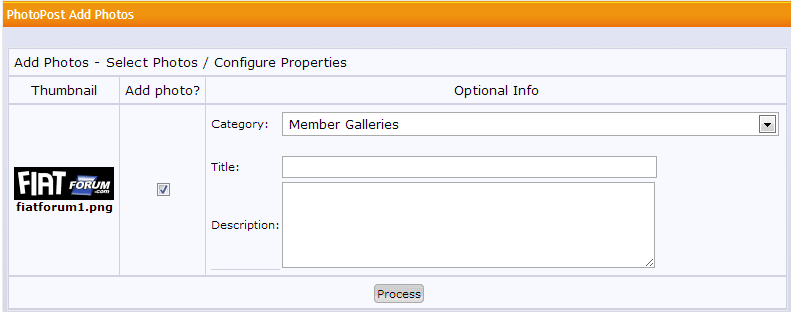
After a few seconds, you'll get the "Add Photos" screen up, which is just your chance to check the gallery is correct and write a description for the photos you sent.
If everything is ok, press the "Process" button at the bottom, and you're all done - your pictures will be put in your gallery
") Quick Tip
Quick Tip -
You can easily insert your gallery photos into posts by using the button.
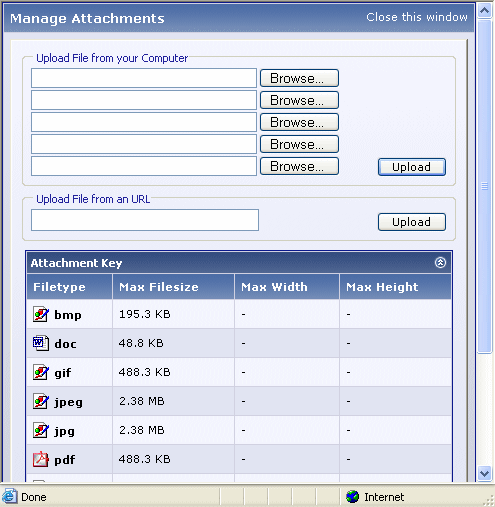
Option 2 - Attaching files to a post
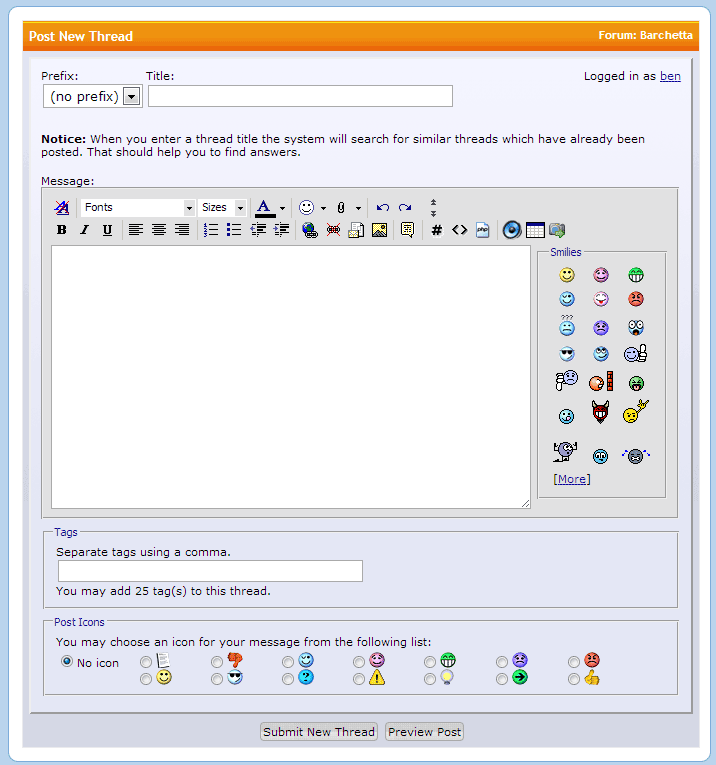
Once you have got all your images together and you have finished writing the text for your post (or you can do this as you go along, it's up to you) - click the
icon found at the top of the editor to bring up the attachments manager:
Use the browse button to bring up a file dialog box from which you can navigate to the files on your computer. Once you have repeated for each of the images, hit the "Upload" button and they will be sent to the FF server. If you have more than 5 images, do the first 5, then next 5 etc etc...
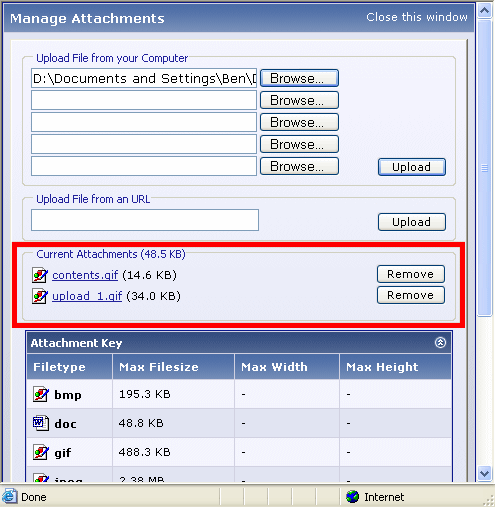
Once some images are uploaded, the Attachments Manager will change to reflect this:
Finally click the "Close this Window" link at the top to return to the editor.
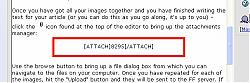
Placing an image is simplicity itself, place the cursor where you want the image (or images) to go and click the
icon found next to the attachments (
) icon and select the image (or file) from the drop down menu, for example:
On your page, the attachment will then be inserted (though you will only see it as ATTACH text) which can then be aligned as you wish.... (note the number shown will differ each time, it relates to the individual attachment)
See, simple wasn't it!