Refurbishment:
To complete this job, you will need the following:
a. paint thinner
b. rough cloth
c. sandpaper (the finest, 200)
d. spray paint in the desired color
e. optional paint for the release button
Step 6: Cleaning:
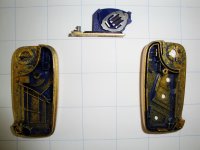
Thoroughly clean the plastic bits as good as possible. If you have deep cuts, use the finest sand paper (200) to clear them, as they will cause imperfections to the casing. Then rub it against a rough cloth or something to further remove the imperfections. The general idea is to make the casing as clean and smooth as possible. The color will fade, the casing will look pretty ugly after this process, there's no turning back now.
 Step 7: Casing repair:
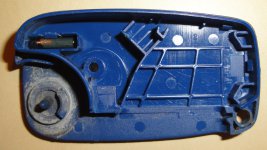
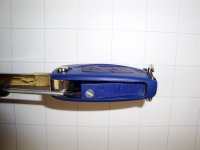
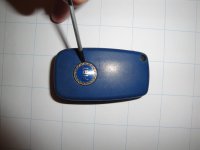
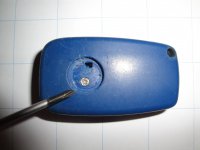
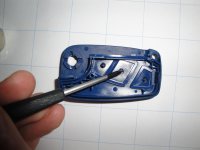
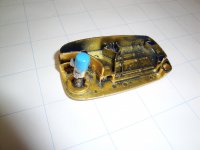
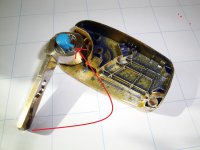
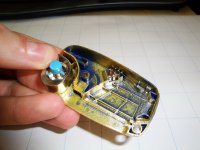
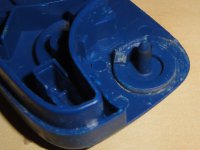
There may be several things wrong with the key. In my case, the knob wouldn't stand upright, but to the right. This is because of wear and tear. The zone you need to fix is located in the picture below:
Before:
After:
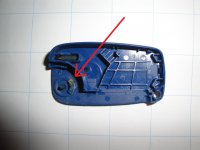
What I did was to cut the piece of plastic away and put a new one with the exact dimensions there. Bison Gel Superglue works just fine. You need gel glue because it dries after about a minute and not instantly. This is a small part and would require some maneuverer to fit it. Afterward I have polished it using the standard weld gun used for electronics.
If you are having trouble pressing the buttons on the remote it may be due to the fact that the plastic in the button has shifted away from the click mechanism. Just pull it back and you should be fine.
Step 8: Preparing for the paint job:
Put some duck tape where the buttons were. Make sure it is put right, because a lot of layers will cause the part to shrink and cause problems on the assembly.
Apply paint thinner on the plastic covers. This is a very important process, because it acts like a primer. We cannot use primer because we would make the paint too thick and ruin everything. Let the paint thinner dry. Afterward, gently spray the plastic bits.
If you are using metallic paint, you will notice that the job is uneven. No panic. Use more layers. I used 5. In any case to not smudge the paint all over the place. You need several good layers to get it to look good.
The battery cover should be done in the same way, but with less layers of paint. Remember to mask the important parts of it to keep them away from the paint.
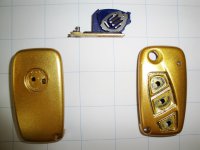
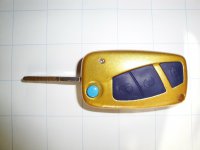
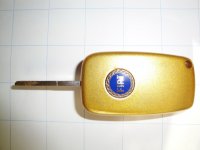
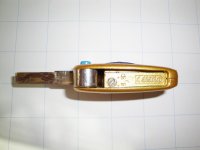
Paint spray dries partially in about half an hour. After all the layers, remove the duck tape from where the buttons were. If you see that the paint is uneven, apply another layer with it removed. Afterwards, use cotton buds to wipe out the excess paint. Final results are the following:
