IMG_0864.jpeg

500 (Classic) Long time coming!

Introduction

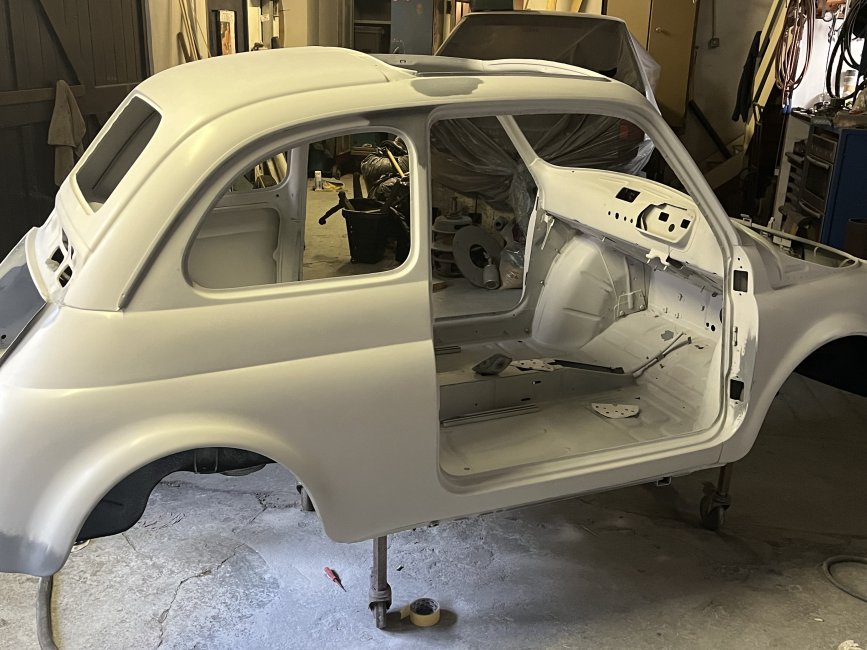
Having dug out my 500 recently after a very long time dormant (20 years since I did the panel work) I’m feeling motivated. I’ve painted the bolt on panels and today started applying some to the shell so am starting to get some thoughts towards building it up. There’s a couple of problems on this front, firstly the huge gap since I took it apart and the unfortunate fact that a lot of the parts were lost in a fire where they were stored some years ago. I’ve sourced some of the more crucial parts over the years and have spent a fair wedge recently on new stuff. I think I’m dialled in on what needs bought but its tricky knowing every small bit I'm might or might not be missing, I have tried sourcing a parts book but as yet had no luck, out of stock seems to be the theme. Does anyone know where I might buy one? or maybe an online link? I’d much prefer a paper copy.

IMG_0864.jpeg
IMG_0873.jpeg
IMG_0877.jpeg
So I did paint it again, I blame my compressor which isn’t very big and was running hard the first time and got too hot towards the end. I managed to borrow the use of next doors air source which is a much better setup with a dryer and this time it went better. Not perfect but good enough to work with. I’m 3/4 of the way through flatting and polishing but a few pictures to show the state of play. Couldn’t resist putting the badge of the front, the start or reassembly 🤟
I’ve had a load of bits in the electrolysis tank and am fairly close to having the bits to put it back on its wheels, stuff to paint and assemble before that day but it’s there on the horizon 😃
Out of interest, what type of paint did you spray it with? Cellulose/2k/water based/other?
 
Your Ill get round to it one day approach is making me feel good. Lockdown saw me reducing my outsanding job years by around 1500. Now Im into the waiting 10 years stuff. Go for it, get it done before oil runs out. Its a brilliant looking project btw!
 
I’m sick of flattening paint and polishing up! It’s all been done but the final percentage I know I can get I’m going to leave until it’s built up but a little picture that shows I managed to get it pretty straight. Not perfect I hasten to add but good enough for me, for now!
IMG_0945.jpeg
 
So I’m well on with reassembling Malcolm, it’s due to stall as the noisy bits will take going through. But the objective is to get it built as far as I can before I’m distracted into dirty engines and gearbox. As of today I have the glass, loom, dash, steering, lights, bumpers, sunroof, a goodly chunk of interior stuff, some suspension, some braking parts, control cables and a host of smaller stuff fitted and plan to get more done over this weekend so I can take some pictures that can show my frenzied weeks work! Over the next couple of week I plan to renovate the remaining suspension parts and get Malcolm on his wheels which are having tyres fitted tomorrow. I really looking forward to him looking like he’s going to.

I’m fairly capable with nuts, bolts and lumps of metal but I have a major gap in skills when it comes to electrics. I will need to ask for help and guidance in this area as I’m looking to fit a 650 lump and am aware there’ll be modifications to the loom. Before that task I would like to ask for guidance on a couple of loom related questions. Please see pictures to clarify my ramblings. The speedo unit, there’s a spade connection on it’s underside that I’m not seeing a wire off the loom for, what should be connected here? The inline fuse, housed in the red connector. Where correctly would this mounted?
IMG_0955.jpeg
IMG_0956.jpeg
 
To follow up on the spade connection on the bottom of the Speedo assembly I’ll offer my guess! I had been thinking an earth if nothing else and when going through my box from 20 years ago the wire shown in the picture was lurking in the corner. Fair guess do you think?
 
IMG_0961.jpeg
IMG_0962.jpeg
IMG_0963.jpeg
IMG_0965.jpeg
IMG_0970.jpeg
IMG_0969.jpeg
IMG_0967.jpeg
IMG_0971.jpeg
Having said I’d post pictures of a frenzied week of assembly I can see I didn’t at the time, my bad. Maybe in keeping with this project I’ll go with better late than never and post some now. It was just a case of grab stuff that I thought might be in a sensible order and provide gratification! Since that week some bits shown have needed redone or removed to allow other works but that’s ok, nothing wrong with measuring twice. I will say for others benefit, make sure you fit the infill chrome strip to front and rear screen seals before fitting to the car, I would much prefer to do that job just once. The infill was a right sod to fit to the seal, finger/hand strain for sure. Anyway, some assembly pics.
 
Since that week I’ve completed the centre tunnel, new cables and lines other than the battery wire and hopefully careful enough attention to detail that might ensure I don’t need back in there in the near future. I was very pleased to have all the original fasteners, helps pacify my OCD. My young self got some stuff right, lots of little bags of fasteners with a little note inside say where they were from, handy when you wait 20+ years before needing them 😂
IMG_0981.jpeg
IMG_0980.jpeg
 
Please forgive the lack of suspension and brake refurbishment and assembly pictures, it’s all either new or carefully refurbished. The electrolysis tank has been on over time and everything has has lashings of protective layers applied, not often the type of work where I’d grab the camera or indeed on the day of assembly when I had a real head of steam up. Full speed spannering which only stopped when those tyres touched the floor, went home very pleased that day I can say.
IMG_0986.jpeg
IMG_0989.jpeg
 
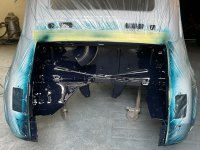
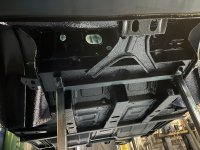
Some effort towards future proofing. I like the Bilt Hamber products, the one shown is great at creeping into tight seams and sets (eventually) to a very durable layer. I used a 750ml can on each side and soaked all cavities. This was later topped up with a can of the Dynax-UB which I went round and round with until it was exhausted, it’s fair to say the inner structure has been tended to. It’s obviously a cold substance when discharged from the aerosol, hence showing condensation on the outside just after application.
IMG_0994.jpeg
IMG_0995.jpeg
IMG_0996.jpeg
IMG_1001.jpeg
IMG_1002.jpeg
 
Inspirational thread Malcolm, with an enviable standard of workmanship & expertise imho.
Presumably you must have some considerable experience in this field (despite having taken 20y to reach this stage on this particular project) ??
 
Thank you for the kind words. I’ve played with cars most of my life, fellas got to have a hobby! I’m a tradesman for a living, I live by the rule of your as good as your last job. Sometimes I’m pretty decent but not above a disaster sometimes but as is said “ if you’ve never made a mistake you’ve never made anything”
 
So today went pretty well, I mentioned how I was lacking any wiper mechanism at the beginning of this thread. This had threatened to derail the build as being RHD these parts aren’t available to buy new. I hadn’t realised but this included the wiper arms as they are handed too. A BIG shout out for Mark at Motobambino who managed to get me the body mounting bracket and the first main bracket that the motor mounts onto. Using a new wiper assembly to suit a LHD I had to cut through a couple of tack welds to release the moving arms off the static bracket and then heart in mouth tack them onto the provided bracket, it was a bit difficult to be sure I was doing it correctly but I seemed to fluke it as it all bolted in and looks like it’ll work when I get it powered up. Mark also sourced me some RHD arms but I was able to return them to him as no sooner had I got back with them than I found two pairs all wrapped up nicely from all those years ago. Mark was very good and refunded me, I’m pretty sure I then spent the refund on something else!!
IMG_1043.jpeg
IMG_1043.jpeg
IMG_1048.jpeg
 
This past week I’ve been wrestling with the doors. They are pattern parts and it showed trying to build them up. I had a bit of trimming to do and a bit of a strong touch to get them tolerable but for now they’ll do. I still have to original doors and they are in good condition so at some stage I’ll fettle them up and swap them with the ones fitted. No rush for now as the ones fitted will be ok, they’ve had so much work they’ll have to earn their keep for a while. I don’t seem to have a picture of both doors fitted though they are indeed both on the car, all glass now done :)
 
Back
Top