Change a clutch on a cinquecento sporting 1.1 OHC engine
Before you start make no mistake, for someone with little or no experience like myself, this is no walk in the park. Although others on here may think different
First things first you’ll need to jack your car up at the front end. Be sure to use the suitable jacking point under the car just behind the front wheel. Place axel stands underneath the car also in a suitable position and check that the car is steady. Never ever work under a car only supported by a jack!
Okay before you start anything, you will need two main things to hand…
Lots of these

And these XD

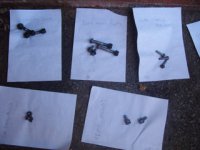
Before you start any work it is wise to store all nuts and bolts accordingly in categories to avoid misplacement and confusion of what goes where! Here’s my little idea =]
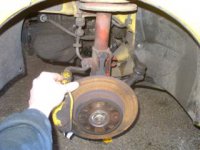
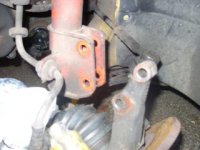
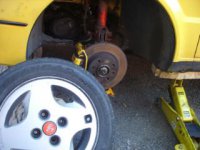
Okay, you will need to remove the passenger side front wheel and disconnect the two big bolts that hold the bottom of the shock absorber to the hub assembly. (Note it may be easier to remove the steering rack joint onto the hub also, but as mine was solid, I didn’t try too much!)
On the right side of the diff (as your facing the front of the car) remove the driveshaft gaiter clip and the drive shaft should simply slide out of the inner CV joint. Be sure to wrap the tripod bearing with some sort of protection against grit and dirt. A Tesco’s bag should do =]
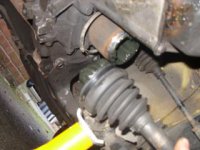
Next job is to secure the driveshaft away from the engine bay to stop the gearbox fouling on it when you eventually take it out.
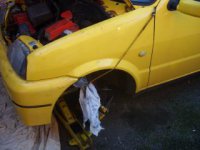
Inside the engine bay, looking down onto the gearbox, pop off the reverse gear linkage on the top of the gearbox.
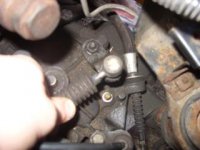
And unplug the wiring at the front of the box
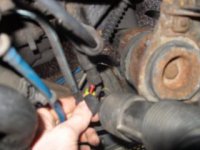
Next job is to disconnect another ball joint on the back of the Gearbox; this is the main gear linkage. BE SURE TO LEAVE THE GEARBOX IN NEUTRAL BEFORE DISSCONNECTING THIS.
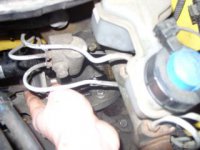
Just to the left of the balljoint just disconnected, there is a bracket holding the cable in place. This is secured by three bolts… remove this and secure the gear linkage cable out harms way.
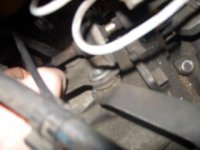
Not sure what this wire is, but in any case it’s also need removing. Just undo the small bolt and it should just pop off
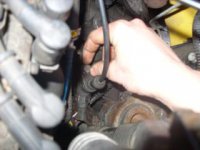
Now it’s time to disconnect the clutch cable right at the front on the gearbox, this is secured by a big nut, and a locking nut.
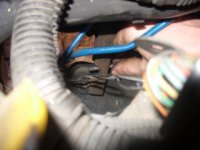
You will need to also disconnect the Speedo cable at the back of the gearbox, between the gearbox and the bulkhead. It’s tricky and space is limited, I couldn’t even get a decent picture of it = [
Right, now that all of the ancillaries disconnected from the gearbox. You will need to place a jack, with a piece of wood underneath the gearbox to support the weight while we undo the mounts for the actual gearbox.
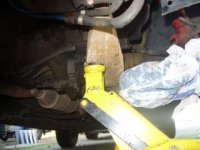
The next thing to go is the rear gearbox mount. There are two bolts holding it to the actual gearbox actual gearbox, disconnect these and store safely. There are two more bolts holding the bracket to the chassis, one is in plain sight, the other is up inside the hole on the mount. Don’t try to undo the big bolt (as I found out), it’s just spins the nut on top which is inaccessible.
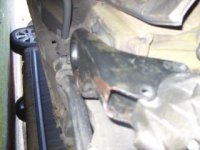
There is one more mount at the front of the gearbox which is held on by two bolts, undo these and store safely, there is no need to disconnect the mount from the actual chassis.
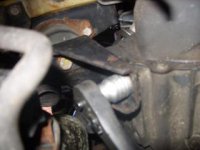
Now that basically the gearbox disconnected from everything, except the actual engine of course. Ensure your jack is properly supporting the gearbox and lower it slightly so that the whole right hand side of the engine drops along with the gearbox. It may also be necessary to support the bottom of the engine with another jack just to make sure the relationship between the engine and gearbox is plum. If it’s pissed, it will just jam on the splines and it will not come out. Whilst the engine is in this position, it gives better access to remove the starter motor, held on by three bolts…
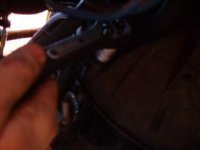
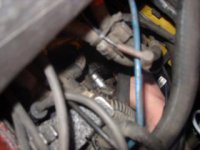
You are now ready to undo all of the gearbox to bellhousing bolts, undo all of them except the upper most bolt, leave this on until last.
-STOP- And make a cup of tea
Once you are sure the all of the bolts are out (be sure to undo the nut on the stud bolt behind the starter motor as well. Then you can begin to pull the gearbox away from the engine. Shake it from side to side, up and down, they can be quite stiff. Once a gap is made between the engine and gearbox it is possible to get a long screwdriver, a crowbar, or prybars to gently pry the two apart while still pulling and shaking the gearbox.
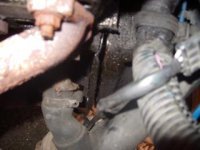
With a little effort, the gearbox should dislodge from the clutch plate and hey presto, the gearbox is out.
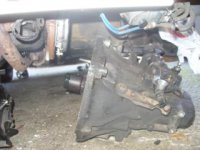
-STOP- drink your tea, and have a fag =]
Now you have access to the clutch assembly, undo the six bolts that hold the plate onto the flywheel.
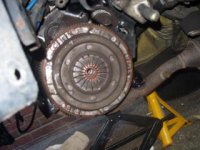
And the clutch plate and pressure plate should drop out.
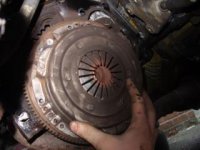
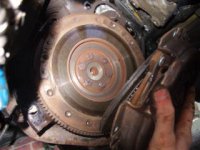
Now, when you want to fit the new clutch assembly, you will need to align the clutch plate dead centre with the pressure plate. You can easily make a clutch alignment tool with a piece of wooden rod that fits closely inside the clutch plate hole. I found that a piece of 15mm copper tube worked perfect. Wind some insulation tape around the copper tube so that it fits tightly inside the pressure plate arms.
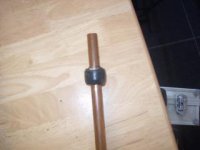
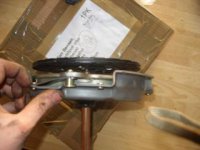
You can now offer up you new clutch, held together and in line using your home made alignment tool. Once it is in position and you are sure that it dead centre, you can tighten up all the bolts.
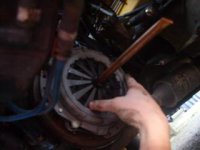
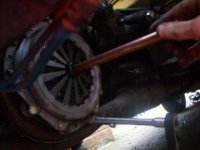
Changing the thrust bearing couldn’t be easier. Just pop the old one off, and slide the new one on. Be sure that it sits inside the fork properly; it will only fit in one way.
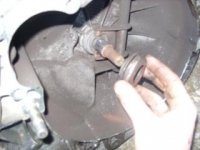
Now it’s time to refit the gearbox, get it up on the jack and offer it up to the engine. Be sure that the flywheel plate is sat on properly and with a bit of fiddling around, and with a lot of luck, it should slide into place.
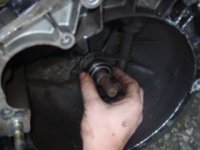
You can the start putting bolts back into the bell housing.
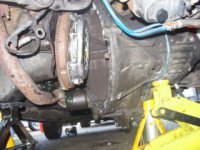
Don’t forget that there is a bracket that sits behind the two uppermost bolts which hold the gear change cable bracket in position.
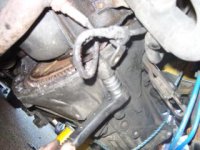
Attach the bottom flywheel cover
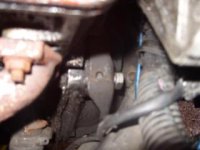
And all the gear linkage bracket back on
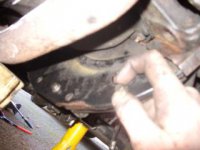
Reconnect the earth cable, both gear change ball joints, and the reverse linkage. And also the speedometer cable at the rear of the gearbox.
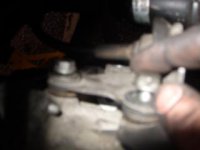
Connect the clutch cable back up and ensure its operation. There is also a guide here on how to adjust your clutch cable so I won’t go into it, but it does need doing!
Now you must jack up the engine and gearbox together so that they will line up ready to put the mounts back on. Reconnect both front and rear gearbox mounts.
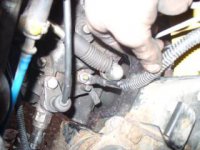
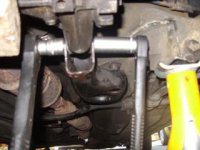
the gearbox is now all in and you can slide the driveshafts back in, turn the steering wheel to the far left in order to put the driveshaft in on the driver’s side. Then do all the suspension bolts up before you move the steering again. And vice versa for the other side.
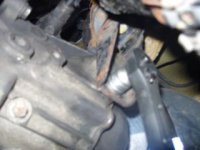
Put the wheels back on.
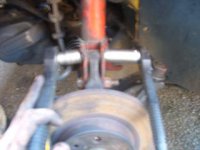
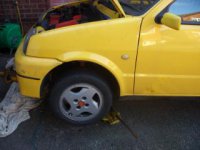
And lower the car off the axel stands.
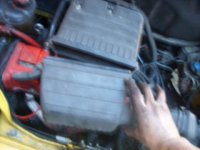
Re connect the air box and any vacuum hoses you may have disconnected for better access.
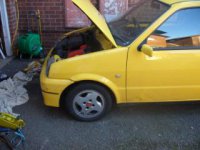
And finally close the bonnet =]

Take it for a test drive, take it steady at first, if all seems okay, and then boot it. If anything sounds or feels weird/ not right, then come back and give everything a once over.
And that’s how you change a clutch. And I hope this helps someone, one day. XD
Before you start make no mistake, for someone with little or no experience like myself, this is no walk in the park. Although others on here may think different
First things first you’ll need to jack your car up at the front end. Be sure to use the suitable jacking point under the car just behind the front wheel. Place axel stands underneath the car also in a suitable position and check that the car is steady. Never ever work under a car only supported by a jack!
Okay before you start anything, you will need two main things to hand…
Lots of these

And these XD

Before you start any work it is wise to store all nuts and bolts accordingly in categories to avoid misplacement and confusion of what goes where! Here’s my little idea =]

Okay, you will need to remove the passenger side front wheel and disconnect the two big bolts that hold the bottom of the shock absorber to the hub assembly. (Note it may be easier to remove the steering rack joint onto the hub also, but as mine was solid, I didn’t try too much!)


On the right side of the diff (as your facing the front of the car) remove the driveshaft gaiter clip and the drive shaft should simply slide out of the inner CV joint. Be sure to wrap the tripod bearing with some sort of protection against grit and dirt. A Tesco’s bag should do =]

Next job is to secure the driveshaft away from the engine bay to stop the gearbox fouling on it when you eventually take it out.

Inside the engine bay, looking down onto the gearbox, pop off the reverse gear linkage on the top of the gearbox.

And unplug the wiring at the front of the box

Next job is to disconnect another ball joint on the back of the Gearbox; this is the main gear linkage. BE SURE TO LEAVE THE GEARBOX IN NEUTRAL BEFORE DISSCONNECTING THIS.

Just to the left of the balljoint just disconnected, there is a bracket holding the cable in place. This is secured by three bolts… remove this and secure the gear linkage cable out harms way.

Not sure what this wire is, but in any case it’s also need removing. Just undo the small bolt and it should just pop off

Now it’s time to disconnect the clutch cable right at the front on the gearbox, this is secured by a big nut, and a locking nut.

You will need to also disconnect the Speedo cable at the back of the gearbox, between the gearbox and the bulkhead. It’s tricky and space is limited, I couldn’t even get a decent picture of it = [
Right, now that all of the ancillaries disconnected from the gearbox. You will need to place a jack, with a piece of wood underneath the gearbox to support the weight while we undo the mounts for the actual gearbox.

The next thing to go is the rear gearbox mount. There are two bolts holding it to the actual gearbox actual gearbox, disconnect these and store safely. There are two more bolts holding the bracket to the chassis, one is in plain sight, the other is up inside the hole on the mount. Don’t try to undo the big bolt (as I found out), it’s just spins the nut on top which is inaccessible.

There is one more mount at the front of the gearbox which is held on by two bolts, undo these and store safely, there is no need to disconnect the mount from the actual chassis.

Now that basically the gearbox disconnected from everything, except the actual engine of course. Ensure your jack is properly supporting the gearbox and lower it slightly so that the whole right hand side of the engine drops along with the gearbox. It may also be necessary to support the bottom of the engine with another jack just to make sure the relationship between the engine and gearbox is plum. If it’s pissed, it will just jam on the splines and it will not come out. Whilst the engine is in this position, it gives better access to remove the starter motor, held on by three bolts…
You are now ready to undo all of the gearbox to bellhousing bolts, undo all of them except the upper most bolt, leave this on until last.


-STOP- And make a cup of tea
Once you are sure the all of the bolts are out (be sure to undo the nut on the stud bolt behind the starter motor as well. Then you can begin to pull the gearbox away from the engine. Shake it from side to side, up and down, they can be quite stiff. Once a gap is made between the engine and gearbox it is possible to get a long screwdriver, a crowbar, or prybars to gently pry the two apart while still pulling and shaking the gearbox.

With a little effort, the gearbox should dislodge from the clutch plate and hey presto, the gearbox is out.

-STOP- drink your tea, and have a fag =]
Now you have access to the clutch assembly, undo the six bolts that hold the plate onto the flywheel.

And the clutch plate and pressure plate should drop out.


Now, when you want to fit the new clutch assembly, you will need to align the clutch plate dead centre with the pressure plate. You can easily make a clutch alignment tool with a piece of wooden rod that fits closely inside the clutch plate hole. I found that a piece of 15mm copper tube worked perfect. Wind some insulation tape around the copper tube so that it fits tightly inside the pressure plate arms.


You can now offer up you new clutch, held together and in line using your home made alignment tool. Once it is in position and you are sure that it dead centre, you can tighten up all the bolts.


Changing the thrust bearing couldn’t be easier. Just pop the old one off, and slide the new one on. Be sure that it sits inside the fork properly; it will only fit in one way.

Now it’s time to refit the gearbox, get it up on the jack and offer it up to the engine. Be sure that the flywheel plate is sat on properly and with a bit of fiddling around, and with a lot of luck, it should slide into place.

You can the start putting bolts back into the bell housing.

Don’t forget that there is a bracket that sits behind the two uppermost bolts which hold the gear change cable bracket in position.

Attach the bottom flywheel cover

And all the gear linkage bracket back on

Reconnect the earth cable, both gear change ball joints, and the reverse linkage. And also the speedometer cable at the rear of the gearbox.

Connect the clutch cable back up and ensure its operation. There is also a guide here on how to adjust your clutch cable so I won’t go into it, but it does need doing!
Now you must jack up the engine and gearbox together so that they will line up ready to put the mounts back on. Reconnect both front and rear gearbox mounts.


the gearbox is now all in and you can slide the driveshafts back in, turn the steering wheel to the far left in order to put the driveshaft in on the driver’s side. Then do all the suspension bolts up before you move the steering again. And vice versa for the other side.

Put the wheels back on.

And lower the car off the axel stands.


Re connect the air box and any vacuum hoses you may have disconnected for better access.


And finally close the bonnet =]

Take it for a test drive, take it steady at first, if all seems okay, and then boot it. If anything sounds or feels weird/ not right, then come back and give everything a once over.
And that’s how you change a clutch. And I hope this helps someone, one day. XD

