IMG_4676.JPG

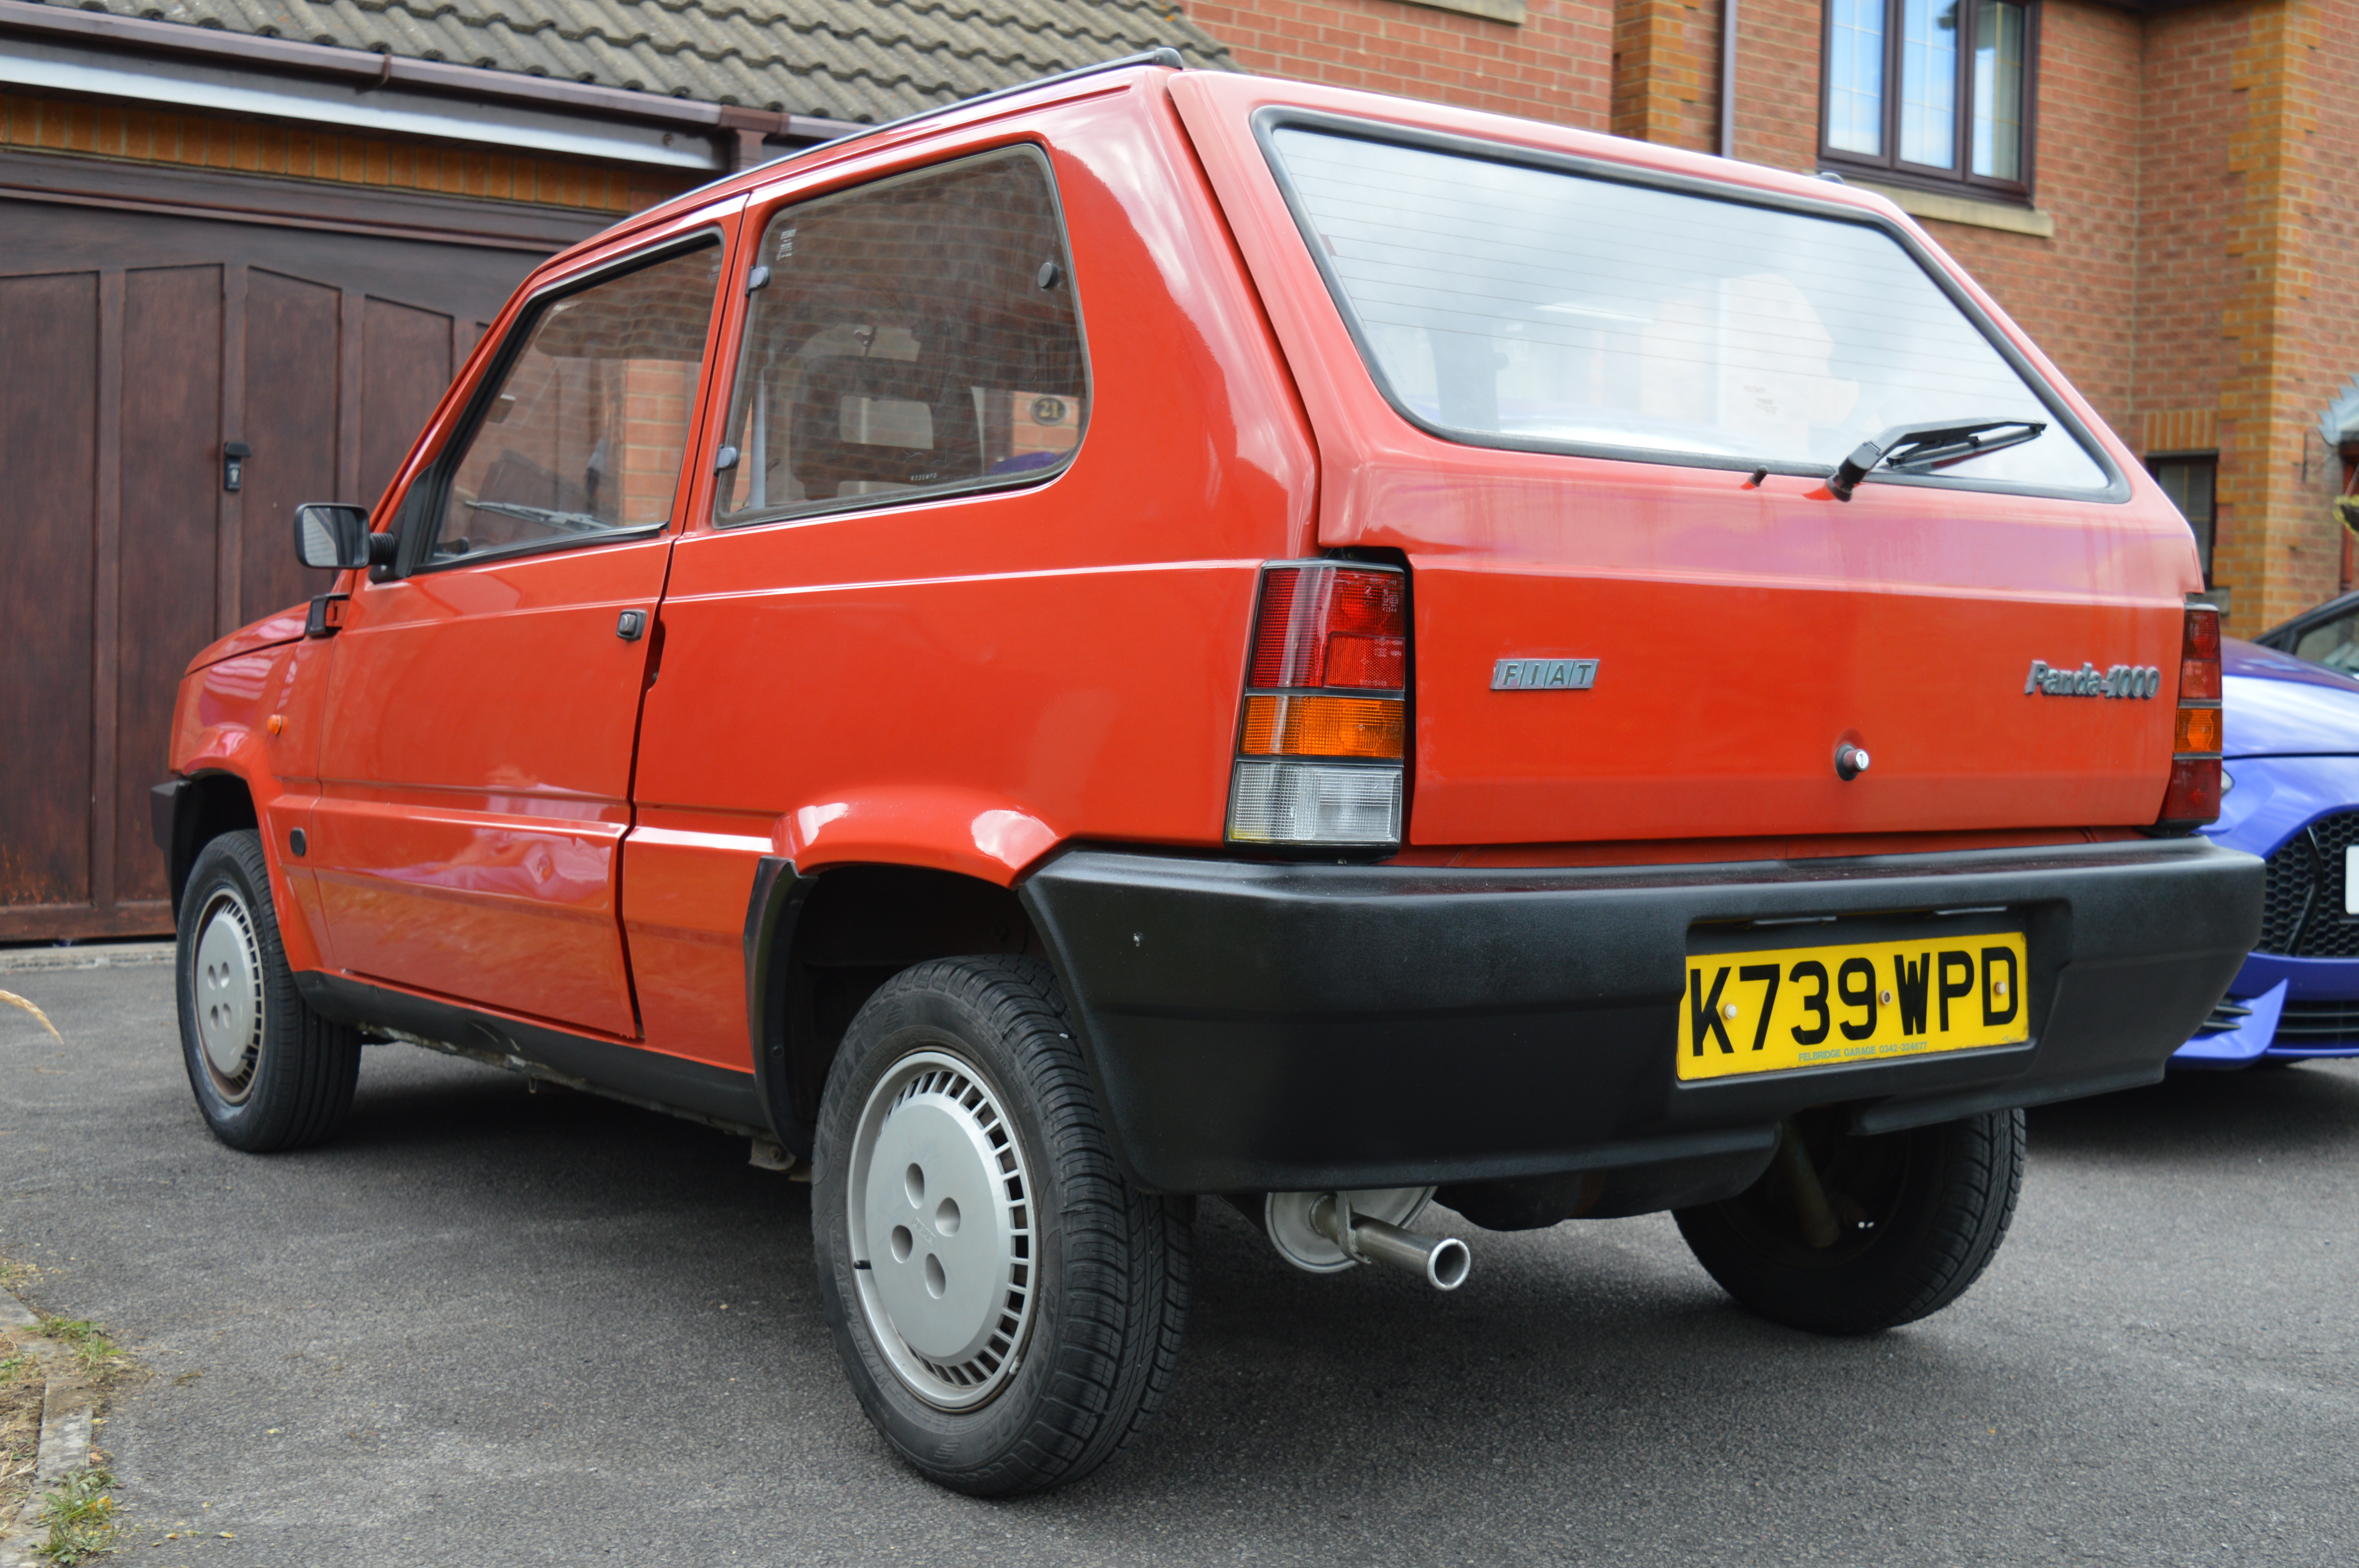
Panda (Classic) 1993 Fiat Panda Fizz "Pandino"

Introduction

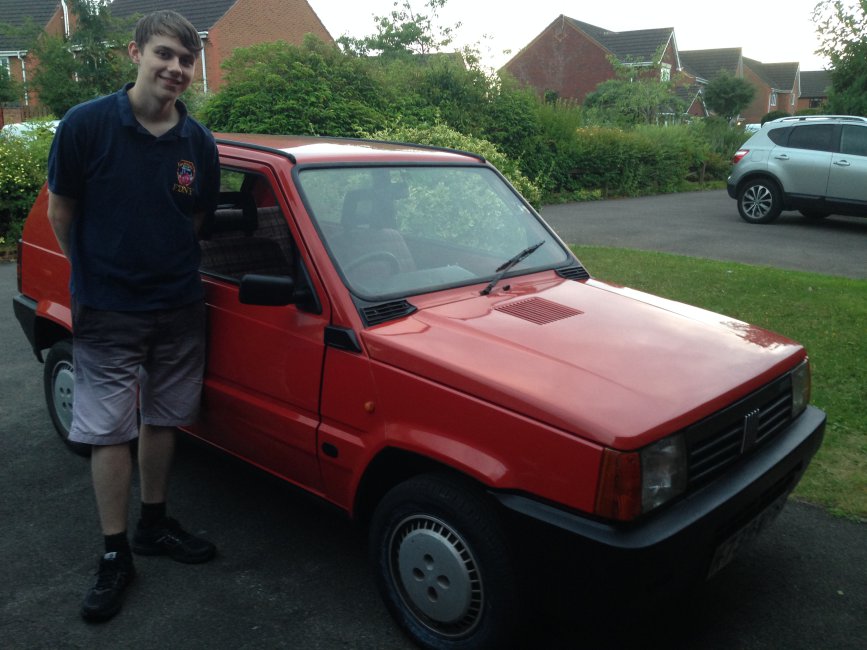
Hey everyone, let me introduce you to my first car! :)

The car is a 1993 Fiat Panda Fizz, 999cc engine with fuel injection, only 26,000 miles at the time of buying. Nicknamed "Pandino" by the previous owner, and I'll make sure that name sticks! :D

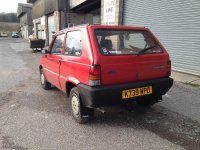
Pictures are compulsory of course, so I've attached some of my first images that I've taken of the car. You'll likely find various other pictures in this thread when I get some things done to it! I attached the pictures to this post and I've uploaded one to the gallery so that I can have this one embedded! :rolleyes:
DSC_000824.JPG


*Following list is from original post, more has been done since, read thread for more*
What have I done already? Well I haven't even had the car for a couple of days yet, but I've done a few things...
  1. Used upholstery cleaner on the dirty ceiling, definitely needs some more though!
  2. Figured out how to do everything (i.e. parcel shelf removal, putting seats down, seat positions, mirrors etc)!
  3. Cleaned all the windows and mirrors!
  4. Checked all fluids and oil levels!
  5. Checked all lights/buttons!
  6. Checked tyre pressures, which I might decrease in the rear as they're running quite high!
  7. Took out the spare wheel/tyre, gave it a good clean but it is showing it's age, though it's been pumped up so it'll get me home if I need it now!
  8. Took the seal/cover off the heater matrix to remove the forest that was growing within it...
  9. Tried taking off the grille but couldn't get one of the centre poppers off and the front screws look a bit rounded off...
  10. Ran the car and moved it on the driveway!
  11. Put a blanket, a bag, a tool extension and a first aid kit in the boot!

*Following list is from original post, read thread for more*
What I plan to do next...
  1. Clean, clean, clean!
  2. Hopefully obtain new badges for the front and rear as all are discoloured!
  3. Try and clean the garage to fit the car in (or more likely at this time, find a suitable car cover for it)!
  4. Seal doors to prevent rust!
  5. Get some touch up paint for areas where paint has come away!
  6. Buy some Fiat Forum stickers of course!
  7. Potentially buy new number plates or at least replace some screws as they're looking a bit worn!
  8. What ever else I end up thinking of... follow the thread and read for more!

I also plan to go to some Panda classic events with others. I'll keep an eye out, but feel free to invite me to something if you've got something/see something going on!

That's about all I can think of right now! It feels so strange having a car, I'm very happy to have bought a car I really wanted. I've been looking for ages. :worship: If you have any questions about it then please do ask! I'm very happy to talk about my car! (y)
Pandino got some more attention today - I've been meaning to tend to the not so nice looking crack that had appeared down by the arch for a while.

View attachment 177229


After a sanding down of the cracked area, a little rust was of course revealed. I hoovered up the sand and dirt (and of course a little bit of the red paint on the floor, which really doesn't stick to the matting underneath), and then put some kurust on the area.

View attachment 177230


The excess was wiped and the kurust was left to dry for a bit, and then I got out the Cataloy knifing putty I had to fill in the cracked area. Applying it was not as easy as I thought, but this is what I ended up with...

View attachment 177231


Once I've got some time, I'll treat the area again and then paint it over. Then I shall attend to the other 101 jobs that need doing on both Pandino and Chaz... :rolleyes:


In the meantime, have a picture of Pandino after driving in the light snow we had (y)

View attachment 177232


The rust from the ( crack ) is more likely to be salt / water ingress from the rear wheel arch. Take off rear wheel and further investigation is required to the triple seam area of the lateral chassis leg prone to splitting less likely with a Sisley as it has wheel arch protectors.
 
The rust from the ( crack ) is more likely to be salt / water ingress from the rear wheel arch. Take off rear wheel and further investigation is required to the triple seam area of the lateral chassis leg prone to splitting less likely with a Sisley as it has wheel arch protectors.
The rear right wheel seam in the wheel arch does have a bit of rust on it and paint coming off. Don't worry, I'll be treating this as well once I've got the time ;) The inner still needs finishing as well, but luckily it's not all too bad!

I was going to remove the paint/rust, then kurust over the area, then stone chip shield, then red paint, then waxoyl all the wheel arches. Is there anything else you'd suggest or do you think that will be okay?
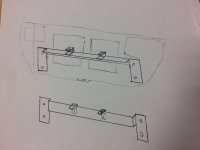
Sketch attached
Thanks very much for the sketch. I take it those are two different ways of doing it. I'll have to take the bumper off and see what I can do at some point. Lots of ideas in the pipeline at the minute (y)
 
Yes follow your process sounds good. If your heading to that scrappy again get the rear arch liners. !!!!!0
 
Yes follow your process sounds good. If your heading to that scrappy again get the rear arch liners. !!!!!0
That's all good then, thanks :) Unfortunately I don't think that Sisley is with us any more. I know one person trying to get a headlight off them couldn't get through to the seller any more which is a shame :(

I seem to remember you may have 3 Sisleys back at home though... (y)
 
Yep 3 into 2 goes perfectly note this
Remove window an door seals As at the joint corrosion will occur grease is a good prevention as a temporary measure [emoji108][emoji209]
 
Yep 3 into 2 goes perfectly note this
Remove window an door seals As at the joint corrosion will occur grease is a good prevention as a temporary measure [emoji108][emoji209]
I've seen the Sisleys coming along nicely (or at least 1 of them), will you be keeping both the finished ones?
I just made a light bar for my 2004 Panda
Seems plenty strong enough to hold 3x 9inch britax spots.

I used Galvanised angle from Wickes an a ton of rivets.


Look forward to seeing your progress. :D
Ah, nice one! Good to see someone else is doing it too.

Wickes eh? Good job I work there, I can get all my angles for a discount... ;) Out of curiosity, did you get the largest angled piece from there as well? Not sure what the biggest one they do in my store is but we shall see :p

Still got wheels and the rev counter in the pipeline first as well. Hoping to get them done soon!

The grille needs to be touched up and re-fitted as well so maybe I can look into the possibility of lights at that point :)
 
I've seen the Sisleys coming along nicely (or at least 1 of them), will you be keeping both the finished ones?

Ah, nice one! Good to see someone else is doing it too.

Wickes eh? Good job I work there, I can get all my angles for a discount... ;) Out of curiosity, did you get the largest angled piece from there as well? Not sure what the biggest one they do in my store is but we shall see :p

Still got wheels and the rev counter in the pipeline first as well. Hoping to get them done soon!

The grille needs to be touched up and re-fitted as well so maybe I can look into the possibility of lights at that point :)


Yes one xxxl panda and one classic Sisley !
 
Yes one xxxl panda and one classic Sisley !
Sounds like a good plan to me. I'd like to get a classic Sisley or a runabout 4x4 at some point. If I had it my way the driveway would be full of Pandas and 126s... one day (y)
Yes I used the biggest stuff they did. (y)
Awesome, got everything I need in my own workplace then! I'll have to take a look at all the angles properly when I get the chance :)
 
The horn stopped working again. I'll probably make a day of repairs on Monday as it is my only free day this week! Need to do a touch up on the arch and finish my repair on the inside. Once the touch up is done on the outside then I expect I'll stop it in its tracks, going to get any rust off, kurust over, stone chip, paint and waxoyl. Got all the bits ready to do it :)

While I'm waiting for paint to dry, I can try the horn, and fit the new set of rear mudflaps I bought off eBay the other day (y)
 
I did try and fix the horn again, cleaning all the contacts on the push and in the steering wheel, still only works sometimes. I'll have to take the wheel off and clean the contacts underneath.

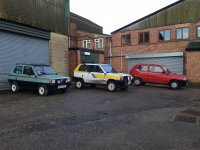
The arch and inside has been repaired, I just need to tidy it up at a later date. I've been doing work experience with Vernon for a couple of days last week and I'm doing another two days this week coming. Here's a picture of Pandino with Huey (Vern's new off-roader) and PG Tips, the mk1 4x4 Sport!
dCfImyn.jpg

500 miles done in a few days without missing a beat. Just 500 more to go this week, and new mudflaps going on soon too which I didn't get time for last week.
C9ylClv.jpg

Bit of a service done today, as I wanted to check how Pandino had fared after 500 miles. Oil is all good, coolant is all good, air filter is all good, tyre pressures are all good, all I've done is put in a bit of screenwash!
 
The mudflaps were fitted at Vernon's. I think they look great on Pandino!
40.jpg

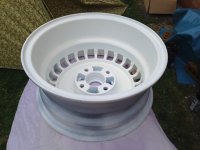
While doing work experience, I spent a lot of time sanding down my Uno Turbo wheels from Chaz. Originally black, I had them finished off in white primer by the time I had left. I started work on the topcoat today. This involved bringing back a little bit of paint that had bubbled and treating it to some more fresh primer, but after this had dried, I sprayed the backs of all four wheels.
36.jpg

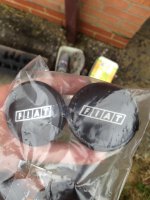
I also swapped hubcaps, as I wanted to go for a more classic style. The newer style hubcaps were nice and would still fit the colour scheme but I wanted the old style Fiat badge so these are the ones I have for the wheels now.
37.jpg

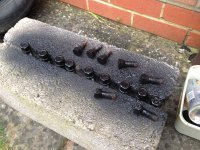
Because the hubcaps/bumpers/trim pieces are black, I think the black hubcaps will go well. Therefore, I sprayed my wheel bolts black as well. I coated the smaller ones twice but only had enough satin black paint for one coat of the larger ones (for the rear with spacers). The paint will come off when I tighten the bolts up anyway I suppose... :p
38.jpg
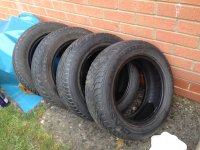
VmanC I don't know what compelled me to tell you I had 170/60 previously, they are 175/60/13 I think it was. But I believe you said 165/65 would be a better fit.

Anyone got any recommendations on new tyres?
39.jpg
 
Same conclusion on the wheel bolts then!

Looking forward to seeing them on the car, are they staying white then? Great looking wheels and I'm sure the hard work will be well worth while(y)
 
Me calling the centre caps hub caps again, oops :eek:
Same conclusion on the wheel bolts then!

Looking forward to seeing them on the car, are they staying white then? Great looking wheels and I'm sure the hard work will be well worth while(y)
If the conclusion on the wheel bolts is black then yes :D If the paint comes off them when I put them on then I'll buy a set of black cap covers like these: http://www.ebay.co.uk/itm/Wheel-Bol...140473?hash=item51cbb75439:g:~xIAAOSwSHZWd8xQ

I could also go for white ones of those, we'll see how the black bolts look on the car once I get them on!

The topcoat is staying white, I sure hope they turn out well! I'm going to be extra careful spraying the front faces, as I don't want any dirt/dust/flies joining the paint. Just add tyres after that!
 
This post contains affiliate links which may earn a commission at no additional cost to you.
i would get some heavy duty clear coat on them chap or they tyre place will immediately damage the paint when they put tyres on.. Even with the clear on it will be risky - need someone you trust to be careful. I would get some clear on them, leave them somewhere nice and toastie to bake it hard and leave it a week, preferably 2 weeks to properly harden before you get tyres fitted. Known people to end up with damage even after powdercoating wheels and that so much harder than paint.
 
i would get some heavy duty clear coat on them chap or they tyre place will immediately damage the paint when they put tyres on.. Even with the clear on it will be risky - need someone you trust to be careful. I would get some clear on them, leave them somewhere nice and toastie to bake it hard and leave it a week, preferably 2 weeks to properly harden before you get tyres fitted. Known people to end up with damage even after powdercoating wheels and that so much harder than paint.
While I was with Vernon, he reckoned I wouldn't need a clear coat... I see what you mean with the tyre place damaging the paint though. So you'd still recommend getting clear coat? All I've got is Halfords clear lacquer, so do you recommend anything in specific?

My friend knows some lads from a tyre fitters/mot station/repair center in Swindon who might be able to do a discount and would likely listen if told to be careful with them. I think he even offered to take the wheels over there in his Land Rover Series 2 but then he'll probably want lots of fuel money for that :rolleyes:
 
well it might be ok if they dry properly and harden first without. i guess it will depend alot on the paint used as well... When I have sprayed wheels I have always just the halford heavy duty pu clear i think its called. Silver and yellow cans
Anything like this one? This is the one I've got, used it on my grille but I've got stone chips in it now, probably didn't put enough on :p http://www.halfords.com/motoring/paints-body-repair/car-spray-paints/halfords-clear-lacquer-500ml
 
Back
Top