The Gearbox
Now refer to elearn for procedure to remove Hydraulic actuator and then robot.
Mark plugs and hydraulic hoses clearly so you know where they go back. In particular the 3 on the back of the accumulator. I marked the A, B and C with labels and marked the back of the accumulator clearly their order.
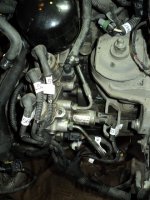
A labelling machine was handy to label the hoses and electrical plugs as per the elearn instructions.
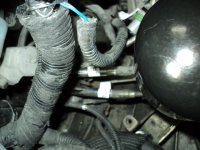
Use a trolley jack on the plate that covers the exhaust to support the motor when removing the gearbox mount.
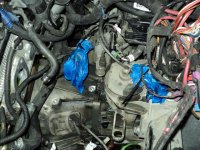
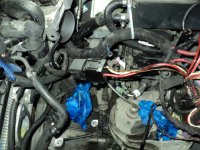
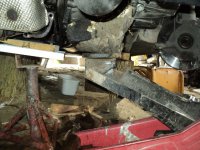
I removed the mount entirely from the car to give a better view of the gearbox. (It doesn't look quite so cluttered in real life)
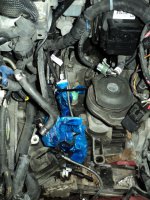
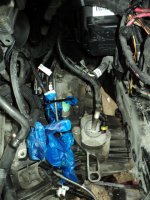
Remove the Selespeed reservoir and give it a good clean. There is a long narrow sump that traps the dirt. Gently clean with lint free rage and rod.
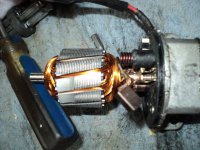
I got starter and selespeed pump checked by auto electrician. The pump had minimal wear and required nothing done. The starter was cleaned and new brushes.
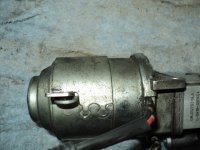
If you are removing the flywheel then the bolts are very tight. Put a couple of spare longer 8mm bolts in the holes the plate uses and stop it turning using a length of 4"x 2" wood (100mm x 50mm)
The tightening torque for the flywheel was at the max of my torque wrench and you use a locking fluid too.
Fitting the clutch was straight forward with aligning tool.
When unpacking the release bearing make sure the little plastic clip that goes on the outside of the box is removed. I nearly failed to notice it.
Reassemble using elearn instructions.
Put a lint free rag in the hole left when the robot is removed. You don't want anything dropping in there. We momentarily lost a 6mm nut. While vainly looking for it with a torch my wife spotted it stuck to the magnet on the bottom of the torch..
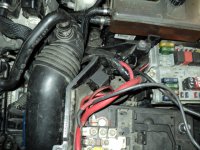
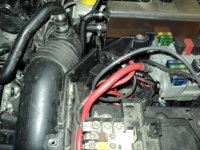
The fabric on some of the wiring around the fuse box was getting tatty so I rebound it with tape. This made getting the battery box back in easier.
Reassembly is reverse of above.

