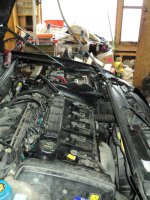
Tools required.
Clutch centering tool
36mm socket
Multiecuscan software and ODB2 cable
Be very diligent about labelling all cables and hoses before they are removed so you have no doubt where they go back. Most of the electric plugs are obvious but the hydraulic hoses need to be marked clearly to go back in the same place they came from (there aren't that many)
Ball-joint popper.
Bottle of selespeed oil
2 litres gearbox oil for the gearbox itself
Antifreeze.
Clutch kit and release bearing recommended.
Flywheel optional. (I did mine)
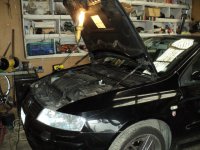

Getting stuck in
Drive onto ramps.
MAKE SURE YOU SELECT NEUTRAL (necessary to get robot out later)
Remove Air Tube
Unplug Selespeed pump
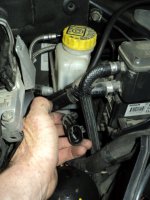
Plug car into laptop and use MES to De-pressurise the system.
Check the pressure is now low on the settings page.
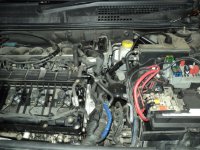
Disassembly
Remove Battery
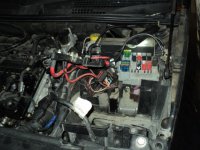
Remove Battery tray
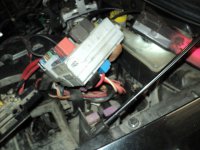
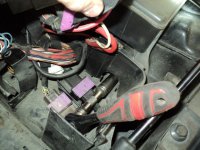
Slacken Left hand Driveshaft nut (36mm socket) with wheel still on ramp.
Remove exhaust section under engine between the two flanges.
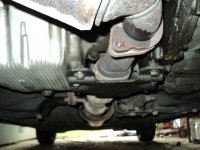
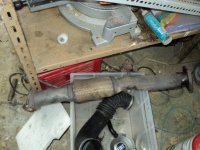
Put the cover plate you have to take off to do this back on.
Jack car up and put supports under rails just behind the front subframe. I used a couple of rings from a tree I cut down. Stands will work but make sure it is all secure.
Remove front wheels and detach the lower ball joints, outer steering ball joints and anti roll bar from struts.
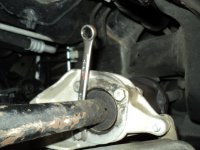
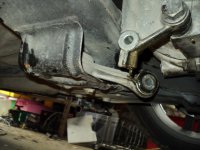
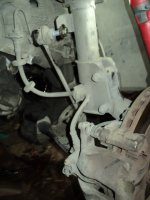
Remove through 2 bolts bolting the steering rack to the subframe.
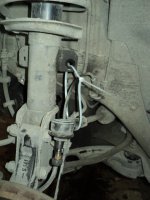
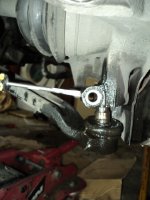
Put jack under sub frame and remove the 4 bolts holding it on. (it isn't actually that heavy) Lower away.
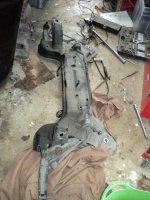
Remove crank position sensor and starter motor.
Remove Thermostat and airbox.
The Gearbox
Now refer to elearn for procedure to remove Hydraulic actuator and then robot.
Mark plugs and hydraulic hoses clearly so you know where they go back. In particular the 3 on the back of the accumulator. I marked the A, B and C with labels and marked the back of the accumulator clearly their order.
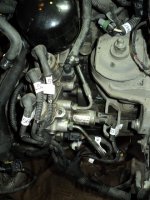
A labelling machine was handy to label the hoses and electrical plugs as per the elearn instructions.
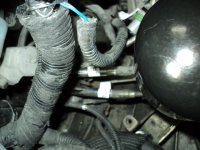
Use a trolley jack on the plate that covers the exhaust to support the motor when removing the gearbox mount.
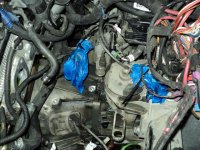
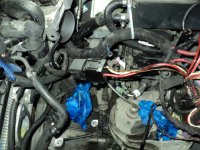
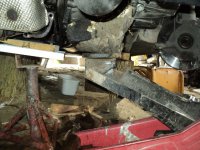
I removed the mount entirely from the car to give a better view of the gearbox. (It doesn't look quite so cluttered in real life)
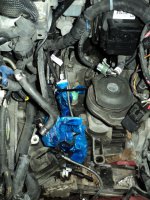
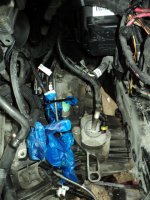
Remove the Selespeed reservoir and give it a good clean. There is a long narrow sump that traps the dirt. Gently clean with lint free rage and rod.
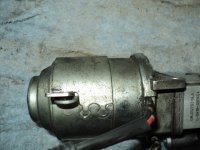
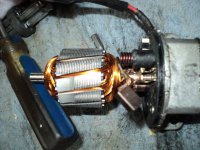
I got starter and selespeed pump checked by auto electrician. The pump had minimal wear and required nothing done. The starter was cleaned and new brushes.
If you are removing the flywheel then the bolts are very tight. Put a couple of spare longer 8mm bolts in the holes the plate uses and stop it turning using a length of 4"x 2" wood (100mm x 50mm)
The tightening torque for the flywheel was at the max of my torque wrench and you use a locking fluid too.
Fitting the clutch was straight forward with aligning tool.
When unpacking the release bearing make sure the little plastic clip that goes on the outside of the box is removed. I nearly failed to notice it.
Reassemble using elearn instructions.
Put a lint free rag in the hole left when the robot is removed. You don't want anything dropping in there. We momentarily lost a 6mm nut. While vainly looking for it with a torch my wife spotted it stuck to the magnet on the bottom of the torch..
The fabric on some of the wiring around the fuse box was getting tatty so I rebound it with tape. This made getting the battery box back in easier.
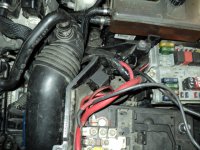
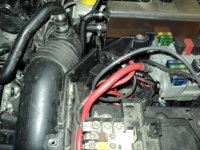
Reassembly is reverse of above.
Final operation
Have the laptop ready to go when battery connected.
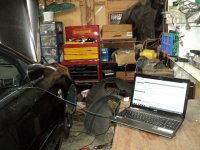
Ignition on and connect using MES to gearbox.
Run the bleed procedure following instructions on screen and top up reservoir.
Run the robot recalibration procedure. It will clunk away for a couple of minutes and may bring up errors. Don't panic
Disconnect laptop from gearbox.
Ignition off.
Ignition on.
Reconnect laptop to gearbox and clear any errors.
Put gearbox in Manual mode and run it through all the gears.
All Good!
Start engine and test it.
Celebrate with a whiskey.
It will be a bit jerky for a few Kms (miles) until the computer realises the plate has been replaced.


