the brackets!
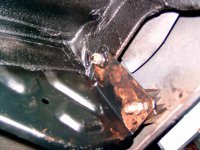
if your brackets are bad they could look like this
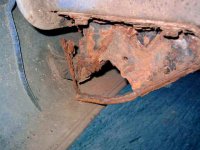
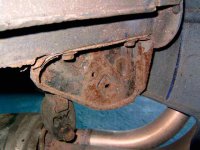
so you need to remove the bolts.if you lucky the will unbolt with a little wd40.if not it may require heat and/or the grinder.
see the original thread for more info on this
once you have the brackets removed(probably more work than that statement makes it seem!)
now if you followed the thread i linked to you will see the trouble liam had and that he drilled new holes to mount the brackets.
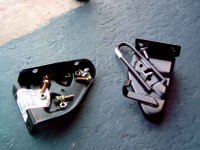
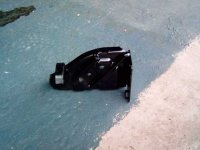
now heres the new brackets and bolts
you will see this in the pictures on reassembly.
obviously it depends on how the job goes as to whether you do this or not.
now while you have the back end stripped its a good time to wire brush the underside & underseal
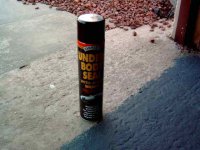
other brands are available
and give it all a good undersealing
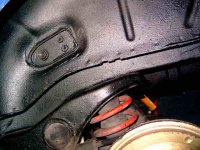
now here you see the brackets mounted with liams screws in place
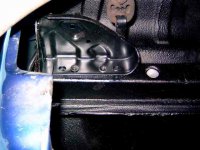
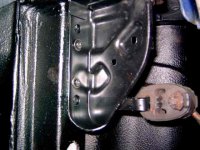
So then you have a bolt which goes through the bracket from the rear and one from the bumper mount through the bracket, do the first one then re attach the bumper, take care with the outer mounts, they can be tricky but with patience you'll get there and before sticking it on don't forget to plug in the number plate lights again. Do up you three bolts inside the boot then move onto the lower bumper mounts.
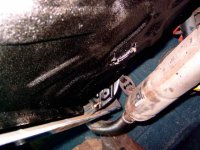
you see liam used new bolts all round to make the job easier and save problems with corroded bolts.
in the 2nd picture you see where he used coppaslip to ease removal at a later date
*NOTE: for some aftermarket exhausts you will need to remove the towing eye,this is easiest done with an angle grinder*
thanks to liam for the pics plus blood sweat & tears

