Styling Fairings/side skirts for older Autoroller models

Currently reading:
Styling Fairings/side skirts for older Autoroller models

T MAN

New member
Joined
Mar 25, 2023
Messages
9
Points
2
Location
OX4
Hi guys,

I've been looking around at suppliers, breakers, etc, with little luck.

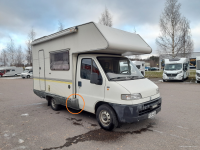
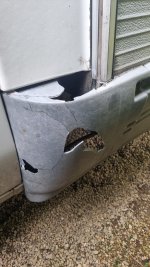
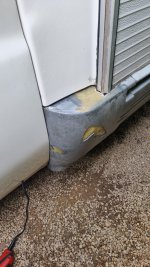
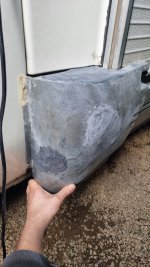
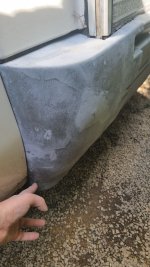
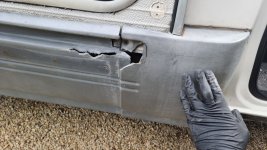
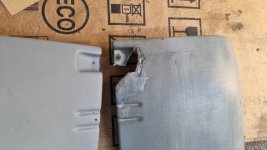
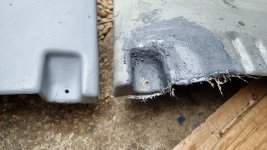
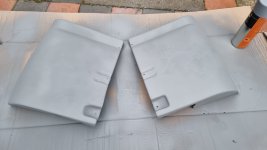
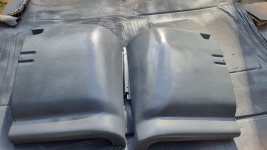
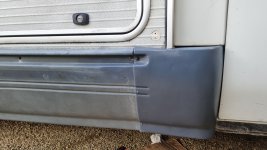
Hoping somebody here might be able to point me in the right direction, I'm looking for either side of the front corner fairing that sits right behind the cab doors. I know they were fitted to a few different models around year 2000, including 1.9TD and the 2.8L, attached some photos for reference.

Any age or colour will do, ideally in good condition though minor damage I can probably work with.

If you can help, or know somebody that I could reach out to, I'd appreciate it!

Cheers
 

Attachments

  • fairing2.png
    fairing2.png
    967.2 KB · Views: 35
  • fairing.png
    fairing.png
    2.1 MB · Views: 13
Couldn't find anywhere that could source the panels...

I just decided to go for it... first time working with fibreglass, couple of days and a bit of patience.

Used:
  • Acetone, paint brush, assorted sandpaper, brown parcel tape, strong scissors, plenty of nitrile gloves
  • Silverhook BIGK1 Big Boy Glass Fibre Resin Repair Kit
  • Silverhook BIG31 Big Boy Plastic Flexi Filler 250ml
  • Halfords primer Grey 500ml
  • WRX Semi-Gloss Spray Paint 400 ml - Mid Grey 307

Cleaned panels well then sanded down front and rear paying special attention to where the fibreglass needs to bond
Cleaned again, added 3-4 layers of fibreglass, used brown parcel tape to support fibreglass where necessary as it doesn't bond to tape
Left overnight, lightly sanded fibreglass, cleaned again thoroughly
Added flexi filler, sanded down to try to contour as best as possible, trimmed filler and fibreglass
Cleaned again, sprayed 4-5 light coats of primer
Left overnight, sprayed 4-5 light coats of semi-gloss paint

Hard to create the original texture of the plastic trim but in all honesty I have plans to travel round Europe so this was a rushed job and turned out pretty decent.
 

Attachments

  • a1.jpg
    a1.jpg
    888.3 KB · Views: 8
  • a2.jpg
    a2.jpg
    967.7 KB · Views: 5
  • a3.jpg
    a3.jpg
    930.7 KB · Views: 5
  • a4.jpg
    a4.jpg
    765.7 KB · Views: 4
  • b2.jpg
    b2.jpg
    655.1 KB · Views: 9
  • b1.jpg
    b1.jpg
    786.1 KB · Views: 6
  • b3.jpg
    b3.jpg
    844.2 KB · Views: 6
  • b4.jpg
    b4.jpg
    830.4 KB · Views: 5
  • b5.jpg
    b5.jpg
    556.2 KB · Views: 8
  • b6.jpg
    b6.jpg
    970.8 KB · Views: 8
  • c1.jpg
    c1.jpg
    726.6 KB · Views: 7
  • c2.jpg
    c2.jpg
    843 KB · Views: 8
Last edited:
Back
Top