Hi guys
I have enjoyed my Marea for almost 6 months now, and so far I have nothing but 2 bad things to say: I'm probably to long-legged to drive it - My leg hurts from keepin acc pedal down when driving for more than 1 hour straight, and that leads to bad thing number 2: no cruise control....
Anyways, just recently there was a disturbing sound coming from left front wheel when driving over just the smallest bump in the road. A bit of jacking up and wiggling about the stuff there, I found the front wishbone bushing to be loose and showing visible play. I decided to change it before it got worse.
A new bushing cost 109 SEK, about $8.30. I guess it's not FIAT original.
I have read in this forum that the bushings were press fit, but I decided to try anyways althoug I do not own a press.
It was actually pretty straight forward job, althoug we did not have a workshop manual:
DISCLAIMER: Do not do this unless you know what you're doing. I did so I did not get hurt. This is probably the wrong way to do it, and you're copying this procedure on your own risk. Always think "safety first". Plz, I urge you to think before you wrench...
1. Jack the car up
2. Remove 2 front bolts holding the wishbone in the subframe
3. Remove the bushing holdin the tip of wishbone to the hub
4. Separate hub-bushin (don't know english name) from hub, takes a bit of pounding and or prying
5. Remove to rear bolts holding wishbone to subframe.
6. Remove wishbone from car.
7. My front bushing had separated itself from the rubber, so it just fell apart. Inner steel tube and rubber stayed on the wishbone, and outer steel tube with flanges fell off into my hand.
8. This is the scary part, but anyhow... I used a sharp knife and some other stuff to get rubber away. Then grinder to cut inner steel cylinder. Then a sharp chisel and some good 'ole pounding to get inner tube of wishbone.
9. Pound new bushing in taking GOOD precautions to make sure the angle was right - if not, you will have trouble. Be prepared to pund GOOD and HARD 'cus this is a really tight fit. We used a big sledge and an old bearing as inlay between sledge and bushing. This made it possible to drive bushing in without damaging the flange or rubber. Regular tube is not good since it's too soft - you have to use harder steel. A good quality "power" socket from your air tool box will probably do. Take care so you don't damage the bushing in the other end! Use wood inlay between bushing and whatever you're pounding against (we used concrete floor). If you pound it on wrong it will not fit once on the car. The two bushings is NOT parallell - the front one leans inward about 10-15 degres. Hard to explain but when you try it you will see...
10 Refit and retighten in reverse order.
Whole procedure took about 1.5 hours including a bit of cursing.
Picture story:
1. Cutting away old rubber from wishbone
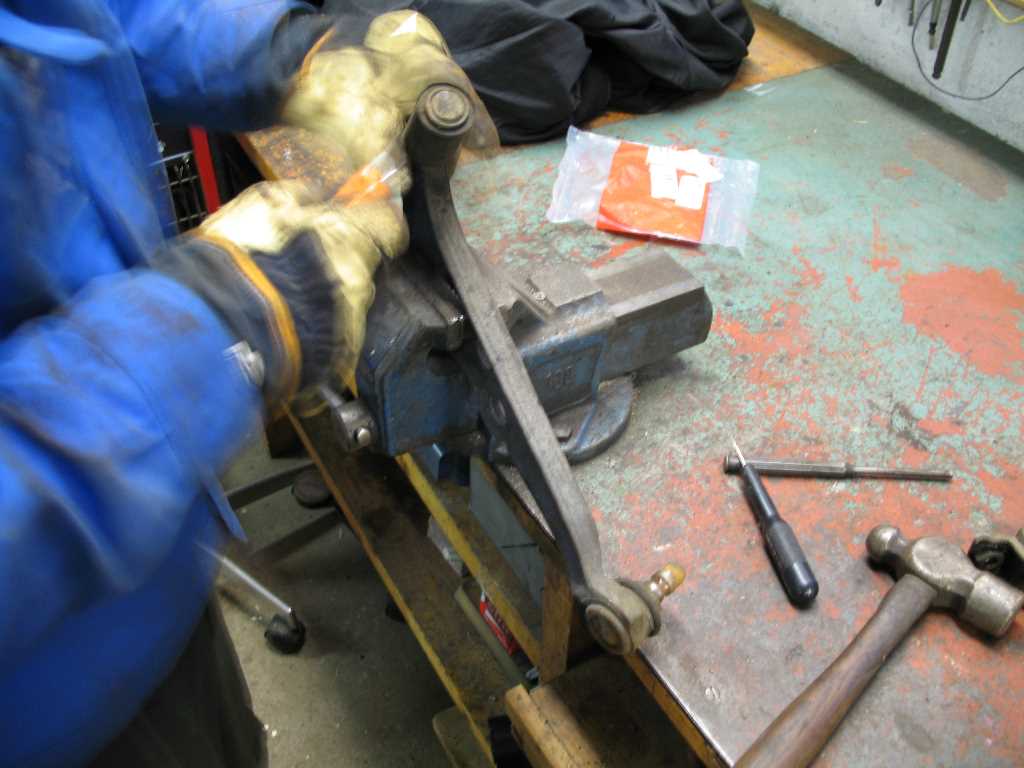
2. Wishbone was in good condition, both "knuckle bushing" and the other sub-frame one...
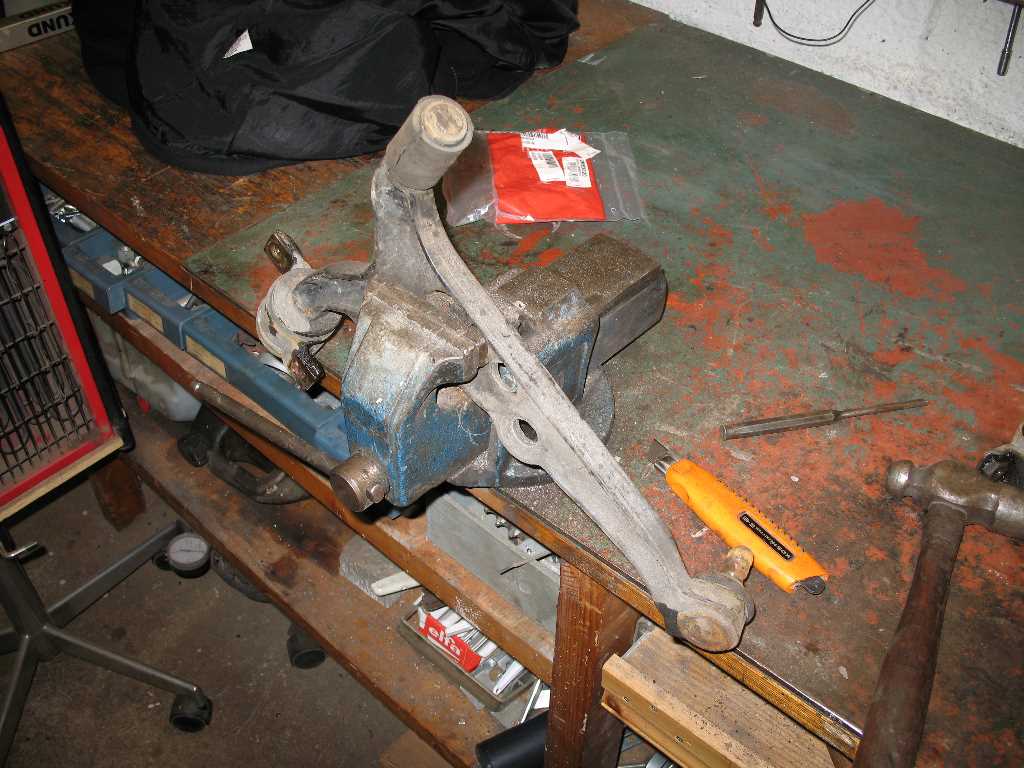
3. Here you can see that the old bushing had separated from rubber. Compare with new.

4. This is front attachment point to subframe. Was easy to get out, just a bit of wiggling the stuff and pulling/jerking the suspension turret/hub until the bushing fell out with the wishbone.
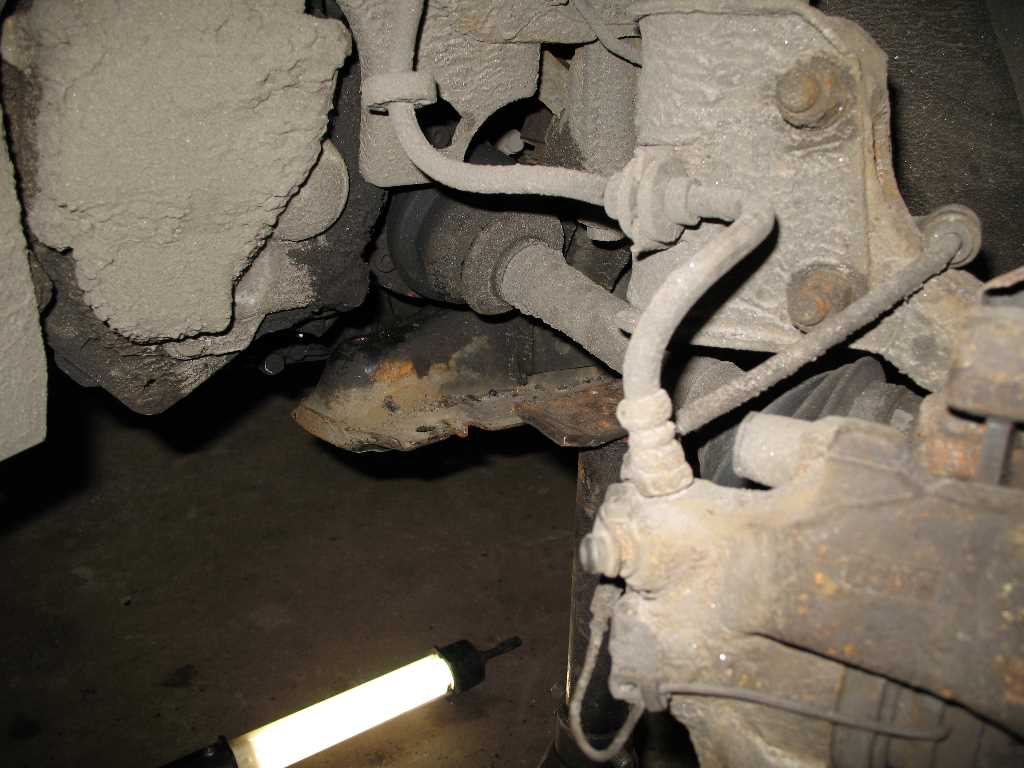
5. And this is rear attachment point to subframe. Was a bit harder as anti-sway bar stuff got int the way, but a bit of wiggling the suspension turret and jacking car up and down a bit, it eventually came out with the wishbone. In this picture the wishbone is out of the car. Unfortunately you cannot see here that I have also separated "kingpin?" from the hub. Was the easy part. Unfortunately that bold shred itself when we refit, but we found a good one in a "good-to-have" box in a shelf in the back of the garage that fit almost better than the original one.
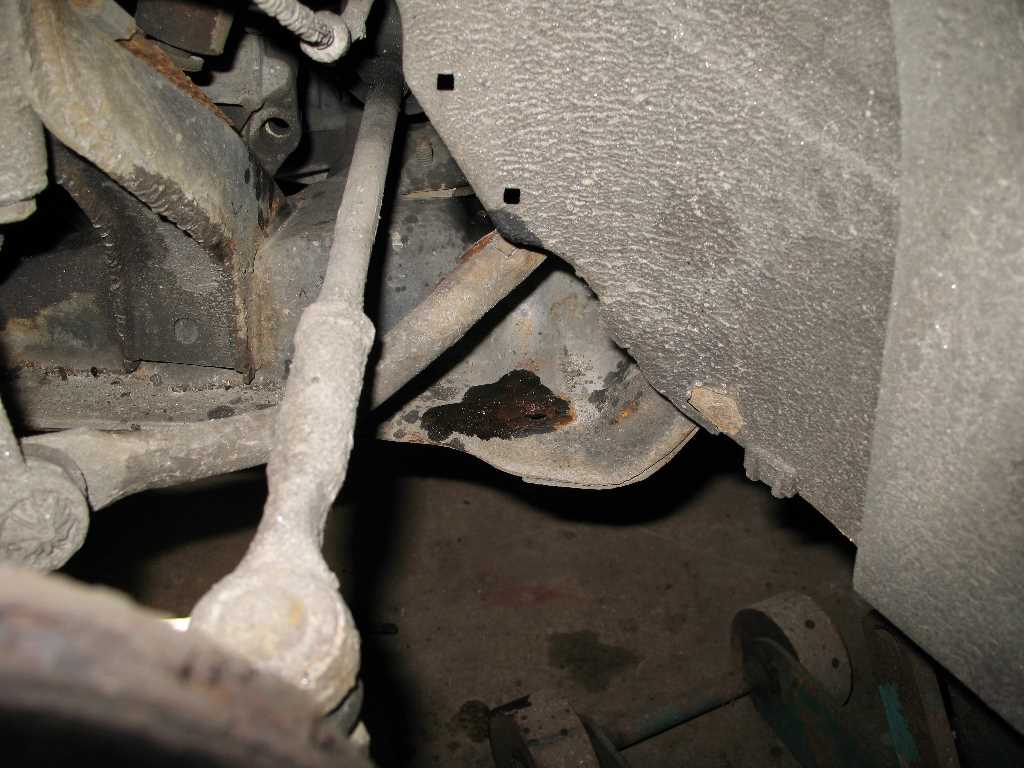
6. Mmmmmmmmmmm. Niiiiiiice..... :slayer:
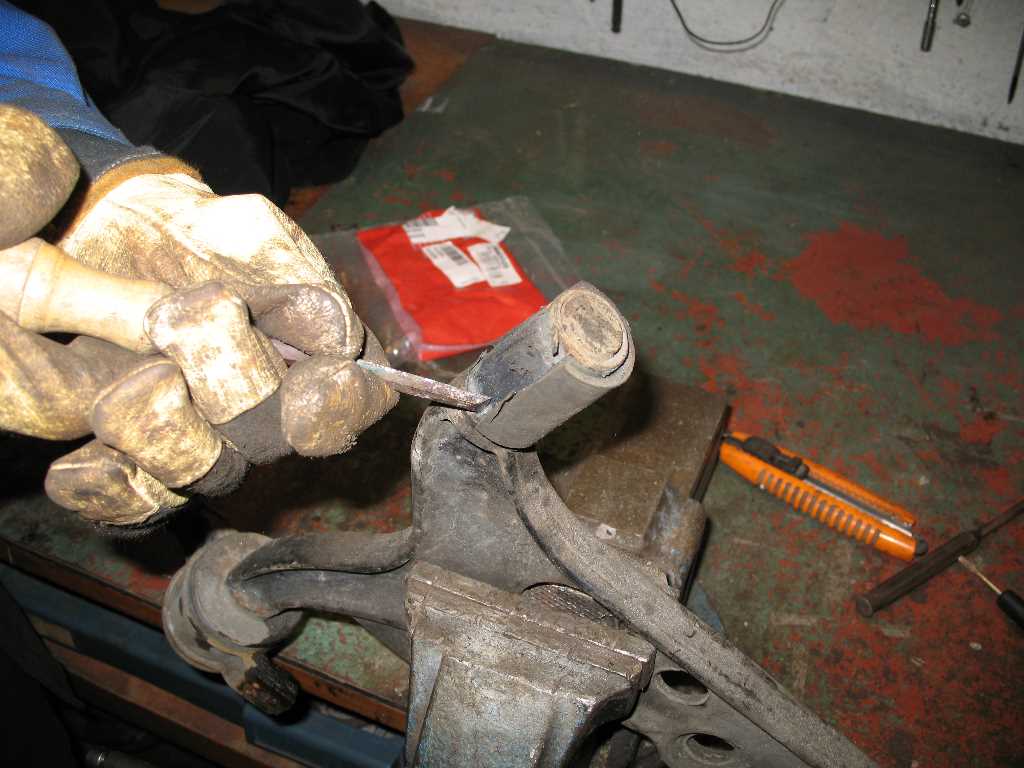
7. Alright, back to the rubber on the wishbone. Using mild force it soon came off.
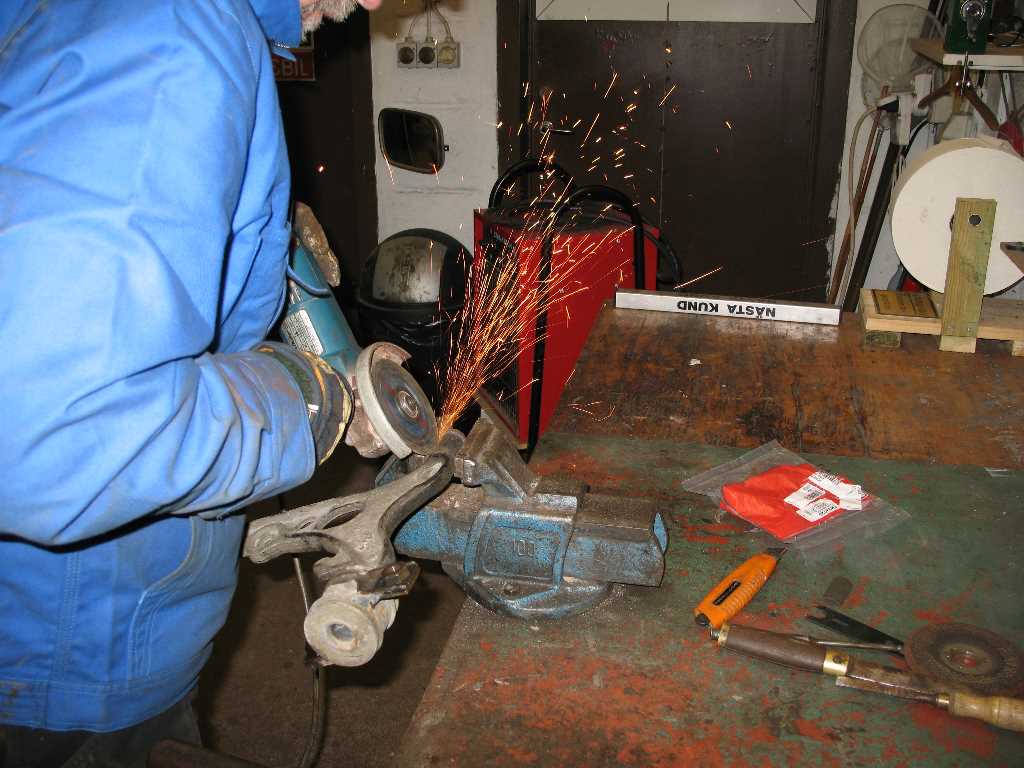
8. And here we are cutting the inner sleeve with grinder, taking good care not to damage the wishbone. A small slit was made - I guess unavoidable, but it was in the middle and the new busing's sleeve covered it nicely.
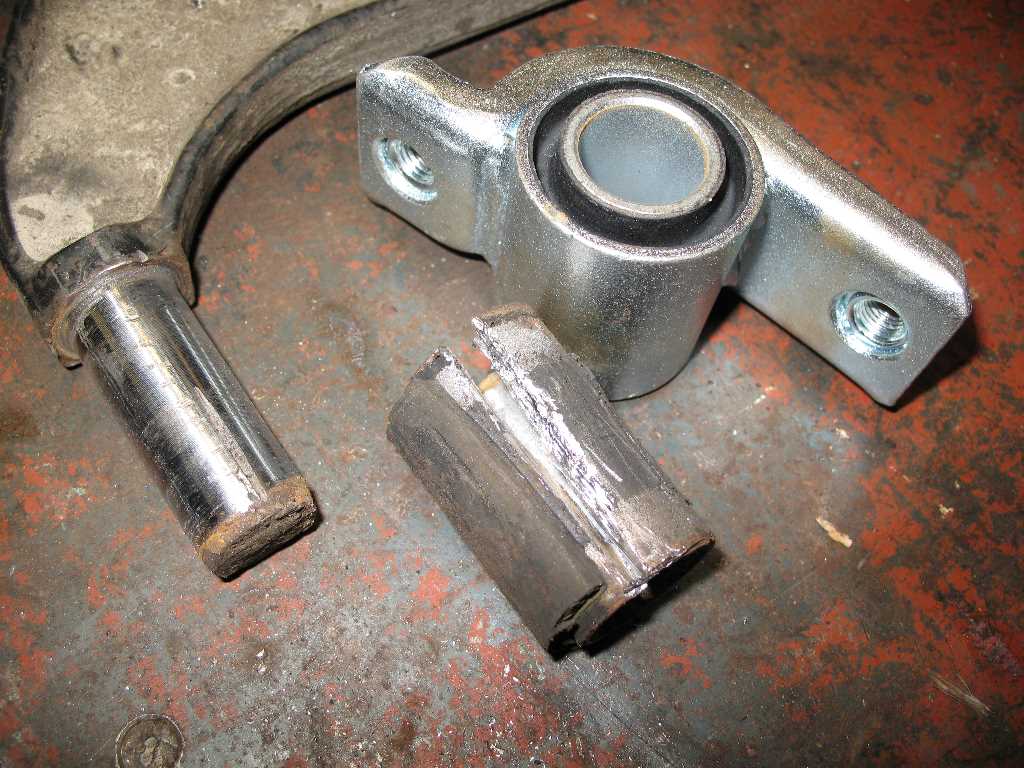
9. Here you can see the slit we accidently made in the wishbone, and also the by moderate force split open/slided off inner part of the old bushing. Using a chisel and some bad words, it came off. New bushing to the right.
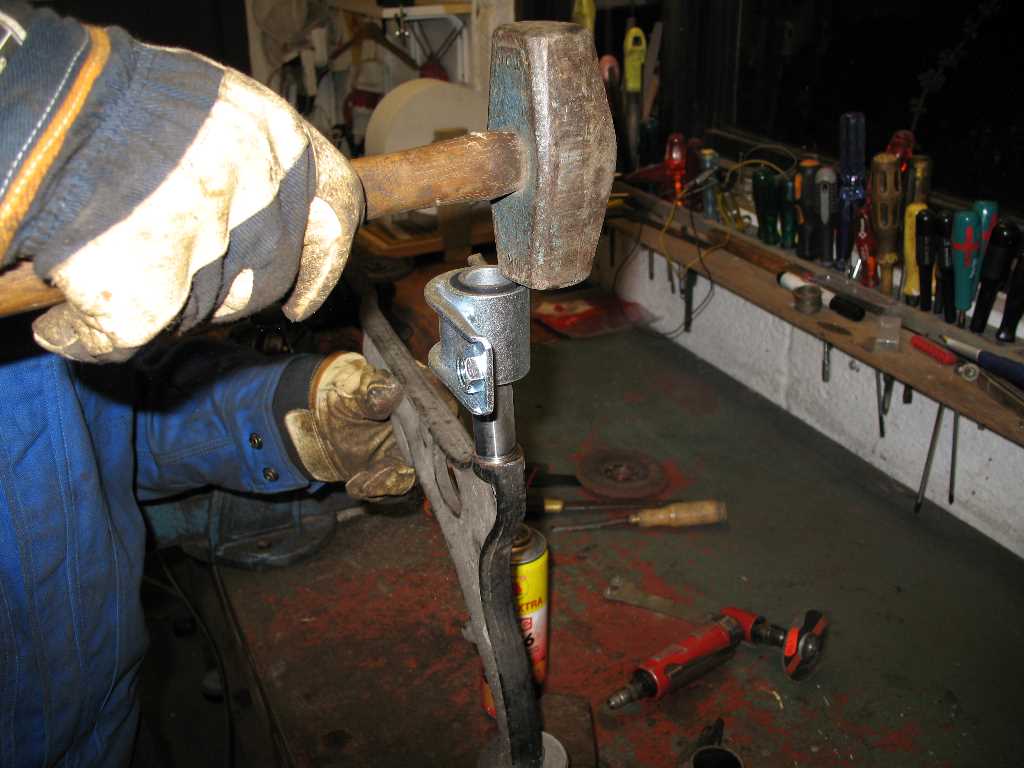
10. Now to the pounding. This picture was how we just got it started. The further it came on the more force was necessary. We soon put a small tapered bearing on the face of the bushing pounding on it instead of the actual bushing which would had been damaged otherwise. A LOT of hard pounding later (this takes 2 ppl, one pounding and one holding the stuff in place.
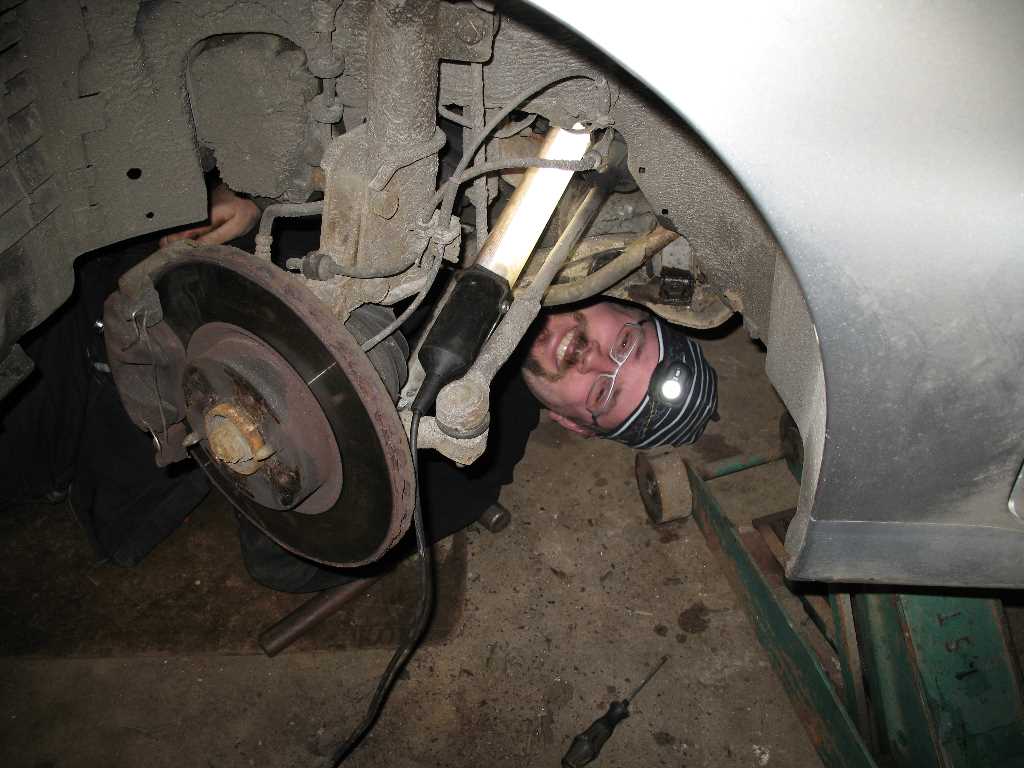
11. I'm the best looking mechanic around. Yes?
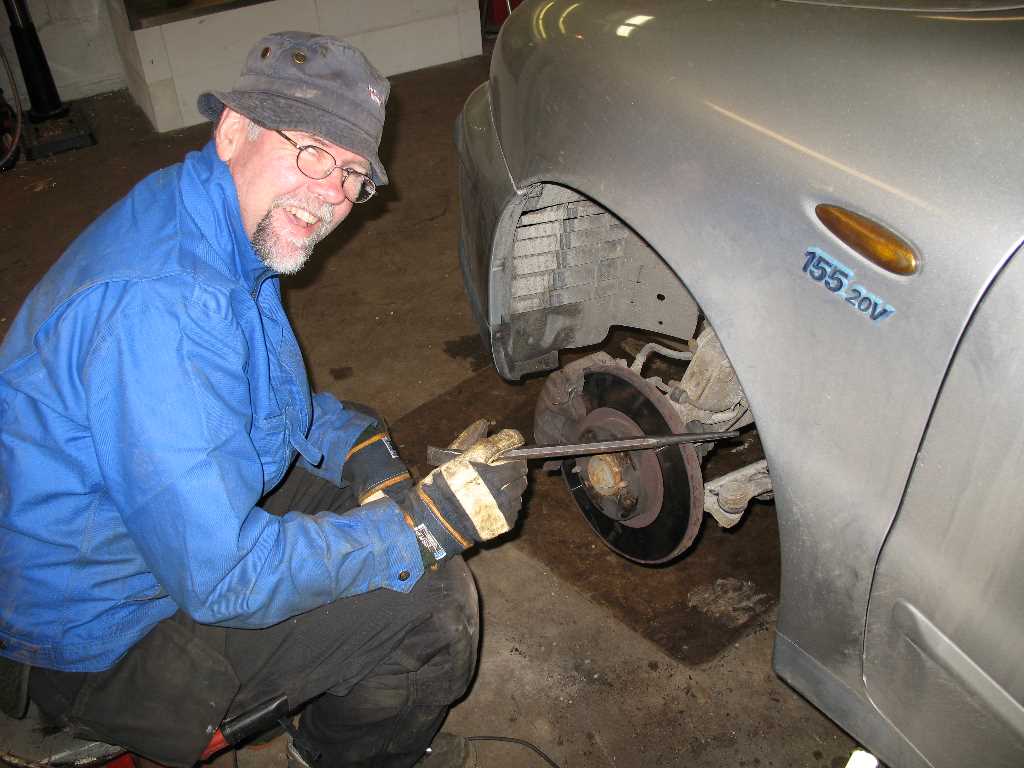
12. Dad put on a happy face as things ran smoothly!
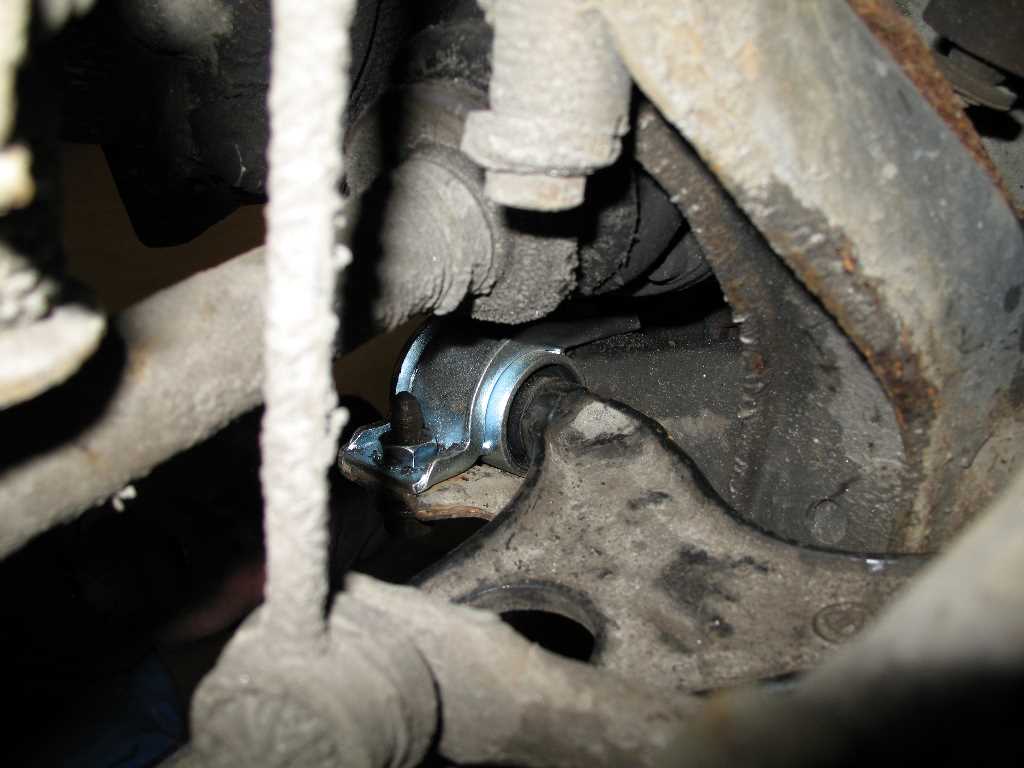
13. Voila! The new bushing in place. It took some punding and prying with all sorts of stuff to get everything lined up so the bolts would fit, and that's probably also a 2 men job - one punding/prying and one trying to find threads lying underneath the car.
Afther this - wheel back on and Presto! Job well done. We got ourselfs a nice dinner afterwards and smoked a cigarr accompanied by some strong coffe on the porch!
As I said. I take no responsability whatsoever if you choose to do it my way. Perhaps I was just lucky to make it safe home from dad's garage. Perhaps I'm just a pro. Who knows?
I have enjoyed my Marea for almost 6 months now, and so far I have nothing but 2 bad things to say: I'm probably to long-legged to drive it - My leg hurts from keepin acc pedal down when driving for more than 1 hour straight, and that leads to bad thing number 2: no cruise control....
Anyways, just recently there was a disturbing sound coming from left front wheel when driving over just the smallest bump in the road. A bit of jacking up and wiggling about the stuff there, I found the front wishbone bushing to be loose and showing visible play. I decided to change it before it got worse.
A new bushing cost 109 SEK, about $8.30. I guess it's not FIAT original.
I have read in this forum that the bushings were press fit, but I decided to try anyways althoug I do not own a press.
It was actually pretty straight forward job, althoug we did not have a workshop manual:
DISCLAIMER: Do not do this unless you know what you're doing. I did so I did not get hurt. This is probably the wrong way to do it, and you're copying this procedure on your own risk. Always think "safety first". Plz, I urge you to think before you wrench...
1. Jack the car up
2. Remove 2 front bolts holding the wishbone in the subframe
3. Remove the bushing holdin the tip of wishbone to the hub
4. Separate hub-bushin (don't know english name) from hub, takes a bit of pounding and or prying
5. Remove to rear bolts holding wishbone to subframe.
6. Remove wishbone from car.
7. My front bushing had separated itself from the rubber, so it just fell apart. Inner steel tube and rubber stayed on the wishbone, and outer steel tube with flanges fell off into my hand.
8. This is the scary part, but anyhow... I used a sharp knife and some other stuff to get rubber away. Then grinder to cut inner steel cylinder. Then a sharp chisel and some good 'ole pounding to get inner tube of wishbone.
9. Pound new bushing in taking GOOD precautions to make sure the angle was right - if not, you will have trouble. Be prepared to pund GOOD and HARD 'cus this is a really tight fit. We used a big sledge and an old bearing as inlay between sledge and bushing. This made it possible to drive bushing in without damaging the flange or rubber. Regular tube is not good since it's too soft - you have to use harder steel. A good quality "power" socket from your air tool box will probably do. Take care so you don't damage the bushing in the other end! Use wood inlay between bushing and whatever you're pounding against (we used concrete floor). If you pound it on wrong it will not fit once on the car. The two bushings is NOT parallell - the front one leans inward about 10-15 degres. Hard to explain but when you try it you will see...
10 Refit and retighten in reverse order.
Whole procedure took about 1.5 hours including a bit of cursing.
Picture story:
1. Cutting away old rubber from wishbone

2. Wishbone was in good condition, both "knuckle bushing" and the other sub-frame one...

3. Here you can see that the old bushing had separated from rubber. Compare with new.

4. This is front attachment point to subframe. Was easy to get out, just a bit of wiggling the stuff and pulling/jerking the suspension turret/hub until the bushing fell out with the wishbone.

5. And this is rear attachment point to subframe. Was a bit harder as anti-sway bar stuff got int the way, but a bit of wiggling the suspension turret and jacking car up and down a bit, it eventually came out with the wishbone. In this picture the wishbone is out of the car. Unfortunately you cannot see here that I have also separated "kingpin?" from the hub. Was the easy part. Unfortunately that bold shred itself when we refit, but we found a good one in a "good-to-have" box in a shelf in the back of the garage that fit almost better than the original one.

6. Mmmmmmmmmmm. Niiiiiiice..... :slayer:

7. Alright, back to the rubber on the wishbone. Using mild force it soon came off.

8. And here we are cutting the inner sleeve with grinder, taking good care not to damage the wishbone. A small slit was made - I guess unavoidable, but it was in the middle and the new busing's sleeve covered it nicely.

9. Here you can see the slit we accidently made in the wishbone, and also the by moderate force split open/slided off inner part of the old bushing. Using a chisel and some bad words, it came off. New bushing to the right.

10. Now to the pounding. This picture was how we just got it started. The further it came on the more force was necessary. We soon put a small tapered bearing on the face of the bushing pounding on it instead of the actual bushing which would had been damaged otherwise. A LOT of hard pounding later (this takes 2 ppl, one pounding and one holding the stuff in place.

11. I'm the best looking mechanic around. Yes?

12. Dad put on a happy face as things ran smoothly!

13. Voila! The new bushing in place. It took some punding and prying with all sorts of stuff to get everything lined up so the bolts would fit, and that's probably also a 2 men job - one punding/prying and one trying to find threads lying underneath the car.

Afther this - wheel back on and Presto! Job well done. We got ourselfs a nice dinner afterwards and smoked a cigarr accompanied by some strong coffe on the porch!
As I said. I take no responsability whatsoever if you choose to do it my way. Perhaps I was just lucky to make it safe home from dad's garage. Perhaps I'm just a pro. Who knows?

